introduction to scientific typesetting lesson 12: verbatim ... · introduction to scientific...
TRANSCRIPT

1
Introduction to Scientific Typesetting
Lesson 12: Verbatim Text
and Drawing in L ATEX
Ryan Higginbottom
January 20, 2012
An Overview
An Overview
Verbatim Text
The Basics ofpstricks
Color
2
Verbatim Text
The Basics of pstricks
Color
Verbatim Text
An Overview
Verbatim Text
Writing About LATEX (orother code)
Typing Verbatim TextInline
Rules for Verbatim TextInline
Displayed VerbatimText
Rules for theverbatim
Environment
Example
Verbatim Text inPresentations
The Basics ofpstricks
Color
3
Writing About L ATEX (or other code)
An Overview
Verbatim Text
Writing About LATEX (orother code)
Typing Verbatim TextInline
Rules for Verbatim TextInline
Displayed VerbatimText
Rules for theverbatim
Environment
Example
Verbatim Text inPresentations
The Basics ofpstricks
Color
4
If you are writing about LATEX or any other code within yourdocument, chances are you’ll want to include some examples ofthat code.
The problem is: how do you allow your reader see exactly whatyou’re typing? Most of the time this is difficult to do.
This is known as the problem of typing verbatim text.
This section relies heavily on pages 145–148 of More Math intoLATEX.
Typing Verbatim Text Inline
An Overview
Verbatim Text
Writing About LATEX (orother code)
Typing Verbatim TextInline
Rules for Verbatim TextInline
Displayed VerbatimText
Rules for theverbatim
Environment
Example
Verbatim Text inPresentations
The Basics ofpstricks
Color
5
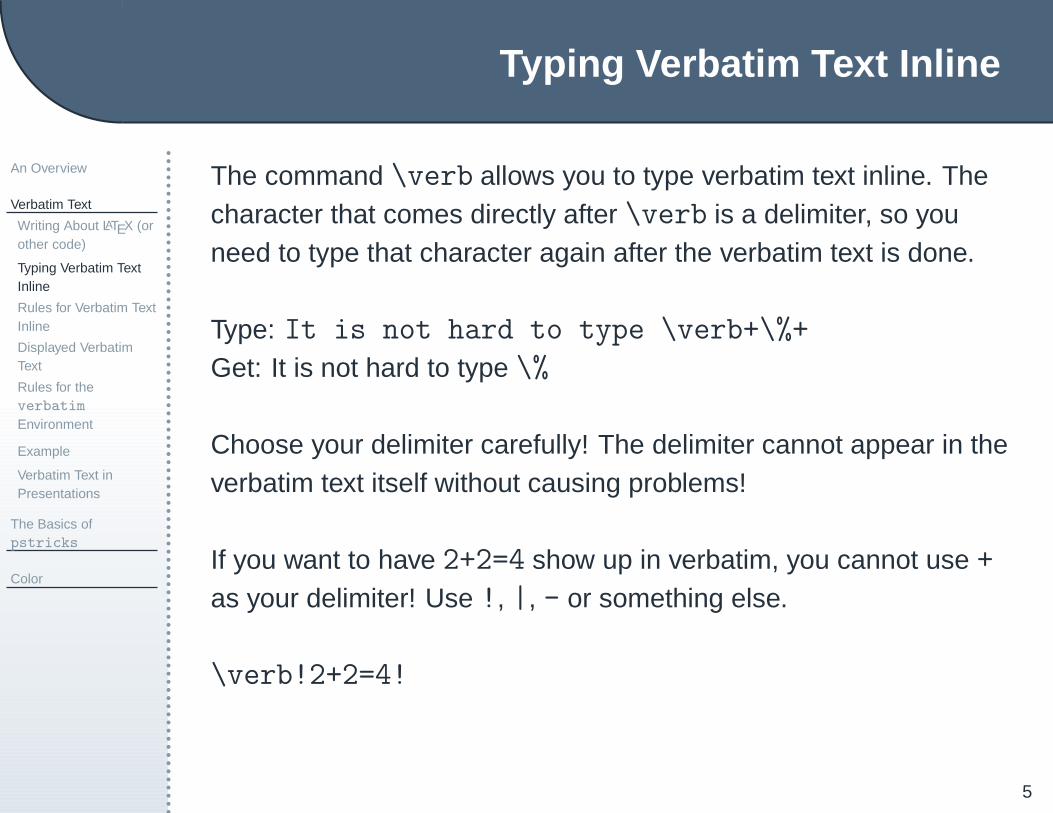
The command \verb allows you to type verbatim text inline. Thecharacter that comes directly after \verb is a delimiter, so youneed to type that character again after the verbatim text is done.
Type: It is not hard to type \verb+\%+
Get: It is not hard to type \%
Choose your delimiter carefully! The delimiter cannot appear in theverbatim text itself without causing problems!
If you want to have 2+2=4 show up in verbatim, you cannot use +
as your delimiter! Use !, |, - or something else.
\verb!2+2=4!

Rules for Verbatim Text Inline
An Overview
Verbatim Text
Writing About LATEX (orother code)
Typing Verbatim TextInline
Rules for Verbatim TextInline
Displayed VerbatimText
Rules for theverbatim
Environment
Example
Verbatim Text inPresentations
The Basics ofpstricks
Color
6
Some rules to follow when using \verb:
� The entire \verb command must be typed on a single line inyour .tex file.
� You cannot have a space between \verb and your delimiter.
� The \verb command cannot appear in the argument ofanother command.
� The \verb command cannot appear in an aligned mathenvironment.
� Do not use * as a delimiter.
Displayed Verbatim Text
An Overview
Verbatim Text
Writing About LATEX (orother code)
Typing Verbatim TextInline
Rules for Verbatim TextInline
Displayed VerbatimText
Rules for theverbatim
Environment
Example
Verbatim Text inPresentations
The Basics ofpstricks
Color
7
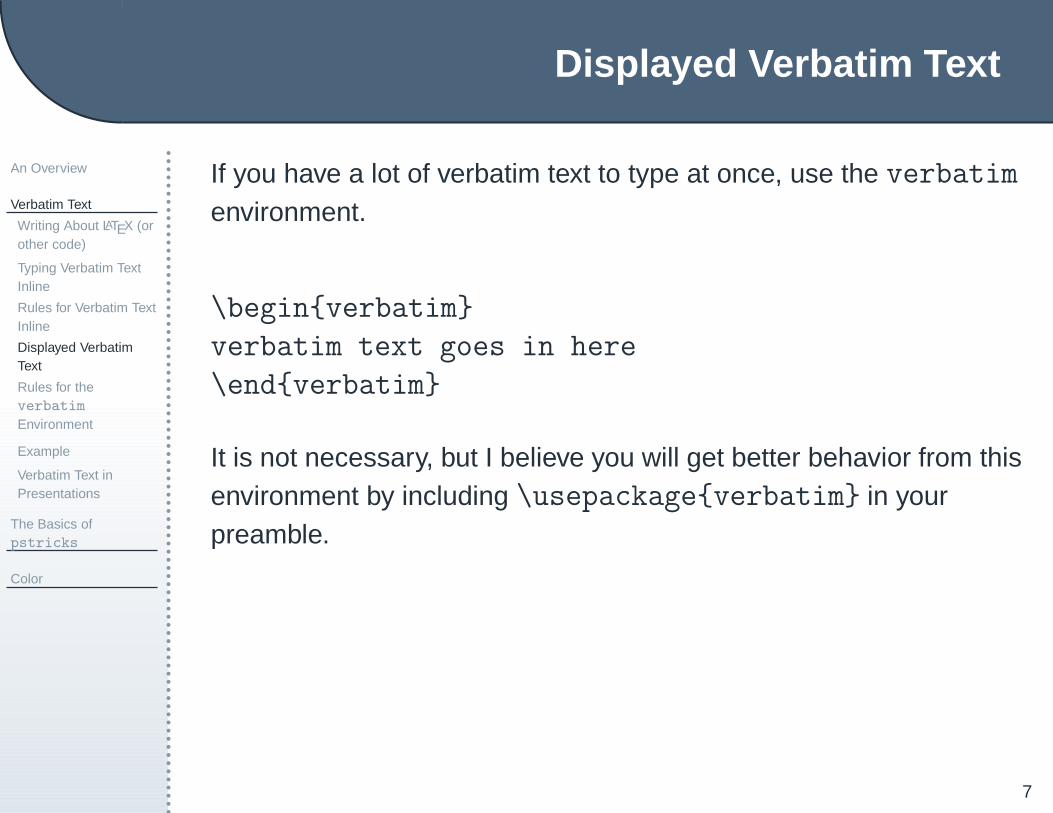
If you have a lot of verbatim text to type at once, use the verbatim
environment.
\begin{verbatim}
verbatim text goes in here
\end{verbatim}
It is not necessary, but I believe you will get better behavior from thisenvironment by including \usepackage{verbatim} in yourpreamble.
Rules for the verbatim Environment
An Overview
Verbatim Text
Writing About LATEX (orother code)
Typing Verbatim TextInline
Rules for Verbatim TextInline
Displayed VerbatimText
Rules for theverbatim
Environment
Example
Verbatim Text inPresentations
The Basics ofpstricks
Color
8
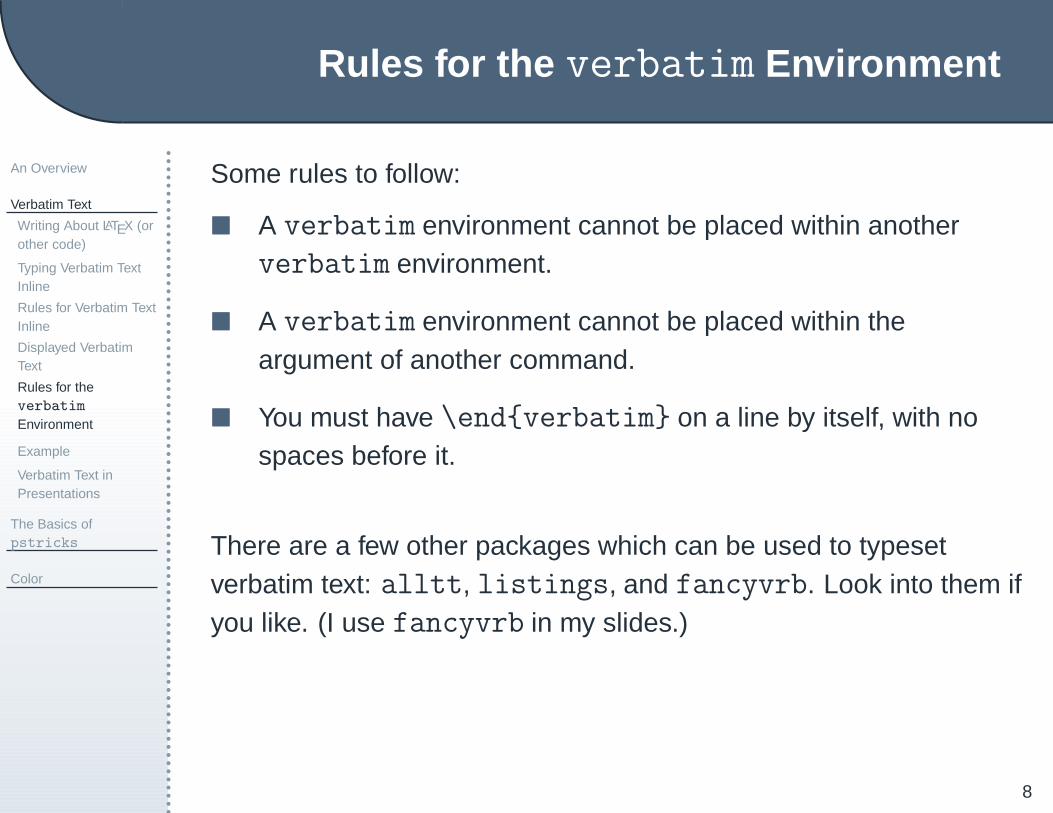
Some rules to follow:
� A verbatim environment cannot be placed within anotherverbatim environment.
� A verbatim environment cannot be placed within theargument of another command.
� You must have \end{verbatim} on a line by itself, with nospaces before it.
There are a few other packages which can be used to typesetverbatim text: alltt, listings, and fancyvrb. Look into them ifyou like. (I use fancyvrb in my slides.)

Example
An Overview
Verbatim Text
Writing About LATEX (orother code)
Typing Verbatim TextInline
Rules for Verbatim TextInline
Displayed VerbatimText
Rules for theverbatim
Environment
Example
Verbatim Text inPresentations
The Basics ofpstricks
Color
9
Open the first example file (.tex), build and view.
Verbatim Text in Presentations
An Overview
Verbatim Text
Writing About LATEX (orother code)
Typing Verbatim TextInline
Rules for Verbatim TextInline
Displayed VerbatimText
Rules for theverbatim
Environment
Example
Verbatim Text inPresentations
The Basics ofpstricks
Color
10
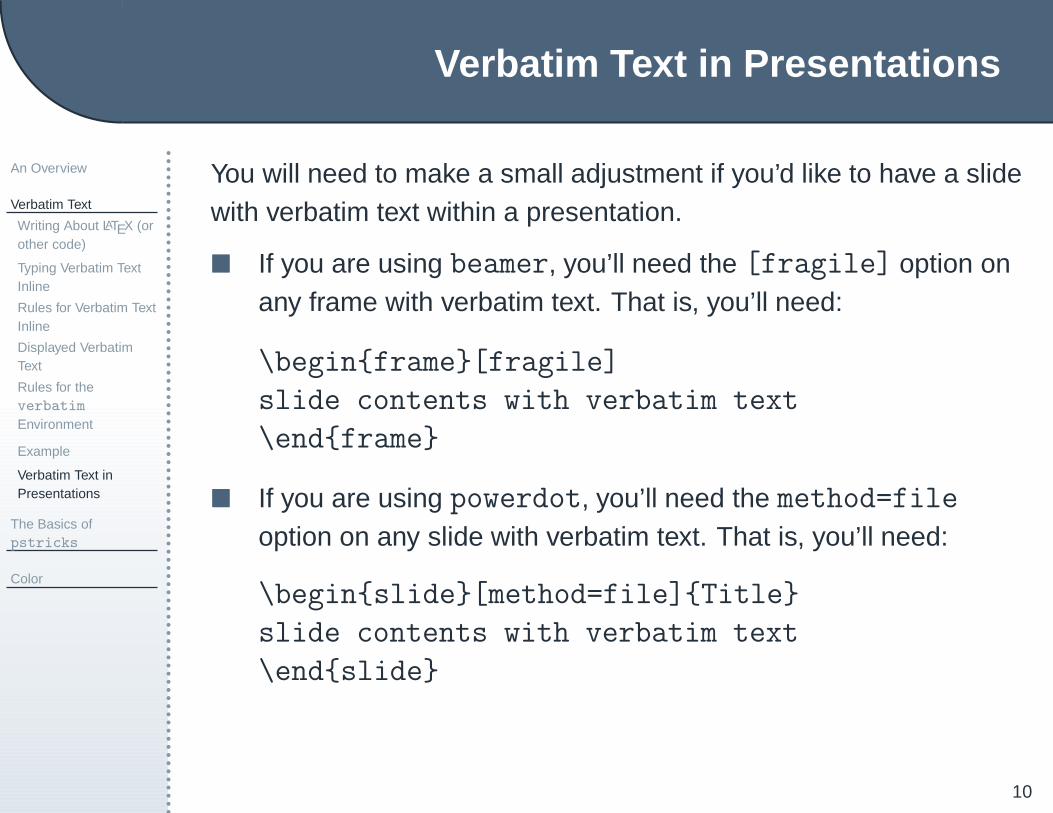
You will need to make a small adjustment if you’d like to have a slidewith verbatim text within a presentation.
� If you are using beamer, you’ll need the [fragile] option onany frame with verbatim text. That is, you’ll need:
\begin{frame}[fragile]
slide contents with verbatim text
\end{frame}
� If you are using powerdot, you’ll need the method=file
option on any slide with verbatim text. That is, you’ll need:
\begin{slide}[method=file]{Title}
slide contents with verbatim text
\end{slide}

The Basics of pstricks
An Overview
Verbatim Text
The Basics ofpstricks
The Motivation
Getting Started
Basic GraphicalObjects
Curves and Rounding
Example
Modifications
Arrows
Grids
Options for Grids
Framed Boxes
Options for FramedBoxes
Example
Using psset
Placing Objects andText
Practice
Color
11

The Motivation
An Overview
Verbatim Text
The Basics ofpstricks
The Motivation
Getting Started
Basic GraphicalObjects
Curves and Rounding
Example
Modifications
Arrows
Grids
Options for Grids
Framed Boxes
Options for FramedBoxes
Example
Using psset
Placing Objects andText
Practice
Color
12
It is very inconvenient to have to include a graphic every time you’dlike a picture in your document or presentation. Additionally, if youare sharing a file with someone else, this means that you’ll have tosend along the picture file(s) too. It’s much more convenient to usea package where LATEX code generates your pictures for you.
Enter pstricks!
Because
Graphics can spice things up!
You’ll need \usepackage{pstricks} in the preamble.

Getting Started
An Overview
Verbatim Text
The Basics ofpstricks
The Motivation
Getting Started
Basic GraphicalObjects
Curves and Rounding
Example
Modifications
Arrows
Grids
Options for Grids
Framed Boxes
Options for FramedBoxes
Example
Using psset
Placing Objects andText
Practice
Color
13
While pstricks commands can be used within the flow of text, it ismore common to draw pictures that are set off by themselves. Thishappens within a pspicture environment.
You need to specify the dimensions of the environment. (One unit is1 cm by default.) This happens by specifying the lower left andupper right coordinates of the environment. (Think of it as a grid!)
\begin{center}
\begin{pspicture}(0,0)(4,4)
...
\end{pspicture}
\end{center}

Basic Graphical Objects
An Overview
Verbatim Text
The Basics ofpstricks
The Motivation
Getting Started
Basic GraphicalObjects
Curves and Rounding
Example
Modifications
Arrows
Grids
Options for Grids
Framed Boxes
Options for FramedBoxes
Example
Using psset
Placing Objects andText
Practice
Color
14
Here are some pstricks commands for simple geometric objects.
� \psline(0,0)(2,1) — A line starting at (0, 0) and ending at(2, 1). Also valid: \psline(0,0)(2,1)(3,4).
� \psframe(0,0)(3,2) — A rectangle with corners at (0, 0),(3, 0), (3, 2), and (0, 2).
� \pspolygon(0,0)(3,1)(1,2) — A triangle with vertices at(0, 0), (3, 1), and (1, 2). A polygon can have any number ofvertices and pstricks will close up the polygon properly.Order matters!
� \pscircle(1,2){.5} — A circle with radius 0.5 cm centeredat (1, 2).
� \psellipse(0,0)(2,3) — An ellipse centered at (0, 0) withhorizontal radius 2 cm and vertical radius 3 cm.

Curves and Rounding
An Overview
Verbatim Text
The Basics ofpstricks
The Motivation
Getting Started
Basic GraphicalObjects
Curves and Rounding
Example
Modifications
Arrows
Grids
Options for Grids
Framed Boxes
Options for FramedBoxes
Example
Using psset
Placing Objects andText
Practice
Color
15
There are two versions of a curve to mention.
� \pscurve(0,0)(.5,0)(1,3)(-1,4) — This interpolates acurve through the points specified. (The showpoints=true
option can help you adjust things here.)
� \psccurve(0,0)(.5,0)(1,3)(-1,4) — This interpolatesa closed curve through the points.
The linearc option :For \psline and \pspolygon, the linearc option rounds thecorners of your objects (default is 0pt):
linearc=8pt

Example
An Overview
Verbatim Text
The Basics ofpstricks
The Motivation
Getting Started
Basic GraphicalObjects
Curves and Rounding
Example
Modifications
Arrows
Grids
Options for Grids
Framed Boxes
Options for FramedBoxes
Example
Using psset
Placing Objects andText
Practice
Color
16
Open the second example file (.tex).
Make sure your Build Profile is LaTeX => PS => PDF.
Build and view.
Modifications
An Overview
Verbatim Text
The Basics ofpstricks
The Motivation
Getting Started
Basic GraphicalObjects
Curves and Rounding
Example
Modifications
Arrows
Grids
Options for Grids
Framed Boxes
Options for FramedBoxes
Example
Using psset
Placing Objects andText
Practice
Color
17
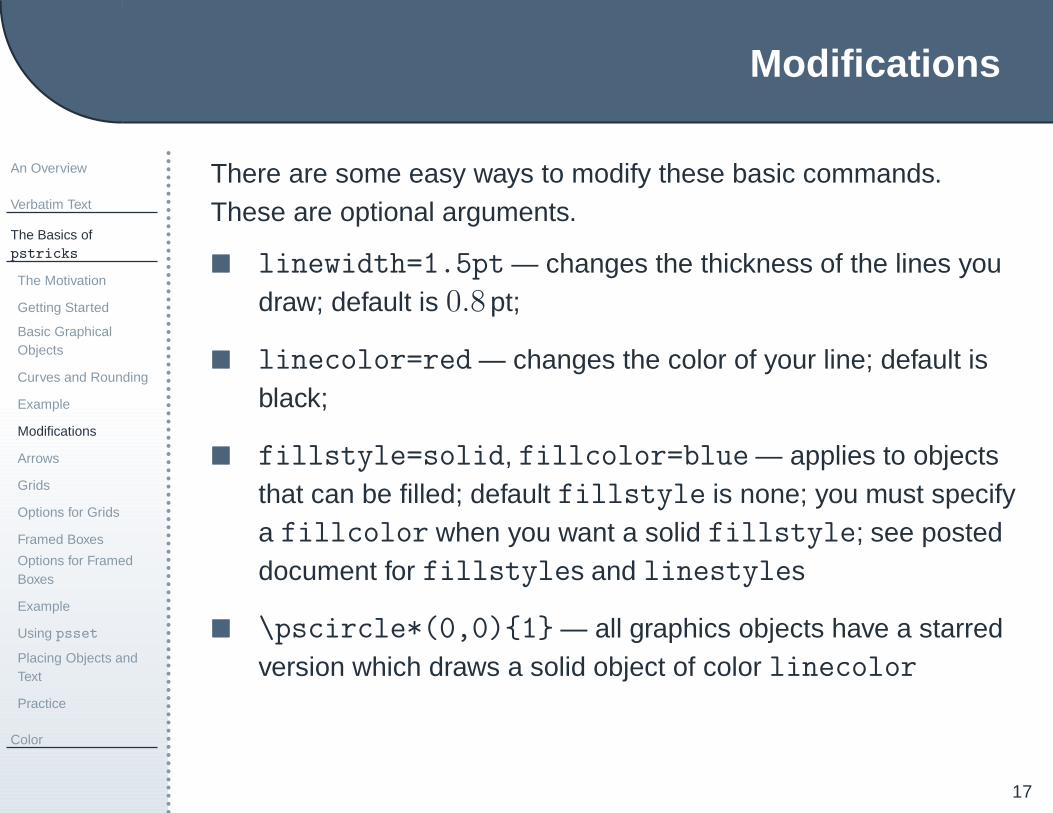
There are some easy ways to modify these basic commands.These are optional arguments.
� linewidth=1.5pt — changes the thickness of the lines youdraw; default is 0.8 pt;
� linecolor=red — changes the color of your line; default isblack;
� fillstyle=solid, fillcolor=blue — applies to objectsthat can be filled; default fillstyle is none; you must specifya fillcolor when you want a solid fillstyle; see posteddocument for fillstyles and linestyles
� \pscircle*(0,0){1} — all graphics objects have a starredversion which draws a solid object of color linecolor

Arrows
An Overview
Verbatim Text
The Basics ofpstricks
The Motivation
Getting Started
Basic GraphicalObjects
Curves and Rounding
Example
Modifications
Arrows
Grids
Options for Grids
Framed Boxes
Options for FramedBoxes
Example
Using psset
Placing Objects andText
Practice
Color
18
On any line or curve you can draw arrows, and pstricks has a lotof options for arrowhead styles. (See posted document.) These aregiven with the arrows option. Here are a few:
arrows=<->
arrows=*-o
arrows=<<-<
arrows=|->|
Grids
An Overview
Verbatim Text
The Basics ofpstricks
The Motivation
Getting Started
Basic GraphicalObjects
Curves and Rounding
Example
Modifications
Arrows
Grids
Options for Grids
Framed Boxes
Options for FramedBoxes
Example
Using psset
Placing Objects andText
Practice
Color
19
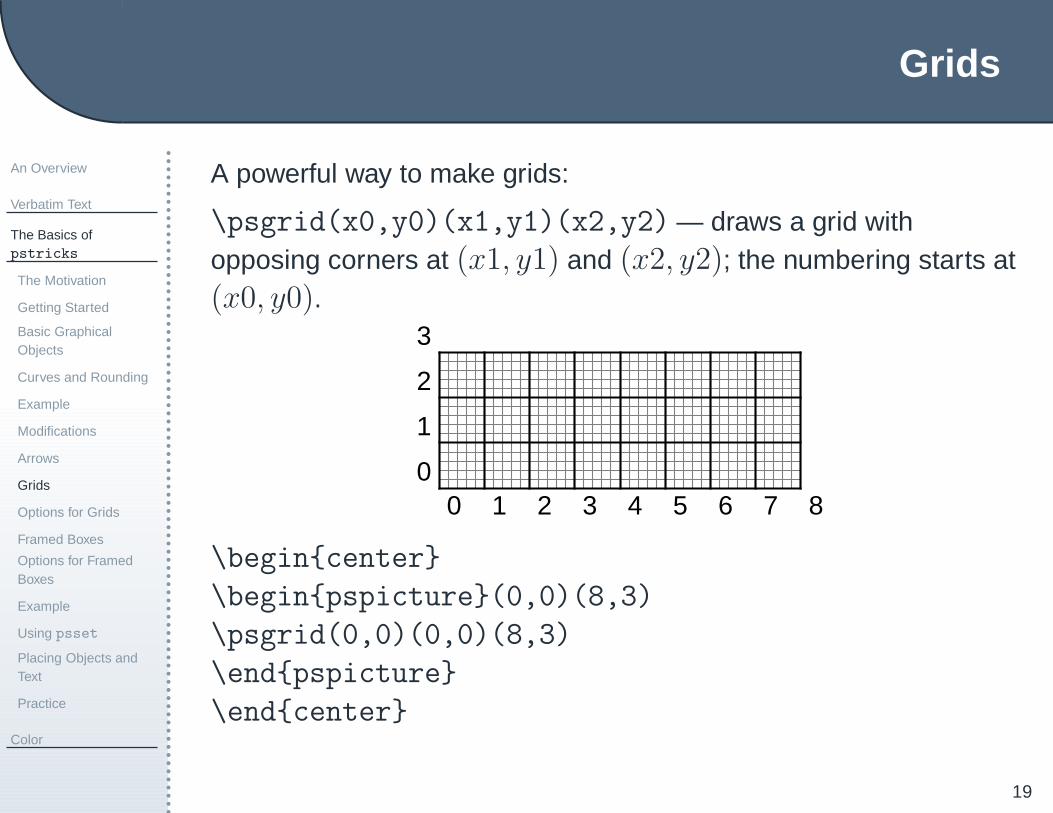
A powerful way to make grids:
\psgrid(x0,y0)(x1,y1)(x2,y2) — draws a grid withopposing corners at (x1, y1) and (x2, y2); the numbering starts at(x0, y0).
0 1 2 3 4 5 6 7 80
1
2
3
\begin{center}
\begin{pspicture}(0,0)(8,3)
\psgrid(0,0)(0,0)(8,3)
\end{pspicture}
\end{center}
Options for Grids
An Overview
Verbatim Text
The Basics ofpstricks
The Motivation
Getting Started
Basic GraphicalObjects
Curves and Rounding
Example
Modifications
Arrows
Grids
Options for Grids
Framed Boxes
Options for FramedBoxes
Example
Using psset
Placing Objects andText
Practice
Color
20
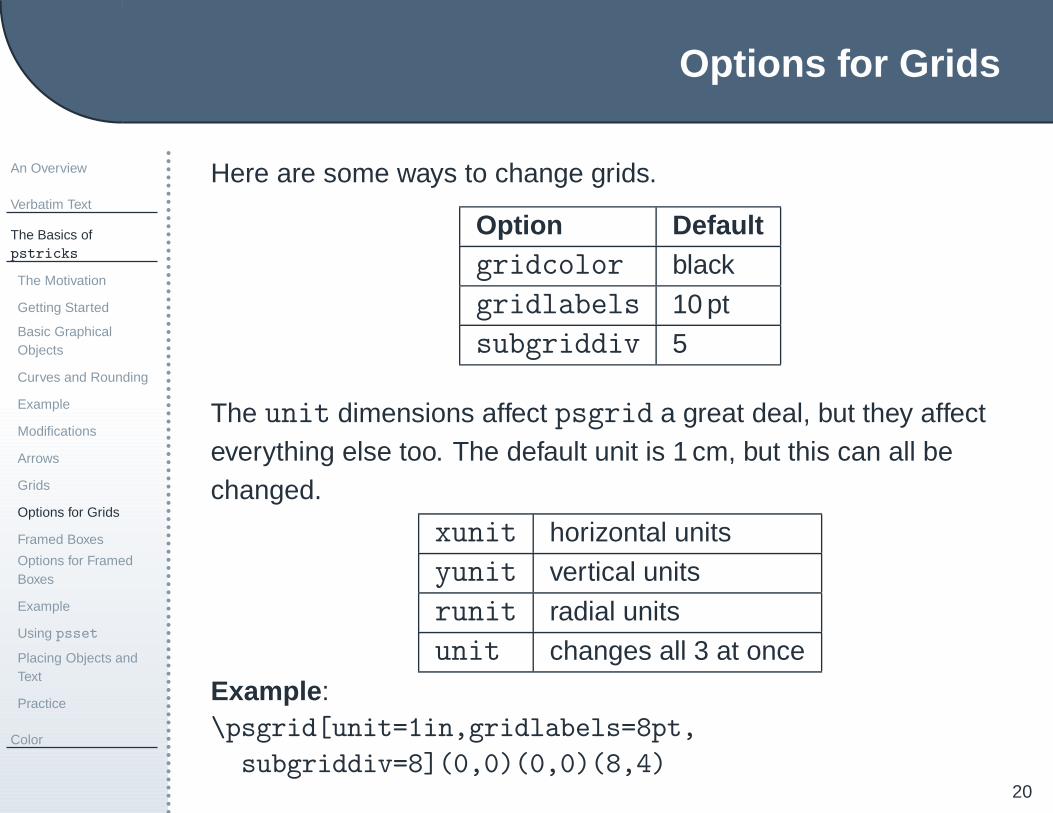
Here are some ways to change grids.
Option Defaultgridcolor black
gridlabels 10 pt
subgriddiv 5
The unit dimensions affect psgrid a great deal, but they affecteverything else too. The default unit is 1 cm, but this can all bechanged.
xunit horizontal units
yunit vertical units
runit radial units
unit changes all 3 at once
Example :\psgrid[unit=1in,gridlabels=8pt,
subgriddiv=8](0,0)(0,0)(8,4)
Framed Boxes
An Overview
Verbatim Text
The Basics ofpstricks
The Motivation
Getting Started
Basic GraphicalObjects
Curves and Rounding
Example
Modifications
Arrows
Grids
Options for Grids
Framed Boxes
Options for FramedBoxes
Example
Using psset
Placing Objects andText
Practice
Color
21
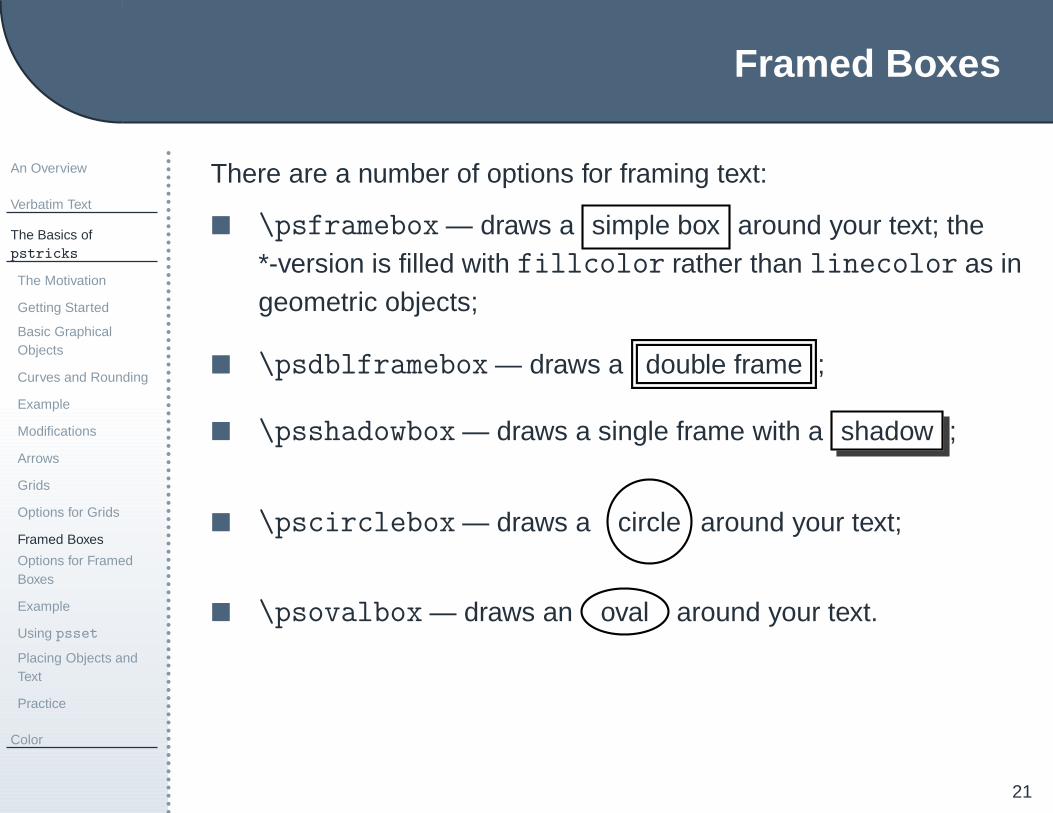
There are a number of options for framing text:
� \psframebox — draws a simple box around your text; the*-version is filled with fillcolor rather than linecolor as ingeometric objects;
� \psdblframebox — draws a double frame ;
� \psshadowbox — draws a single frame with a shadow ;
� \pscirclebox — draws a circle around your text;
� \psovalbox — draws an oval around your text.
Options for Framed Boxes
An Overview
Verbatim Text
The Basics ofpstricks
The Motivation
Getting Started
Basic GraphicalObjects
Curves and Rounding
Example
Modifications
Arrows
Grids
Options for Grids
Framed Boxes
Options for FramedBoxes
Example
Using psset
Placing Objects andText
Practice
Color
22
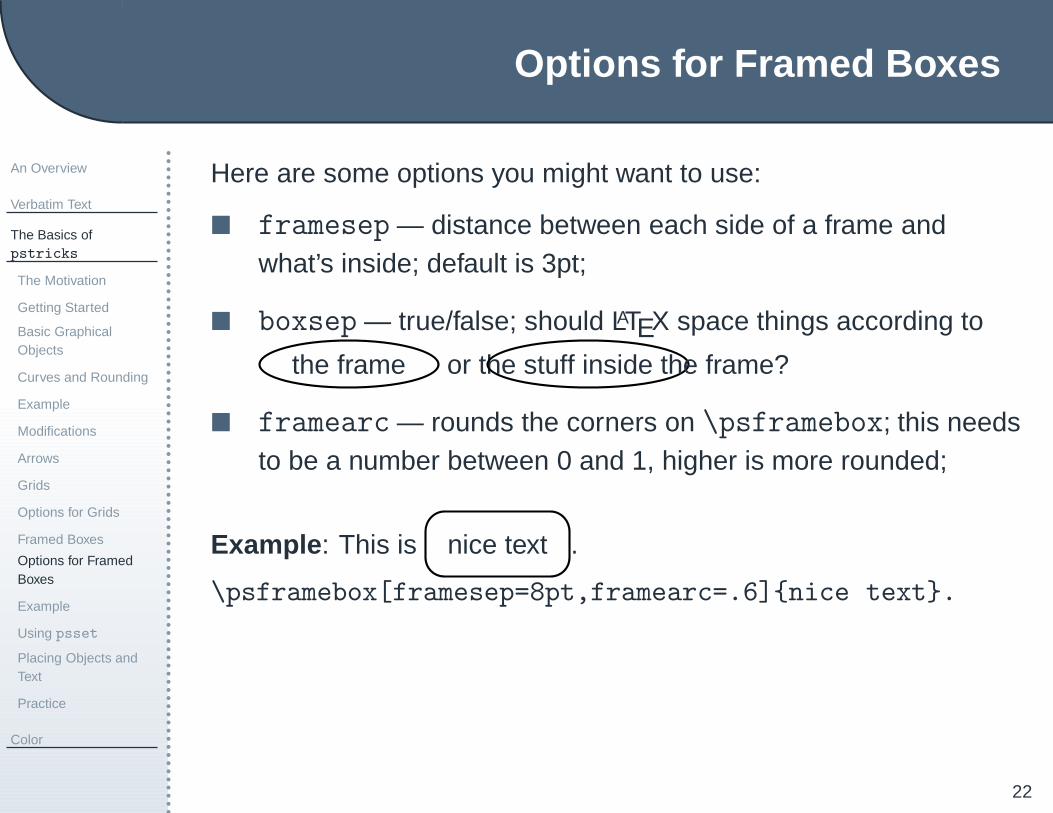
Here are some options you might want to use:
� framesep — distance between each side of a frame andwhat’s inside; default is 3pt;
� boxsep — true/false; should LATEX space things according to
the frame or the stuff inside the frame?
� framearc — rounds the corners on \psframebox; this needsto be a number between 0 and 1, higher is more rounded;
Example : This is nice text .
\psframebox[framesep=8pt,framearc=.6]{nice text}.
Example
An Overview
Verbatim Text
The Basics ofpstricks
The Motivation
Getting Started
Basic GraphicalObjects
Curves and Rounding
Example
Modifications
Arrows
Grids
Options for Grids
Framed Boxes
Options for FramedBoxes
Example
Using psset
Placing Objects andText
Practice
Color
23
Open the third example file (.tex).
Build and view.
Using psset
An Overview
Verbatim Text
The Basics ofpstricks
The Motivation
Getting Started
Basic GraphicalObjects
Curves and Rounding
Example
Modifications
Arrows
Grids
Options for Grids
Framed Boxes
Options for FramedBoxes
Example
Using psset
Placing Objects andText
Practice
Color
24
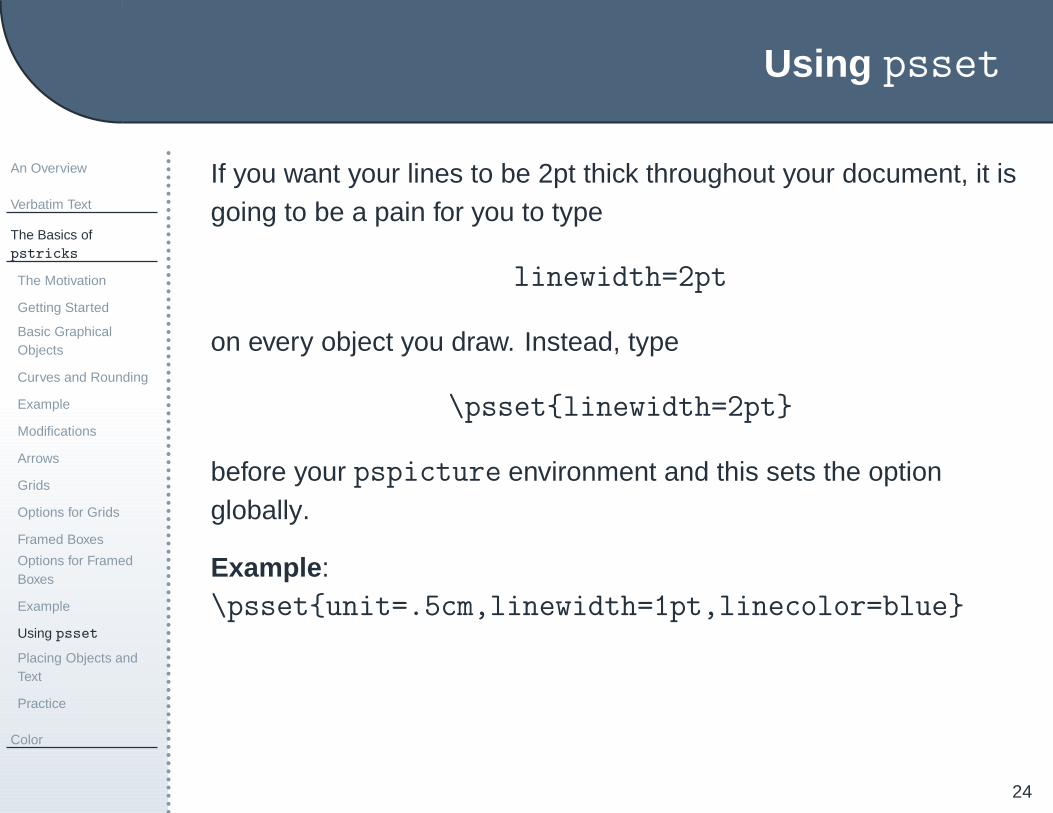
If you want your lines to be 2pt thick throughout your document, it isgoing to be a pain for you to type
linewidth=2pt
on every object you draw. Instead, type
\psset{linewidth=2pt}
before your pspicture environment and this sets the optionglobally.
Example :\psset{unit=.5cm,linewidth=1pt,linecolor=blue}

Placing Objects and Text
An Overview
Verbatim Text
The Basics ofpstricks
The Motivation
Getting Started
Basic GraphicalObjects
Curves and Rounding
Example
Modifications
Arrows
Grids
Options for Grids
Framed Boxes
Options for FramedBoxes
Example
Using psset
Placing Objects andText
Practice
Color
25
Inside a pspicture environment, graphics objects are drawn, buttext needs to be placed. This is done using these two maincommands:
� \rput*[refpoint]{rot}(x,y){stuff}
� refpoint is the center of the box by default, but it could bel, r, t, b, or a combination like lt.
� \uput*{labelsep}[refangle]{rot}(x,y){stuff} —This places stuff a distance labelsep from (x, y) in the directionrefangle. It is useful for labeling things.
ale
g\pspolygon(0,0)(1,0)(0,1)
\rput{90}(-.2,.5){a leg}
Practice
An Overview
Verbatim Text
The Basics ofpstricks
The Motivation
Getting Started
Basic GraphicalObjects
Curves and Rounding
Example
Modifications
Arrows
Grids
Options for Grids
Framed Boxes
Options for FramedBoxes
Example
Using psset
Placing Objects andText
Practice
Color
26
Let’s practice!Open the fourth example file (.pdf) and reproduce it.
You only need to reproduce the objects/text in the grid. (But you donot need to reproduce the grid itself or the text below the grid.)

Color
An Overview
Verbatim Text
The Basics ofpstricks
Color
The Default Colors
Defining New Colors
Matching Colors
An Example
Practice
27
The Default Colors
An Overview
Verbatim Text
The Basics ofpstricks
Color
The Default Colors
Defining New Colors
Matching Colors
An Example
Practice
28
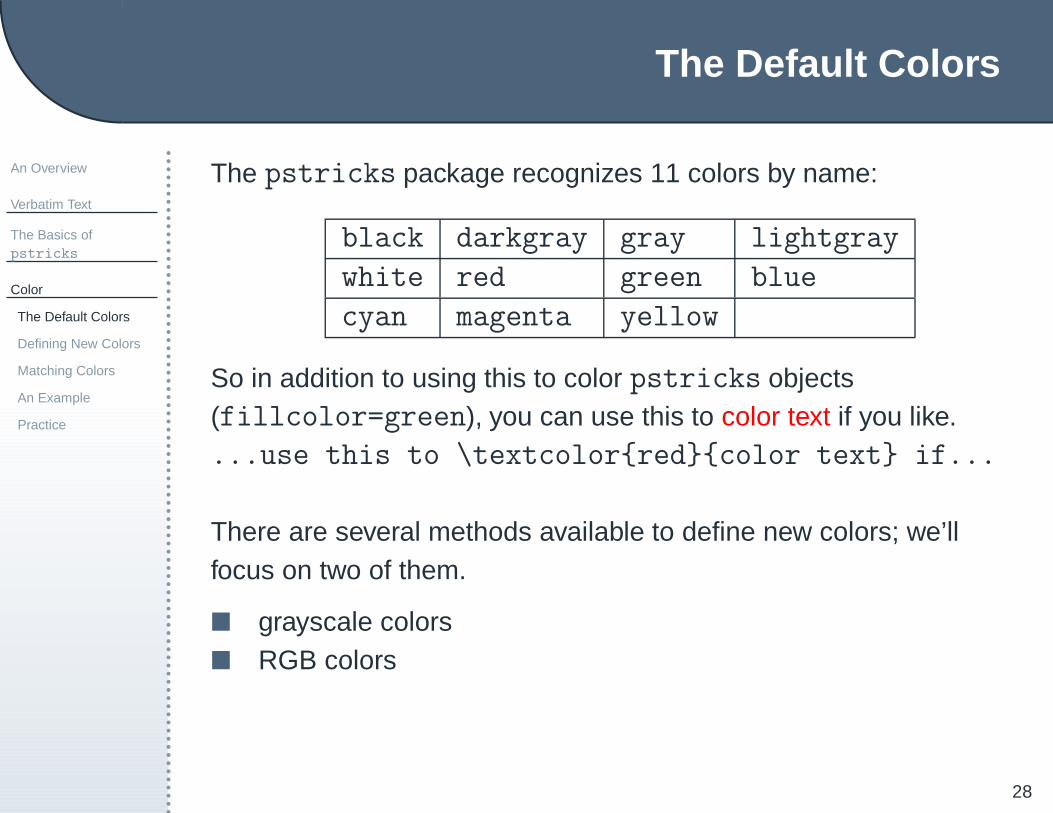
The pstricks package recognizes 11 colors by name:
black darkgray gray lightgray
white red green blue
cyan magenta yellow
So in addition to using this to color pstricks objects(fillcolor=green), you can use this to color text if you like....use this to \textcolor{red}{color text} if...
There are several methods available to define new colors; we’llfocus on two of them.
� grayscale colors� RGB colors
Defining New Colors
An Overview
Verbatim Text
The Basics ofpstricks
Color
The Default Colors
Defining New Colors
Matching Colors
An Example
Practice
29
Here are the two methods.
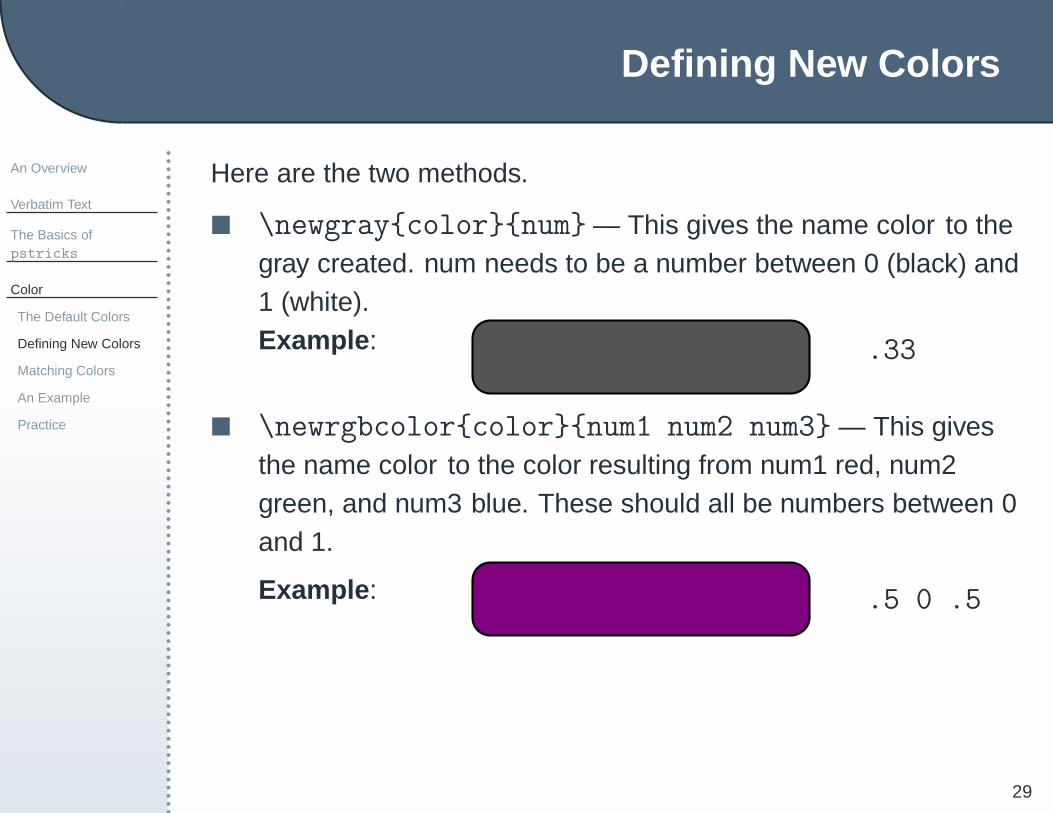
� \newgray{color}{num} — This gives the name color to thegray created. num needs to be a number between 0 (black) and1 (white).Example : .33
� \newrgbcolor{color}{num1 num2 num3} — This givesthe name color to the color resulting from num1 red, num2green, and num3 blue. These should all be numbers between 0and 1.
Example : .5 0 .5
Matching Colors
An Overview
Verbatim Text
The Basics ofpstricks
Color
The Default Colors
Defining New Colors
Matching Colors
An Example
Practice
30
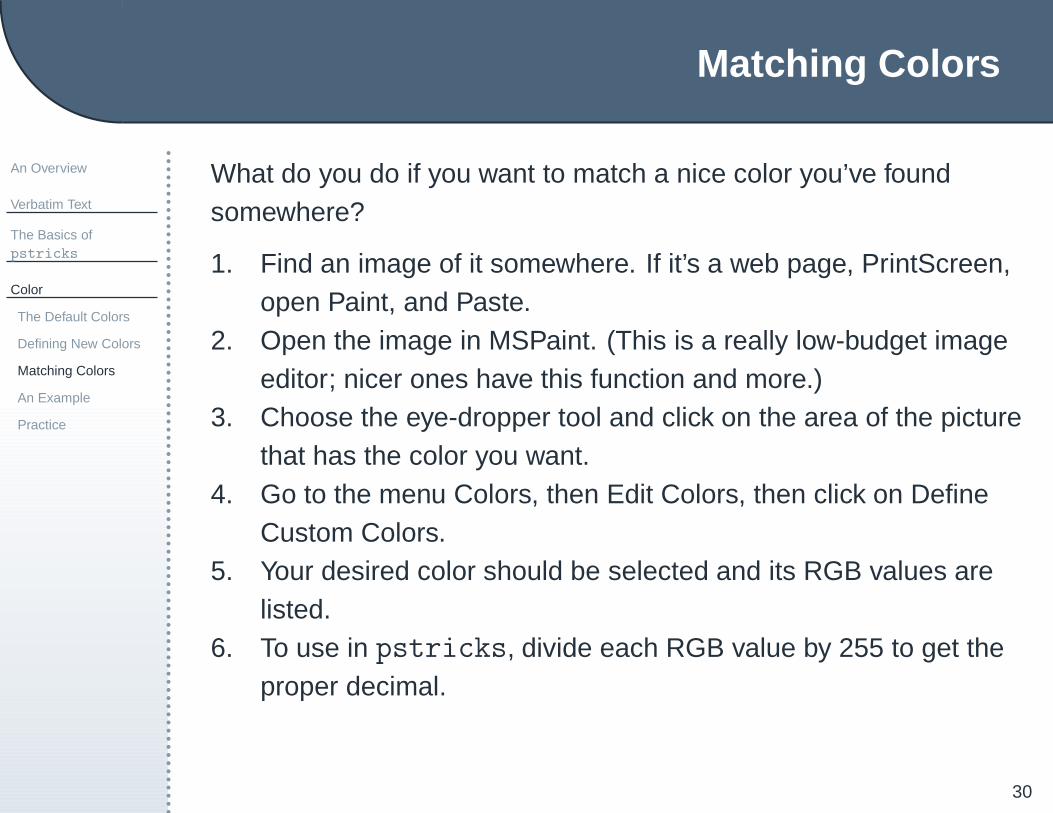
What do you do if you want to match a nice color you’ve foundsomewhere?
1. Find an image of it somewhere. If it’s a web page, PrintScreen,open Paint, and Paste.
2. Open the image in MSPaint. (This is a really low-budget imageeditor; nicer ones have this function and more.)
3. Choose the eye-dropper tool and click on the area of the picturethat has the color you want.
4. Go to the menu Colors, then Edit Colors, then click on DefineCustom Colors.
5. Your desired color should be selected and its RGB values arelisted.
6. To use in pstricks, divide each RGB value by 255 to get theproper decimal.
An Example
An Overview
Verbatim Text
The Basics ofpstricks
Color
The Default Colors
Defining New Colors
Matching Colors
An Example
Practice
31
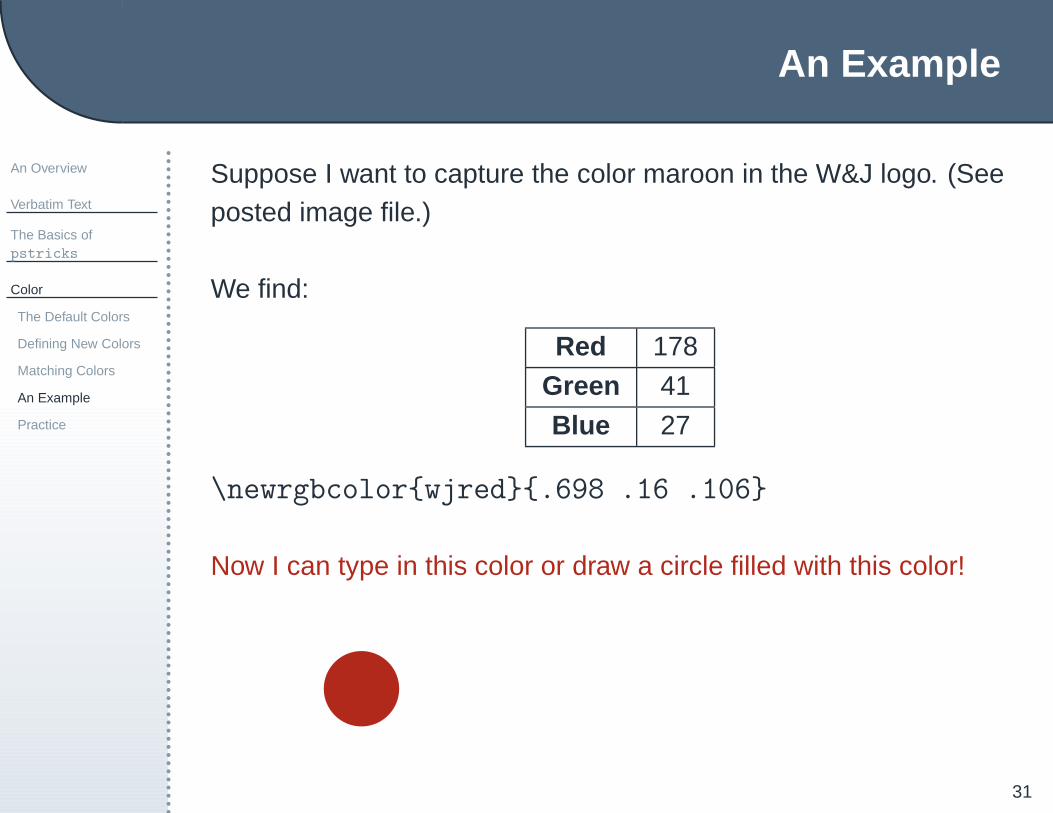
Suppose I want to capture the color maroon in the W&J logo. (Seeposted image file.)
We find:
Red 178
Green 41
Blue 27
\newrgbcolor{wjred}{.698 .16 .106}
Now I can type in this color or draw a circle filled with this color!

Practice
An Overview
Verbatim Text
The Basics ofpstricks
Color
The Default Colors
Defining New Colors
Matching Colors
An Example
Practice
32
Let’s practice!Open the fifth example file (.pdf) and reproduce it.