introduction to wordpress with gutenburg€¦ · week 1 quiz . assessments: • grading rubric for...
TRANSCRIPT
Copyright © HighSchoolWebDesign.com
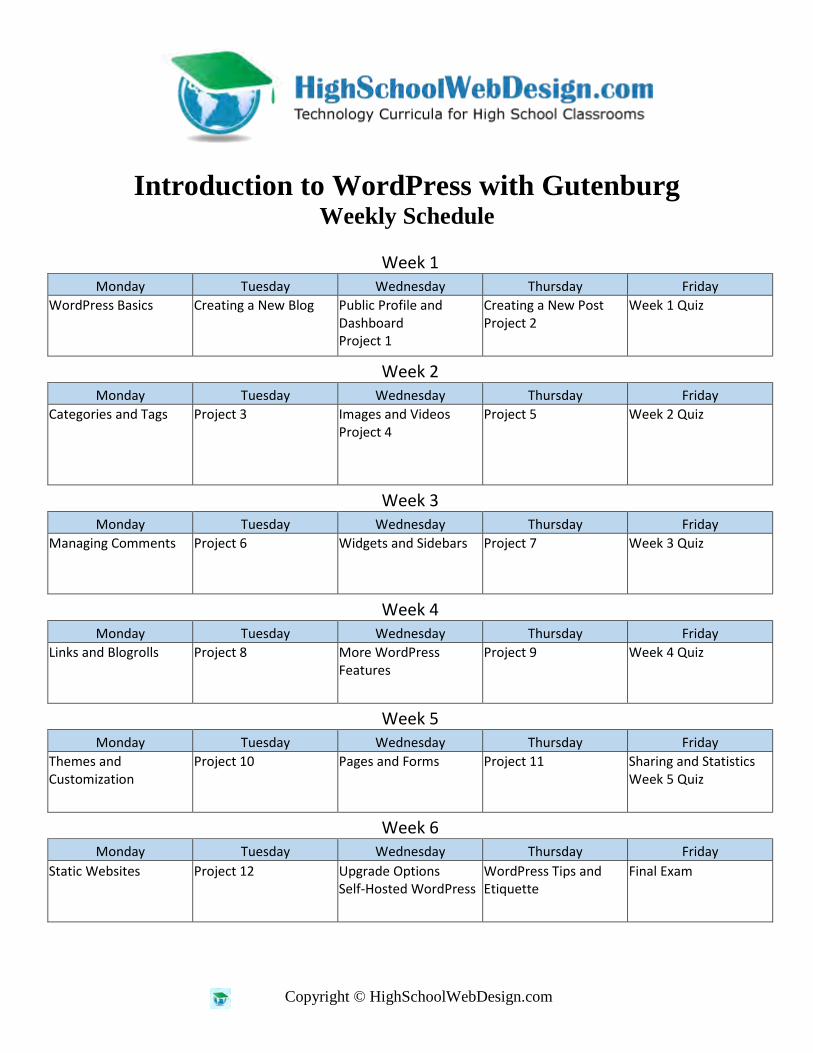
Introduction to WordPress with Gutenburg Weekly Schedule
Week 1
Monday Tuesday Wednesday Thursday Friday WordPress Basics Creating a New Blog Public Profile and
Dashboard Project 1
Creating a New Post Project 2
Week 1 Quiz
Week 2 Monday Tuesday Wednesday Thursday Friday
Categories and Tags Project 3 Images and Videos Project 4
Project 5 Week 2 Quiz
Week 3 Monday Tuesday Wednesday Thursday Friday
Managing Comments Project 6 Widgets and Sidebars Project 7 Week 3 Quiz
Week 4 Monday Tuesday Wednesday Thursday Friday
Links and Blogrolls Project 8 More WordPress Features
Project 9 Week 4 Quiz
Week 5 Monday Tuesday Wednesday Thursday Friday
Themes and Customization
Project 10 Pages and Forms Project 11 Sharing and Statistics Week 5 Quiz
Week 6 Monday Tuesday Wednesday Thursday Friday
Static Websites Project 12 Upgrade Options Self-Hosted WordPress
WordPress Tips and Etiquette
Final Exam
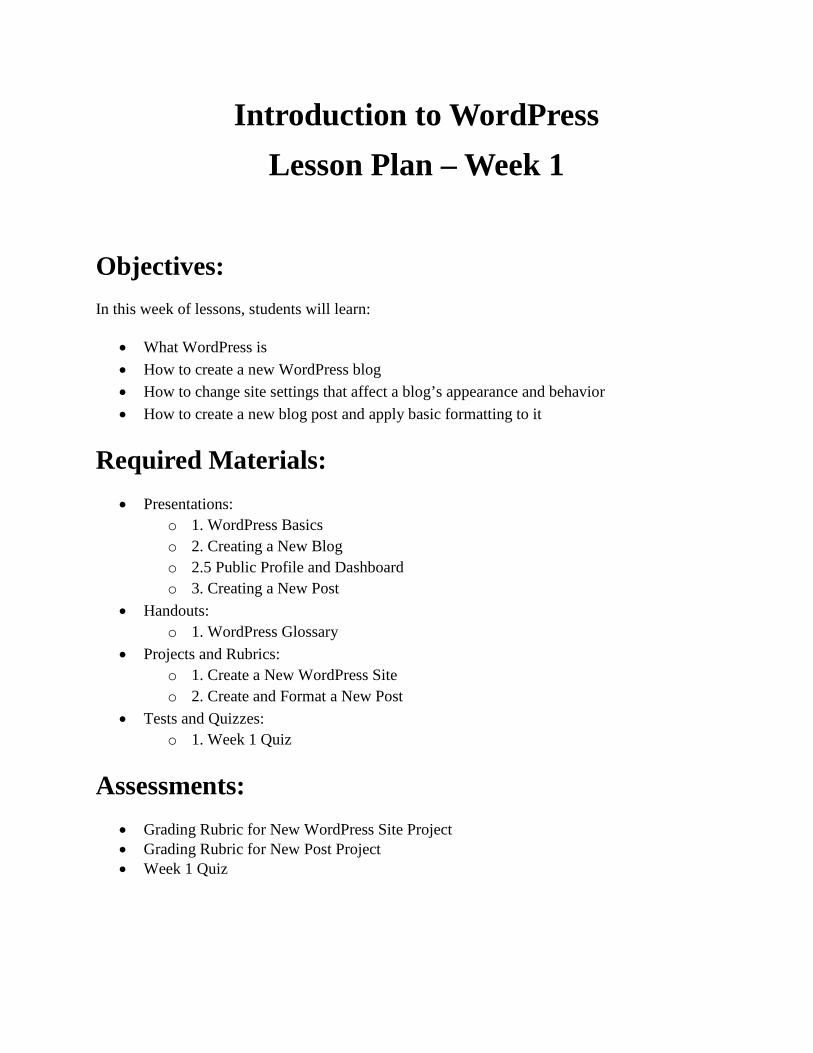
Introduction to WordPress Lesson Plan – Week 1
Objectives: In this week of lessons, students will learn:
• What WordPress is • How to create a new WordPress blog • How to change site settings that affect a blog’s appearance and behavior • How to create a new blog post and apply basic formatting to it
Required Materials: • Presentations:
o 1. WordPress Basics o 2. Creating a New Blog o 2.5 Public Profile and Dashboard o 3. Creating a New Post
• Handouts: o 1. WordPress Glossary
• Projects and Rubrics: o 1. Create a New WordPress Site o 2. Create and Format a New Post
• Tests and Quizzes: o 1. Week 1 Quiz
Assessments: • Grading Rubric for New WordPress Site Project • Grading Rubric for New Post Project • Week 1 Quiz
Teaching Procedure DAY 1
1. Present the PowerPoint: 1. WordPress Basics. (Optionally, you can update the slides for WordPress version number, history, and usage statistics. Those provided are current as of August 2019.)
2. If the students have already completed our Intro to Web Design (XHTML/CSS) course - or an equivalent HTML/CSS course - explain that WordPress uses those same technologies, along with the scripting languages of JavaScript and PHP, to present web pages. Some web designers, despite being experts at writing HTML and CSS, still choose to use WordPress, due to its ease in creating and managing websites.
3. Be sure students understand the concept of open source. Though it will not be heavily tested in this course, it is an important concept to master. Provide additional open source examples, if necessary.
4. With any class time remaining, browse among the Freshly Pressed sites on Wordpress.com to show the students more examples of WordPress blogs. These sites tend to be eclectic and are already screened for appropriate content.
DAY 2
1. Distribute the Handout: 1. WordPress Glossary. This will serve as a reference for students throughout the course and a helpful study guide for the weekly quizzes and final exam.
2. Present the PowerPoint: 2. Creating a New Blog. 3. This is a dense set of slides, much more so than any other slide set in this course. This is in
large part because it goes through the process of setting up a new WordPress account and starting the process of configuring a new blog. We have tried to be very thorough in going through the steps of the sign-up process. However, as mentioned in the Curriculum User Guide, the sign-up process tends to be very dynamic, often changing on a weekly basis. With the constantly changing nature of the sign-up process, it is essentially impossible to keep this particular slide set up-to-date all the time. It is highly recommended that you go through the sign-up process on your own a day or two before trying to teach this section to the class so that you will be familiar with any differences or changes that may have occurred since the slide set was created. You may choose to update the slide set to reflect any changes, or to suit your own needs. This will be very helpful in keeping the sign-up process fairly painless, and help you to get through the slide set (and the sign-up process) in one class period.
4. Either during or after this set of slides, you may wish to follow along on the live Wordpress.com site and demonstrate to students some aspects of this process.
5. On Slide 11 (Account Creation), WordPress prompts the new user to “Update your homepage” and click the “Try it” button. In the presentation, we chose to instead click on
the “Skip” button. The reason we did this is because that by clicking on the “Try it” button in the original process, WordPress prompts the new user to select a theme and customize a color scheme, background, etc. These are concepts introduced much later in the course, as we wanted the initial batch of lessons to be more about blog content rather than presentation.
DAY 3
1. Present the PowerPoint: 2.5. Public Profile and Dashboard. 2. This slide set introduces the Dashboard screen to the class, which has the tendency to
overwhelm those who first encounter it, so proceed slowly through this section and explain to students that it looks far more complicated than it really is. This section used to be part of slide set 2. Creating a New Blog, but due to the excessive length of the sign-up process it was broken out into a separate slide set. Hence, the 2.5 designation.
3. On Slide 3 (Updating your Public Profile), the new user has the option to associate a photo or avatar with their profile, using the Gravatar service. This is a popular feature among young WordPress blog owners. If you choose to cover this topic, visit http://en.support.wordpress.com/avatars/gravatars/ for more information.
4. Something that could not be well represented via PowerPoint is the ability to rearrange the Dashboard components by clicking and dragging them. If you are making a live demonstration of the site to students, be sure to include this functionality.
5. WordPress automatically assigns a theme to a new blog. Therefore, the screenshots in the PowerPoints will reflect this theme up to the lesson on Widgets and Sidebars, in which the theme is changed. In the future, WordPress may change the default them to something else, so your site (when following along) and the students’ sites when working through the projects might appear very different than those shown in the lessons. If this happens, you can explain to the class that this is due to a difference in the default WordPress theme.
6. Distribute and review Project: 1. Create a New WordPress Site. 7. Assist students with working through the project. 8. Each student will need to type in a blog name, username, and password. Be prepared for
this beforehand. For the blog name, one solution might be “Student Name’s Blog”. For the username, students might use First Initial + Full Last Name + Today’s Date.
9. Establish some guidance for selecting and safeguarding passwords. You may wish to assign a unique password to each student. We discourage you from using a single password for the entire class, in order to remove the temptation for students to log into and alter other students’ sites. Note: In this and many other of the project grading rubrics in the course, the teacher is expected to have access (and thus the password) to students’ Dashboards.
10. Each student will also need to supply an email address, to which a confirmation email will be sent. They will need immediate access to that email inbox to continue with this project, so plan accordingly. Also, access to this email will be needed if the password is ever misplaced and needs resetting.
11. In Step 8 of the project, the project instructions include bypassing the “Update your homepage” step. You may want to supervise this process, as it is very easy for students to move on to the theme selection and customization screens, against the project’s intentions.
12. In Step 9 of the project, students are asked to complete their WordPress public profile. If you wish to include instruction on how to use the Gravatar service to create a personalized avatar, this screen is where students would accomplish that.
13. In Step 11 of the project, students will type in the title and tagline for their blogs. You may either assign these to students or allow them to use their own creativity.
14. At the completion of this project, students should supply you with the full URL of their new blogs. Verify that these are correct and bookmark them all in one browser folder for quick future reference.
DAY 4
1. Support students in completing the project. 2. Present the PowerPoint: 3. Creating a New Post. 3. If following along separately on a live site, you may also wish to hover over each of the
formatting icons in the toolbars and menus to go over the purpose of each one. 4. An important concept to stress during these slides is that the blog owner has a lot of power
when it comes to editing and publishing information. Drafts can be saved for later, previews can be seen before committing to posting, and live posts can be modified - info added, modified, or deleted - and then republished.
5. Distribute and present Project 2: Create and Format a New Post. 6. You will need to provide some guidance to students in selecting an appropriate post title and
main post content. You might wish to assign this is as a homework project earlier in the week so that students begin this project with the content already created and saved on a USB drive or otherwise available digitally to be copied and pasted.
7. Provide assistance and guidance with the appropriate selection of link text and an external site to link to. Safe choices might include the school’s home page, Yahoo!, Google, etc.
DAY 5
1. Administer the Week 1 Quiz (10-15 minutes) from the ‘Tests and Quizzes’ folder. The glossary handout may not be used for any quizzes or the final exam.
2. Use remaining time to complete any unfinished projects and review any topics with which the students might still be struggling.
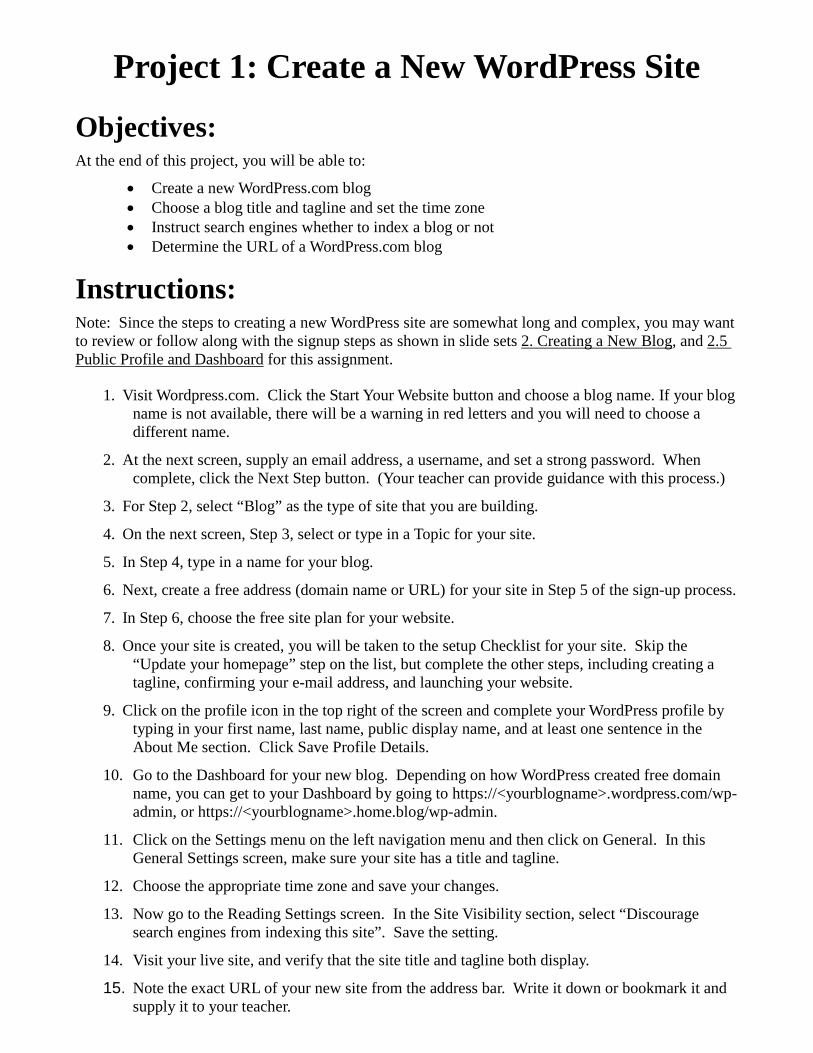
Project 1: Create a New WordPress Site
Objectives: At the end of this project, you will be able to:
• Create a new WordPress.com blog • Choose a blog title and tagline and set the time zone • Instruct search engines whether to index a blog or not • Determine the URL of a WordPress.com blog
Instructions: Note: Since the steps to creating a new WordPress site are somewhat long and complex, you may want to review or follow along with the signup steps as shown in slide sets 2. Creating a New Blog, and 2.5 Public Profile and Dashboard for this assignment.
1. Visit Wordpress.com. Click the Start Your Website button and choose a blog name. If your blog name is not available, there will be a warning in red letters and you will need to choose a different name.
2. At the next screen, supply an email address, a username, and set a strong password. When complete, click the Next Step button. (Your teacher can provide guidance with this process.)
3. For Step 2, select “Blog” as the type of site that you are building.
4. On the next screen, Step 3, select or type in a Topic for your site.
5. In Step 4, type in a name for your blog.
6. Next, create a free address (domain name or URL) for your site in Step 5 of the sign-up process.
7. In Step 6, choose the free site plan for your website.
8. Once your site is created, you will be taken to the setup Checklist for your site. Skip the “Update your homepage” step on the list, but complete the other steps, including creating a tagline, confirming your e-mail address, and launching your website.
9. Click on the profile icon in the top right of the screen and complete your WordPress profile by typing in your first name, last name, public display name, and at least one sentence in the About Me section. Click Save Profile Details.
10. Go to the Dashboard for your new blog. Depending on how WordPress created free domain name, you can get to your Dashboard by going to https://<yourblogname>.wordpress.com/wp-admin, or https://<yourblogname>.home.blog/wp-admin.
11. Click on the Settings menu on the left navigation menu and then click on General. In this General Settings screen, make sure your site has a title and tagline.
12. Choose the appropriate time zone and save your changes.
13. Now go to the Reading Settings screen. In the Site Visibility section, select “Discourage search engines from indexing this site”. Save the setting.
14. Visit your live site, and verify that the site title and tagline both display.
15. Note the exact URL of your new site from the address bar. Write it down or bookmark it and supply it to your teacher.
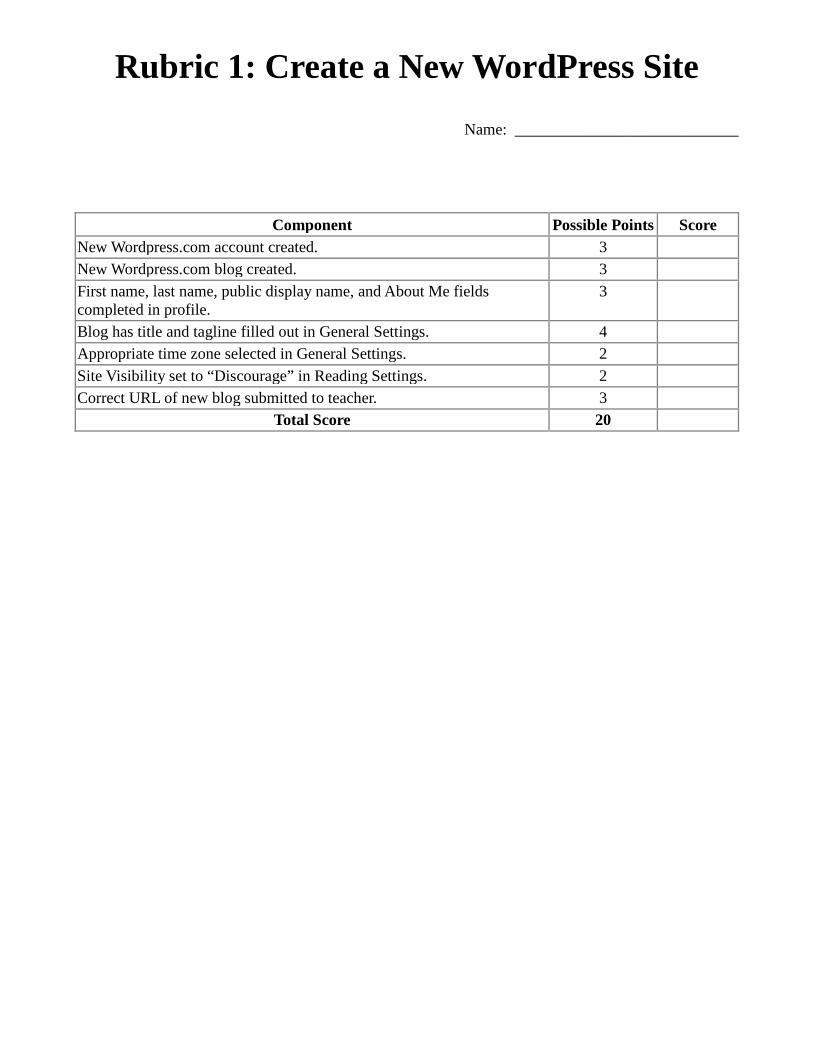
Rubric 1: Create a New WordPress Site
Name: ____________________________
Component Possible Points Score New Wordpress.com account created. 3 New Wordpress.com blog created. 3 First name, last name, public display name, and About Me fields completed in profile.
3
Blog has title and tagline filled out in General Settings. 4 Appropriate time zone selected in General Settings. 2 Site Visibility set to “Discourage” in Reading Settings. 2 Correct URL of new blog submitted to teacher. 3
Total Score 20
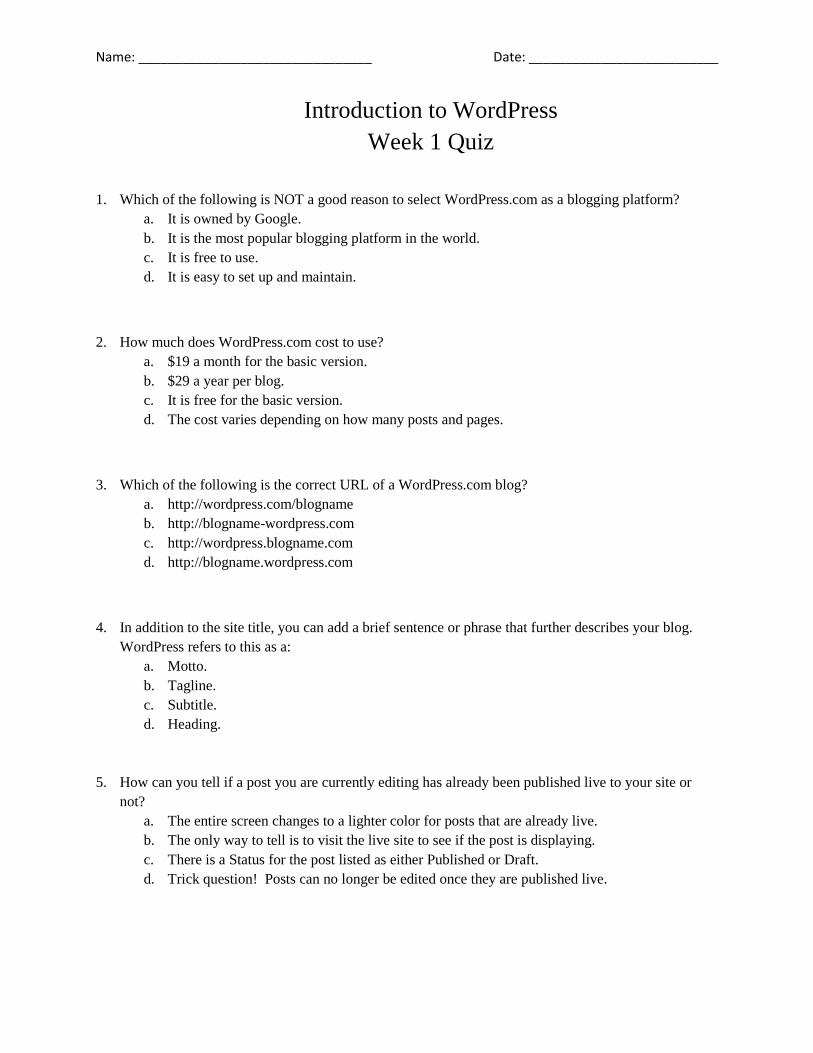
Name: ________________________________ Date: __________________________
Introduction to WordPress Week 1 Quiz
1. Which of the following is NOT a good reason to select WordPress.com as a blogging platform?
a. It is owned by Google. b. It is the most popular blogging platform in the world. c. It is free to use. d. It is easy to set up and maintain.
2. How much does WordPress.com cost to use? a. $19 a month for the basic version. b. $29 a year per blog. c. It is free for the basic version. d. The cost varies depending on how many posts and pages.
3. Which of the following is the correct URL of a WordPress.com blog? a. http://wordpress.com/blogname b. http://blogname-wordpress.com c. http://wordpress.blogname.com d. http://blogname.wordpress.com
4. In addition to the site title, you can add a brief sentence or phrase that further describes your blog. WordPress refers to this as a:
a. Motto. b. Tagline. c. Subtitle. d. Heading.
5. How can you tell if a post you are currently editing has already been published live to your site or
not? a. The entire screen changes to a lighter color for posts that are already live. b. The only way to tell is to visit the live site to see if the post is displaying. c. There is a Status for the post listed as either Published or Draft. d. Trick question! Posts can no longer be edited once they are published live.
Name: ________________________________ Date: __________________________
6. How a blog or website appears to a visitor on the internet is often known as the “front end.” What would best represent the “back end” for a WordPress.com site?
a. The backup of the file system and database. b. The site title and privacy settings. c. The full URL of the site. d. The Dashboard.
7. If you want to add a text link to a post, which of the following is not a component in the process? a. Select and highlight which text will become a link on the page. b. Specify the URL where the user will go when the text is clicked. c. Determine which visitors will see the link and which will not. d. Determine whether a new window/tab will open up when the link is clicked.
8. Where can you make changes to your existing blog, such as modifying the site title, selecting the time zone, and determining whether the search engines index your blog or not?
a. Within the Settings menu in the Dashboard. b. Within the Posts menu in the Dashboard. c. From the WordPress.com signup page. d. By clicking on the Appearance menu and then going to the My Blog tab.
9. If you wanted a new post to get published at exactly 9:30pm this Friday night, what would be the best
way to accomplish this? a. By canceling your plans for Friday night so you could wait by the computer. b. By giving a friend your WordPress password and instructions on how and when to publish
the post. c. By using the Future Posts tool in the Settings menu. d. By setting a publish date and time within the Add New Post screen, prior to clicking on the
Publish button. 10. On the Edit Post screen, which of the following best describes the options for formatting text content?
a. Formatting is limited to bold, underline, and italics. b. There are a variety of formatting options available from within the Block toolbar and settings
menu. c. Formatting is limited to changing text color. d. There are unlimited formatting options, but they each require the HTML codes to be typed in.

Name: ________________________________ Date: __________________________
Introduction to WordPress Week 1 Quiz Answer Key
1. A 2. C 3. D 4. B 5. C 6. D 7. C 8. A 9. D 10. B
Introductionto WordPress
WordPress Basics
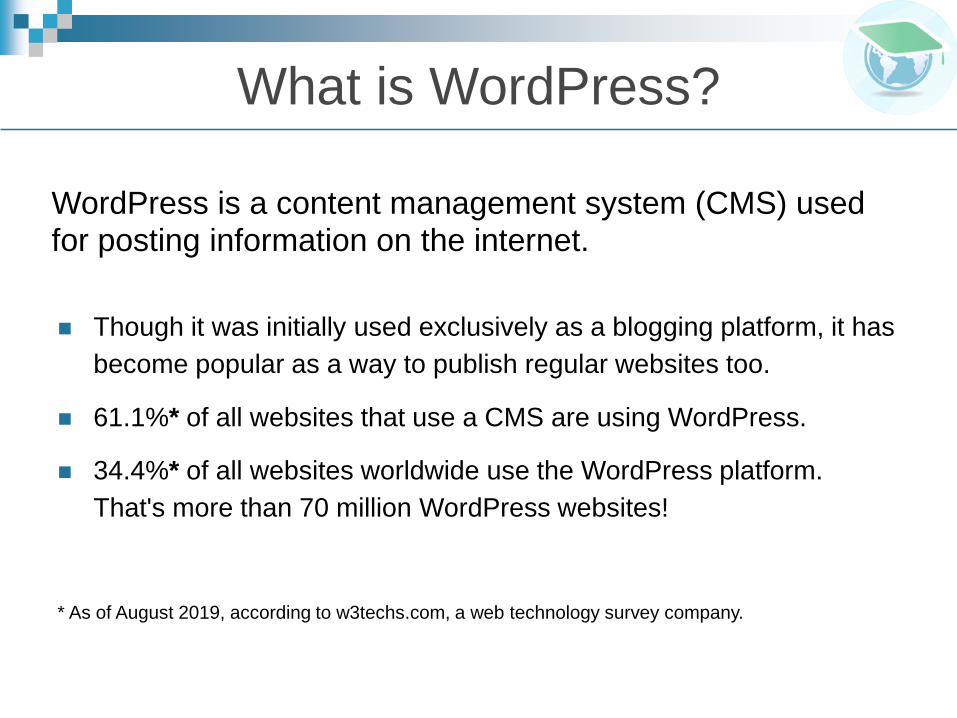
What is WordPress?
Though it was initially used exclusively as a blogging platform, it has become popular as a way to publish regular websites too.
61.1%* of all websites that use a CMS are using WordPress.
34.4%* of all websites worldwide use the WordPress platform. That's more than 70 million WordPress websites!
WordPress is a content management system (CMS) used for posting information on the internet.
* As of August 2019, according to w3techs.com, a web technology survey company.
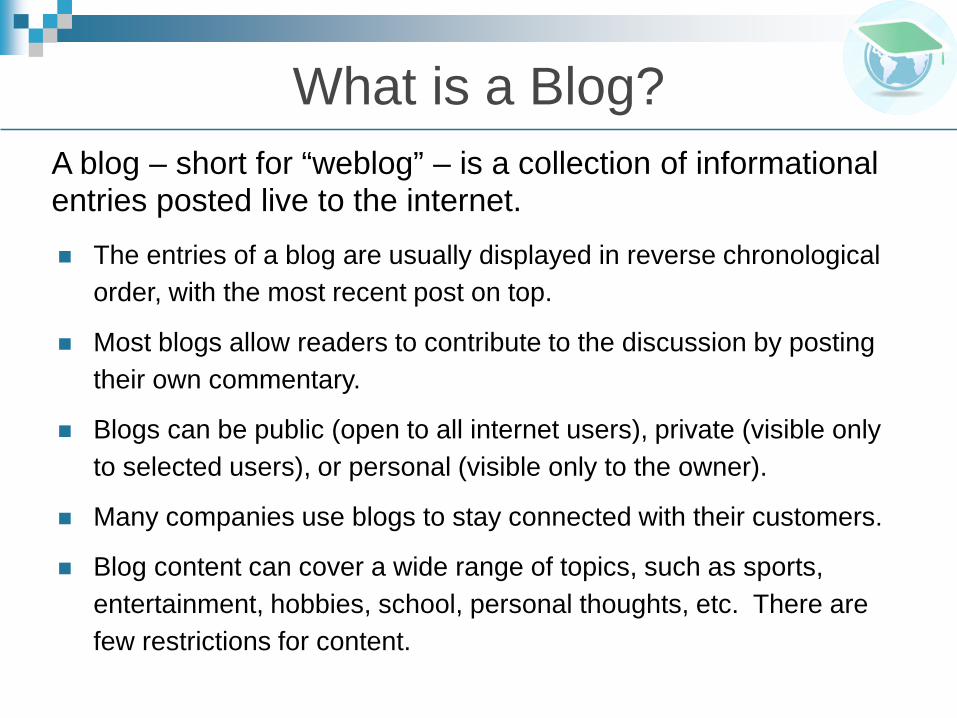
The entries of a blog are usually displayed in reverse chronological order, with the most recent post on top.
Most blogs allow readers to contribute to the discussion by posting their own commentary.
Blogs can be public (open to all internet users), private (visible only to selected users), or personal (visible only to the owner).
Many companies use blogs to stay connected with their customers.
Blog content can cover a wide range of topics, such as sports, entertainment, hobbies, school, personal thoughts, etc. There are few restrictions for content.
What is a Blog?A blog – short for “weblog” – is a collection of informational entries posted live to the internet.
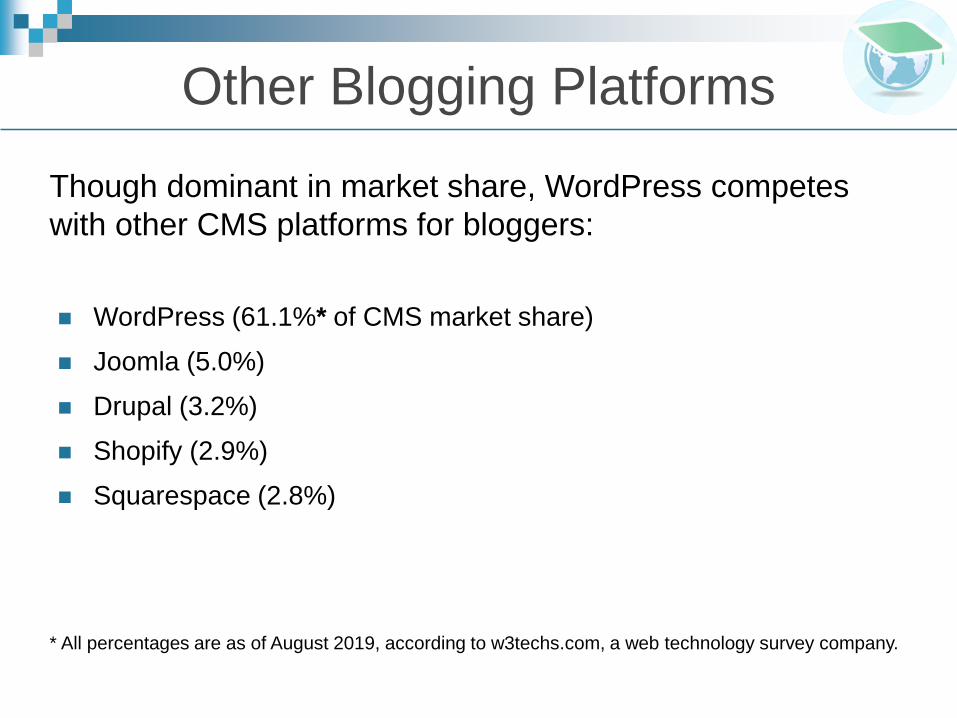
Other Blogging Platforms
Though dominant in market share, WordPress competes with other CMS platforms for bloggers:
WordPress (61.1%* of CMS market share) Joomla (5.0%) Drupal (3.2%) Shopify (2.9%) Squarespace (2.8%)
* All percentages are as of August 2019, according to w3techs.com, a web technology survey company.
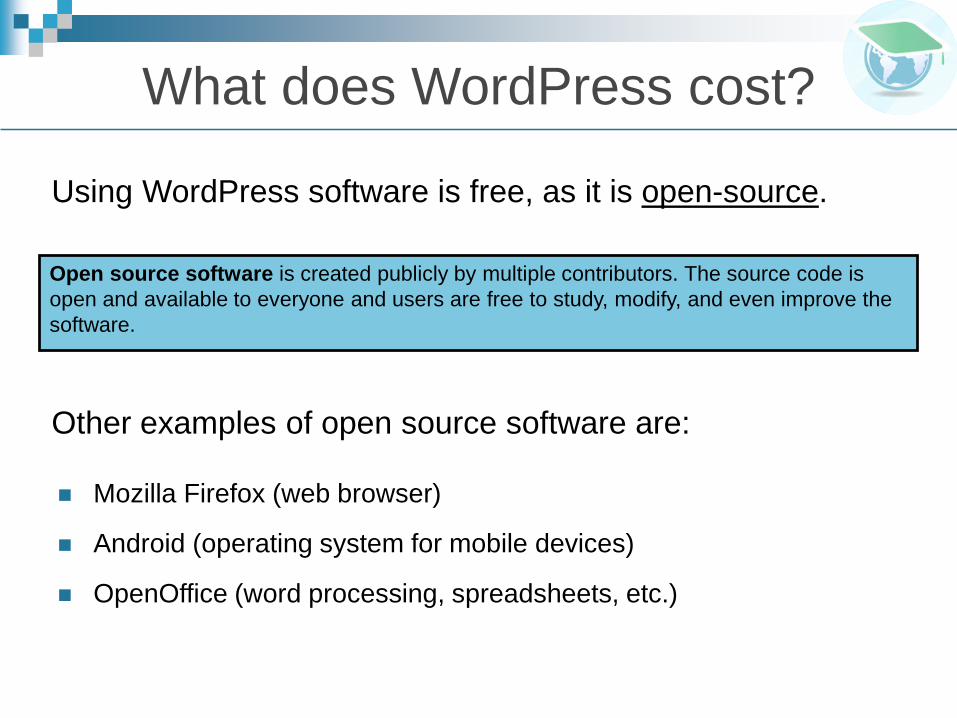
What does WordPress cost?
Using WordPress software is free, as it is open-source.
Other examples of open source software are:
Mozilla Firefox (web browser)
Android (operating system for mobile devices)
OpenOffice (word processing, spreadsheets, etc.)
Open source software is created publicly by multiple contributors. The source code is open and available to everyone and users are free to study, modify, and even improve the software.
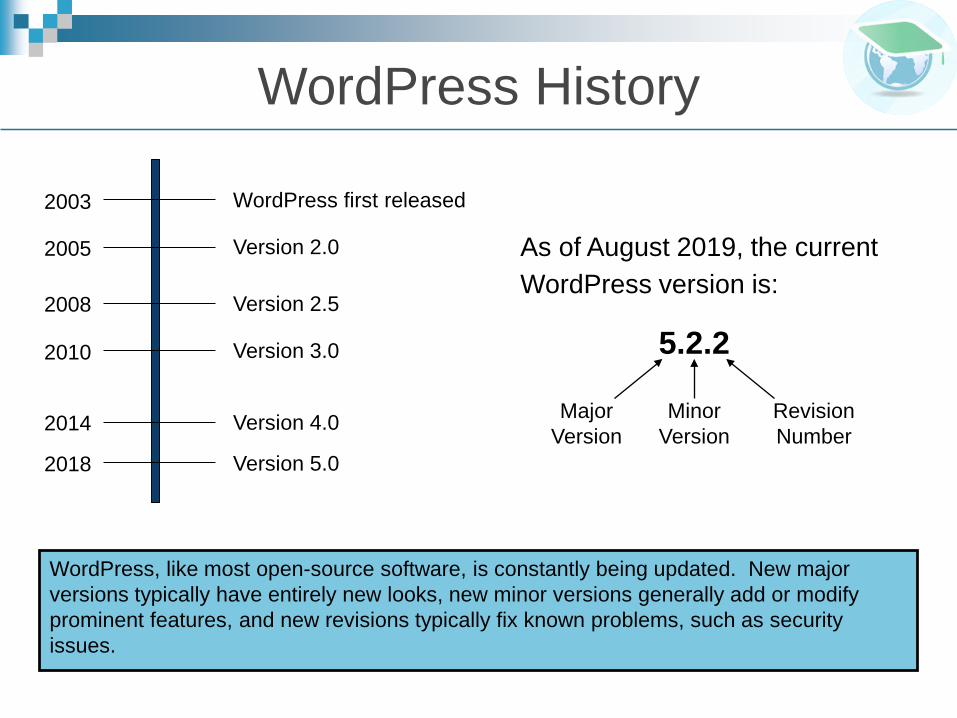
WordPress History
WordPress first released2003
2014
Version 2.0
Version 2.5
Version 3.0
Version 4.0
2005
2008
2010
As of August 2019, the current WordPress version is:
5.2.2
Major Version
Minor Version
Revision Number
2018 Version 5.0
WordPress, like most open-source software, is constantly being updated. New major versions typically have entirely new looks, new minor versions generally add or modify prominent features, and new revisions typically fix known problems, such as security issues.
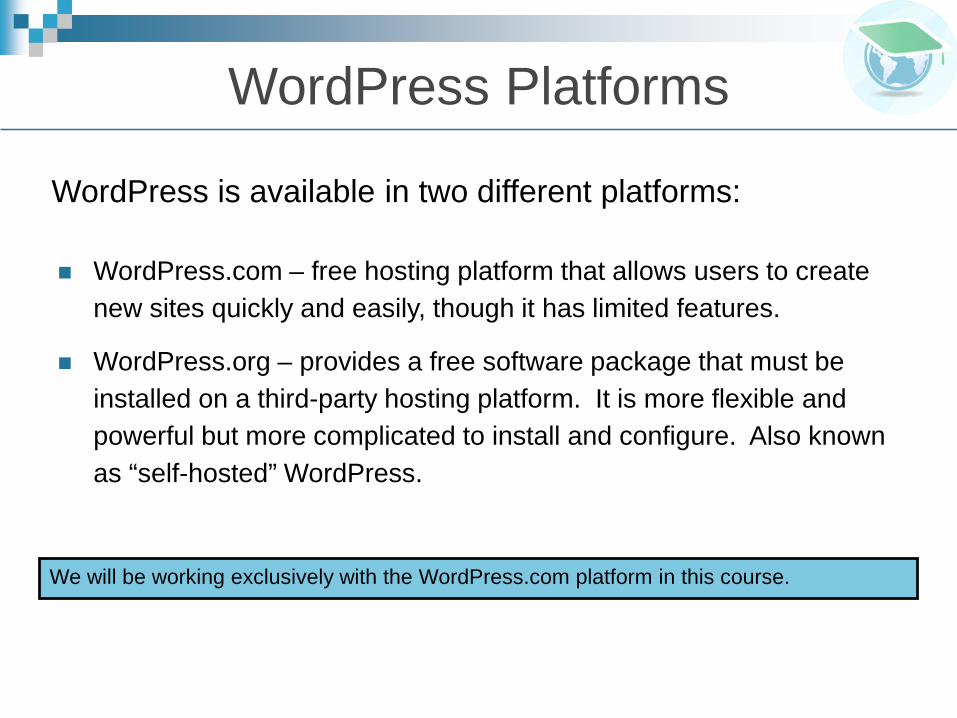
WordPress Platforms
WordPress is available in two different platforms:
WordPress.com – free hosting platform that allows users to create new sites quickly and easily, though it has limited features.
WordPress.org – provides a free software package that must be installed on a third-party hosting platform. It is more flexible and powerful but more complicated to install and configure. Also known as “self-hosted” WordPress.
We will be working exclusively with the WordPress.com platform in this course.
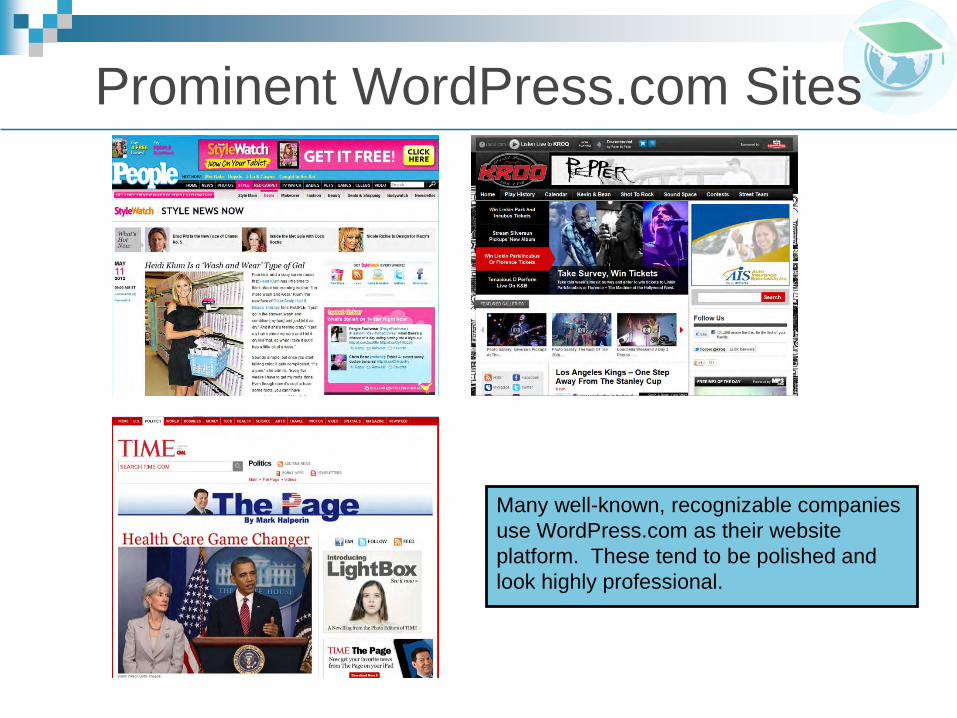
Prominent WordPress.com Sites
Many well-known, recognizable companies use WordPress.com as their website platform. These tend to be polished and look highly professional.
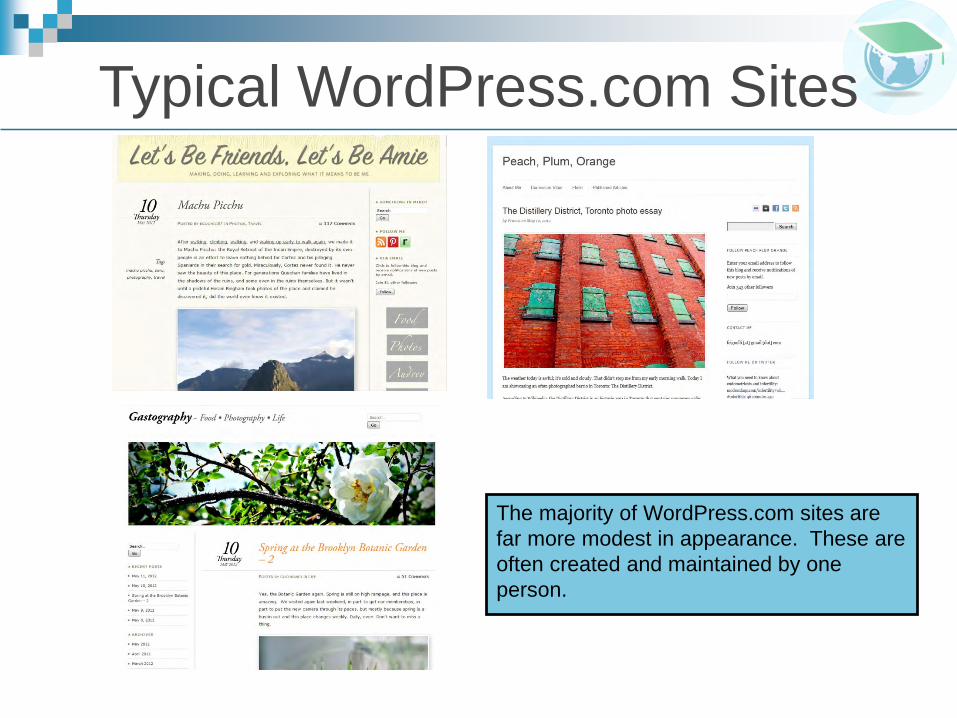
Typical WordPress.com Sites
The majority of WordPress.com sites are far more modest in appearance. These are often created and maintained by one person.
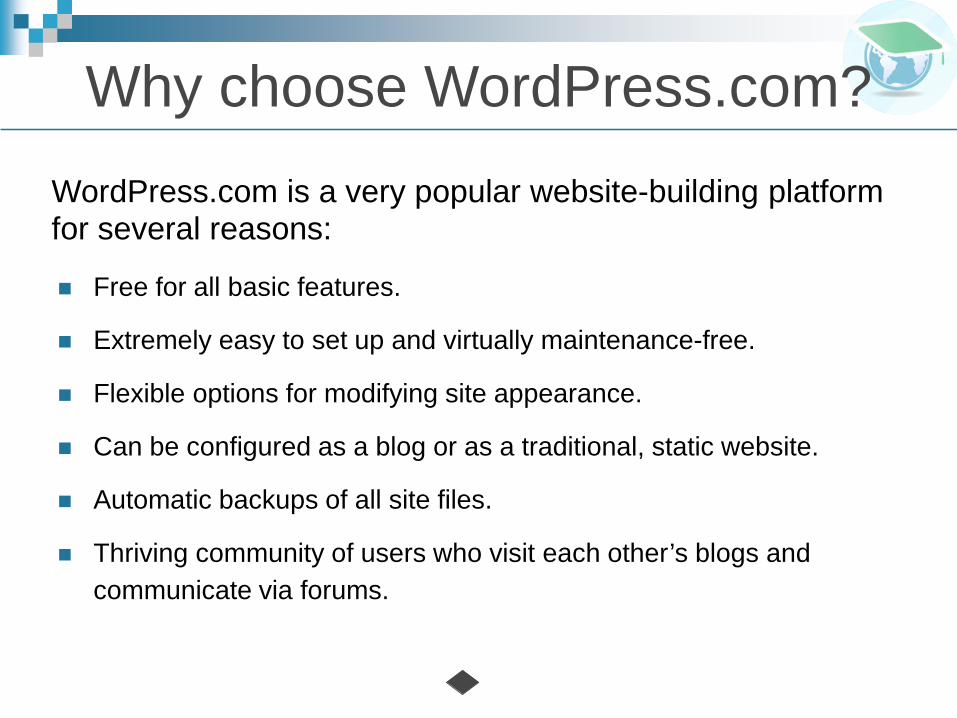
Why choose WordPress.com?WordPress.com is a very popular website-building platform for several reasons:
Free for all basic features.
Extremely easy to set up and virtually maintenance-free.
Flexible options for modifying site appearance.
Can be configured as a blog or as a traditional, static website.
Automatic backups of all site files.
Thriving community of users who visit each other’s blogs and communicate via forums.