iprof monitor - mauritius
TRANSCRIPT

1 | P a g e
iProf Monitor Teacher User Manual >>

2 | P a g e
Content TEACHER SIDE ........................................................................................................................ 4
1 START CLASSROOM MANAGEMENT BY IPROF ............................................................. 4
1.1 Create an Account ................................................................................................................. 4
1.2 System Login .......................................................................................................................... 5
1.3 Student Connection ............................................................................................................... 6
2 THE CLASSROOM MANAGEMENT BY IPROF INTERFACE ............................................... 7
2.1 Overall Function Bar .............................................................................................................. 7
2.2 Function Bar .......................................................................................................................... 7
2.3 View Mode ............................................................................................................................. 7
2.3.1 Monitor View ............................................................................................................................. 8
2.3.2 Report View ................................................................................................................................ 9
2.3.3 Application Policy View .............................................................................................................. 9
2.3.4 Web Policy View ....................................................................................................................... 11
2.3.5 File Submission View ................................................................................................................ 12
2.3.6 Answer Sheet View ................................................................................................................... 12
2.4 Class Model ......................................................................................................................... 12
3 THE FUNCTION OF TEACHER SIDE............................................................................ 12
3.1 Register Student .................................................................................................................. 12
3.2 Screen Broadcast ................................................................................................................. 13
3.3 Student Demonstration ....................................................................................................... 14

3 | P a g e
3.4 Monitor & Control ............................................................................................................... 14
3.5 Remote Command ............................................................................................................... 15
3.5.1 Launch application ................................................................................................................... 16
3.5.2 Open Website ........................................................................................................................... 17
3.5.3 Shut Down Student PC ............................................................................................................. 18
3.5.4 Reboot Student PC ................................................................................................................... 18
3.5.5 Close Student Application ........................................................................................................ 18
3.6 Quiz ...................................................................................................................................... 19
3.7 Survey .................................................................................................................................. 21
3.8 File Distribution ................................................................................................................... 23
3.9 File Submission .................................................................................................................... 24
3.10 File Collection .................................................................................................................. 25
3.11 Silent & Silent Off ............................................................................................................ 25
3.12 Remote Message ............................................................................................................ 26
4 THE SETTINGS OF TEACHER SIDE ............................................................................ 26
4.1 General ................................................................................................................................ 26
4.2 Notification .......................................................................................................................... 26
4.3 Network ............................................................................................................................... 26
4.4 Screen Broadcast ................................................................................................................. 27
4.5 File Distribution ................................................................................................................... 27
4.6 File Receiving ....................................................................................................................... 27
TECHNICAL SUPPORT.......................................................................................................... 28

4 | P a g e
Teacher Side
1 Start Classroom Management by iProf
To access iProf Monitor, touch the shortcut icon in the Menu, the application
will be launched.
1.1 Create an Account
Teacher needs to create an account the first time he logs in the Classroom
Management system.
5 | P a g e
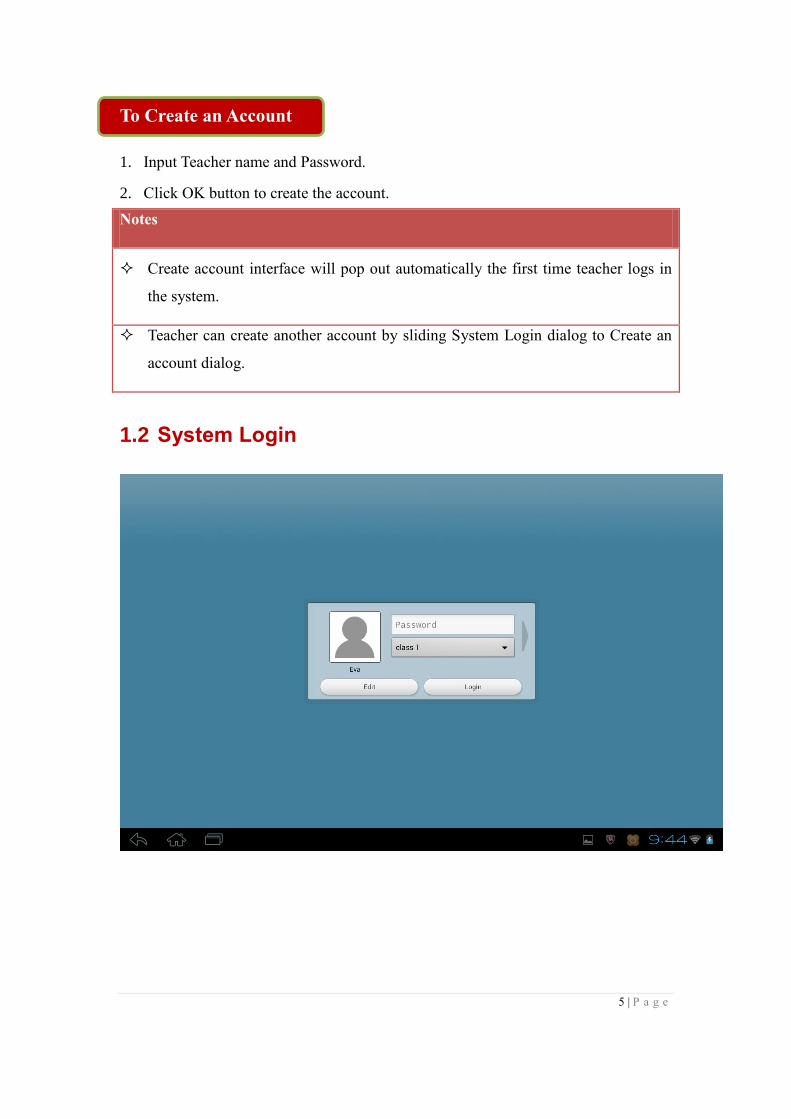
To Create an Account
1. Input Teacher name and Password.
2. Click OK button to create the account.
Notes
Create account interface will pop out automatically the first time teacher logs in
the system.
Teacher can create another account by sliding System Login dialog to Create an
account dialog.
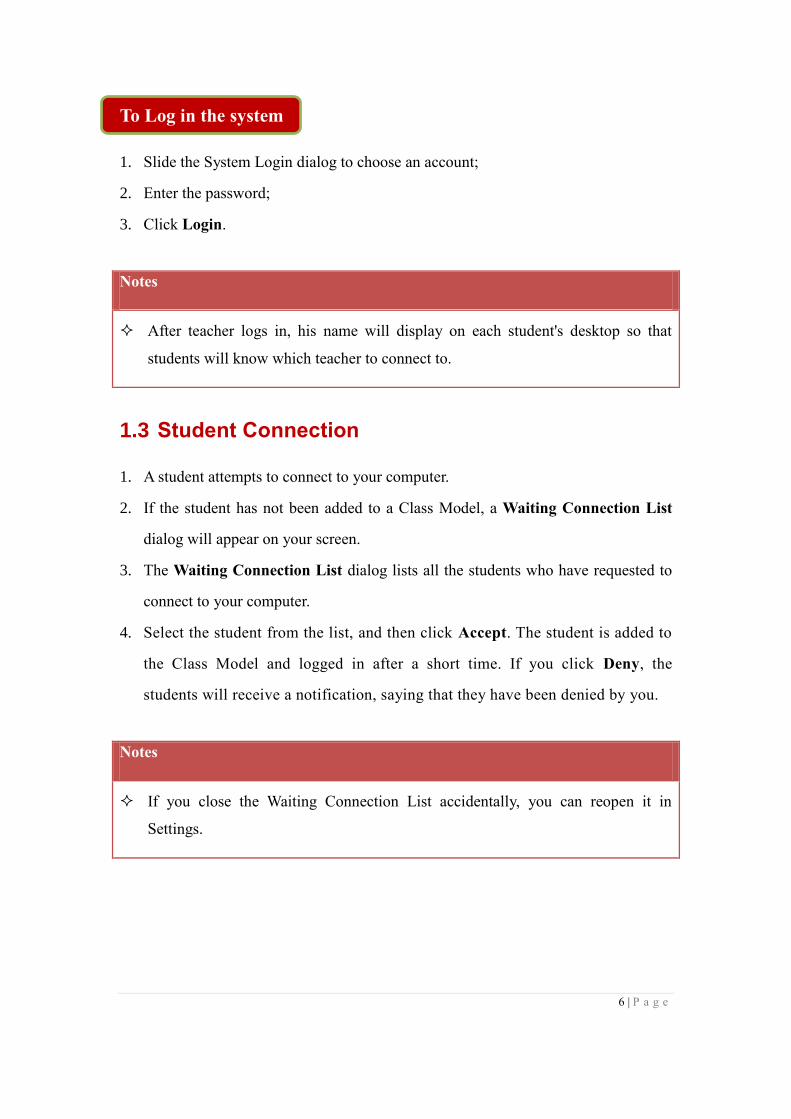
1.2 System Login
6 | P a g e
To Log in the system
1. Slide the System Login dialog to choose an account;
2. Enter the password;
3. Click Login.
Notes
After teacher logs in, his name will display on each student's desktop so that
students will know which teacher to connect to.
1.3 Student Connection
1. A student attempts to connect to your computer.
2. If the student has not been added to a Class Model, a Waiting Connection List
dialog will appear on your screen.
3. The Waiting Connection List dialog lists all the students who have requested to
connect to your computer.
4. Select the student from the list, and then click Accept. The student is added to
the Class Model and logged in after a short time. If you click Deny, the
students will receive a notification, saying that they have been denied by you.
Notes
If you close the Waiting Connection List accidentally, you can reopen it in
Settings.
7 | P a g e
2 The Classroom Management by iProf
Interface
After the Classroom Management by iProf software installed, you can start your class
with the following touch UI
2.1 Overall Function Bar
The Overall Function Bar provides you with the commonly-used minor functions,
such as Silent & Silent Off. The Overall Function Bar consists of the following major
parts:
1. Silent & Silent Off
2. Lock & Unlock Students
3. Message
4. Other Overall Functions: such as open Waiting Connection List, Block Raise
Hand to all, Block Message to all and so on.
2.2 Function Bar
If you want to start a function, you only need to click on the function's icon. If you
want to stop a function that is running, click the same icon again and the function will
stop running.
2.3 View Mode
There are five view modes in the Class Model area, and they are Monitor view,
Report view, Policy view, File submits view and Answer sheet view.
The monitor view is the program's default mode, it displays thumbnails of students’
desktop, and it also can display the students’ group and battery power status.

8 | P a g e
The policy view is used to change or check the application policy.
The file submission view provides the status of submitted files.
The answer sheet view provides the status of quiz by answer sheet.
2.3.1 Monitor View
Monitor View is the most important view of this software. In this view, teacher can
select part of students to start function, and they can also see the states of students
directly. The following table shows the various icons and the meanings of each icon.
State Icon Description State Icon Description
Student is
raising
hand.
Student is
receiving
Screen
Broadcast.
Student is
being
monitored
by teacher.
Student is
being
required to
keep
silence.
Teacher is
distributing
files to this
student.
Teacher is
collecting
files from
this student.
Student is
attending
Quiz.
Student is
attending
Survey.

9 | P a g e
To select part of students to start function
1. Long press the thumbnail icon of one student;
2. Select the checkboxes of relevant students;
3. Touch the function button to start function, or touch the Cancel or Back button to
deselect these students.
To delete students from Class Model
1. Long press the thumbnail icon of one student;
2. Select the checkboxes of relevant students;
3. Touch the Delete button.
Notes
If you want to start function to part of students, you must select students before
you start each function, otherwise, the function will be start to all students.
2.3.2 Report View
In this view, teacher can see the detail information of student side, such as the Student
Name, System Type, IP address, MAC address, Disk Space, Processes, CPU Usage,
Memory Usage, Network Utilization, Battery Power, Software Version.
To view the detail information of students
1. Touch the student in Report View.
2.3.3 Application Policy View
In this view, teacher can set different application policy to different students from all
open, white list and black list.

10 | P a g e
All Open: Student can open all the applications;
White List: Student can only open the applications in white list;
Black List: Student can’t open the applications in black list;
To Set Application Policy
1. Touch Advanced button;
2. Choose White List tab;
3. Touch the prompt to enter Application name;
4. The same steps to set black list.
Teacher can touch the student to change the application policy and check the
application students are using.
And there is an easy mode to add a running application or process to white or black
list.
1. Touch Running Apps button;
2. Touch one application;
3. Click Add it to white list or Add it to black list to add the application to
corresponding list; teacher can also click Terminate application to let student
side close the application.
Notes
Teacher can set different application policy to different students.

11 | P a g e
2.3.4 Web Policy View
In this view, teacher can set different web policy to different students from all open,
white list and black list.
All Open: Student can open all the websites;
White List: Student can only open the websites in white list;
Black List: Student can’t open the websites in black list;
To Set Web Policy:
1. Touch Advanced button;
2. Choose White List tab;
3. Touch the prompt to enter Web key;
4. The same steps to set black list.
Teacher can touch the student to change the application policy and check the
application students are using.
And there is an easy mode to add a running application or process to white or black
list.
1. Touch Open Websites button;
2. Touch one application;
3. Click Add it to white list or Add it to black list to add the
application to corresponding list; teacher can also click Terminate
application to let student side close the application.
Notes
Teacher can set different application policy to different students.

12 | P a g e
2.3.5 File Submission View
The functions of File Submission View refer to File Submission.
2.3.6 Answer Sheet View
The functions of Answer Sheet View refer to Quiz.
2.4 Class Model
In Class Model, teacher can view student list, view student state, select students to
start function, etc.
3 The Function of Teacher Side
3.1 Register Student
This function allows students to check in to required online lessons.

13 | P a g e
To Prompt Students to Register
1. Click the Register Students button on the Function Bar;
2. Teacher can select the information which he want students provide in Setting;
3. Touch the Start button;
4. The Student Register dialog will appear on the student's screen.
3.2 Screen Broadcast
Screen Broadcast is one of the most important functions of the Classroom
Management by IProf software. Teacher can broadcast his screen to one or more of
the students in class.
To Start Screen Broadcast
1. Select the students to whom you want to show your screen;
2. Click the Screen Broadcast icon on the Function Bar.
After the teacher start Screen Broadcast, there will be a floating toolbar on teacher
side screen. Teacher can touch button to expand the toolbar and touch other
areas to contract it.
Return to the main interface of the software in the teacher-side.
Switch between the Full Screen mode and the Windowed Mode.
Screen Pen: Open the Screen Pen to annotate the desktop.
Exit Screen Broadcast.
Notes
Teacher can set the picture quality and broadcast mode in Option-Screen Broadcast.

14 | P a g e
3.3 Student Demonstration
The Classroom Management by iProf software allows you to select a student to
demonstrate the operations of his desktop to yourself and to the other students.
To start a student's demonstration
1. Click the student's icon in the Class Model area.
2. Click the Student Demonstration button on the Function Bar.
3. Select the students you want to demo to.
4. The demonstration window will be displayed on the teacher's and on the other
students' desktops.
3.4 Monitor & Control
Using Classroom Management by iProf software, teacher can monitor the desktops of
students. The monitor window displays images of students' screens. He can view an
individual student's desktop in a windowed or full screen view.
To Monitor a Student
1. Select one student in the Class Model area;
2. Click the Monitor & Control button in the Function Bar;
3. The student's monitor window will be displayed on your tablet.

15 | P a g e
Press to show the Student Display of the previous screen.
Press to show the Student Display of the next screen.
Press to auto-toggle the screens, and monitor each of the students in turn.
Press to adjust the auto switching interval.
3.5 Remote Command
The Classroom Management by IProf software allows you to remotely launch
application, open website, shut down all students' PCs, reboot all students' PCs, and
close student application, all without leaving your computer.

16 | P a g e
3.5.1 Launch application
Teacher can use this function to launch an application on student side or teacher side.
To Add a New Application
1. Click the Remote Command button in Function Bar;
2. Enter Launch Application tab.
3. Click New in the dialog;
4. Enter the application name and name or click Browse to add a local application;
5. Click OK.
Notes
Teacher can add a new application quickly from running applications list.

17 | P a g e
To Launch Application
1. Select students in the Class Model;
2. Click the Remote Command button in Function Bar;
3. Enter Lanuch Application tab.
4. Select the application you want to execute;
5. Click Launch Remotely to launch the appication on student side.
6. Click Launch Locally to launch the appication on teacher side.
3.5.2 Open Website
Teacher can use this function to open a website on student side or teacher side.
To Add a New Website
1. Click the Remote Command button in Function Bar;
2. Enter Open Website tab.
3. Click New in the dialog;
4. Enter the application name and website address;
5. Click OK.
To Open the Website
1. Select students in the Class Model;
2. Click the Remote Command button in Function Bar;
3. Enter Open Website tab.
4. Select the website you want to open;
5. Click Launch Remotely to open the website on student side.
6. Click Launch Locally to open the website on teacher side.

18 | P a g e
3.5.3 Shut Down Student PC
Teacher can use this function to shut down student PC remotely.
To shutdown students' PCs
1. Select students in the Class model.
2. Click the Remote Command button in the Function Bar;
3. Enter Shut down Student PC tab;
4. Click OK.
3.5.4 Reboot Student PC
Teacher can use this function to reboot student PC remotely.
To reboot students' PCs
1. Select students in the Class model.
2. Click the Remote Command button in the Function Bar;
3. Enter Reboot Student PC tab;
4. Click OK.
3.5.5 Close Student Application
Teacher can use this function to close student application remotely.
To close students' applications
1. Select students in the Class model.
2. Click the Remote Command button in the Function Bar;
3. Enter Close Student Aplication tab;
4. Click OK.
19 | P a g e
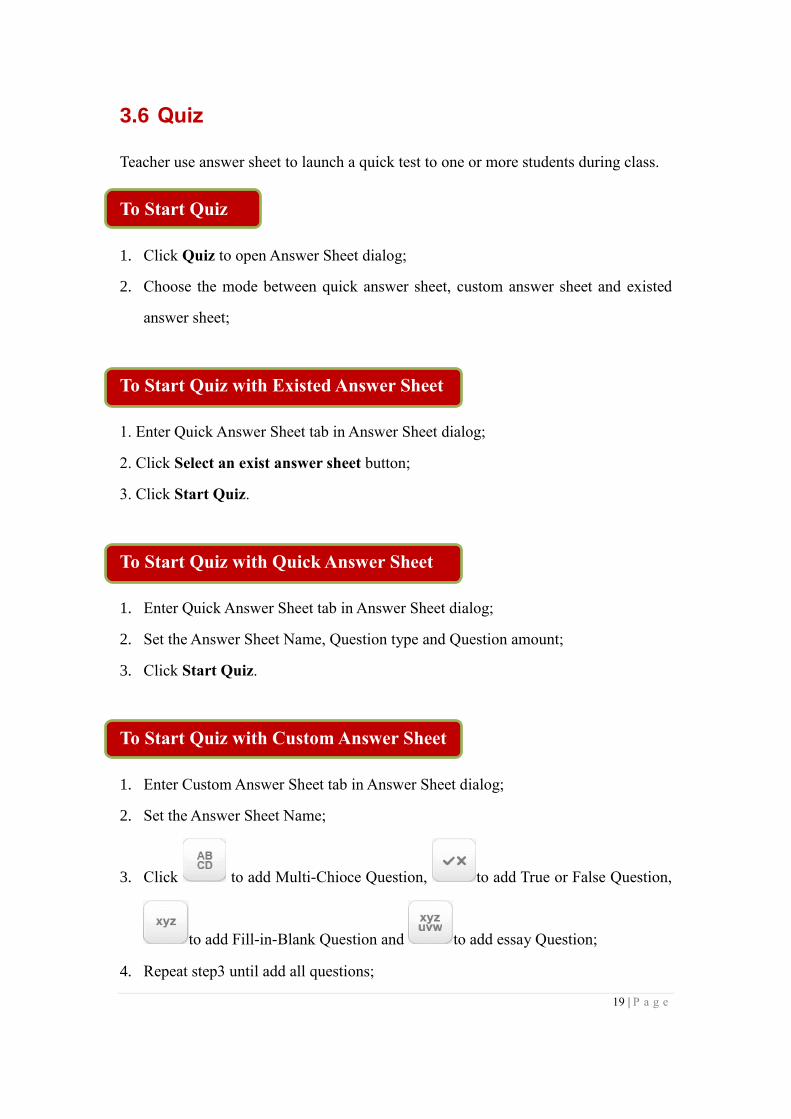
3.6 Quiz
Teacher use answer sheet to launch a quick test to one or more students during class.
To Start Quiz
1. Click Quiz to open Answer Sheet dialog;
2. Choose the mode between quick answer sheet, custom answer sheet and existed
answer sheet;
To Start Quiz with Existed Answer Sheet
1. Enter Quick Answer Sheet tab in Answer Sheet dialog;
2. Click Select an exist answer sheet button;
3. Click Start Quiz.
To Start Quiz with Quick Answer Sheet
1. Enter Quick Answer Sheet tab in Answer Sheet dialog;
2. Set the Answer Sheet Name, Question type and Question amount;
3. Click Start Quiz.
To Start Quiz with Custom Answer Sheet
1. Enter Custom Answer Sheet tab in Answer Sheet dialog;
2. Set the Answer Sheet Name;
3. Click to add Multi-Chioce Question, to add True or False Question,
to add Fill-in-Blank Question and to add essay Question;
4. Repeat step3 until add all questions;

20 | P a g e
5. Click Start Quiz.
After choose the answer sheet, teacher can check answer status of students and
accurate rate of objective questions directly. Teacher can click Answer Sheet button to
check the quiz paper, set the correct answer of subjective question and check students’
answers of each question.
To set the correct answer
1. Click the option button of correct answer.
To check students’ answers of each question
1. Click the question area.
After the quiz, teacher can export the quiz result to files in the type of HTML, PDF or
XLS.

21 | P a g e
To Export the Quiz Result
1. Stop the quiz;
2. Touch Export button;
3. Choose destination folder, and click save.
3.7 Survey
The Survey function allows the teacher to test the students' skills with one single
question and get the students' answers immediately. The teacher can also use this
Survey function to do some surveys.
To Initiate a Survey
1. Click the Survey icon on the Function Bar;
2. Select the question type; (Two question types are available: multi-choice questions
and True-or- False questions);

22 | P a g e
3. Enter question titles in the Question title input box;
4. Enter the contents for each option and also set the answer for each question;
5. Set the duration for the Survey;
6. Click the Start Survey button.
To Get the Students' Answers Immediately
1. Click the Survey icon on the Function Bar of the main interface in the teacher-
side computer;
2. Start a Survey;
3. The students' answering information will be displayed on the Survey dialog;
4. During the Survey process, if a student answers a question, the student's name,
finish time and actual answers will be displayed in the list;
5. Statistics will be updated real-time during the Survey process.
To save the survey paper
1. Edit the question;
2. Touch Save button;
3. Select the target folder to save the survey paper.
To open a survey paper
1. Touch Open button;
2. Select a survey paper.

23 | P a g e
3.8 File Distribution
The Classroom Management by IProf software allows teacher to distribute
simultaneously a file or directory to multiple students. The files will be sent to the
default folder of student side. If the target file and path already exist, the software will
automatic overwriting of the original file. If the file you want to distribute is in use,
the software will send a prompt.
To Start File Distribution
1. Select students in the Class Model;
2. Click the File Distribution button in the Function Bar;
3. Click button to select files or directories to the Send list;
4. Click the button.

24 | P a g e
Notes
Teacher can set the policy of File Distribute in Option-File Distribution.
3.9 File Submission
The File Submission function allows the students to submit their jobs to the specified
directory on the teacher-side computer. The teacher can manage whether or not to
accept all of the files submitted by the students, or choose to accept one student's files
at a time.
To Set File Submission Policy
1. Change the Class Model area View Mode to File Submission Mode;
2. Click the student you want to set;
3. Click Enable or Disable button to set the policy of this student.
OR
1. Change the Class Model area View Mode to File Submission Mode;
2. Click Enable or Disable button to set the policy of all students.
To Accept a Student's Submitted Files
1. The student sends the file submission request;
2. View File Submission Request in File Submission View;
3. The student name, file size and file count will be displayed in the list,
4. The teacher can select one of the student names and click Accept or Deny from
pop-up menu;
5. A message will appear in the Event Message Area of the main interface in the
teacher-side computer, indicating that:” I have submitted my files”.

25 | P a g e
To View a Student's Submitted Files
1. Change the Class Model area View Mode to File Submission Model;
2. Click the student you want to view;
3. Click the file name and the file will be opened automatically.
3.10 File Collection
File Collection allows the teacher to open the File Submission dialogue at the same
time so the teacher can collect students’ files to the same directory.
To Start File Collection
1. Click the File Collection icon on the Function Bar;
2. File Submission dialog pops up on the student side;
3. Teacher can open Submitted folder on the Class Model area after all the students
had submitted files.
Notes
Teacher can set the number and size limit for student-submitted files in Option-
File Receiving.
3.11 Silent & Silent Off
1. Click button to launch Silent.
2. Click button to launch Silent Off, the Screen of students will back to
normal.
Notes
Teacher can define the message displayed while Slience in Option-General.

26 | P a g e
3.12 Remote Message
Teacher can use this function to send messages to part of students or all students.
To send message to part of students:
1. Select students in class model;
2. Touch send message button;
3. Enter the message in input box and click Send button.
To send message to all students:
1. Touch send message button;
2. Enter the message in input box and click Send button.
Teacher can click Return button to return to chat list.
4 The Settings of Teacher Side
4.1 General
In this tab, teacher can choose to lock all students to class model upon start up and set
the properties of Silent.
4.2 Notification
In this tab, teacher can set the properties of Raise Hand and Remote Message.
Besides, he can set when to show the battery icon of each student.
4.3 Network
In this tab, teacher can select an IP address to bind with teacher side and set the
latency period of network. Besides, he can set some other fields of network.

27 | P a g e
4.4 Screen Broadcast
In this tab, teacher can select the default mode and picture policy of student side
during Screen Broadcast process.
4.5 File Distribution
In this tab, teacher can set the Duplicate policy and Error Control policy of File
Distribution.
4.6 File Receiving
In this tab, teacher can set the limitation of file size and number and the policy to save
files.
28 | P a g e
Technical support
The Technical Support team welcomes your questions and comments.
If you experience any difficulty with the software, you can contact us:
Toll Free: 8908
Mail: [email protected]
Website: www.MT.TheDigiLibrary.com
When you call technical support, it is helpful if you have accessed to your software
during the call.