landscape photography some tips – definitely not absolute rules!
TRANSCRIPT
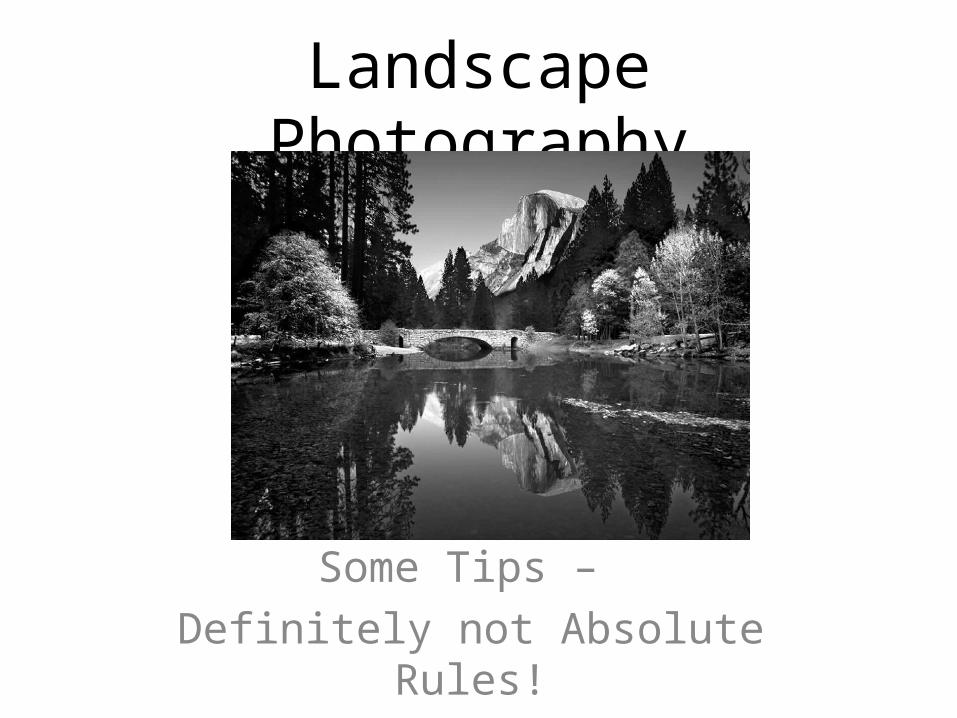
Landscape Photography
Some Tips – Definitely not Absolute Rules!
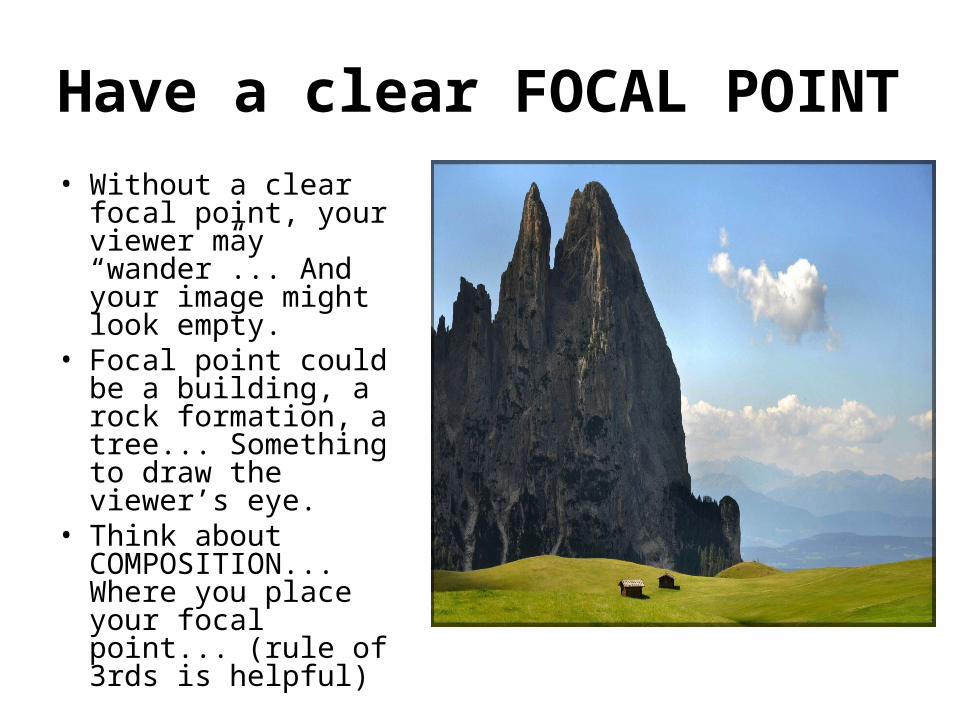
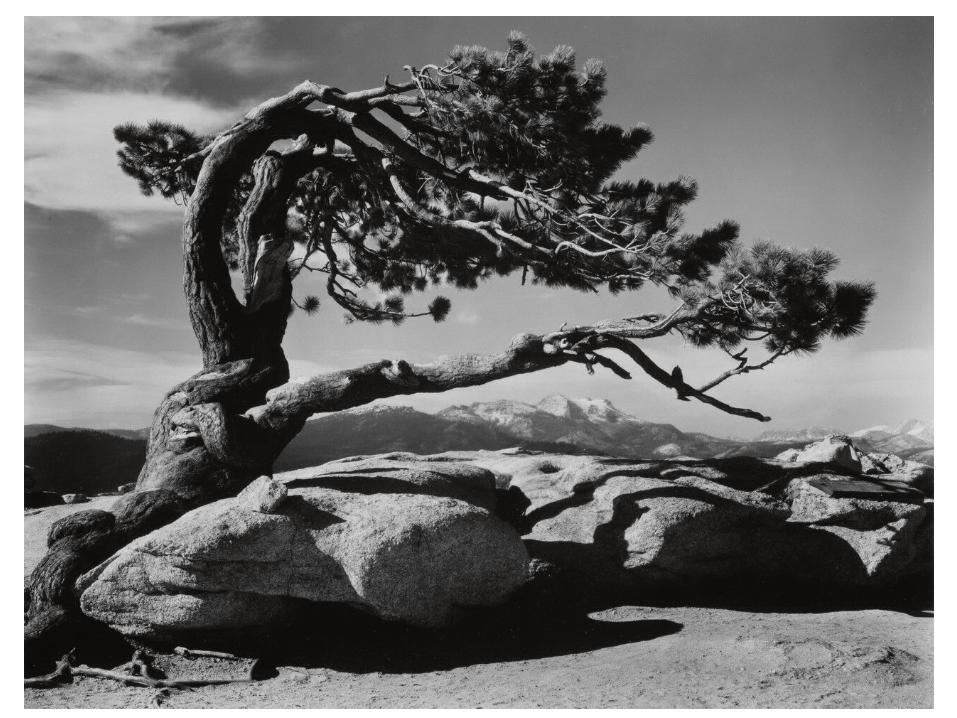
Have a clear FOCAL POINT• Without a clear focal
point, your viewer may “wander”... And your image might look empty.
• Focal point could be a building, a rock formation, a tree... Something to draw the viewer’s eye.
• Think about COMPOSITION... Where you place your focal point... (rule of 3rds is helpful)
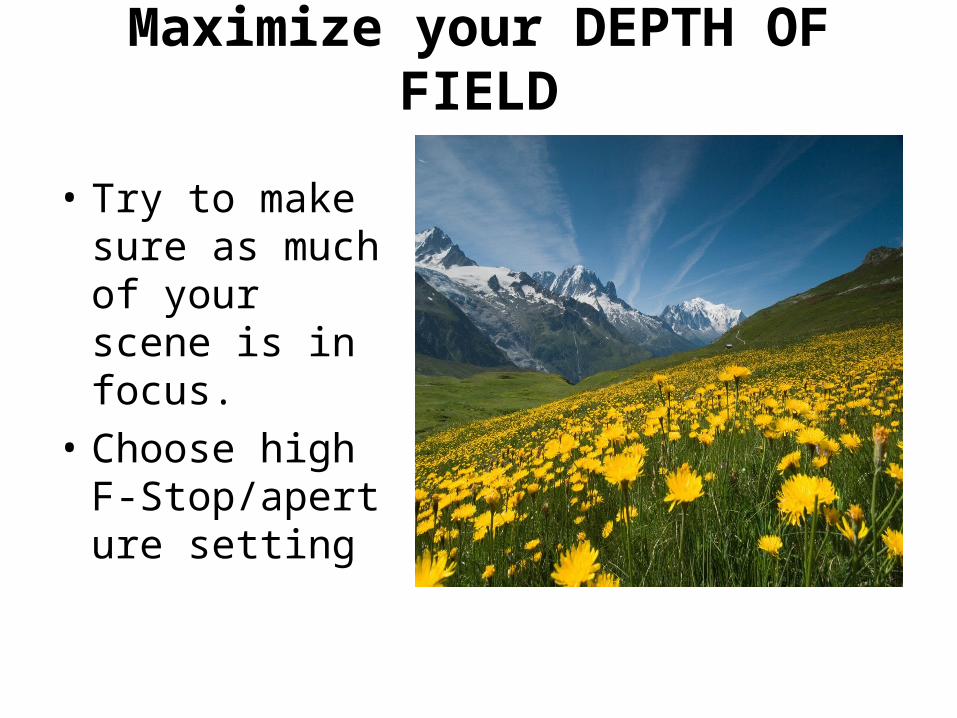
Maximize your DEPTH OF FIELD
• Try to make sure as much of your scene is in focus.
• Choose high F-Stop/aperture setting
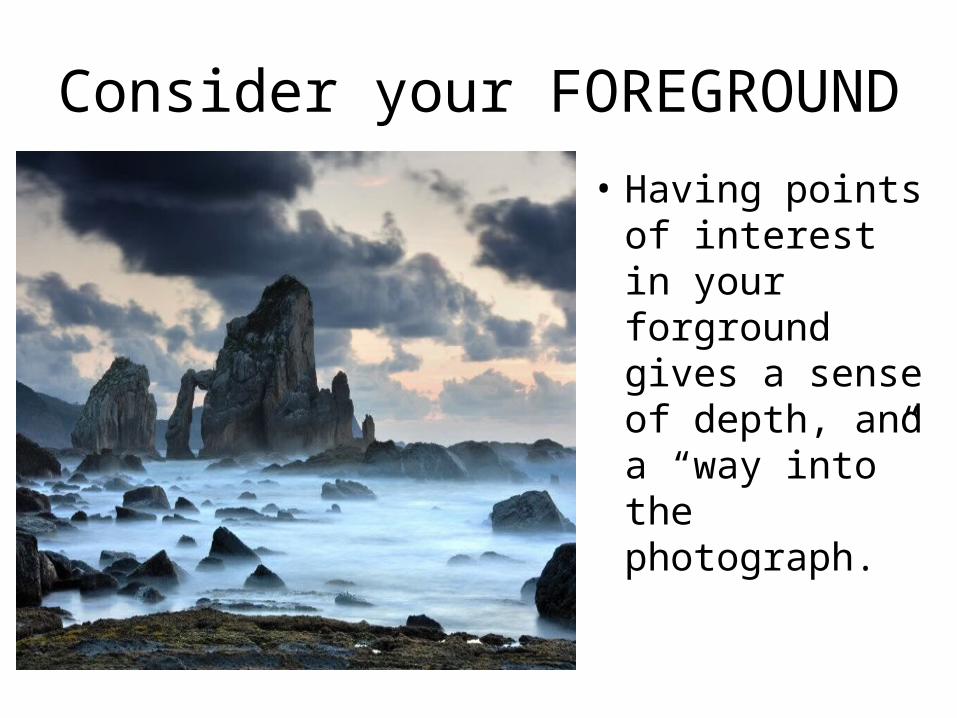
Consider your FOREGROUND
• Having points of interest in your forground gives a sense of depth, and a “way into” the photograph.

Use foreground to FRAME YOUR SHOTS
• Besides using foreground for points of interest, foreground elements at the edges can also be used to frame your shot...
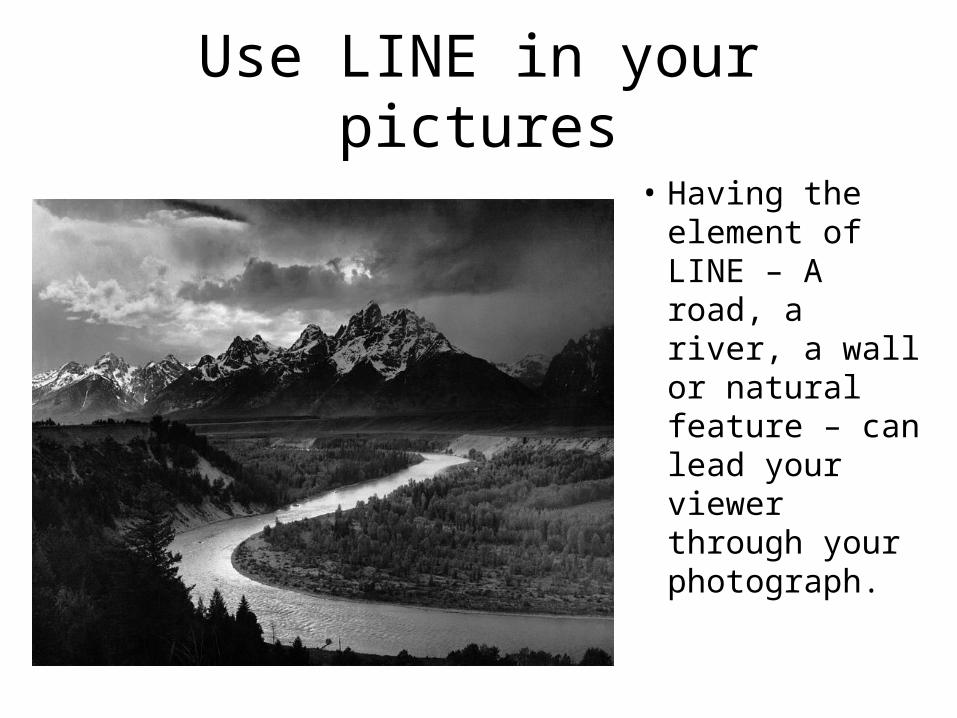
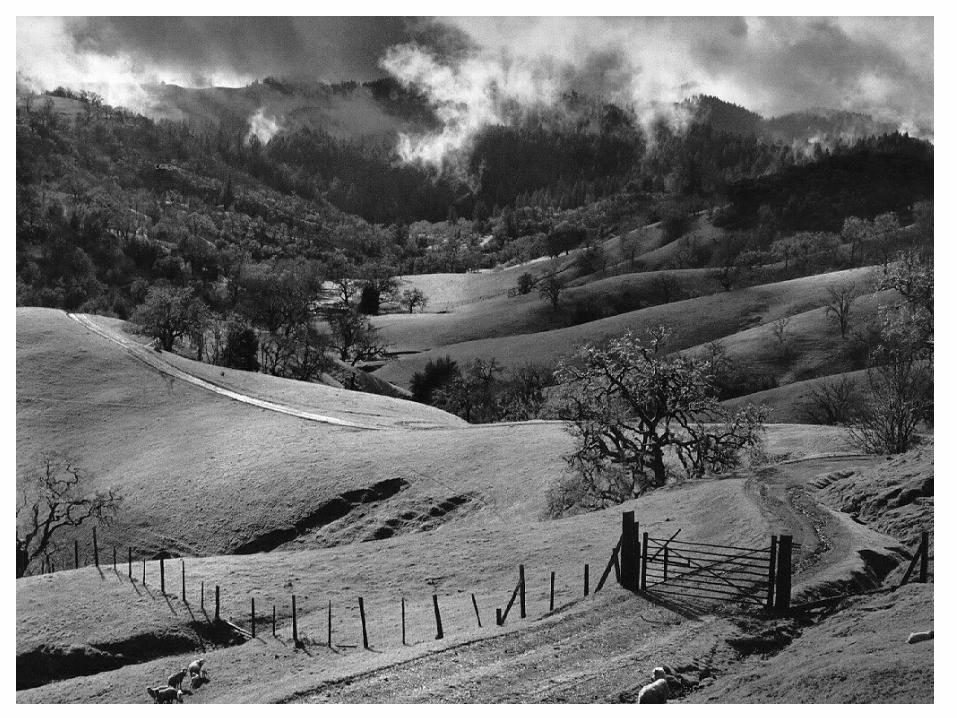
Use LINE in your pictures
• Having the element of LINE – A road, a river, a wall or natural feature – can lead your viewer through your photograph.
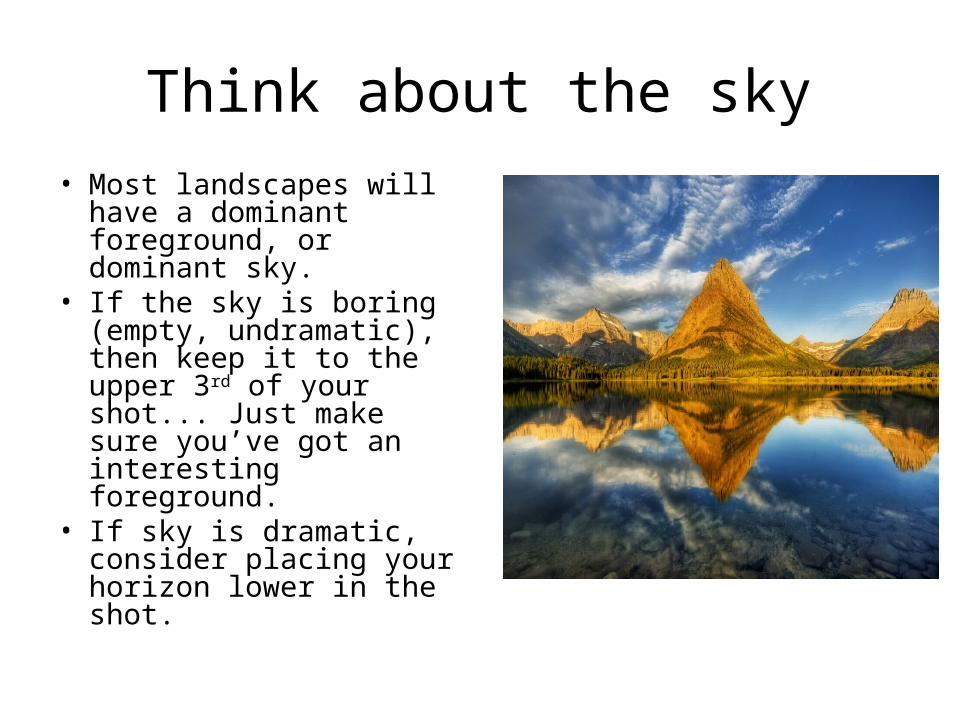
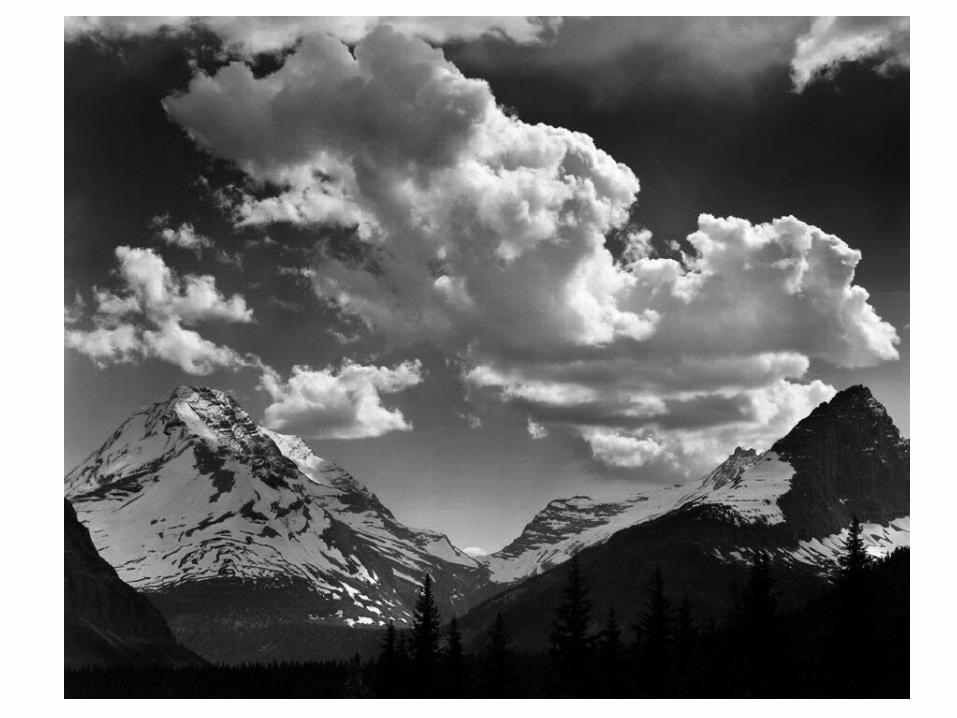
Think about the sky• Most landscapes will have a
dominant foreground, or dominant sky.
• If the sky is boring (empty, undramatic), then keep it to the upper 3rd of your shot... Just make sure you’ve got an interesting foreground.
• If sky is dramatic, consider placing your horizon lower in the shot.
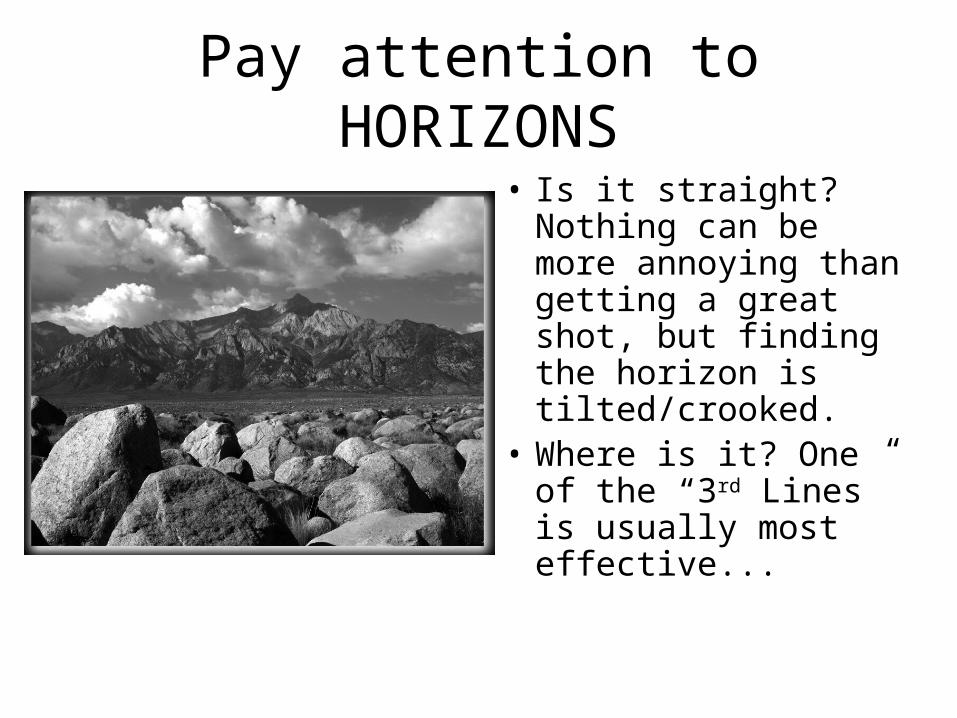
Pay attention to HORIZONS
• Is it straight? Nothing can be more annoying than getting a great shot, but finding the horizon is tilted/crooked.
• Where is it? One of the “3rd Lines” is usually most effective...
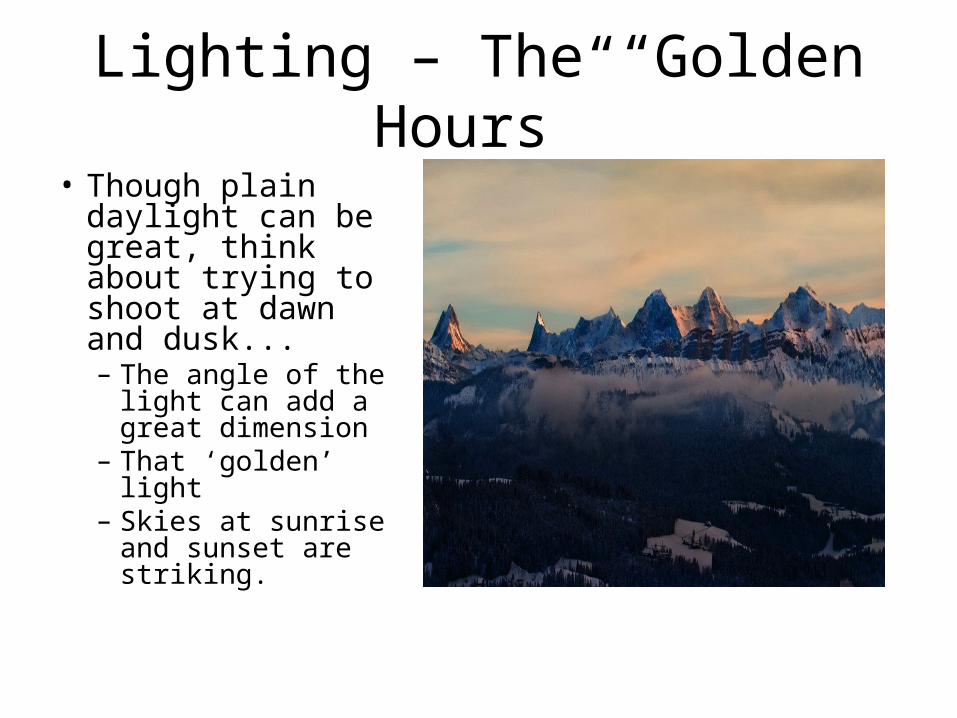
Lighting – The “Golden Hours”• Though plain
daylight can be great, think about trying to shoot at dawn and dusk... – The angle of the
light can add a great dimension
– That ‘golden’ light
– Skies at sunrise and sunset are striking.
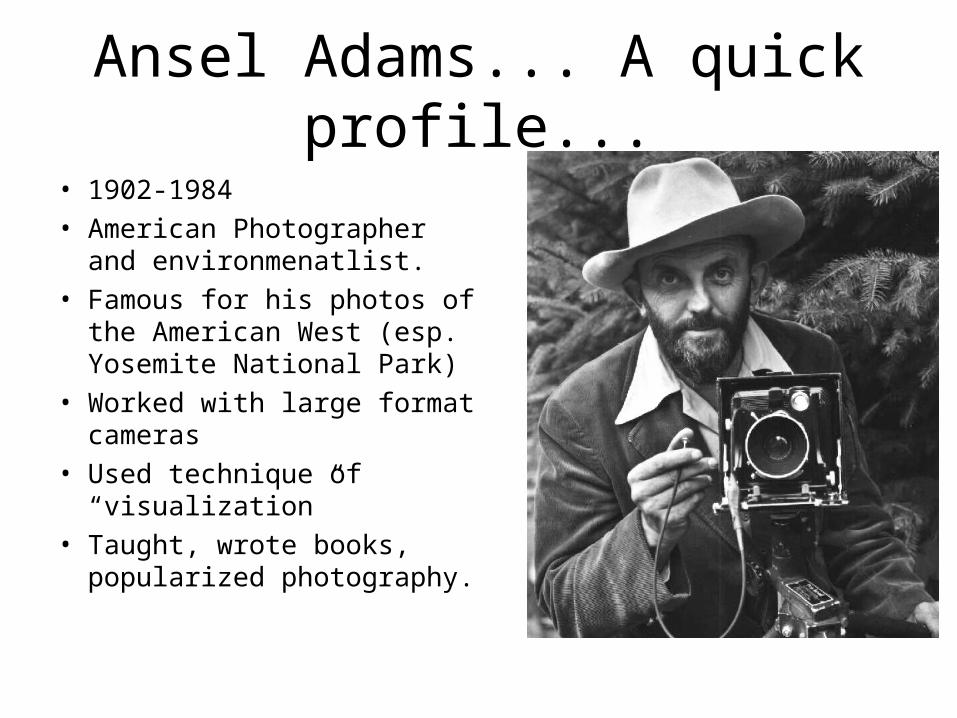
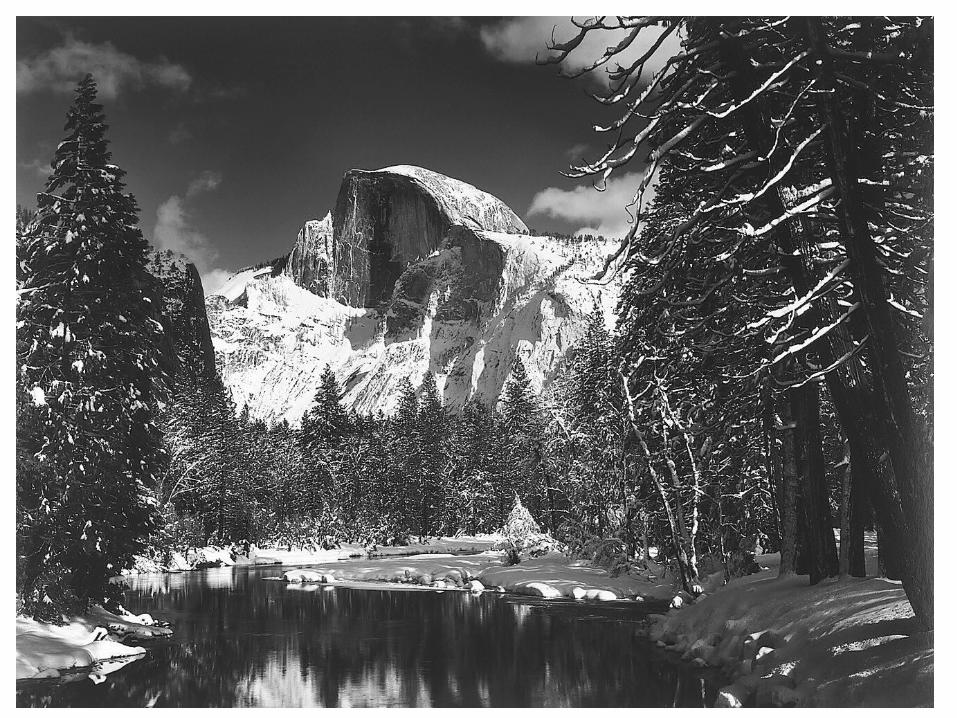
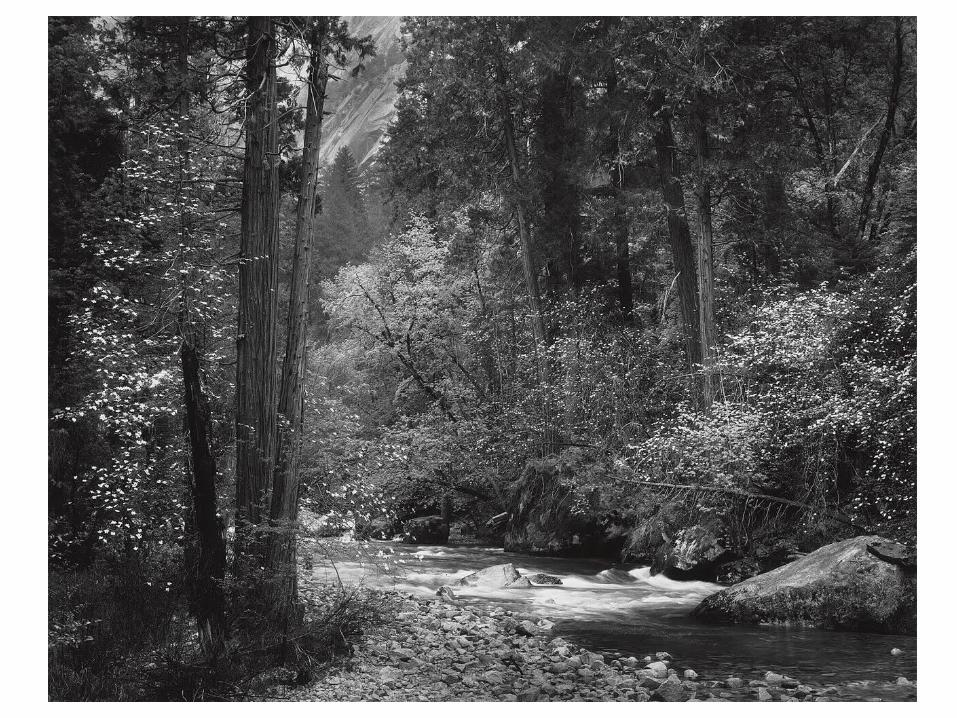
Ansel Adams... A quick profile...
• 1902-1984• American Photographer and
environmenatlist.• Famous for his photos of the
American West (esp. Yosemite National Park)
• Worked with large format cameras
• Used technique of “visualization”
• Taught, wrote books, popularized photography.
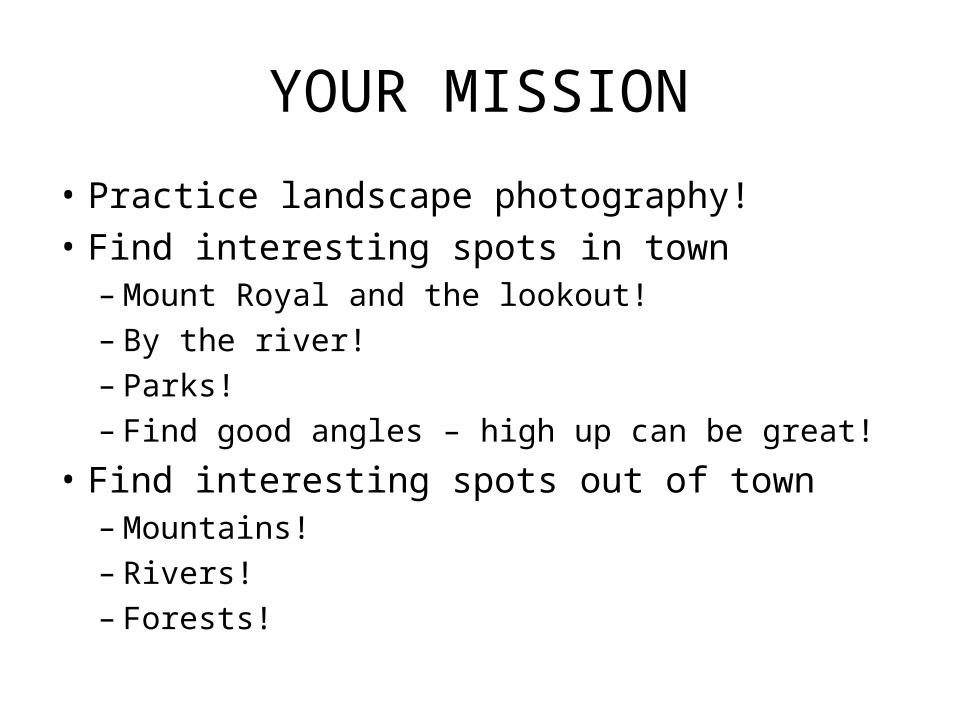
YOUR MISSION
• Practice landscape photography! • Find interesting spots in town– Mount Royal and the lookout!– By the river!– Parks!– Find good angles – high up can be great!
• Find interesting spots out of town– Mountains!– Rivers!– Forests!