lavos: perler beads - fangamerfangamer.com/fanfest/ct/2010/20/spawnbeads.pdf · once you're...
TRANSCRIPT
What you'll need:
BeadsInterlocking Pegboards
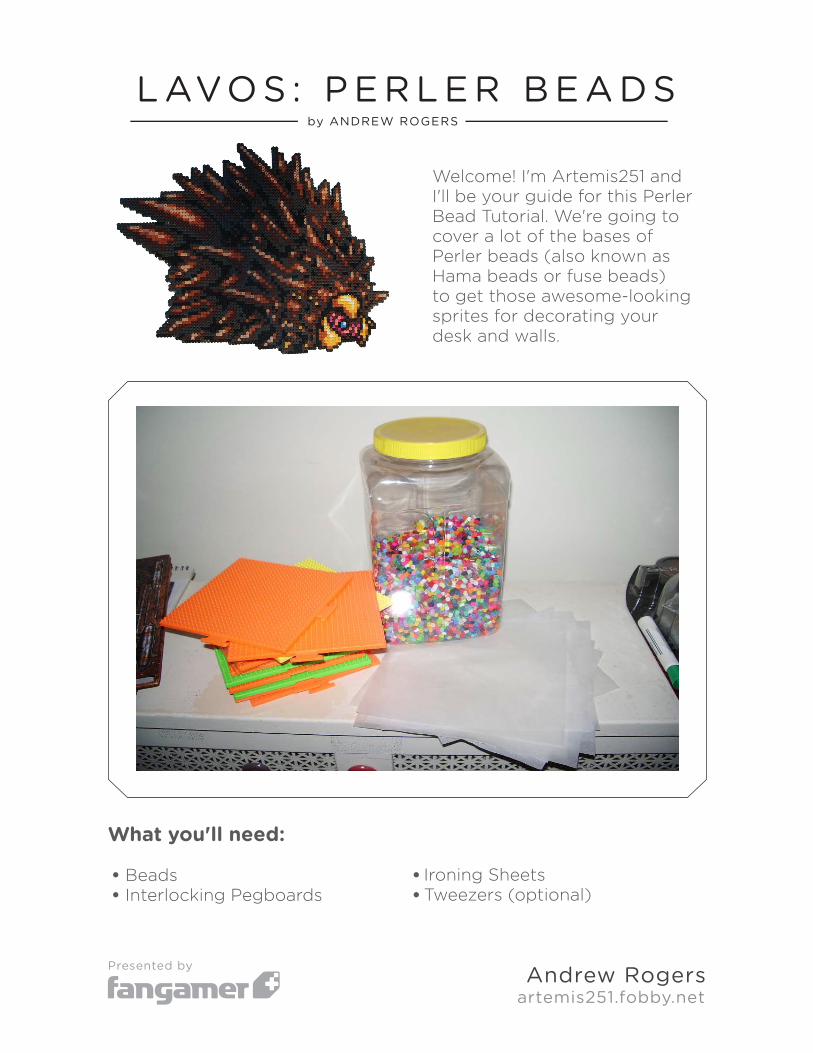
Welcome! I'm Artemis251 and I'll be your guide for this Perler Bead Tutorial. We're going to cover a lot of the bases of Perler beads (also known as Hama beads or fuse beads)to get those awesome-lookingsprites for decorating yourdesk and walls.
Andrew Rogersartemis251.fobby.net
Presented by
L AVO S : P E R L E R B E A D Sby ANDREW ROGERS
Ironing SheetsTweezers (optional)

You can look for beads/supplies at your local craft store, but often they'll only have big mix tubs. These are great for starting out since you get so many di�erent colors, but for larger sprites consider buying the colors separately online:
Perler Bead Store -- http://www.perlerbeadstore.com/blueNdash -- http://store02.prostores.com/servlet/bluendash/StoreFront
You'll also want to pick up some pegboards and ironing sheets. The boards I use interlock to allow for large-size sprites. They're standard 29x29 bead boards, easily found at craft stores and online. If you look on some coupon websites, you may find some coupons for free boards with bead orders. You'll want to get a lot of ironing paper if you plan on making a lot of sprites, as it gets brittle. Small tweezers might also come in handy for placing the beads on the boards if you have big hands.
Which color beads should you get, then? Well, let's prepare your subject -- first, find the sprite of the creature/character you want to make. Spriter's Resource (http://www.spriters-resource.com) is good, but a Google search might also turn up what you need.
Once you have it, you'll have to mess around with the colors a bit. This is the hardest step since you have to cope with the limited color selection of the beads you have. I usually go old-school with MS Paint to do my recoloring.
2 ARTEMIS251.FOBBY.NET
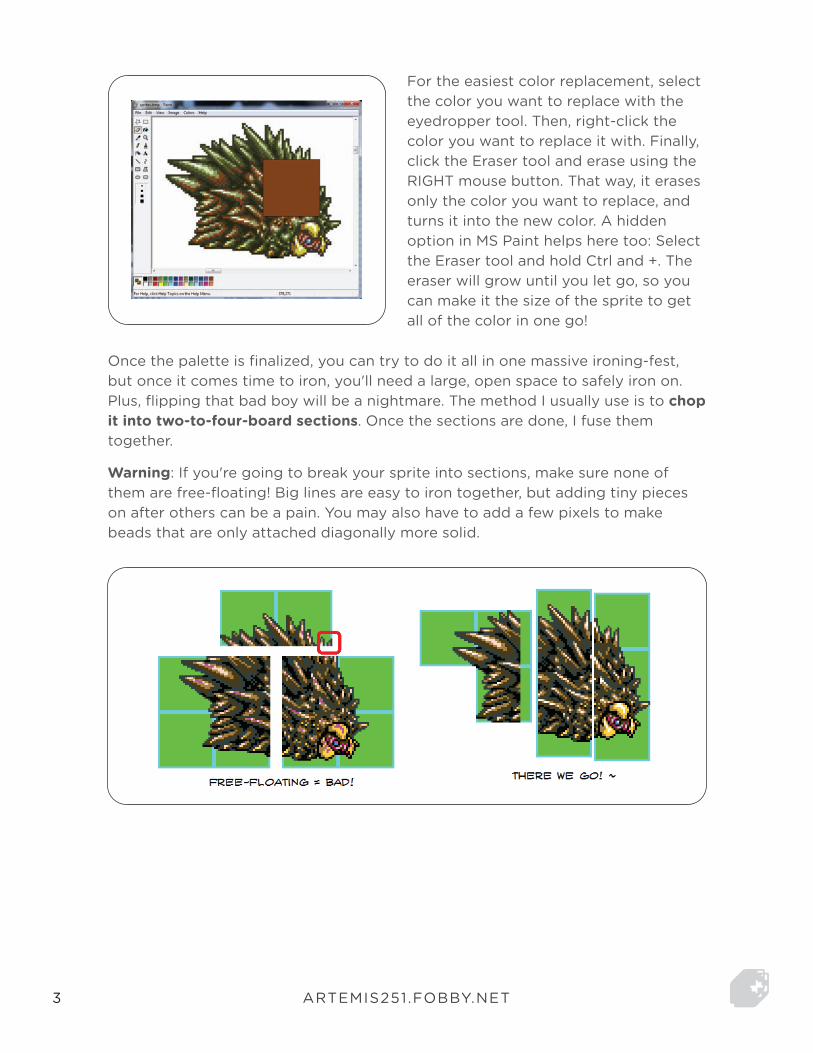
Once the palette is finalized, you can try to do it all in one massive ironing-fest, but once it comes time to iron, you'll need a large, open space to safely iron on. Plus, flipping that bad boy will be a nightmare. The method I usually use is to chop it into two-to-four-board sections. Once the sections are done, I fuse them together.
For the easiest color replacement, select the color you want to replace with the eyedropper tool. Then, right-click the color you want to replace it with. Finally, click the Eraser tool and erase using the RIGHT mouse button. That way, it erases only the color you want to replace, and turns it into the new color. A hidden option in MS Paint helps here too: Select the Eraser tool and hold Ctrl and +. The eraser will grow until you let go, so you can make it the size of the sprite to get all of the color in one go!
Warning: If you're going to break your sprite into sections, make sure none of them are free-floating! Big lines are easy to iron together, but adding tiny pieces on after others can be a pain. You may also have to add a few pixels to make beads that are only attached diagonally more solid.
3 ARTEMIS251.FOBBY.NET

Alright! Time to get started! Gather your beads, boards and other tools. You'll want your computer close or a decent-sized printout handy so you know how to lay the beads out.
Make sure your pegboard tabs are laid out in the right way first, though! Nothing sucks more than finishing a piece and later finding out that it has to be rotated to interlock with another board.
4 ARTEMIS251.FOBBY.NET

Once you have a piece done, set it aside somewhere safe (especially if you have animals) to work on the rest. When all pieces of a particular section are done, it's time to start ironing!
5 ARTEMIS251.FOBBY.NET

Interlock the pegboards carefully and turn your iron to a medium-ish setting. You don't want scorching hot, but you want to be able to melt them, too. I usually set my iron halfway.
Set the ironing paper on the beads. You may want to rotate the paper to cover the biggest range per paper, as ironing through two sheets takes a little more time. Move the iron across the paper slowly with little pressure. Don't press down on the pegboards -- doing so may make the tips of the board melt alongside the beads. Let the heat melt them naturally and try to get the beads as closed as possible. The paper usually starts getting somewhat transparent as the beads heat up, so you can easily see how far closed they are.
Note: Sometimes the pegboard starts to warp after use. In this case, you may need to hit the edges harder (where two pegboards connect). To keep the melting uniform, use one of the sides of the iron to get those sections alone.
6 ARTEMIS251.FOBBY.NET

Once you're sure the beads are all fused decently enough, peel the paper back slowly. Sometimes beads may stick to the paper and pull up o� of the pegboard; if this happens, carefully remove them from the paper, put them back on the board, and iron that spot again. Some places suggest you leave the paper on for flipping, but by removing it now, you're checking for any stray, unmelted beads. It's much safer peeling before the next step.
THE FLIP! The most tense moment is usually here, since any weakly-attached beads go flying. If you peeled and made sure the holes were all well-closed you shouldn't have a problem. Flip the sprite turn-ways and remove the boards.
Afterward, iron the backside just like the front. This way the beads are fused securely on both sides and will stick together stronger. Afterwards you might want to hit some spots on the front again, especially if you had trouble getting some of those pesky pegboard corner areas.
Once both sides are good, find a solid, flat area and place the section on top. Press it down with some books or heavy objects you have lying about and wait for it to cool. If you don't press it, the beads tend to curl, so this is essential!
Continue the above steps to finish all of your sections. Once you have 'em all, there's one final process to combine them all. Unfortunately, we cannot use the Alchemy Pot from Dragon Quest or the Combine option from the Resident Evil series, so we'll have to make do with what we have: an iron!
7 ARTEMIS251.FOBBY.NET
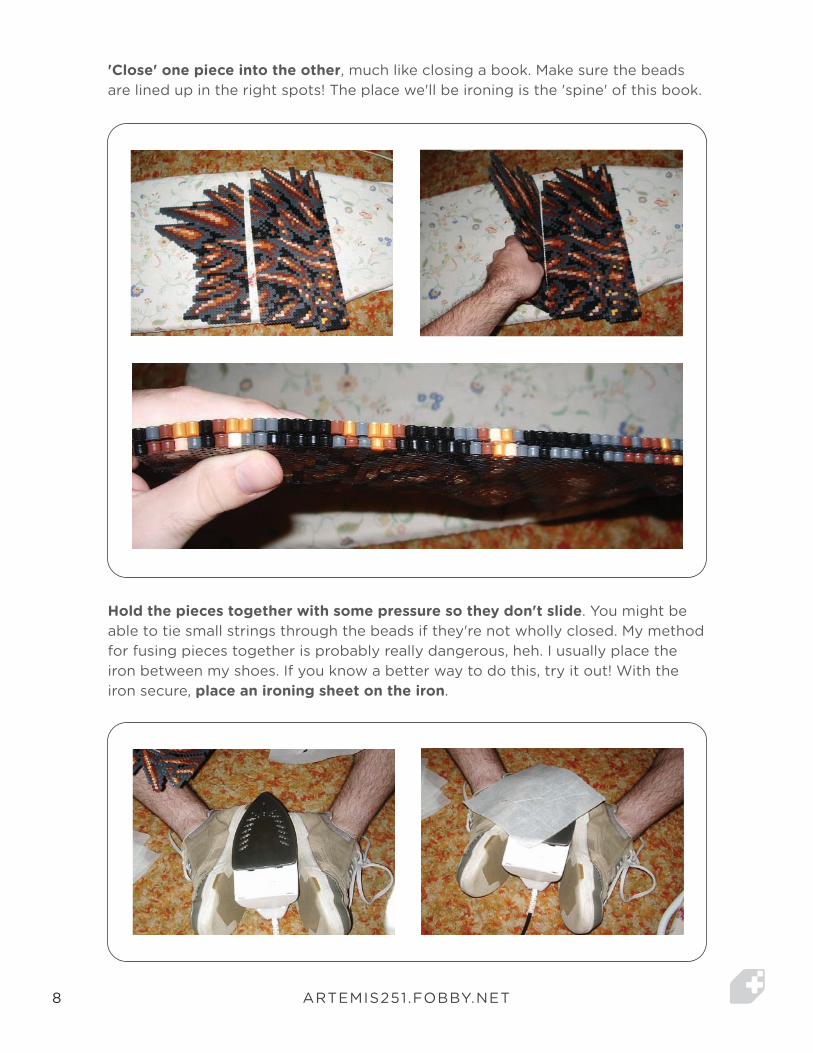
'Close' one piece into the other, much like closing a book. Make sure the beads are lined up in the right spots! The place we'll be ironing is the 'spine' of this book.
Hold the pieces together with some pressure so they don't slide. You might be able to tie small strings through the beads if they're not wholly closed. My method for fusing pieces together is probably really dangerous, heh. I usually place the iron between my shoes. If you know a better way to do this, try it out! With the iron secure, place an ironing sheet on the iron.
8 ARTEMIS251.FOBBY.NET

Using the pressure to keep the pieces together, I slowly and carefully pull the sections along the iron, pressing downward gently. The beads start to melt from the heat quickly and should fuse together.
Once it's ironed well enough, 'open' your sprite onto the ironing board. The sides you held together should stay fused enough to allow you to iron over the seam.
Again, you can use a single side of the iron to pinpoint an area. If you don't, you may find the beads starting to warp (see the next point)! After you get one side, flip the sprite and get the seam on the back as well. Press the sprite and let it cool o�.
Too much exposure to heat a second time or odd spine fusion might make the sprite warped. If this is the case, you'll need to do a little more work to flatten the beastie out. If you heat up both sides to an extreme, it may start to flatten. It'll also get really malleable -- this is fine, as long as you press it with a lot of weight afterward and let it cool o� for a long time.
9 ARTEMIS251.FOBBY.NET

If you conquer fusing all the pieces, you'll end up with the finished product! The seams are a little visible up close, but it's not too bad. Revel in your new creation! Hang it on your wall! Show it o� to your friends during a nerd-o�!
I'd like to thank mistycat85 for her help with this project. She actually did most of the beadwork for me since I've been kinda busy lately. <3
10 ARTEMIS251.FOBBY.NET