let’s make ice cream
TRANSCRIPT

© Learning Resources, Inc.
Let’s Make Ice Cream
Tools:
1
Extras: Crushed ice, salt, 2 zip-top sandwich bags,
half-and-half, sugar, vanilla extract, spoon, paper cups

The recipe for
Ice Cream:
Pour 1 blueblue cup of crushed ice into the bowl.
Add 4 redred spoonfuls of salt to the ice. Did you know that salt lowers the freezing point of ice? Change the temperature and take a big step toward creating an irresistible ice cream!
Put the lid on the bowl. Be sure to seal the bowl by covering the spout with the fat, curved part of the lid. Hold the lid in place as you shake the bowl from side to side (rather than up and down) for several minutes, until the salt completely mixes with the ice.
Add the following ingredients to a plastic zip-top bag:
• 1 OrangeOrange cup of half-and-half • 1 YellowYellow spoonful of vanilla extract
• 1 RedRed spoonful of sugar
Seal the bag on your ice-cream ingredients.
Make sure to place this bag inside another bag to lock all the contents inside.
Place the bags inside the ice-filled bowl and close the lid. Shake the bowl from side to side for 5 minutes to allow the liquid inside the bags to solidify into ice cream.
Remove the lid from the bowl. Check the consistency of the ice cream by sampling it with a spoon.
Scoop out the ice cream into paper cups and enjoy a cold treat with your friends!

© Learning Resources, Inc.
Let’s Make a Color Explosion
Tools:
2
Extras: Milk, liquid dish soap, and red, blue, yellow,
and green food coloring

The recipe for a
Color Explosion:
Pour 1 redred cup of milk into the bowl.
Near the center of the milk, add 1 drop each of red, blue, yellow, and green food coloring. Leave an inch of space between each color.
When the colors hit the milk’s surface, do they spread apart or remain in the form of droplets?
Now, squeeze a drop of liquid soap in the center of the bowl.
Watch as the colors swirl and interact. Do you see any color patterns in the milk? Do the colors mix to create new colors?
Here’s what happened: When you added the soap to the milk, the molecules in the soap tried to “connect” with the fat molecules in the milk. As these molecules jostled for position, the colors were taken along for a rollicking ride!
© Learning Resources, Inc.
Let’s Make Color Crackers
Tools:
3
Extras: Plate, graham crackers, vanilla frosting,
wooden craft sticks, and yellow, red, and blue
food coloring
The recipe for
Color Crackers:
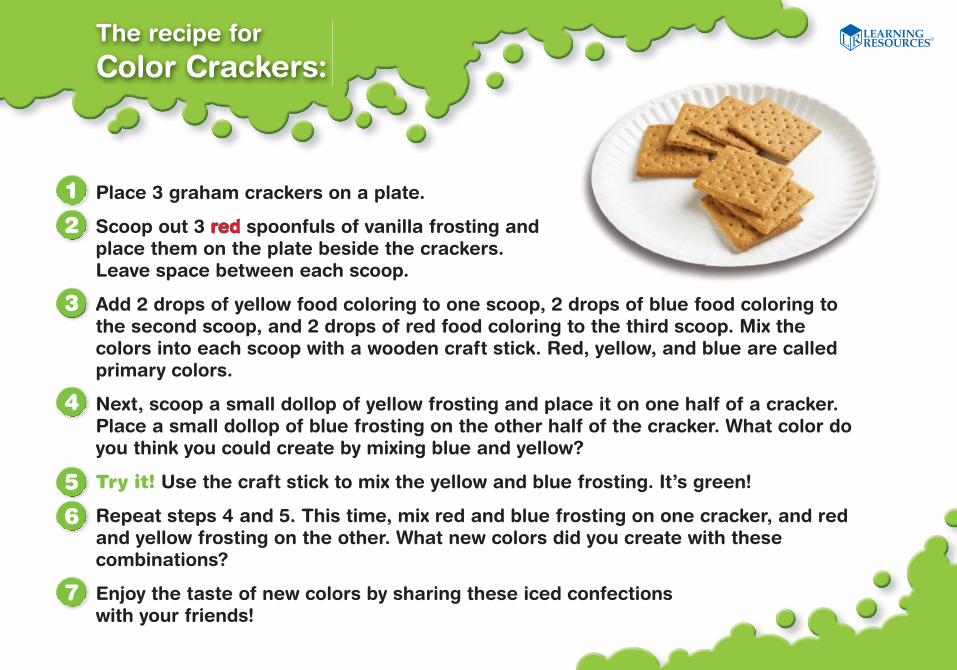
Place 3 graham crackers on a plate.
Scoop out 3 redred spoonfuls of vanilla frosting and place them on the plate beside the crackers. Leave space between each scoop.
Add 2 drops of yellow food coloring to one scoop, 2 drops of blue food coloring to the second scoop, and 2 drops of red food coloring to the third scoop. Mix the colors into each scoop with a wooden craft stick. Red, yellow, and blue are called primary colors.
Next, scoop a small dollop of yellow frosting and place it on one half of a cracker. Place a small dollop of blue frosting on the other half of the cracker. What color do you think you could create by mixing blue and yellow?
Try it! Use the craft stick to mix the yellow and blue frosting. It’s green!
Repeat steps 4 and 5. This time, mix red and blue frosting on one cracker, and red and yellow frosting on the other. What new colors did you create with these combinations?
Enjoy the taste of new colors by sharing these iced confections with your friends!

© Learning Resources, Inc.
Let’s Make an Incredible Expanding Bag
4
Tools:
Extras: Zip-top sandwich bag, baking soda,
warm water, white vinegar, paper towel
Note: Perform this experiment near a sink or outside
for easy cleanup.

The recipe for an Incredible
Expanding Bag:
Pour 1 yellowyellow cup of warm water into a sandwich bag.
Add 1 orangeorange cup of vinegar to the water. Zip the bag halfway closed.
Measure 3 orangeorange spoonfuls of baking soda into the center of a paper towel. Gather the corners of the paper towel to make a pouch.
Hold the pouch of baking soda in one hand. Carry the sandwich bag over to the sink—this next step might get messy.
Now, drop the entire pouch of baking soda into the bag, zip the bag completely closed, and stand back.
The bag should slowly expand until it pops! Why do you think that happened?
Here’s why: When an acid (vinegar) and a base (baking soda) meet, they create a gas called carbon dioxide. The bag was not able to contain the carbon dioxide made by the mixture of vinegar and baking soda, and this caused a mini explosion.
Make sure to clean up the sink after you complete the activity!

© Learning Resources, Inc.
Extras: Muffin, frosting, premade pudding,
raspberries (or other berries), spatula, bread knife
Let’s Make Everyday Birthday Cake
Tools:
5

The recipe for Everyday
Birthday Cake:
You don’t need to be an expert baker to make a party-worthy birthday cake—all you need is the right ingredients (and an adult to lend a helping hand).
First, have an adult cut your favorite-flavor muffin in half, separating the muffin top from the muffin bottom. Next, measure out the following quantities:
• 1 RedRed spoonful of frosting
• 1 OrangeOrange cup of prepared pudding
• 1 YellowYellow cup of raspberries
Add a layer of pudding to the bottom half of the muffin, followed by a layer of raspberries, and then another layer of pudding.
Replace the muffin top to close the “cake.”
Next, use a spatula to spread frosting on the top of the cake. Use any remaining berries for decoration.
Enjoy your celebratory dessert! Today may not be your birthday, but you can still eat like royalty.