lifelike proto 2000 gp9 decoder nce d14sr installation cn
TRANSCRIPT

LifeLike Proto 2000 GP9 ... Decoder NCE D14SR (In iOS PDF files, images can be enlarged by double tapping on the image)
Page 1 of 13
LifeLike Proto 2000 GP9 ... Decoder NCE D14SR Installation CN 4346 Date: July 22 2019 This decoder installation project is very basic, as only a front and rear headlight and a non sound NCE D14SR Mobile decoder are installed. No speaker and no Keep Alive device are inserted, so the only extra space used is for 1.5 K ohm ½ watt resistors. No extra Function outputs are used in this install. The LifeLike Proto 2000 GP9 model used is an early version model, designed before Sound decoders became popular. Space under the shell is limited.
The Parts List: NCE D14SR Mobile decoder 2 5mm 3.5 volt white LEDs 2 1.5 K ohm ½ watt resistors Colour coded flexible 30 AWG wire Heat shrink tubing Kapton tape

LifeLike Proto 2000 GP9 ... Decoder NCE D14SR (In iOS PDF files, images can be enlarged by double tapping on the image)
Page 2 of 13
The shell is easy to remove by carefully releasing the side tabs. The metal extensions from the trucks supply the negative left rail (when loco is moving in forward direction) track pick up leads (black wires). The right rail (positive) track pickups connect directly to the metal chassis. Note the original blue wire is connected from the chassis and then to the diodes serving the lights and the + terminal of the motor.
The incandescent bulbs and the diodes are to be removed and replaced with LEDs and resistors. Remove the black tape and plastic covers to access the front and rear headlight wiring. It’s always a good idea to label the front and rear of the chassis.

LifeLike Proto 2000 GP9 ... Decoder NCE D14SR (In iOS PDF files, images can be enlarged by double tapping on the image)
Page 3 of 13
What you see after removing the shell:

LifeLike Proto 2000 GP9 ... Decoder NCE D14SR (In iOS PDF files, images can be enlarged by double tapping on the image)
Page 4 of 13
The incandescent bulbs, and diodes are discarded. The motor and wires to it’s positive and negative terminals need to be isolated. For example, the original blue wire from the chassis will now be connected to the + right track pickup terminal pin 8 (red) on the 8 pin connector. The original wire from the positive motor terminal will now be connected to pin1 (orange ) of the 8 pin connector. Use colour coded wiring to make the connections to the 8 pin harness if possible. See the schematic of the 8 pin connector below:

LifeLike Proto 2000 GP9 ... Decoder NCE D14SR (In iOS PDF files, images can be enlarged by double tapping on the image)
Page 5 of 13
I used white 5 mm 3.5 volt LEDs for the front and rear headlights. The output voltage from the decoder is 12.5 volts so that necessitates using current limiting resistors connected to the negative cathode leads of the LEDs. I tend to use 1.5 K ohm ½ watt resistors, but when space is really limited, I use SMD 1/8 watt 1.8K resistors. (See my previous article “Installation of an NCE D13W Mobile Decoder into a LifeLike GP9 Diesel Locomotive”)

LifeLike Proto 2000 GP9 ... Decoder NCE D14SR (In iOS PDF files, images can be enlarged by double tapping on the image)
Page 6 of 13
NOTE THE PHOTOS ABOVE DEPICT THE ORIGINAL WIRING as first seen after removing the shell. The 8 pin connector I used was salvaged from an old P2K locomotive in which I had installed a sound decoder. 8 pin connectors can be

LifeLike Proto 2000 GP9 ... Decoder NCE D14SR (In iOS PDF files, images can be enlarged by double tapping on the image)
Page 7 of 13
purchased or you can buy the decoder with an included 8 pin harness. The NCE D14SR did not include a harness as it is designed for use with DCC Ready locomotives that have the 8 pin connector already installed. Make all wire connections to the 8 pin connector as indicated in the schematic of the 8 pin connector shown above (page 4). When it comes time to connect the 8 pin harness to the ‘male’ pins of the decoder, make sure all pins are straight, and no pins or wires are compromised when pressing the decoder and 8 pin plug together. Note that I also soldered the wire connections to the 8 pin connector directly, rather than just relying on the plastic clips to secure the connections.

LifeLike Proto 2000 GP9 ... Decoder NCE D14SR (In iOS PDF files, images can be enlarged by double tapping on the image)
Page 8 of 13
Note the LEDs have a common connection via blue wires from their anodes +ve leads to pin 7 on the 8 pin connector. The negative lead from the front LED connects to pin 6 (via white wire), and the negative lead from the rear headlight connects to pin 2 via yellow wire. Pin 5 connects to the negative motor terminal brass metal strip on the top of the motor via grey wire. See the wiring schematic above (page 4) to complete all necessary connections to the 8 pin plug. After making these connections secure the wiring with Kapton tape, so no wires are pinched when replacing the shell!

LifeLike Proto 2000 GP9 ... Decoder NCE D14SR (In iOS PDF files, images can be enlarged by double tapping on the image)
Page 9 of 13
It is good practice to isolate the decoder from any contact with the
metal chassis by placing Kapton tape on all appropriate metal surfaces.

LifeLike Proto 2000 GP9 ... Decoder NCE D14SR (In iOS PDF files, images can be enlarged by double tapping on the image)
Page 10 of 13
After securing wires and insulating the decoder its time to replace the shell and do some fine tuning of the motor by programming some CVs!
CN 4346. LifeLike Proto 2000 GP9 ... Decoder NCE D14SR Date July 22 2019 Setting CVs Short address = 3 Long Address = 4346 CV 65 = 0 Kick start CV 2 = 10 128 speed steps Manufacturer = 11 Dir Mode Decoder version = 35
LifeLike Proto 2000 GP9 ... Decoder NCE D14SR (In iOS PDF files, images can be enlarged by double tapping on the image)
Page 11 of 13
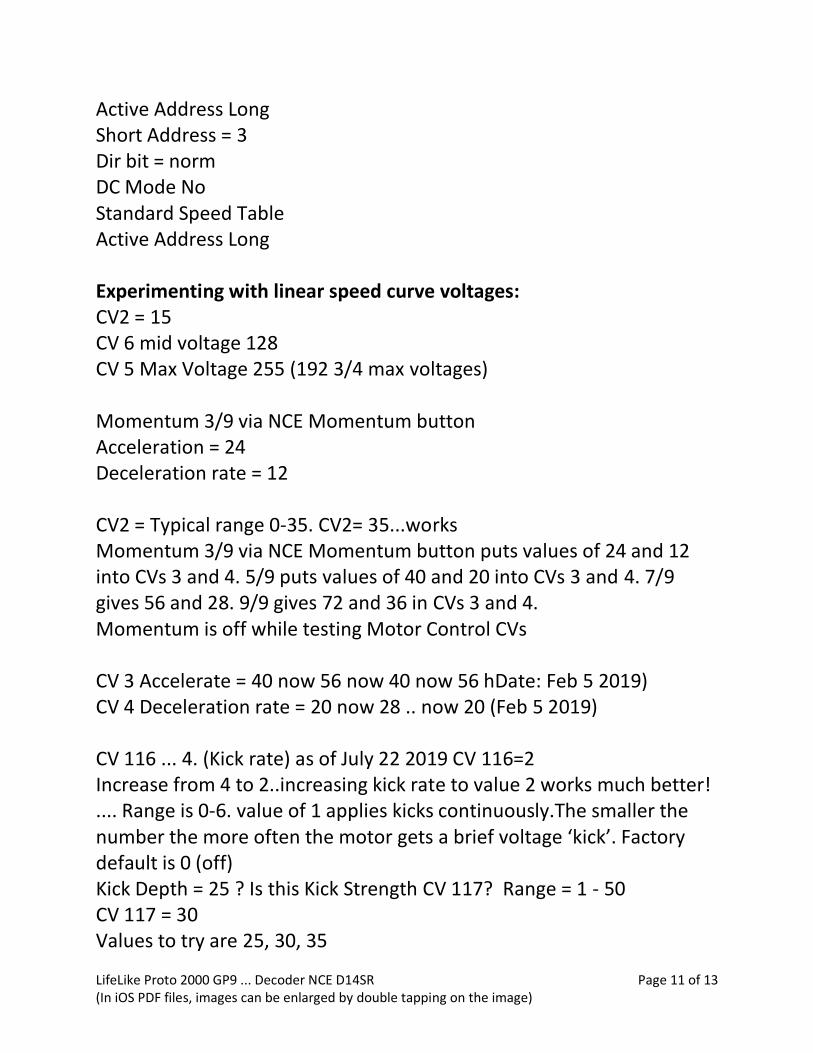
Active Address Long Short Address = 3 Dir bit = norm DC Mode No Standard Speed Table Active Address Long Experimenting with linear speed curve voltages: CV2 = 15 CV 6 mid voltage 128 CV 5 Max Voltage 255 (192 3/4 max voltages) Momentum 3/9 via NCE Momentum button Acceleration = 24 Deceleration rate = 12 CV2 = Typical range 0-35. CV2= 35...works Momentum 3/9 via NCE Momentum button puts values of 24 and 12 into CVs 3 and 4. 5/9 puts values of 40 and 20 into CVs 3 and 4. 7/9 gives 56 and 28. 9/9 gives 72 and 36 in CVs 3 and 4. Momentum is off while testing Motor Control CVs CV 3 Accelerate = 40 now 56 now 40 now 56 hDate: Feb 5 2019) CV 4 Deceleration rate = 20 now 28 .. now 20 (Feb 5 2019) CV 116 ... 4. (Kick rate) as of July 22 2019 CV 116=2 Increase from 4 to 2..increasing kick rate to value 2 works much better! .... Range is 0-6. value of 1 applies kicks continuously.The smaller the number the more often the motor gets a brief voltage ‘kick’. Factory default is 0 (off) Kick Depth = 25 ? Is this Kick Strength CV 117? Range = 1 - 50 CV 117 = 30 Values to try are 25, 30, 35

LifeLike Proto 2000 GP9 ... Decoder NCE D14SR (In iOS PDF files, images can be enlarged by double tapping on the image)
Page 12 of 13
CV 2 = 35 CV 6 = 128 (maybe should be 163?) CV 5 = 255 CV 116 = 2. kick frequency CV 117 = 30 kick strength. (Range is 1 to 50) (Momentum is off while testing Motor Control CVs) CV 95 ... 130.. (Reverse trim) loco seemed to run faster in reverse than in forward? Values 1 - 129 add to reverse speed. Values 129 to 255 add to forward speed. From factory CV 95 = 0 CV 95 = 140...now forward and reverse start speed are equal but too fast So will lower start voltage CV 2 = 30 .. still fast, 20 ... better but fast, CV 2 = 15...pretty good. Note this is no momentum! On block 9 yard 3 CV2 = 15 doesn’t work. Try CV 2 = 20, and CV 95 = 135 Add momentum.. 1 still works, 2 ..ok..3/9..better...4/9..ok, 5/9..pretty good! Try 7/9..best CV 3 = 56 CV 4 = 28 Now after adding momentum..forward speed seems faster than reverse..so lowered CV 95 to .. 130. Works!! Final CV settings as of July 22 2019> CV 2 = 30 CV 6 = 128 (maybe should be 143?) If you set VStart to larger than 0 you may want to increase VMid so a reasonable 'slope' is maintained in

LifeLike Proto 2000 GP9 ... Decoder NCE D14SR (In iOS PDF files, images can be enlarged by double tapping on the image)
Page 13 of 13
the speed curve. If you use high values in CV 117 (kick strength) then set CV 6 proportionally higher to maintain a smooth acceleration curve. CV 5 = 255 Current CV settings: CV 2 = 30 CV 6 = 143 CV 5 = 255 CV 116 = 2. kick frequency CV 117 = 35 kick strength. CV 3 = 56 CV 4 = 28 CV 95 = 135 CV 117 = 35 CV 116 = 2 Momentum = 4/9 (NCE) CV 120 output 1 forward light ..1 (forward direction) + 128 (led compensation) = 129 CV 121 output 2 rear headlight (pin 2) ..2 ( active in reverse direction only) + 128 (led compensation) = 130 Factory defaults for CV 120 and CV 121 are 1 and 2. For LED Compensation add 128. Maybe too much momentum? Won't start when pulling cars (consist 11 Yard 2). Therefore increase start voltage CV 2 = 30 and decrease momentum..4/9 Kick strength CV 117 = 35 Doug Dyer CN Spiritwood Sub Victoria BC