maintain your edge - toronto academy of · pdf filemaintain your edge instrumental in the...
TRANSCRIPT

Maintain Your Edge
Instrumental in the preservation of the environment and each other
Thank you….
To Toronto Academy of DentistryTo D-Sharp and rdhu
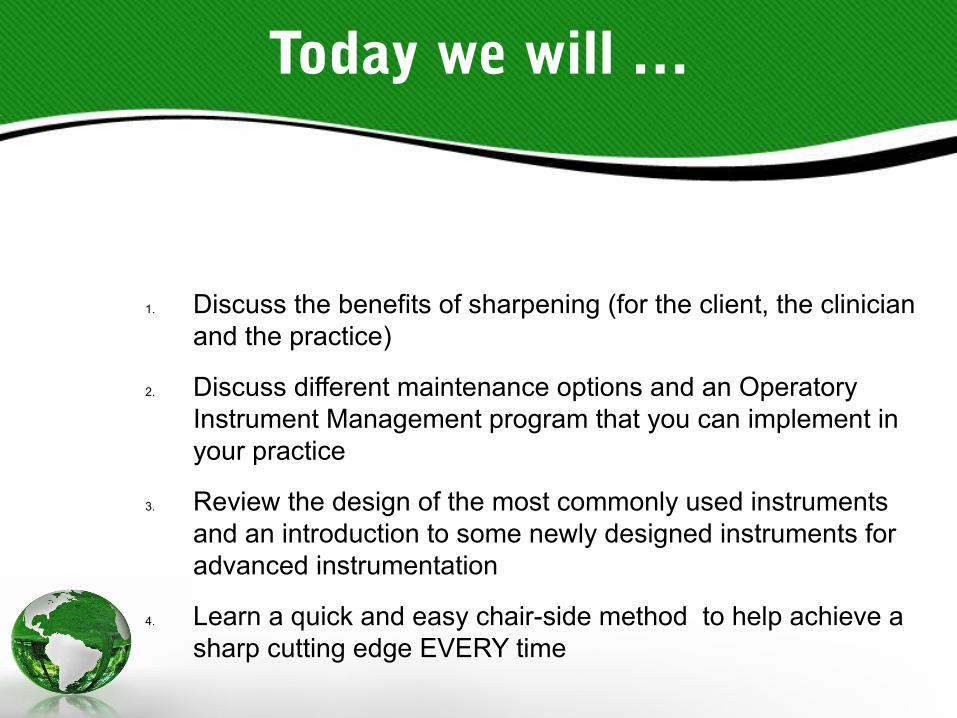
Today we will …
1. Discuss the benefits of sharpening (for the client, the clinician and the practice)
2. Discuss different maintenance options and an Operatory Instrument Management program that you can implement in your practice
3. Review the design of the most commonly used instruments and an introduction to some newly designed instruments for advanced instrumentation
4. Learn a quick and easy chair-side method to help achieve a sharp cutting edge EVERY time
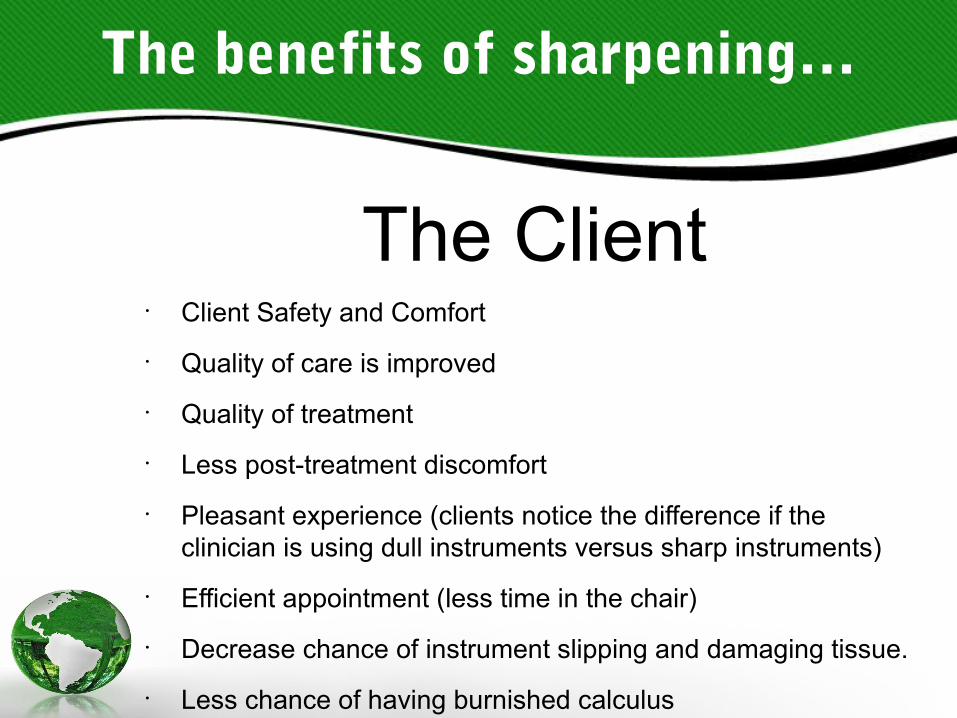
The benefits of sharpening…
The Client• Client Safety and Comfort• Quality of care is improved• Quality of treatment• Less post-treatment discomfort
• Pleasant experience (clients notice the difference if the clinician is using dull instruments versus sharp instruments)
• Efficient appointment (less time in the chair)• Decrease chance of instrument slipping and damaging tissue.• Less chance of having burnished calculus
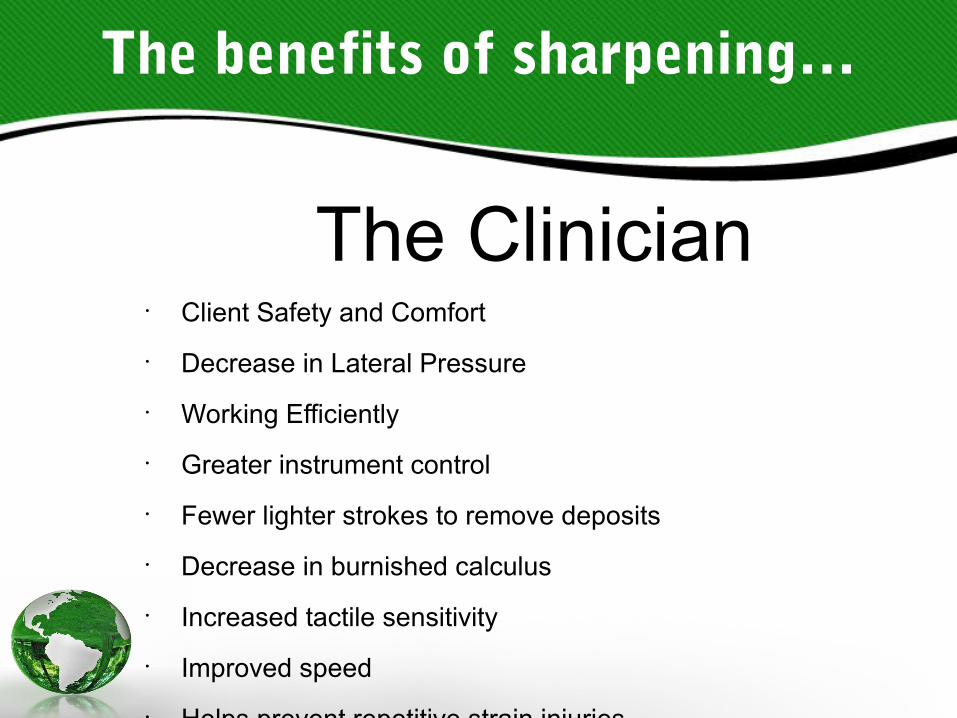
The benefits of sharpening…
The Clinician• Client Safety and Comfort• Decrease in Lateral Pressure• Working Efficiently• Greater instrument control
• Fewer lighter strokes to remove deposits • Decrease in burnished calculus• Increased tactile sensitivity• Improved speed• Helps prevent repetitive strain injuries• Decrease fatigue
• Instruments last longer
The benefits of sharpening…
The Practice• Client Safety and Comfort• Increases efficiency• Less fatigued clinicians • Fewer sick days for the clinician (due to Repetitive Strain
Injury) • More thorough appointment (effective treatment)
• Better client experience • Increase retention and referral rate• Instruments last longer when properly maintained (saves
money).
The goal of instrument sharpening…
• To produce a sharp cutting edge that is easily attained and sustained
• To use a method that is quick and easy and cost effective• To maintain the original shape and design of the instrument

Instrument Maintenance: Frequently Asked Questions!
• How often should I sharpen?• When should I sharpen? • How often should I purchase new instruments or re-tip?• We are so disorganized with our instruments? Which ones are
sharp…which need to be replaced…what do we do with all the old instruments?
• I don’t like other hygienists sharpening my instruments. What can I do?
• My employer doesn’t want to spend money on instruments! Any suggestions?
• I am opening my own practice and need to watch what I spend on instruments, can you help me?
• I temp in many offices and I am always left with the worst instruments that you could find in the practice!!! What
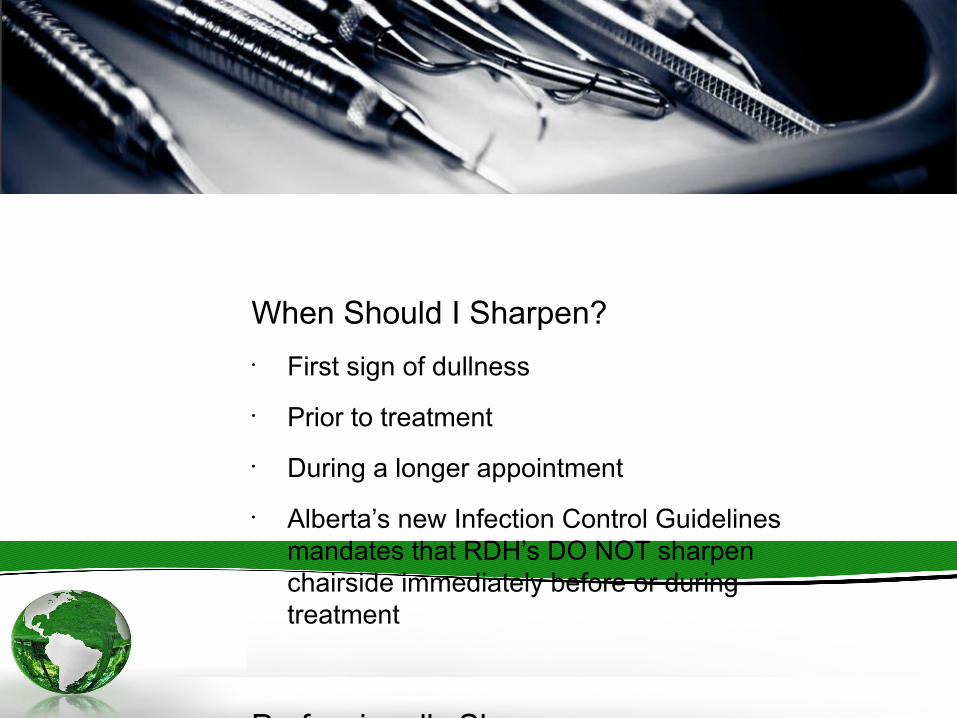
When Should I Sharpen?• First sign of dullness
• Prior to treatment• During a longer appointment• Alberta’s new Infection Control Guidelines
mandates that RDH’s DO NOT sharpen chairside immediately before or during treatment
Professionally Sharpen• Extend the life of your instrument
• Re-shape/re-sharpen
• Instruments become beveled at approximately 4 months

Re-Tip (Intro-Cusp: Introducing new tips to an existing handle)• Saves money • Save on waste (re-uses existing
handle)• Safe process • 440A Surgical Stainless Steel tips
(North American Certified Steel)

Instrument Maintenan
ce…
Trade-in Old Instruments• Many companies offer trade-in
specials• Trade-in old instruments
(octagonal, plastic or if you do not want to re-tip)
• Save money on new purchase• Old instruments can be refurbished
and donated to Missionary Groups
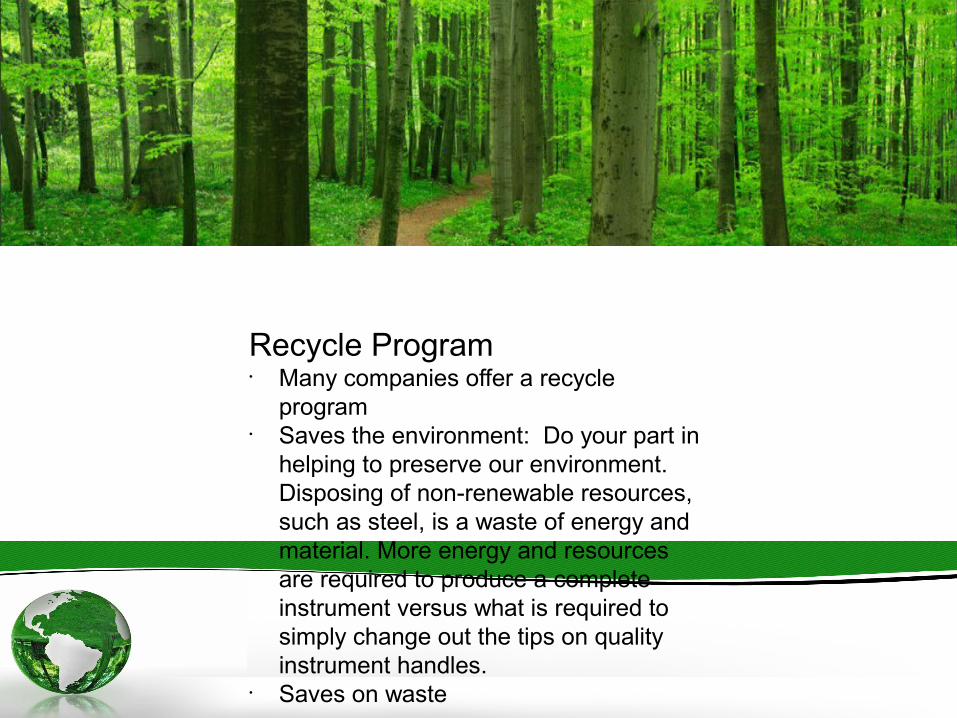
Recycle Program• Many companies offer a recycle
program• Saves the environment: Do your part in
helping to preserve our environment. Disposing of non-renewable resources, such as steel, is a waste of energy and material. More energy and resources are required to produce a complete instrument versus what is required to simply change out the tips on quality instrument handles.
• Saves on waste

• Instrument Management Programs
• Designed for practices seeking to provide optimal instrumentation, to better manage their dental hygiene instruments and to reduce instrument costs.
• It is a program that will put systems in place to ensure that all the dental hygienists in the practice are always using optimal instruments.
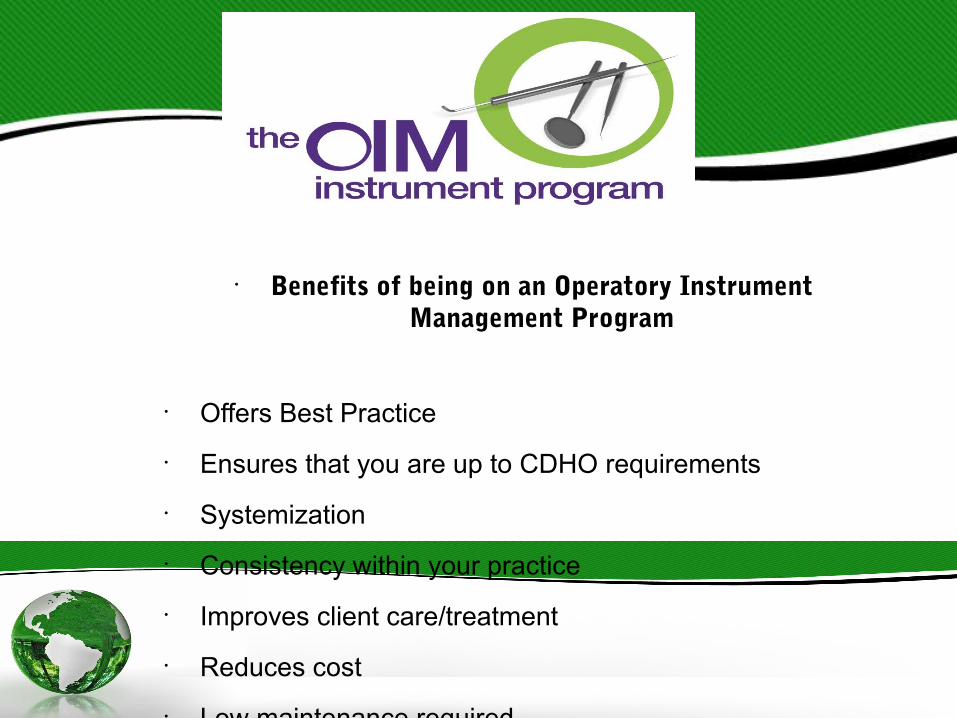
• Benefits of being on an Operatory Instrument Management Program
• Offers Best Practice
• Ensures that you are up to CDHO requirements• Systemization• Consistency within your practice• Improves client care/treatment• Reduces cost• Low maintenance required
• Helps with ordering• Reduces waste (reduces old instrument disposal)• Ensures that all dental hygienists are always using
optimal instruments

• Within Your Own Practice:
• Team up with other dental hygienists in your practice• Do frequent instrument inspection TOGETHER• Frequent professional sharpening/ replacement• A systemized approach to sharpening in the office
• Replace/sharpen ALL instruments at the same time• No ID on instrument, therefore colour code
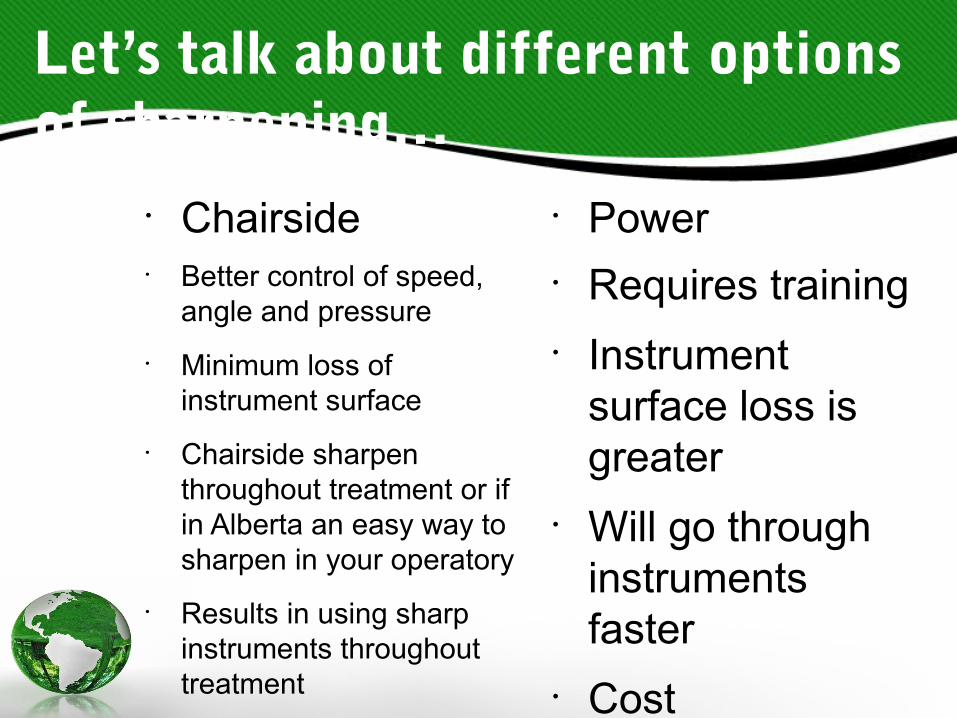
Let’s talk about different options of sharpening…
• Chairside• Better control of speed,
angle and pressure• Minimum loss of
instrument surface• Chairside sharpen
throughout treatment or if in Alberta an easy way to sharpen in your operatory
• Results in using sharp instruments throughout treatment
• Greater comfort for the client
• Greater efficiency and comfort for the clinician
• Power• Requires training• Instrument
surface loss is greater
• Will go through instruments faster
• Cost• Set time aside• Takes up space• Cannot do
chairside throughout hygiene treatment
• Benefit: quick sharp results if used properly
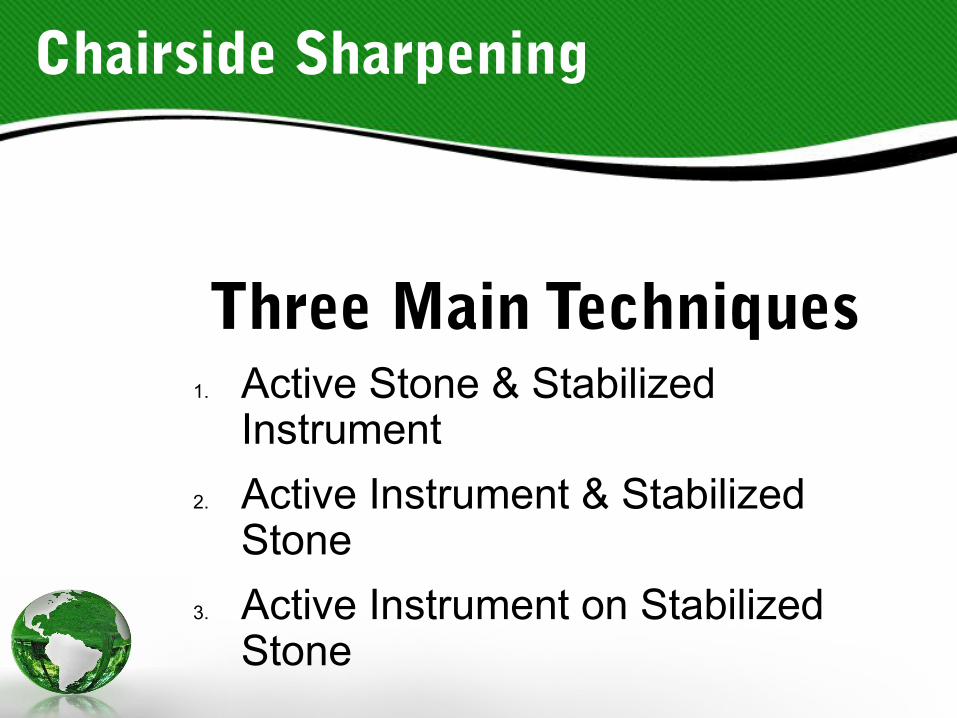
Chairside Sharpening
Three Main Techniques1. Active Stone & Stabilized
Instrument2. Active Instrument & Stabilized
Stone3. Active Instrument on Stabilized
Stone
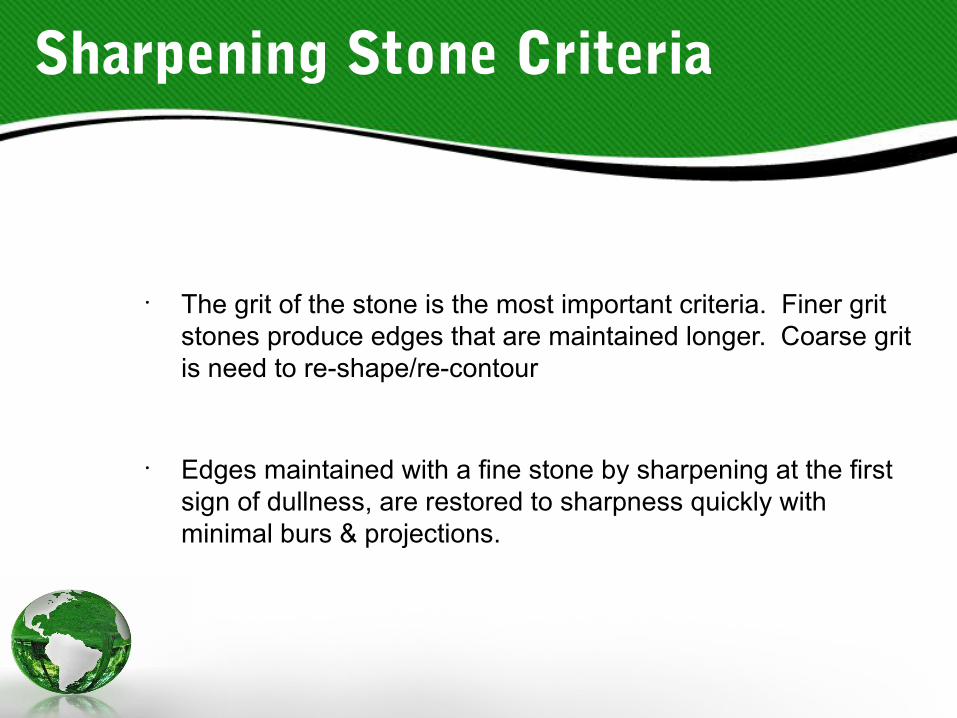
Sharpening Stone Criteria
• The grit of the stone is the most important criteria. Finer grit stones produce edges that are maintained longer. Coarse grit is need to re-shape/re-contour
• Edges maintained with a fine stone by sharpening at the first sign of dullness, are restored to sharpness quickly with minimal burs & projections.
Sharpening Stones - Natural
Natural Sharpening Stones• Example Arkansas or India Stone• Conical stone – for sharpening the face of
the blade – not best practice – weakens the blade
• Natural pits and voids which fill with metal shavings which creates a glassy surface, not conducive for effective sharpening
• Metal becomes lodged• Hard on instrument edge• Inconsistent grit throughout

Sharpening Stone - Synthetic
Sharpenator Stones/Edgemate• Aluminum oxide• Consistent grit throughout• Metal does not become lodged in stone• Variety of shapes and sizes• Small size for kits and the smaller hand• Medium size for average to larger size
hands • Better grip and control of the stone with
medium size• Easily sterilized – wash/scrub and
sterilize with instruments• Variety of grits (fine, medium, coarse)
Edge II is our most popular – coarse on one side and fine/med on the other
• Attains a sharp edge quick!

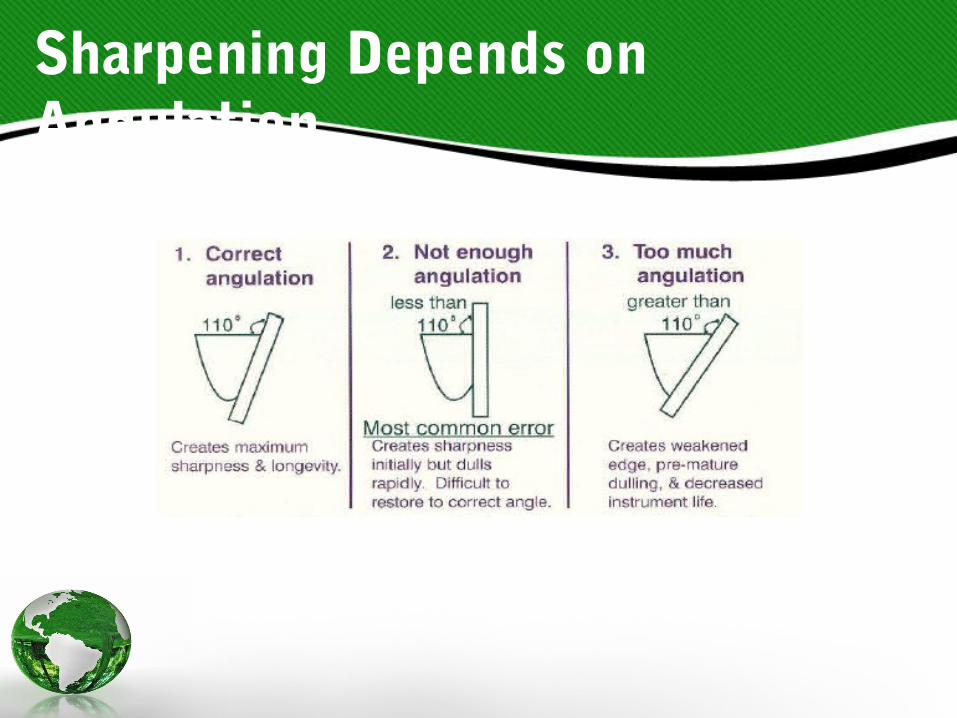
Sharpening Depends on Angulation
Sharpening is dependent on correct angulation• Correct angulation = maximum sharpness &
longevity
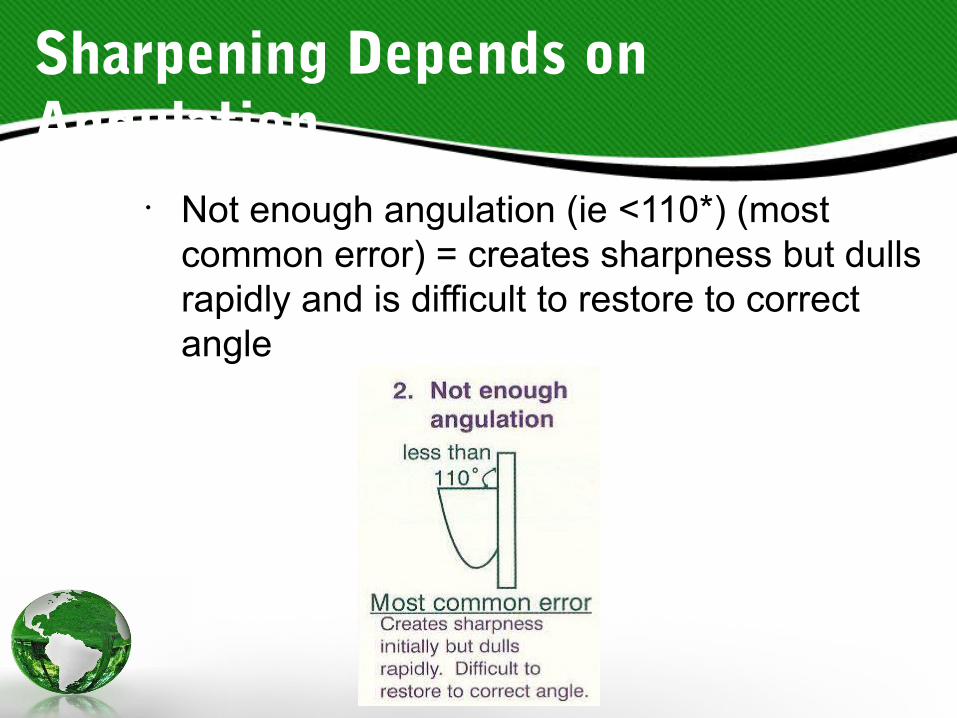
Sharpening Depends on Angulation
• Not enough angulation (ie <110*) (most common error) = creates sharpness but dulls rapidly and is difficult to restore to correct angle
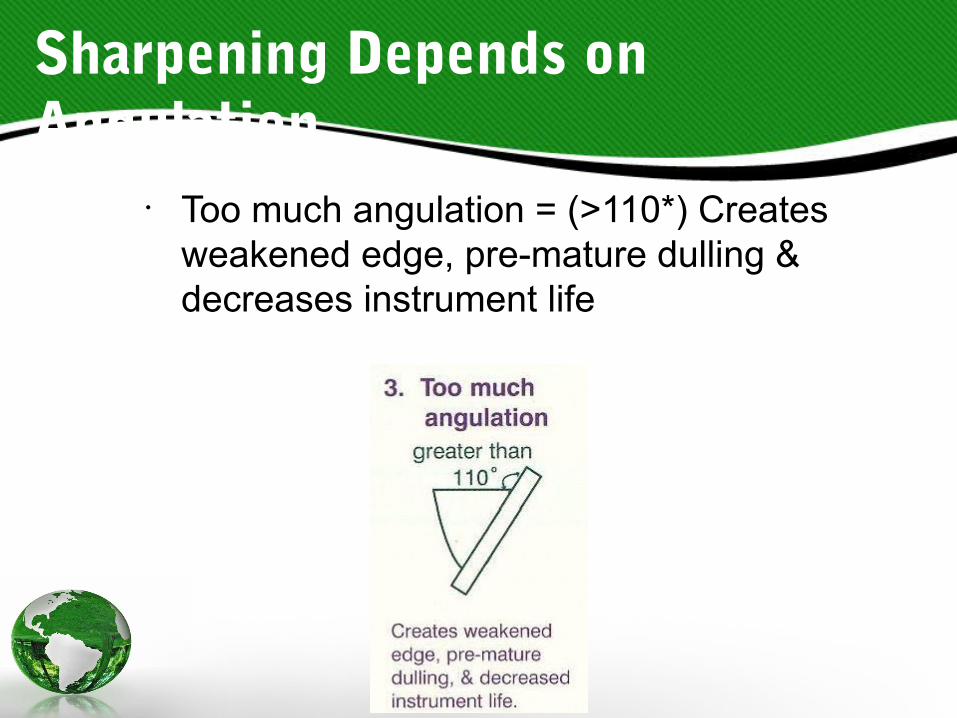
Sharpening Depends on Angulation
• Too much angulation = (>110*) Creates weakened edge, pre-mature dulling & decreases instrument life
Sharpening Depends on Angulation

Sharpening Depends on Angulation
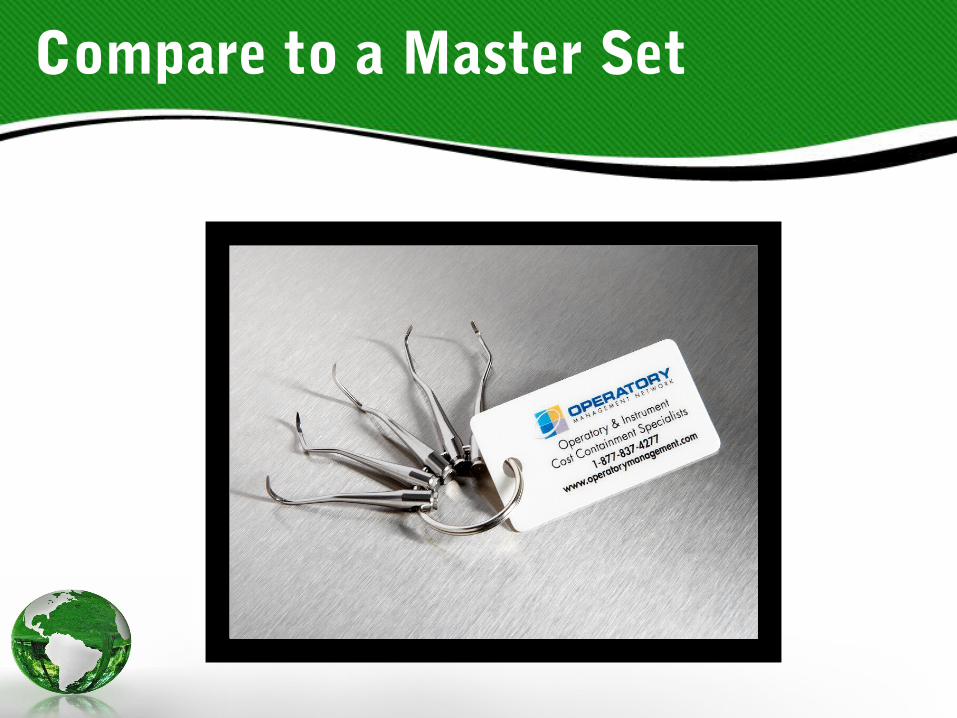
Compare to a Master Set
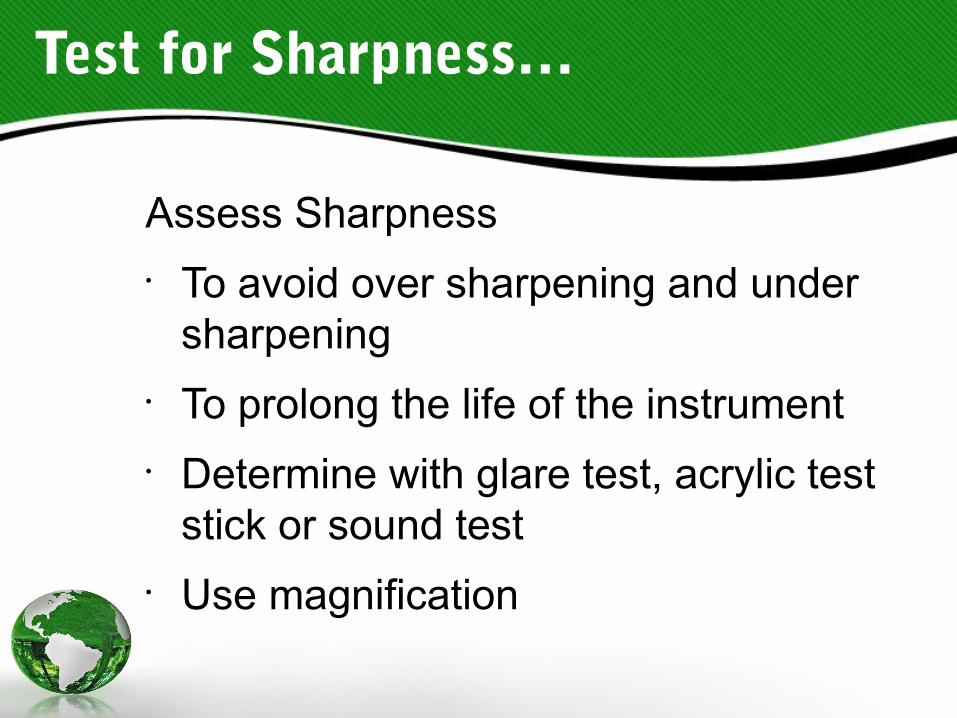
Test for Sharpness…
Assess Sharpness• To avoid over sharpening and under
sharpening• To prolong the life of the instrument• Determine with glare test, acrylic test
stick or sound test• Use magnification
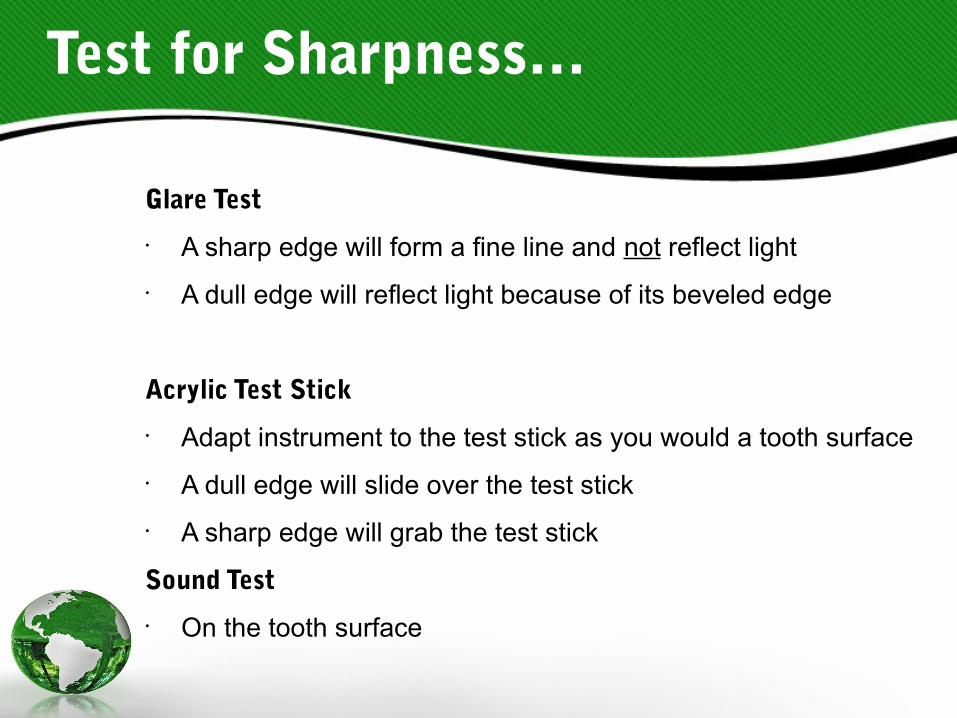
Test for Sharpness…
Glare Test
• A sharp edge will form a fine line and not reflect light• A dull edge will reflect light because of its beveled edge
Acrylic Test Stick
• Adapt instrument to the test stick as you would a tooth surface• A dull edge will slide over the test stick• A sharp edge will grab the test stick
Sound Test
• On the tooth surface
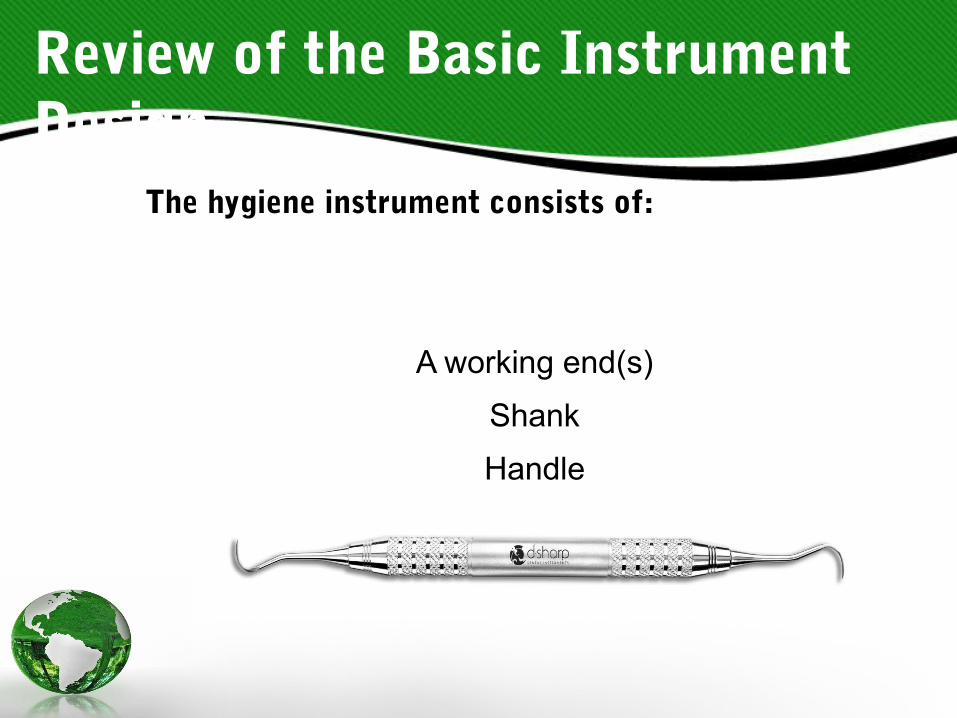
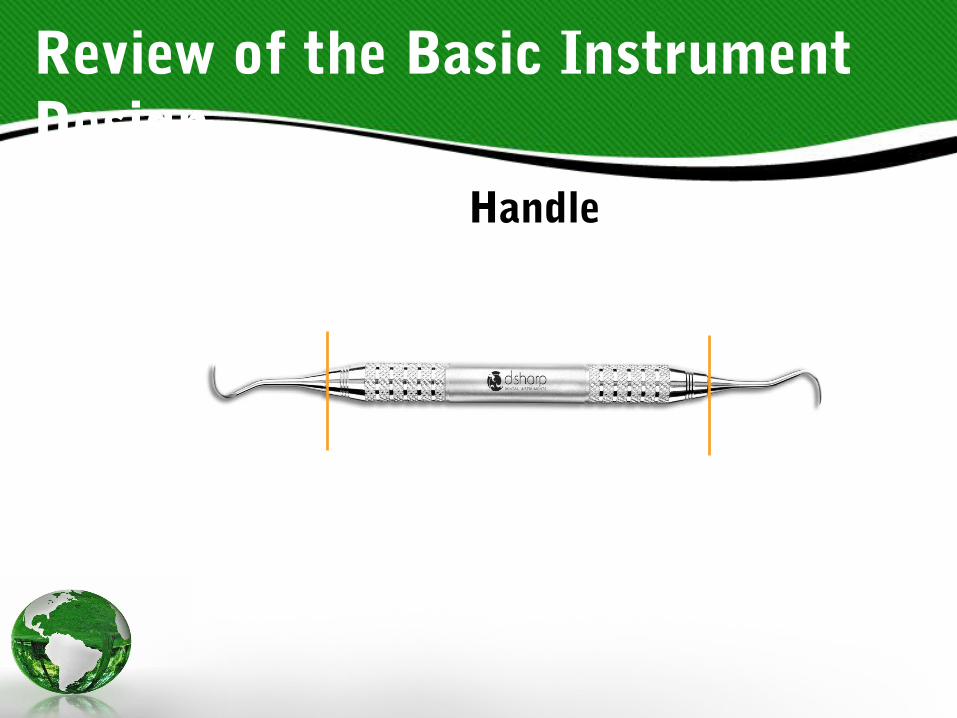
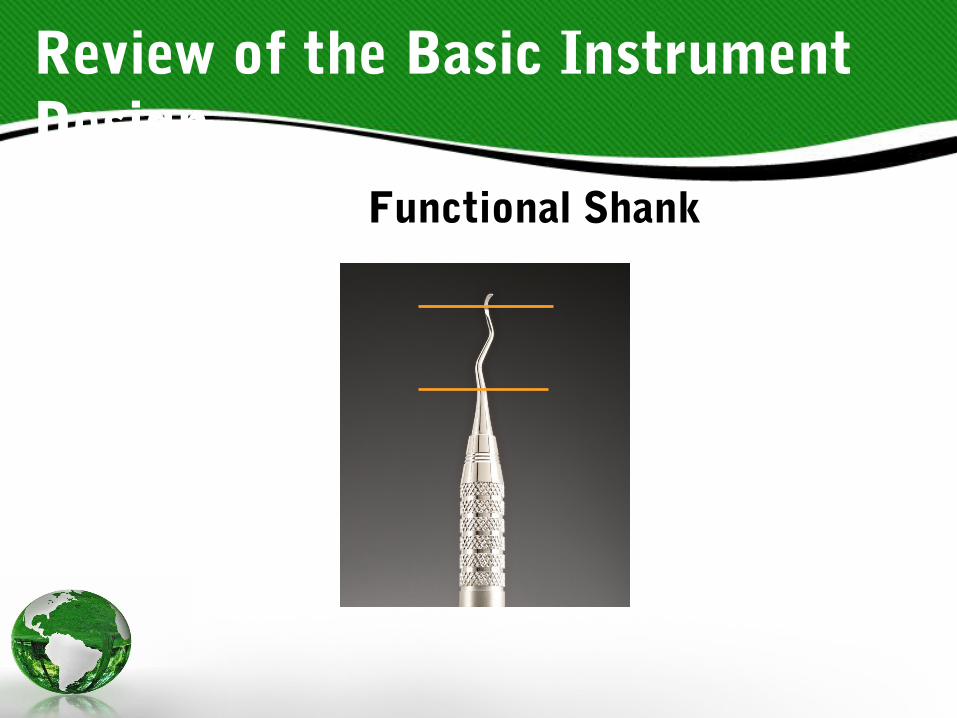
Review of the Basic Instrument Design
The hygiene instrument consists of:
A working end(s)
Shank
Handle
Review of the Basic Instrument Design
Handle

Review of the Basic Instrument Design
Working end

Review of the Basic Instrument Design
Working end
Review of the Basic Instrument Design
Functional Shank

Review of the Basic Instrument Design
Terminal Shank

Review of the Basic Instrument Design
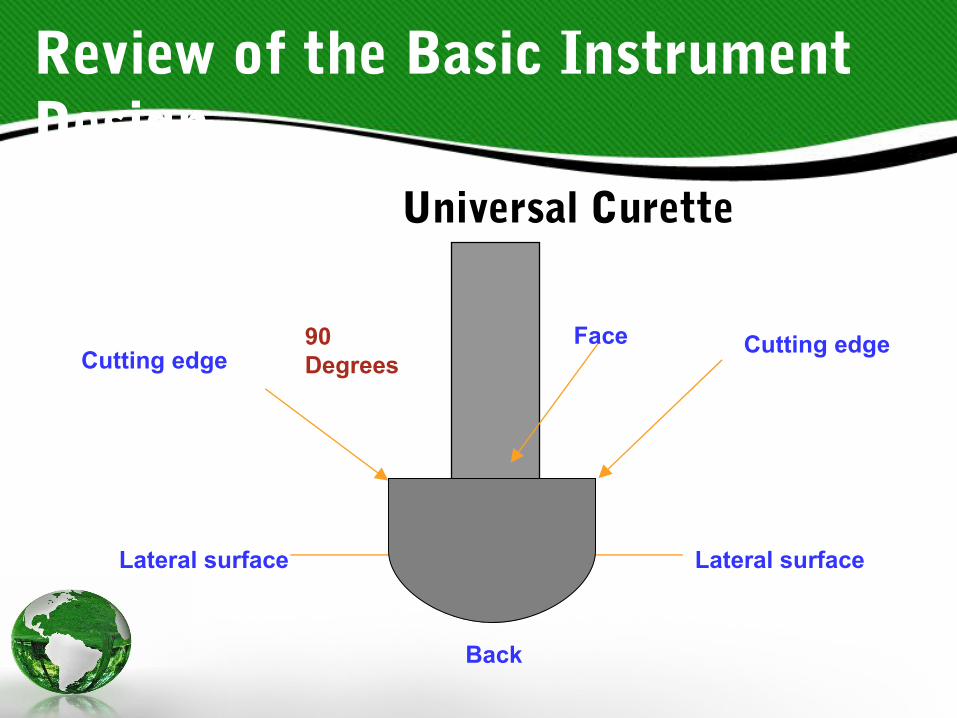
Sickle Scaler
90 Degrees
Face Cutting edge
Lateral surface
Back
Lateral surface
Cutting edge
Review of the Basic Instrument Design
Universal Curette
90 Degrees
Face Cutting edge
Lateral surface
Back
Lateral surface
Cutting edge
Review of the Basic Instrument Design
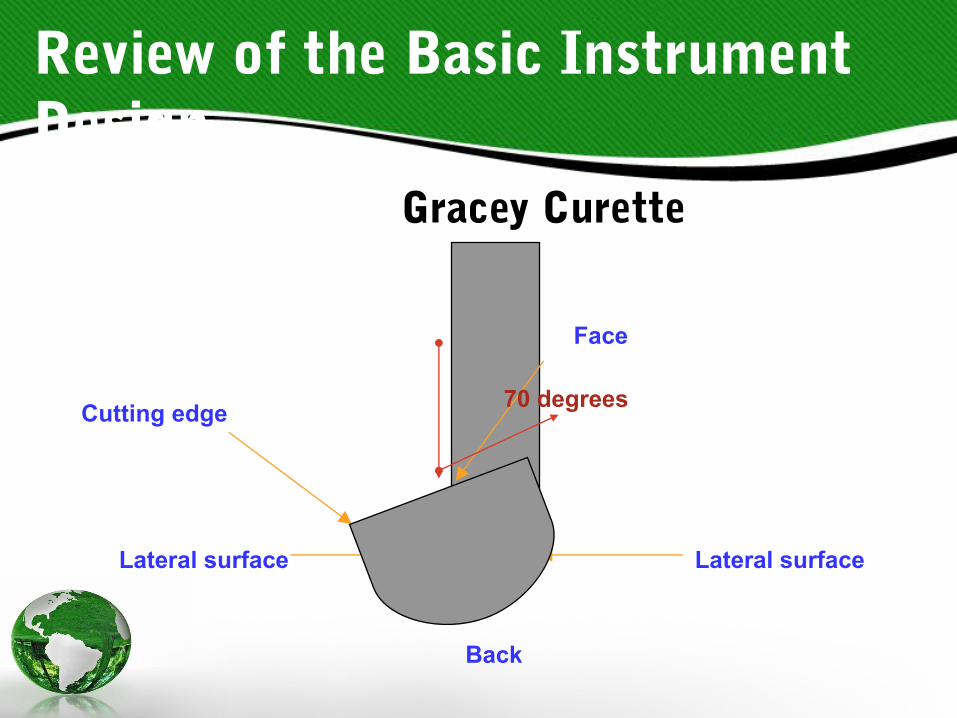
Gracey Curette
Face
Lateral surface
Back
Lateral surface
Cutting edge 70 degrees
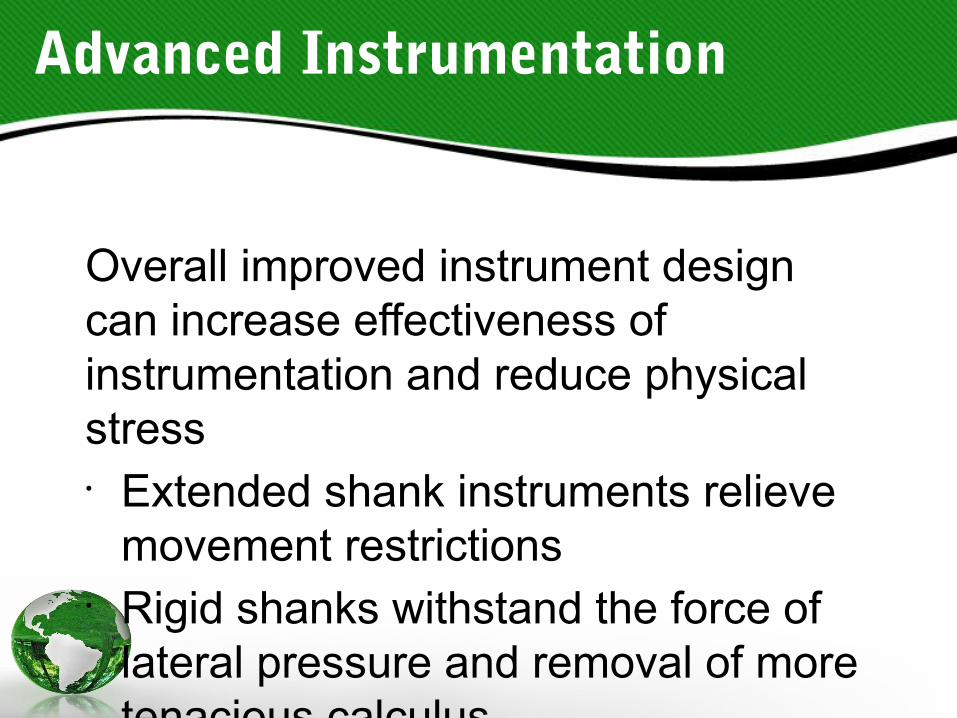
Advanced Instrumentation
Overall improved instrument design can increase effectiveness of instrumentation and reduce physical stress• Extended shank instruments relieve
movement restrictions• Rigid shanks withstand the force of
lateral pressure and removal of more tenacious calculus
• Thinner blades improve access to restricted anatomical areas

Langer Curettes
Langer curettes differ from other universal curettes in three important respects:
• Each curette is limited to use only on certain teeth and certain tooth surfaces. For this reason, several Langer curettes are required to instrument the entire mouth.
• A Langer curette has a long complex functional shank design like that of a Gracey curette.
• A set of three Langer curettes – the Langer 5/6, 1/2, 3/4 – is needed to instrument the entire dentition. The Langer 17/18 – which facilitates access to the posterior teeth – may be used on molar teeth.

Langer Curettes
Indications and Contraindications:1. Langer 1/2 for mesial and distal mandibular
posterior surfaces2. Langer 3/4 for mesial and distal maxillary posterior
teeth3. Langer 5/6 for mesial and distal maxillary and
mandibular anterior surfaces4. Langer 17/18 for mesial and distal 2nd and 3rd
molars - an adaptation of the Langer 1/2 (For the client that has difficulty opening wide. The L 17/18 makes it easier to position the lower shank parallel to the mesial surface of molar teeth)

Langer Curettes

Langer Curettes

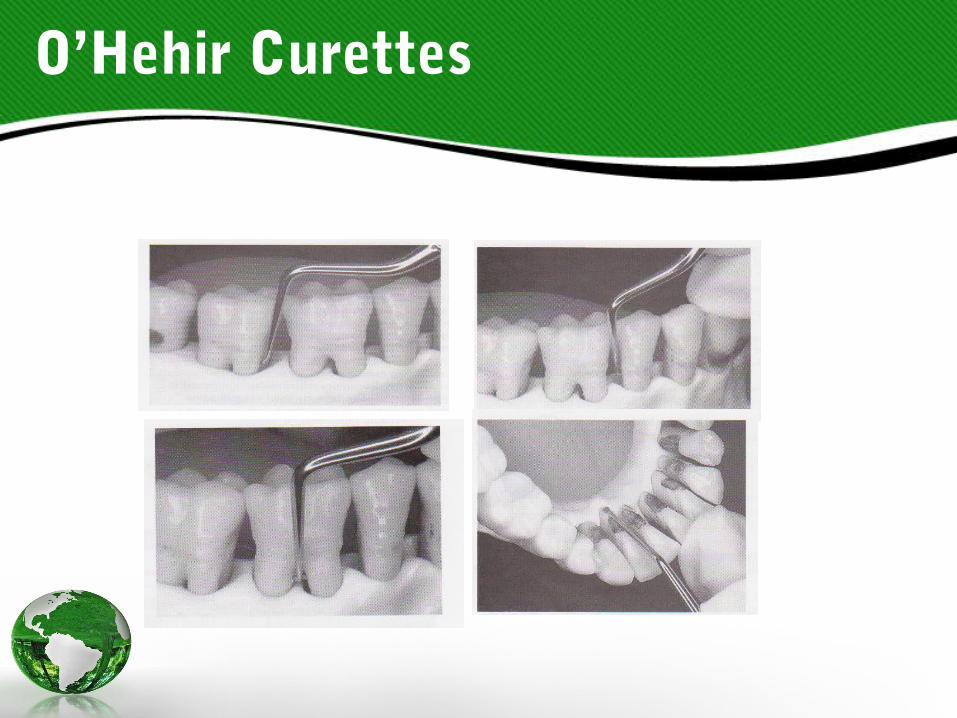
O’Hehir Curettes
The O’Hehir Debridement curettes are a new type of area-specific curette designed to remove light residual calculus deposits and bacterial contaminants from the entire root surface.
Used with a gentle stroke pressure with either push or pull strokes. Shape of Working-End The working-end is a tiny circular disk.

O’Hehir Curettes
Indications and Contraindications:Entire edge is a cutting edge enabling a push or pull stroke in all directions vertical, horizontal or oblique
Shanks are extended for easy access into deep pocketsOH 1/2 Facial and lingual surfaces of posterior teethOH 3/4 Mesial and distal surfaces of posterior teethOH 5/6 Anterior teethOH 7/8 Anterior teeth with deep pockets

O’Hehir Curettes
O’Hehir Curettes

What’s needed?
• Stable work surface• Magnification – many dental hygienists are not
aware of magnification in instrument sharpening. It speeds both assessment of edge quality & attainment of edge sharpness. A small light microscope provides optimal vision but any magnification is better than none!
• A good lighting source• Chair-side Guide• Sharpening Stone• Test stick• Gauze• Instrument guide or master set of instruments for
comparison• Protective wear (gloves, mask, eyewear)
The Basics of Sharpening
• Position the instrument (use a sharpening guide)• Hold and stabilize the instrument in non-dominant
hand• Hold the stone in dominant hand at 110*• Toe of blade facing toward you• Face of the blade parallel to the floor• Move the stone in short rhythmic strokes (.5” – 1”)
up and down motion from heel, to middle to toe keeping the design of the blade in mind
• Applying light pressure (slightly heavier pressure on the down stroke)
• Never lose contact of instrument and stone• Ending at tip of toe for sickles and opposite side for
rounded toe for curettes on a down stroke

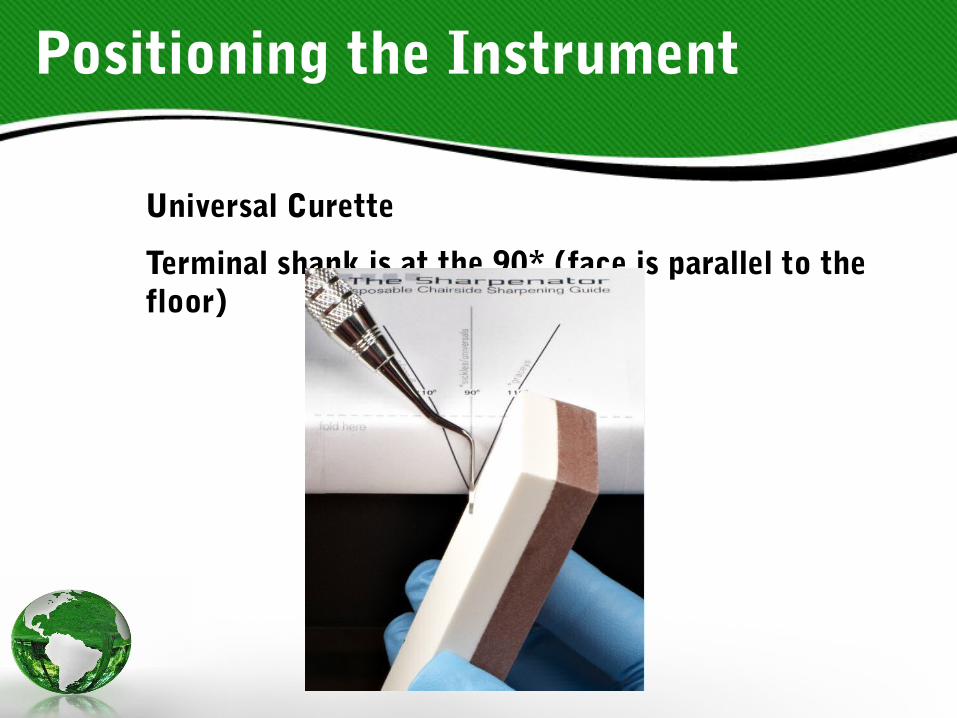
Positioning the Instrument
Sickle Scaler:• Terminal shank is at the 90* (face is parallel
to the floor)
Universal Curette• Terminal shank is at the 90* (face is parallel
to the floor)
Gracey Curette• Terminal shank is at the 110* (face is
parallel to the floor)

Positioning the Instrument
Sickle Scaler:
Terminal shank is at the 90* (face is parallel to the floor)
Positioning the Instrument
Universal Curette
Terminal shank is at the 90* (face is parallel to the floor)
Positioning the Instrument
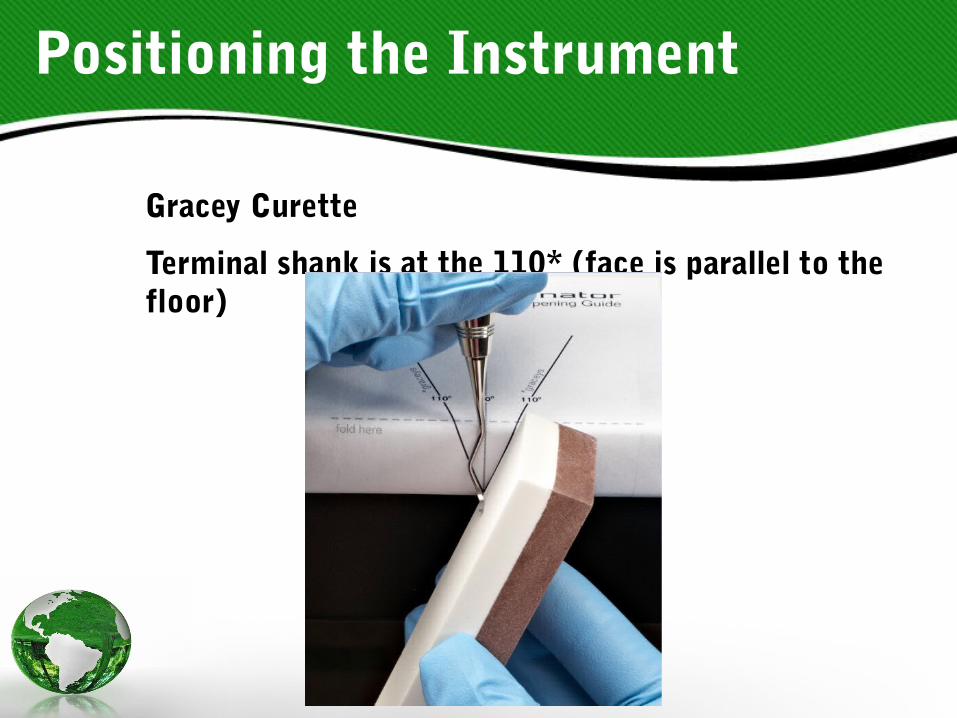
Gracey Curette
Terminal shank is at the 110* (face is parallel to the floor)

References:
• Clinical Practice of the Dental Hygienist, Wilkins, 10th Edition
• CRDHA Protocol for Sharpening Dental Hygiene Instruments, 2011
• Dental Hygiene Theory and Practice, Darby & Walsh, 2nd Edition

Thank you!!!
Instrumental in the preservation of the environment and each other © Property of Kathleen Bokrossy, RDH Not for re-use, Not to be duplicated