making a vacuum forming table - wordpress.com · making a vacuum forming table firstly, here is the...
TRANSCRIPT

Making a vacuum forming table
Firstly, here is the principle of a vacuum forming table.You have a domestic vacuum cleaner connected to a right angled plumbing tool, so air gets sucked from the centre of thetop of the table. Holes are drilled on top of the table for the air to be sucked through, of course the table needs to be air tight.
Materials you will need for this project:
12mm or 20mm MDF for the table topTwo 6' long strips of 10.5mm x 16mm pinePaper masking tapeRight angled tube and short straight tube (same size as your vacuum cleaner uses)Silicone sealant (eg bathroom sealant)GlueScrewsScrap MDF or any other woodMounting board (for pictures)Kitchen tin foil containerOld piece of foam packaging (optional)
You will also need a domestic vacuum cleaner, staple gun, hammer, drill, saw.
First thing is to work out is the size of the frame you need to make (the plastic sheet will be sandwiched between the frame,lowered onto the mold later). If for example the sides of your final casing are to be 30mm high, then you really need at leastthat amount of clearance on the sides, otherwise the plastic will be too stretched.

The strips of pine are cut out to form a frame, and the pieces are screwed to each other. You must use screws as of coursethe wood will go into the oven at about 220 celcius, so you can't use glue! Once made, cut out mounting board and staple tothe frames. This adds strength and helps to keep it airtight.
Good idea to test the frame in a hot oven for 10 mins (220 celcius), to make sure it is ok in that heat.
Next job is to cut a piece of 12mm / 20mm MDF to fit inside frame, cut some holes around the casing.
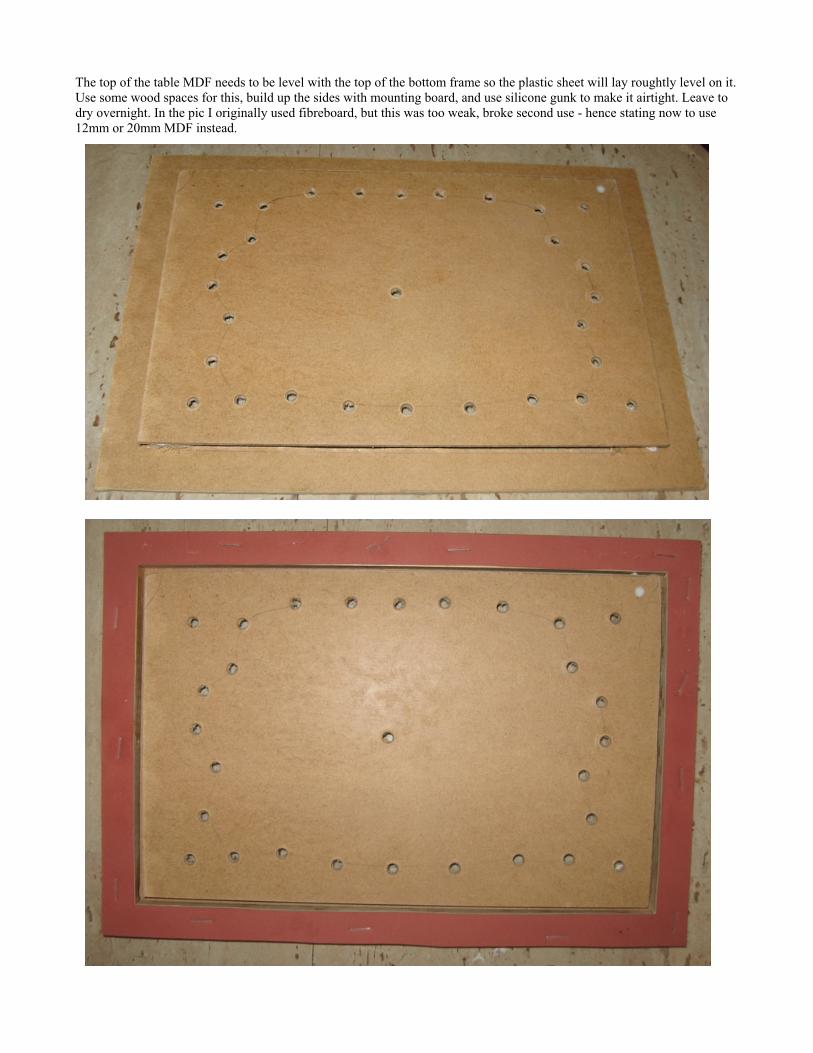
The top of the table MDF needs to be level with the top of the bottom frame so the plastic sheet will lay roughtly level on it.Use some wood spaces for this, build up the sides with mounting board, and use silicone gunk to make it airtight. Leave todry overnight. In the pic I originally used fibreboard, but this was too weak, broke second use - hence stating now to use12mm or 20mm MDF instead.
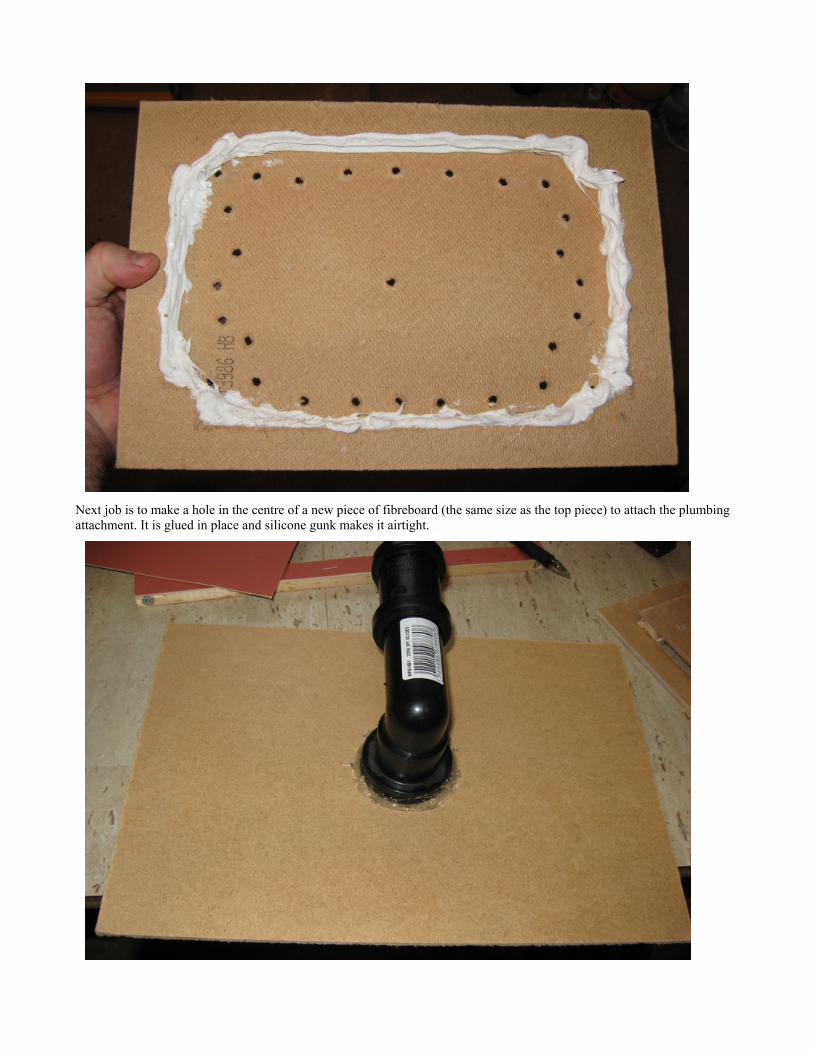
Next job is to make a hole in the centre of a new piece of fibreboard (the same size as the top piece) to attach the plumbingattachment. It is glued in place and silicone gunk makes it airtight.
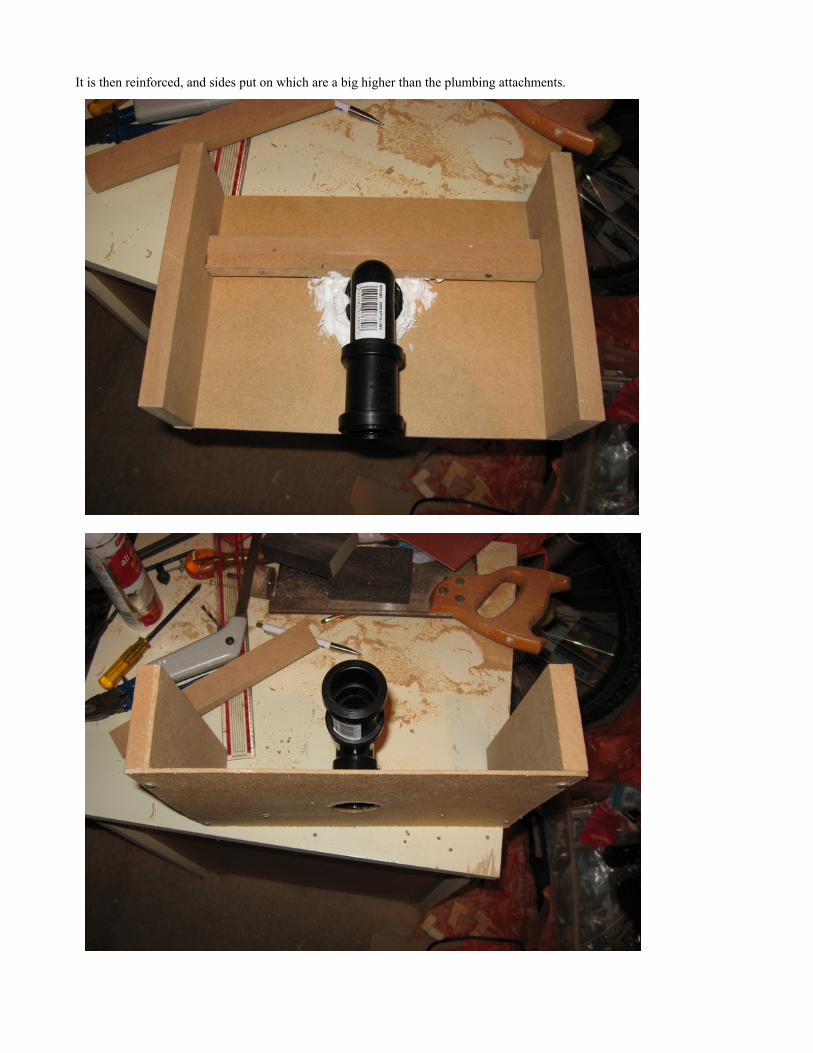
It is then reinforced, and sides put on which are a big higher than the plumbing attachments.
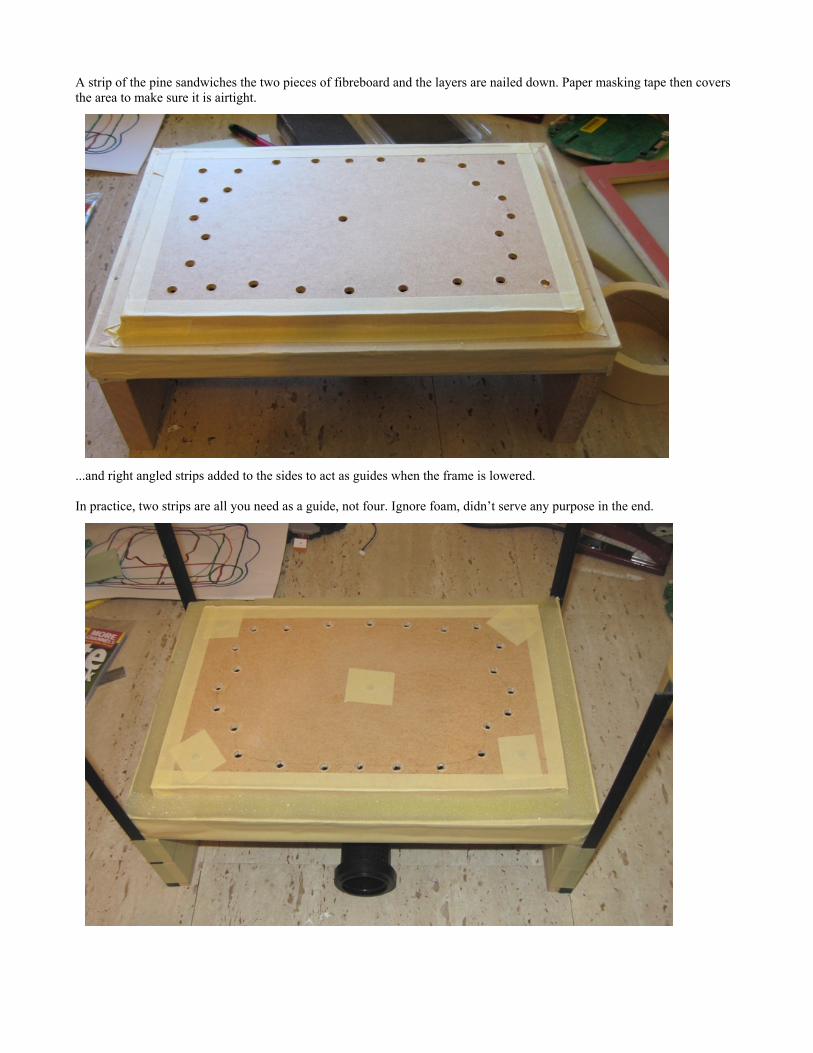
A strip of the pine sandwiches the two pieces of fibreboard and the layers are nailed down. Paper masking tape then coversthe area to make sure it is airtight.
...and right angled strips added to the sides to act as guides when the frame is lowered.
In practice, two strips are all you need as a guide, not four. Ignore foam, didn’t serve any purpose in the end.
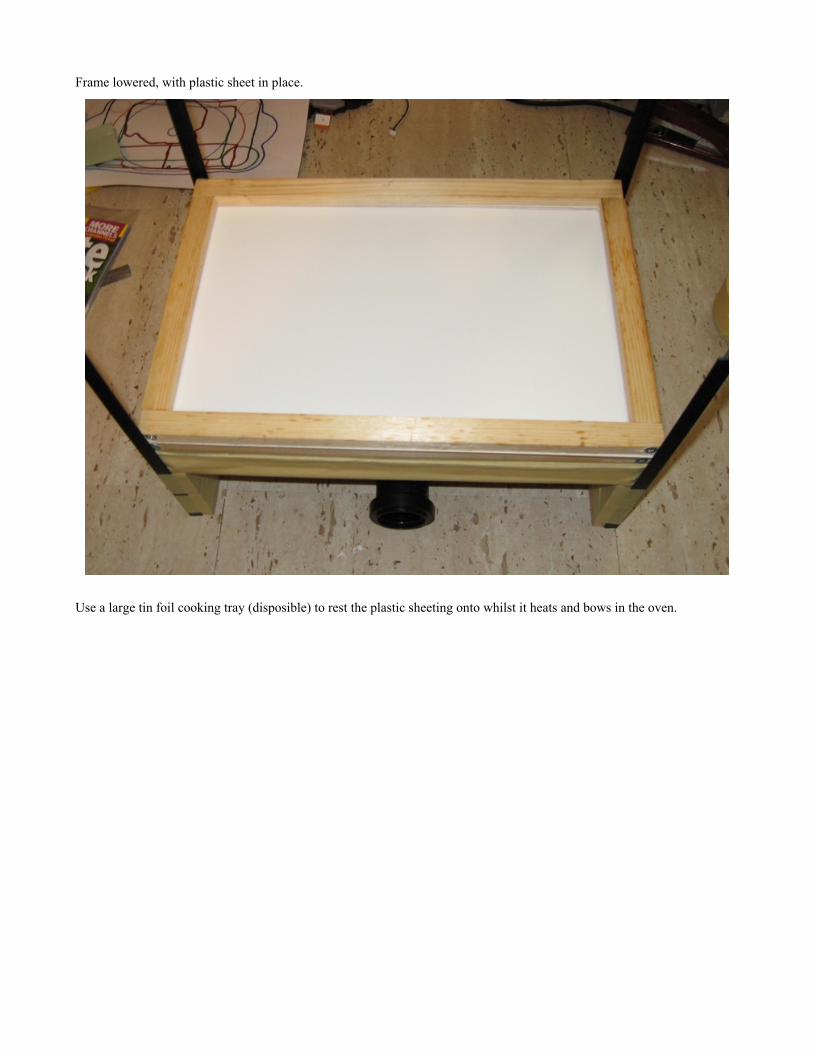
Frame lowered, with plastic sheet in place.
Use a large tin foil cooking tray (disposible) to rest the plastic sheeting onto whilst it heats and bows in the oven.