manure spreading log - ars : home
TRANSCRIPT
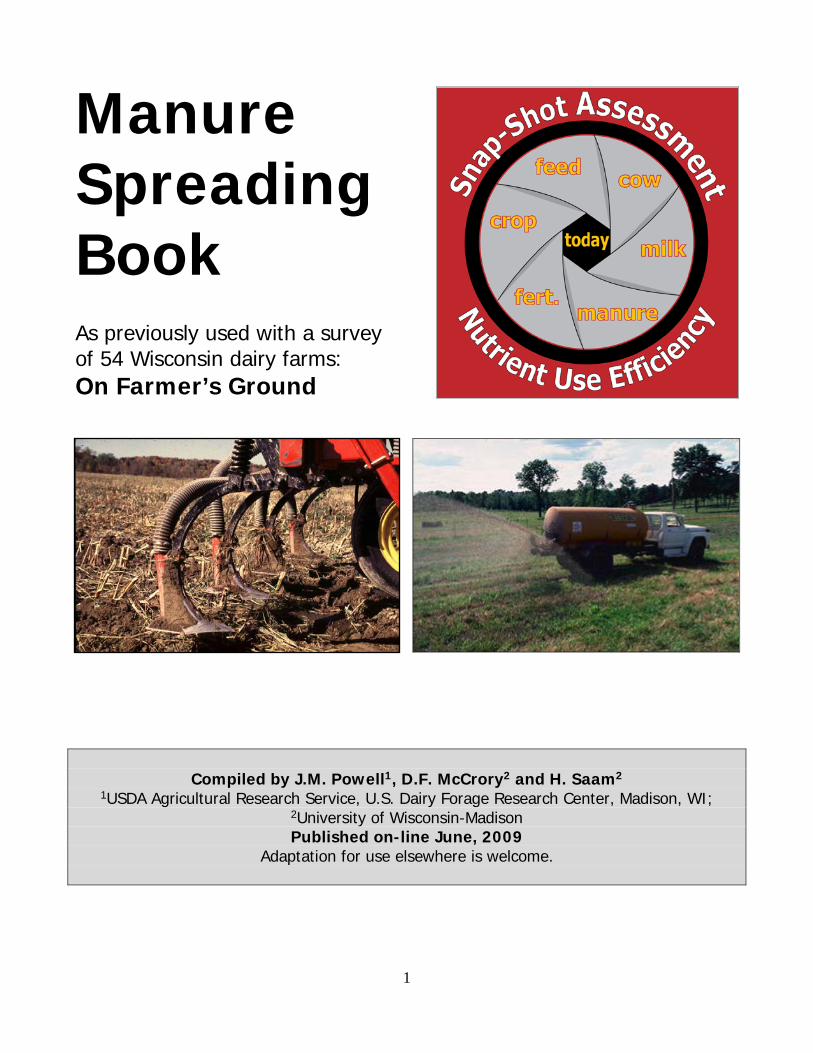
Manure Spreading Book As previously used with a survey of 54 Wisconsin dairy farms:
On Farmer’s Ground
Compiled by J.M. Powell1, D.F. McCrory2 and H. Saam2 1USDA Agricultural Research Service, U.S. Dairy Forage Research Center, Madison, WI;
2University of Wisconsin-Madison Published on-line June, 2009
Adaptation for use elsewhere is welcome.
1

PAGE LEFT BLANK INTENTIONALLY
2

INTRODUCTION The basic goals of this book are to give us an idea about where and when you spread your manure, how much you are spreading, and the factors that influence these decisions.
Keeping records of where and when you spread your manure can help with manure/nutrient management. You might also find it helps you make the most of your manure nutrients which in the long run could save you money due to reduced fertilizer costs.
Hopefully this field book will provide an easy format for you to record your manure applications. The book is like a calendar where you can make quick notes every day that you haul manure onto any of your farm fields.
If you haul on a daily basis, you will be making entries almost every day. If you have storage and concentrate your hauling during specific times of year, you may not need to put much in the book except when you are actively hauling manure.
It’s entirely up to you where you keep this book but we’d suggest you keep it somewhere it’s handy for making a few notes directly after application, such as in your pickup.
WHAT’S INSIDE THIS BOOK?
The manure spreading book is split into four main sections:
Section 1 – How to use the manure spreading book This section is a basic guide to filling out the manure spreading book and explains all of the terms with which you need to be familiar.
Section 2 – Examples of farm maps This section contains a photograph/map of your farm showing all of your fields with an identification number that we’ve given them. There is also a sheet here for you to write alternative field numbers if you want or to correct any mistakes.
Section 3 – Manure record sheets The third section contains the manure record sheets. Each page is one month. At the back of the book you’ll find spare copies of each month (should they become messed up) along with a place to put the completed sheets. You’ll also find additional sheets that are designed to be used when you have an intensive period of manure hauling, such as when you empty your pit or clear your pile.
Section 4 – How to sample manure This section tells you how and when to sample your manure. There are different methods for liquid, solid/semi-solid, and dry manure
3

SECTION 1 HOW TO USE THE MANURE SPREADING BOOK
1. Field numbers/ID – where you spread
You’ll notice that we have given each of your fields a number; this is their Field ID. When you spread manure on a particular field, simply put this number in the field ID box on the manure sheet (see below).
If you have more than one farm map, then simply write the number of the map (a, b, c, etc.) and then the field number.
NOTE: Some of the fields may be labeled with a zero. This indicates a field that we do not think you are using to spread manure on. If this is wrong, please feel free to give it a number by writing directly on your map.
If the numbers we’ve chosen are wrong or you want to use your own numbers (or a name) that’s fine; either write the new numbers directly on the map or put them on the sheet provided with the maps.
The Field ID, loads, and manure-type columns are split into three so if you visit three fields in one day you can record this information in separate columns.
If you visit more than three fields in a day, there are extra sheets in this section called ‘intensive manure spreading’ sheets where you can record heavy periods of manure spreading, such as when you empty your storage pit/lagoon/pile etc.
Example manure sheet
1 2 3 Day Field ID Loads Type Comments
Saturday 1 41
Sunday 2 42 41
Monday 3
Example Farm
0
Field ID
4

2. Loads – How much you spread
A load of manure is what you consider to be a full spreader worth. If you have more than one kind of spreader (such as a box and a slinger), then put a code after the number of loads you spread to show us which one you used. We’ve added a section just before the manure sheets where you can write down these codes.
You can use whatever codes you want, but we’d suggest something simple like B for box spreader, S for slinger, and T for tanker. If you have more than one particular spreader (for instance, two box spreaders), give them a code like B1 and B2 (see below).
3. Type – What sort of manure it is
This is for you to describe the main type of manure that you are hauling in a particular load. It is likely that this will remain fairly consistent from day to day, but there may be times when the manure you’re hauling is slightly different (for example, from the heifer or calf barns, from barnyard scraping or a bedding pack, etc.).
Again, we’ve supplied a section where you can insert your own codes to describe the manure you’re hauling; for example, you could write dm for dairy manure, hm for heifer manure, by/c for barnyard/calf, etc.
Example manure sheet 1 2 3
Day Field ID Loads Type Comments Saturday 1 41 1S dm Sunday 2 42 41 1S 1B dm by/c Monday 3 Tuesday 4
Wednesday 5 41 3S dm Thursday 6
Friday 7 42 1S 1B dm hm Saturday 8 41 1S dm
4. Comments – Your section (anything you want to add)
This section is for you to write down all the things that affected the way you spread manure that day. Just think about the main reason you are spreading in a particular place that day and write it down!
This is your section and there is no right or wrong way to do it. You may want to make a note of the things – such as the weather, the condition of the soil, how busy you were when spreading, etc. – but it is really is up to you what to write down.
5

IMPORTANT – Remember, we are not just interested in the days you do spread; we also want to know why you didn’t spread on a particular day if you normally would. We’ve given some examples below.
Example of a complete manure sheet
1 2 3 4 Day Field ID Loads Type Comments
Saturday 1 41 1S dm
Sunday 2 42 41 1S 1B dm by/c barnyard scraped ,calf pens cleaned
Monday 3 bad weather -snow /too cold to spread
Tuesday 4 see above
Wednesday 5 41 3S dm too busy to get out further
Thursday 6 heavy rain, busy
Friday 7 42 1S 1B dm hm 1 load of heifer, 1 load normal, too wet to get out further
Saturday 8 41 1S dm very wet, spread by driving along side of field
6
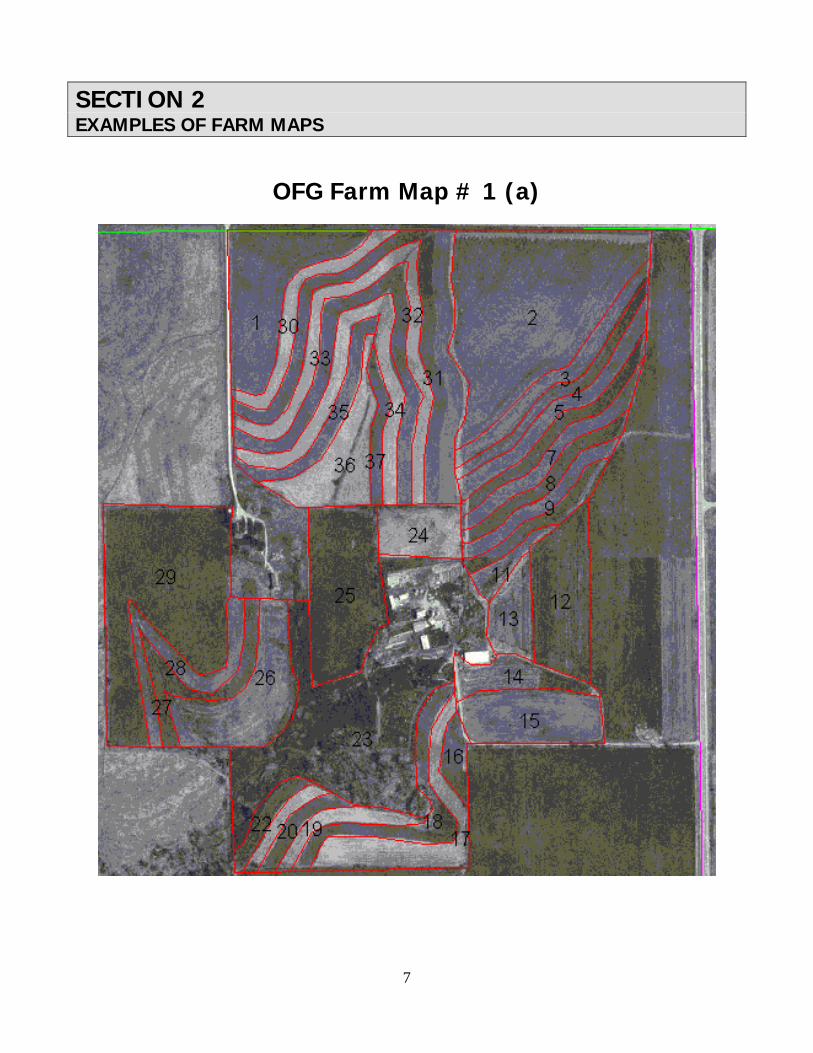
SECTION 2 EXAMPLES OF FARM MAPS
OFG Farm Map # 1 (a)
7

OFG Farm Map # 1 (b)
8
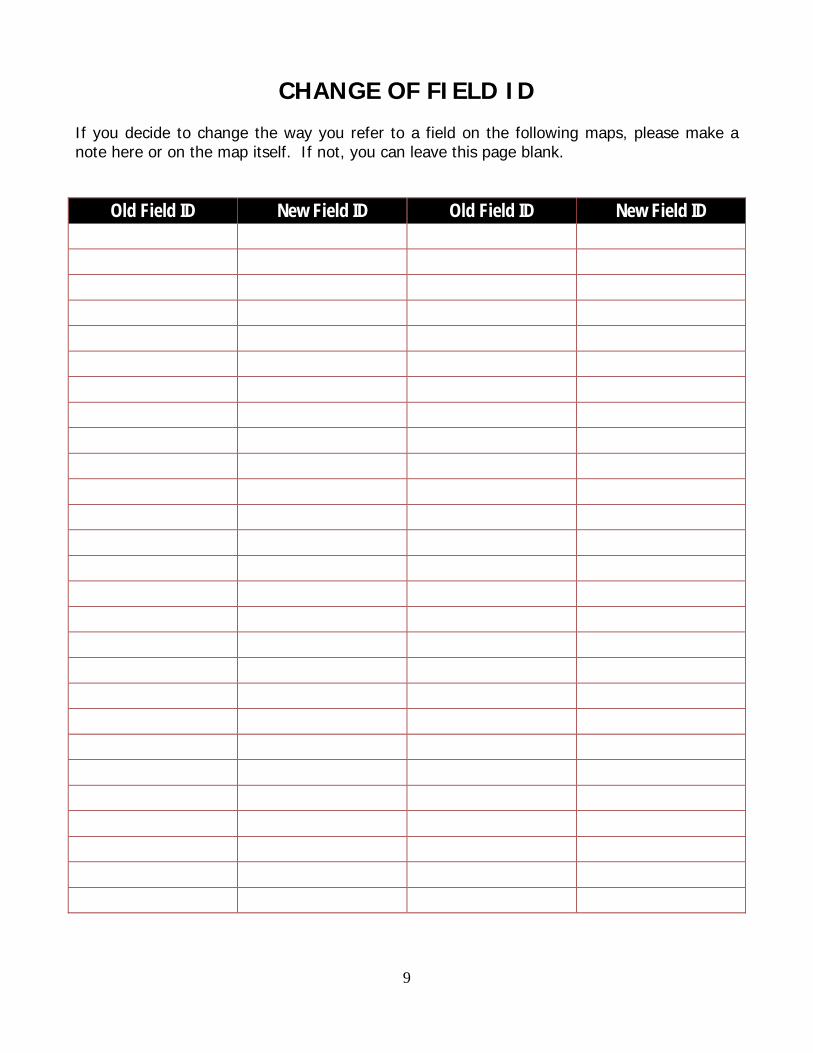
CHANGE OF FIELD ID If you decide to change the way you refer to a field on the following maps, please make a note here or on the map itself. If not, you can leave this page blank.
Old Field ID New Field ID Old Field ID New Field ID
9

SECTION 3 MANURE TRACKING SHEETS CODES – SPREADER TIP: Write a description of your spreader in the left column, then pick a couple of letters or a short phrase that you can use as a "code" to refer to this type of spreader in the right hand column. These codes will be used in the daily/monthly manure spreading record keeping pages that follow.
Spreader Type Code
CODES – MANURE TYPE TIP: Write a description of the different types of manure that you haul on your farm in the left column, then pick a couple of letters or a short phrase that you can use as a "code" to refer to this type of manure in the right hand column. These codes will be used in the daily/monthly manure spreading record keeping pages that follow.
Manure Type Code
10
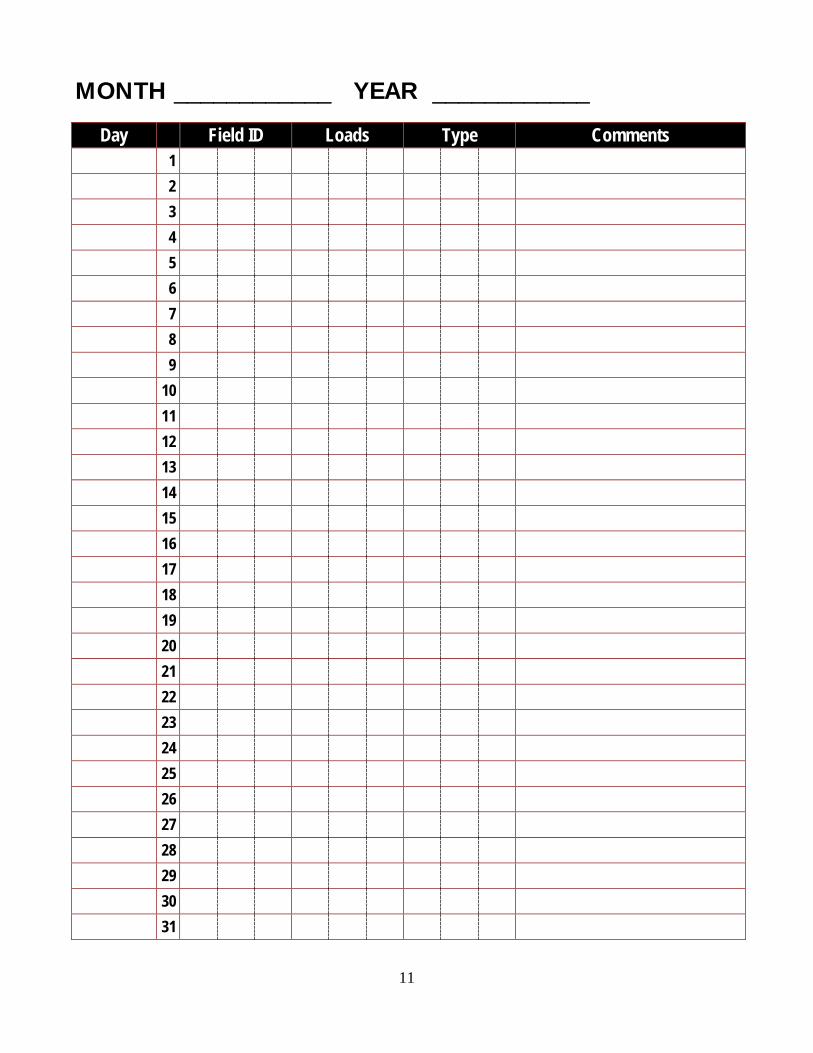
MONTH ____________ YEAR ____________
Day Field ID Loads Type Comments 1
2
3
4
5
6
7
8
9
10
11
12
13
14
15
16
17
18
19
20
21
22
23
24
25
26
27
28
29
30
31
11

Intensive Manure Spreading Sheets
Day/Date Field ID Loads Type Comments
12

SECTION 4 HOW TO SAMPLE MANURE
The most important factor in obtaining an accurate manure sample is proper sampling. Since such a small amount of manure is used for analysis, it is really important that the sample you take represents the manure that is applied to your the fields.
The following guidelines are designed for collecting your manure samples:
What to sample The manure we want you to sample is from what you regard as the major storage unit on your farm.
When to sample Whether using daily haul or emptying manure storage, sample manure at the time of land application or as close as possible to application. This ensures that nutrient losses that may occur during handling, storage, and application are taken into account.
How often to sample – from storage We would like you to take manure samples every time you empty your store. Take a sample when you start to empty the store, another when it’s gone down by 1/3, another when it’s gone down by 2/3 and then one at the end. That is a total of 4 sampling occasions.
At each sampling occasion we want you to take 3 samples. Altogether you’ll have 12 samples.
How often to sample – daily haul We would like you to take manure samples at the beginning of each month, over the next year. These samples should be taken from the barn gutter. They will give us an idea of monthly differences in manure quality.
How to sample The hand-and-bag method
1. To collect samples, place a one-gallon re-sealable freezer bag turned inside out over one hand. If the manure is quite liquid hold one of the plastic sample bottles in this hand also.
2. Grab a handful of manure or fill the sample bottle to within one inch of the top (you must leave a gap) with your covered hand and then turn the freezer bag right side out over the sample with your other (free) hand.
3. Seal the sample bottle and bag and place it in another freezer bag to prevent leaks. Label and freeze
1. Label the bag for identification using the labels provided. Make sure the label has your ID number, the date you took the sample, the stage of the unloading process during which it was taken (start, 1/3 empty, etc.) and either an A, B or a C to differentiate the 3 samples taken at the time.
2. Freeze as quickly as possible. If freezing is not possible, keep it as cold as you can until we can collect it.
13

Read through the following methods of sampling and find the most suitable for your farm’s manure. LIQUID MANURE SAMPLING
Liquid manure applied with tank spreaders 1. Immediately after filling the tank spreader for the first time, use a clean plastic pail to
collect manure from the unloading port or the opening near the bottom of the tank. Be sure the port or opening does not have a solids accumulation.
2. Ensure that the manure in the pail or bucket is well-stirred and immediately fill one of the plastic sample bottles to within one inch from the top.
3. Seal the sample bottle and place it in a freezer bag to prevent leaks. 4. Label the bag for identification using the labels provided. Make sure the label has your
ID number, the date you took the sample, the stage of the unloading procedure during which it was taken (start, 1/3 empty, etc.) and either an A, B or a C to differentiate the 3 samples taken at the time.
5. Repeat steps 1-3 to get another 2 samples (so altogether you have 3). 6. Repeat the whole sampling procedure after the pit has been reduced by 1/3, 2/3 and
at the end. You should have a total of 12 samples. Liquid manure applied by irrigation systems
1. Place catch pans randomly in the field to collect liquid manure that is land applied by an irrigation system. Inexpensive aluminum roasting pans or plastic buckets can be used as catch pans.
2. Immediately after the manure has been applied, collect manure from catch pans and combine the manure in one bucket to make one composite sample.
3. Mix the manure well and fill a one-quart sample bottle to within one inch of the top. Ensure the bottle is sealed tightly and stick on a label. Place the sample bottle in a tightly sealed plastic bag. from Storage Facilities
NOTE: Liquid manure is more difficult to sample than dry manure. Use caution to prevent accidents—such as falling in the manure or being overcome with hazardous gases produced by manure. For these reasons, collecting liquid manure samples from the storage facility is not recommended. Instead, follow the above guidelines for sampling liquid manure during land application. SOLID/SEMI SOLID MANURE SAMPLING
There are two methods you can use to sample your solid/semi solid manure; once you have chosen one, stick to that method each time you sample.
To sample in the field (F) 1. After the spreader has been filled for first time, spread a sheet of plastic or tarp on
the field. A 10- feet-by-10-feet sheet works well for sampling manure. 2. Drive the tractor and manure spreader over the top of the plastic to spread manure
over the sheet.
14

3. Collect some of the manure together in a pail from all over the plastic sheet. Avoid manure that contains large amounts of bedding or feed.
4. Sample the manure from the pail using the hand-and bag method described above. 5. Repeat steps 1-4 to get another 2 samples (so altogether you have 3). 6. Repeat the whole sampling procedure after the pit has been reduced by 1/3, 2/3 and
at the end. You should have a total of 12 samples. To sample from the spreader
1. After the spreader has been filled for first time, collect manure from several locations within the spreader using a pitchfork or shovel, (or even your hand with a glove on) and place in a large pail. Try to collect from the center of spreader as well as near the outside. Avoid manure that contains large amounts of bedding or feed.
2. Mix the manure in the bucket thoroughly. 3. Collect a sample using the hand-and-bag method described above. 4. Repeat steps 1-3 to get another 2 samples (so altogether you have 3). 5. Repeat the whole sampling procedure after the pit has been reduced by 1/3, 2/3 and
at the end. You should have a total of 12 samples. DRY OR SOLID MANURE SAMPLING
Open Paved Lots Manure that accumulates on paved feedlots and is scraped and hauled to the field is classified as scrape-and-haul feedlot manure. Manure is usually removed from the feedlot daily or several times a week.
1. Collect manure by scraping a shovel across approximately 25 feet of the paved feedlot. This process is repeated six to eight times.
2. Thoroughly mix manure with the shovel by continuously scooping the outside of the pile to the center of the pile.
3. Collect a manure sample using the hand-and-bag method described. 4. Repeat steps one through three to collect the remaining subsamples.
Barn Gutter Manure that accumulates in a barn or housing facility and is temporarily stored in a gutter and removed by barn cleaner is classified as barn gutter manure. Manure is usually removed from the barn once or twice daily.
1. Shovel a “core” of manure from the gutter to the depth of the gutter. 2. Remove manure from the gutter and pile it on the barn floor. Mix the manure by hand
(wearing freezer bags or rubber gloves) with a kneading motion. This ensures that straw is mixed thoroughly with manure. When collecting samples from a gutter, be sure to include the liquid that accumulates in the gutter’s bottom.
3. Repeat steps one through three from various locations along the gutter to collect the subsamples. Discard foreign material such as disinfecting towels.
15

Dry Stack of Manure Manure stored outside in a solid waste storage facility—usually a stacking shed or horizonal concrete silo located aboveground—is classified as a dry stack. These facilities are usually covered to prevent the addition of extra water.
1. Remove manure from several locations throughout the dry stack and place it in a pail or bucket using a pitchfork or shovel (or even your hand with a glove on). Try to collect from the center of spreader as well as near the outside Avoid manure that contains large amounts of bedding or feed.
2. Collect a sample using the hand-and-bag method that was described in the section on dry or solid sample preparation.
3. Tip out the bucket and repeat steps one through three until you have got 3 sub samples, which should be labeled A, B and C from various areas around the feedlot representing the bulk of the lot’s manure.
16