microsoft powerpoint ® 2003 carl b. struck presentation graphics n educational, business, sales and...
Post on 20-Dec-2015
214 views
TRANSCRIPT

Microsoft PowerPoint® 2003
Carl B. Struck
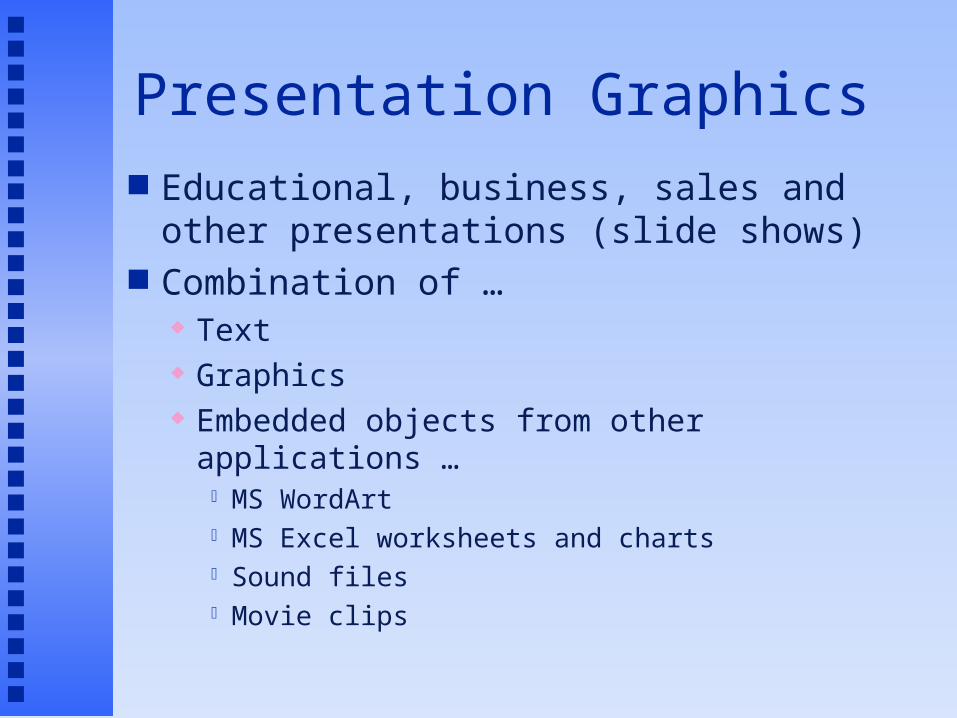
Presentation Graphics Educational, business, sales and other
presentations (slide shows) Combination of …
Text Graphics Embedded objects from other applications …
MS WordArt MS Excel worksheets and charts Sound files Movie clips

Start a New Presentation
1. Select File from the Menu bar
2. Select New… from the File menu
3. Click on the "On my computer…" item in the New Presentation task pane
4. Click the “Design Templates” tab at the top of the New Presentation dialog
5. Select a design for the presentation and click the <OK> button …
First slide will be a Title Slide

New Slide
Title Slide
New SlideNew Slide
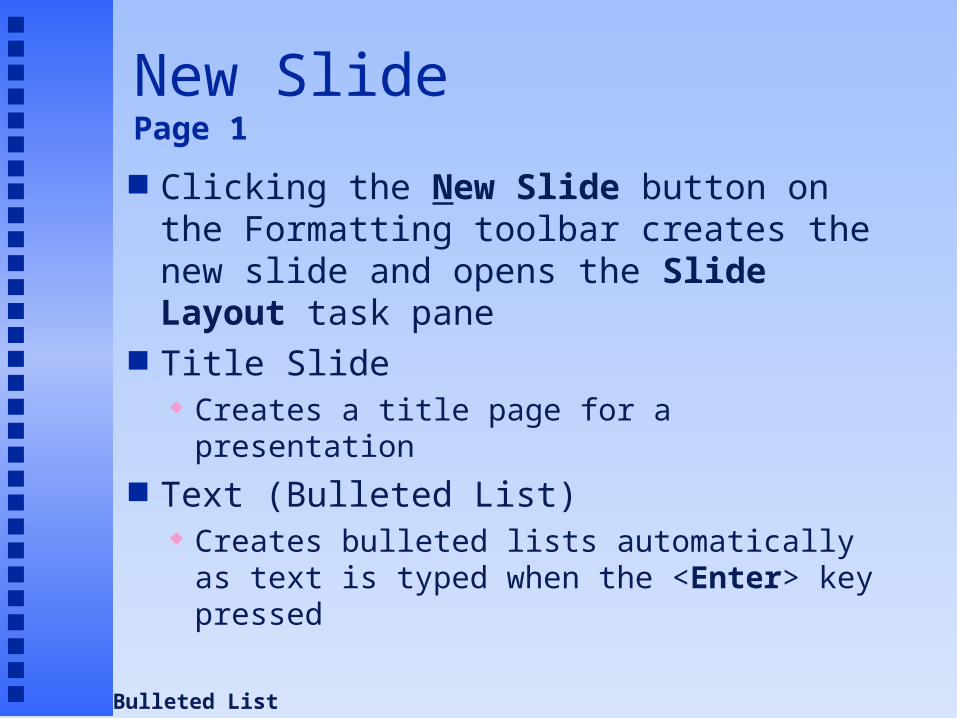
New Slide Page 1
Clicking the New Slide button on the Formatting toolbar creates the new slide and opens the Slide Layout task pane
Title Slide Creates a title page for a presentation
Text (Bulleted List) Creates bulleted lists automatically as text is
typed when the <Enter> key pressed
Bulleted List
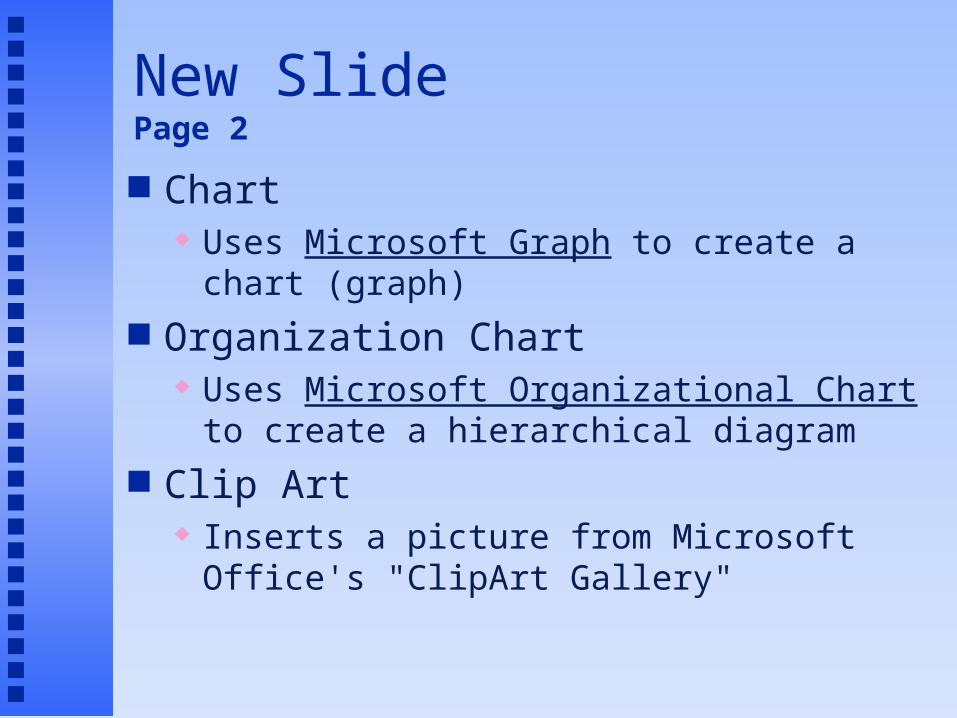
New Slide Page 2
Chart Uses Microsoft Graph to create a chart (graph)
Organization Chart Uses Microsoft Organizational Chart to create a
hierarchical diagram Clip Art
Inserts a picture from Microsoft Office's "ClipArt Gallery"

New Slide Page 3
Table Uses Microsoft Word to create a table of
rows and columns Content
Text, pictures, movie clips and tables (including Microsoft Excel) created in other applications and embedded into slides
(Different layouts allow for combinations of more than one style in a single slide)
Moving between Slides

Text Slides and the Bulleted List
Automatically inserts bullet in front of new statement when <Enter> key is pressed
Levels of indentation: <Tab> key increases indent one level to the
right <Shift> + <Tab> keys decreases indent one
level to the left Bullets may be edited from Format menuTitle Slide
Decrease/Increase IndentDecrease/Increase Indent

Moving between Slides
Using the keyboard … Use the <Page Down> key to move to the
next slide Use the <Page Up> key to move to the
previous slide Scroll and select from slides (keep Slides
tab selected) from window on the left side Use the scroll bar on the right side of the
slide window

Views Page 1
Normal View Design and edit one slide at a time with (slide selector
viewable in window to the left) Slide Sorter View
Miniature slides can be moved and reordered <Ctrl> + click to select multiple slides, or <Shift> + click
to select a range Transitions and/or other formatting can be added for
several selected slides at once Selected slide(s) can be deleted with the keyboard
<Delete> key

Views Page 2
Slide Show View To present the program Click the mouse to move to next slide (or
next animation) Move forward and backward in the show by
using <PageDown> and <PageUp> keys Press the <Esc> key to stop presentation

Custom Animation Used to reveal bulleted points (or any
other objects) one (or more) at a time Reveals additional points (or objects)
when the mouse is clicked1. Select Slide Show from the Menu bar
2. Select Custom Animation… from the Slide Show menu
3. Select the bulleted list or other object
4. Click Add Effects button, select Entrance, and choose from animation types

Custom Animation

Animation Options (Page 1)
Select one or more items in the “Custom Animation” task pane Click the double down arrow point to reveal the
entire list— Select one or more items (<Ctrl> + click or
<Shift> + click for a range) to modify

Animation Options (Page 2)
The commands in the drop-down menu: Start On Click: Item has an animation of
its own Start With Previous: Item animates at the
same as does the previous item in list Start After Previous: Item animates on the
same click as previous but after the previous item appears

Animation Options (Page 3)
After an item (or items) has been selected in the Custom Animation, click Change button to give it a different animation
Click the Remove button to take the item(s) out of the animation sequence
A selected item in the list may be dragged to change its animation order

Slide Transition Moves from one slide to the next using a
gradual change effect1. Select Slide Show from the Menu bar2. Select Slide Transition… from the Slide
Show menu3. Select the slide and then transition type
from the "Apply to selected slides list"4. Select a "Speed" Click the button near bottom of task pane
to "Apply to All Slides"

Slide Transition

Adding Clip Art To select pictures or icons from the
Microsoft Office "ClipArt Gallery"
1. Select Insert from the Menu bar
2. Select Picture from the Insert menu
3. Select Clip Art… from the Picture submenu
4. Type a search term in the "Search for:" textbox and click the <Go> button
5. Double-click image to insert picture

Insert a Graphic
Opens and inserts any picture file into a PowerPoint slide
1. Select Insert from the Menu bar
2. Select Picture from the Insert menu
3. Select From File… from the Picture submenu
4. Select a graphic from the “Insert Picture” dialog box and click <Insert> button

The Drawing Toolbar Page 1
Draw menu is first object on the toolbar Selection tool
Returns the mouse pointer to arrow (selection tool) if you change your mind about using a selected drawing element
AutoShapes Displays the AutoShapes menu of several
ready-made shapes

The Drawing Toolbar Page 2
Line tool Draws a line onto a slide Hold <Shift> key for perfect angles (each 15o)
Arrow tool Draws a line with an arrow point onto a slide
Rectangle Tool Draws a rectangle or square onto a slide Hold <Shift> key while drawing for a square

The Drawing Toolbar Page 3
Oval Tool Draws an oval or circle onto a slide Hold <Shift> key while drawing for a circle
Text Box tool Adds text anywhere on a slide
Insert WordArt tool Creates special text effects
Insert ClipArt and Insert Picture Same commands as from the Menu bar
Any text
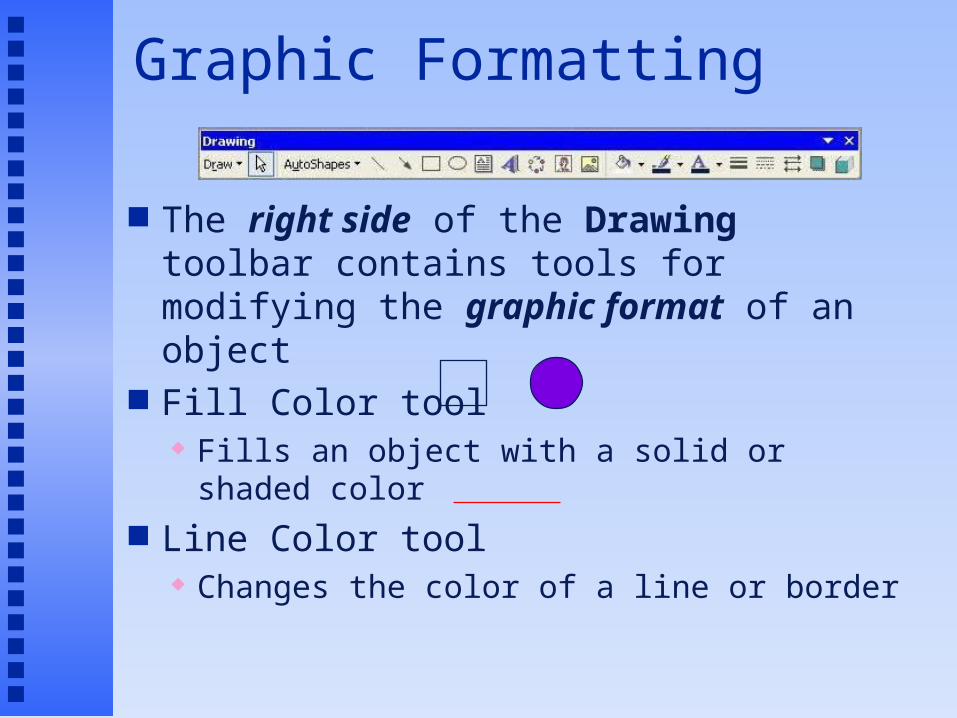
Graphic Formatting (Page 1)
The right side of the Drawing toolbar contains tools for modifying the graphic format of an object
Fill Color tool Fills an object with a solid or shaded color
Line Color tool Changes the color of a line or border

Graphic Formatting (Page 2)
Font Color tool Changes color of text in bulleted list or text box
Line Style tool Changes thickness of a line, or selects doubled
or tripled lines Dash Style tool
Selects from one of several styles of dashes or dots (or combination)

Graphic Formatting (Page 3)
Arrow Style tool Adds or removes different arrow head styles
Shadow tool Adds shadows to objects including text boxes
3-D tool Changes depth, rotation, color, texture, etc.
Any textAny text

Printing Handouts and Outlines Warning: Do not click <Print> button on
the Standard toolbar—it will print one full page for each slide
1. Select Print… command from File menu
2. From the "Print what:" drop-down list: Select Handouts to print multiple slides with text
and graphics on each page—select how many slides from the "Slides per page" list
Select Outline View to print just the text from the slides in outline format

Handout Headers and Footers (Page 1)
To add headers and/or footers to handouts:
1. Select View from the menu bar
2. Select Master from the View menu
3. Select Handout Master from the Master submenu
4. Click the Show positioning of outline button (or any other slide layout) on the "Handout Master View" toolbar
Show positioning of outlineShow positioning of outline

Handout Headers and Footers (Page 2)
5. Twice click (slowly) the area to edit and begin typing …
It may be necessary to zoom to a larger size to see the text
6. Click the <Close Master View> button on the "Handout Master View" toolbar

The End