modified one step putty wash technique
TRANSCRIPT
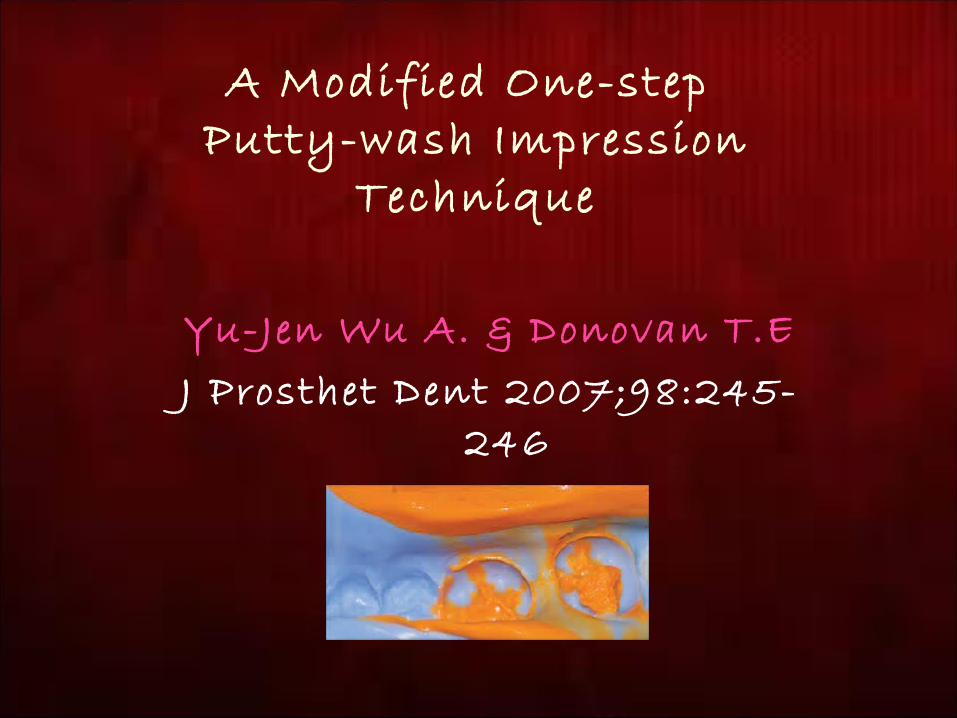
A Modified One-step Putty-wash Impression
Technique
Yu-Jen Wu A. & Donovan T.E J Prosthet Dent 2007;98:245-
246

Literature demonstrates that optimum accuracy can be achieved with
Custom trays and Stock trays

Numerous studies have compared accuracy of polyvinyl siloxane impressions made with custom tray and stock trays.
Custom Tray Stock Tray
•PMM TRAY•PVS PUTTY TRAY
•PHOTO CURE BISACRYL RESIN
PLASTICMETAL
PMM trays should be fabricated 24 hours in advance to insure stability.
Donovan TE, Chee WW. A review of contemporary impression materials & techniques . Dent Clin North Am 2004;48:445-70.
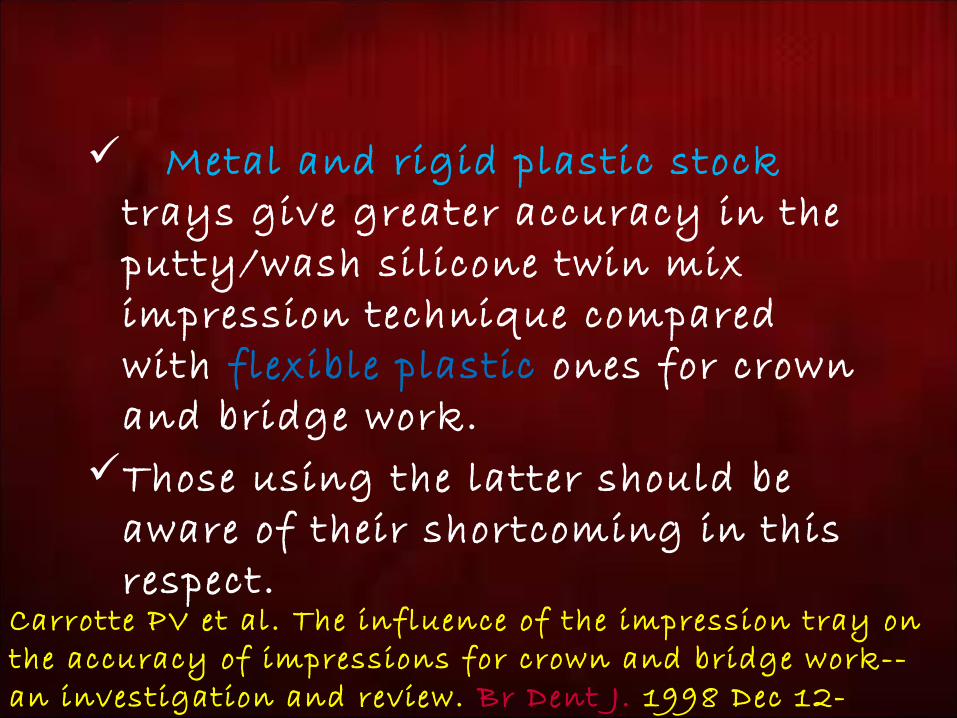
Metal and rigid plastic stock trays give greater accuracy in the putty/wash silicone twin mix impression technique compared with flexible plastic ones for crown and bridge work.
Those using the latter should be aware of their shortcoming in this respect.
Carrotte PV et al. The influence of the impression tray on the accuracy of impressions for crown and bridge work--an investigation and review. Br Dent J . 1998 Dec 12-26;185(11-12):580-5.
Glenn E. Gordon et al. The effect of tray selection on the accuracy of elastomeric impression materials. J PROSTHET DENT 1990;63:12-5.
Custom trays produced dies that were more accurate overall when compared with those produced by stock trays.

Eames WB, Sieweke JC, Wallace GW, Rogers LB. Elastomeric impression
materials: effectof bulk on accuracy. J Prosthet Dent
1979;41:304.
Elastomeric impressions are most accurate when used with a cross sectional thickness of approximately 2 mm. This thickness is optimally provided with a custom tray.
The putty-wash impression technique using an elastomeric impression material is a popular method.
Variations of the Putty-wash impression technique
1-step 2-step

First a preliminary pre-operative putty impression is made
(to customize the tray) Then subsequently it is "washed"
or “relined” with low viscosity material after tooth preparation.
2-step technique

In terms of the 2-step putty-wash impression technique, several methods are described for control of the bulk of the wash material, which is essential for fabricating accurate stone dies.

Base Plate Wax Spacer
Polyethylene Wax Spacer
Monzavi A, Siadat H. Use of wax spacers for putty-wash impression of implant snapon impression copings. J Prosthet Dent 2005;93:494.
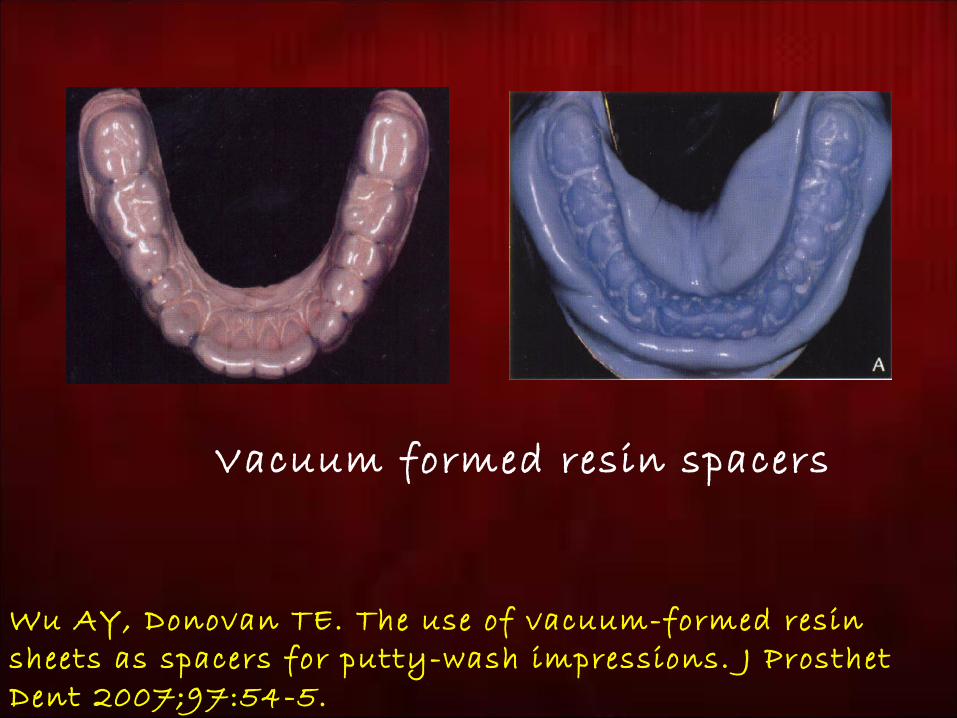
Vacuum formed resin spacers
Wu AY, Donovan TE. The use of vacuum-formed resin sheets as spacers for putty-wash impressions. J Prosthet Dent 2007;97:54-5.

Relieved putty impression
Scalpel
Flame bur
Vented (2 holes to direct the wash)
Leendert Boksman. The Hydraulic & Hydrophobic Impression Technique:Facts Based on the Research Literature
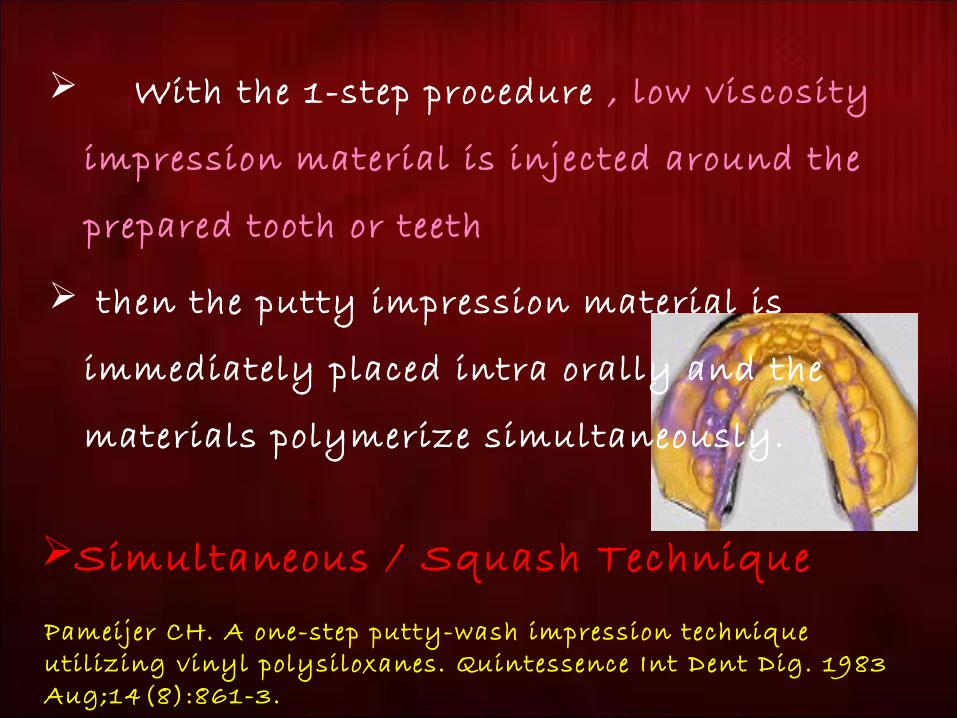
Simultaneous / Squash Technique
With the 1-step procedure , low viscosity
impression material is injected around the
prepared tooth or teeth
then the putty impression material is
immediately placed intra orally and the
materials polymerize simultaneously.
Pameijer CH. A one-step putty-wash impression technique utilizing vinyl polysiloxanes. Quintessence Int Dent Dig. 1983 Aug;14(8):861-3.

• Accuracy of impressions resulting from
the 1-step putty-wash technique is
controversial.

Idris B, Houston F, Claffey N. Comparison of the dimensional accuracy of one- and two-step techniques with
the use of putty/ wash addition silicone impression materials.
J Prosthet Dent 1995;74:535-41.
• Some authors found that there was no difference in accuracy between techniques.

Others criticized several potential disadvantages with
this approach.
Impossible to control the thickness of light body
Usually portions of prepared margins are captured in the putty
(putty materials are essentially deficient in their ability to record marginal details)
Donovan TE, Chee WW. A review of contemporary impression materials & techniques . Dent Clin North Am 2004;48:445-70.

This article describes a modified 1-step
putty-wash technique using vacuum-
formed resin sheets as spacers to control the
wash bulk and minimize the chance of
unfavourable impression results.
Using this technique, the limitations of
using1-step putty-wash impression can be
eliminated.

1. Use the original diagnostic cast or cast
recovered from an impression of the diagnostic
provisional restorations to fabricate the
vacuum-formed spacer
PROCEDURE
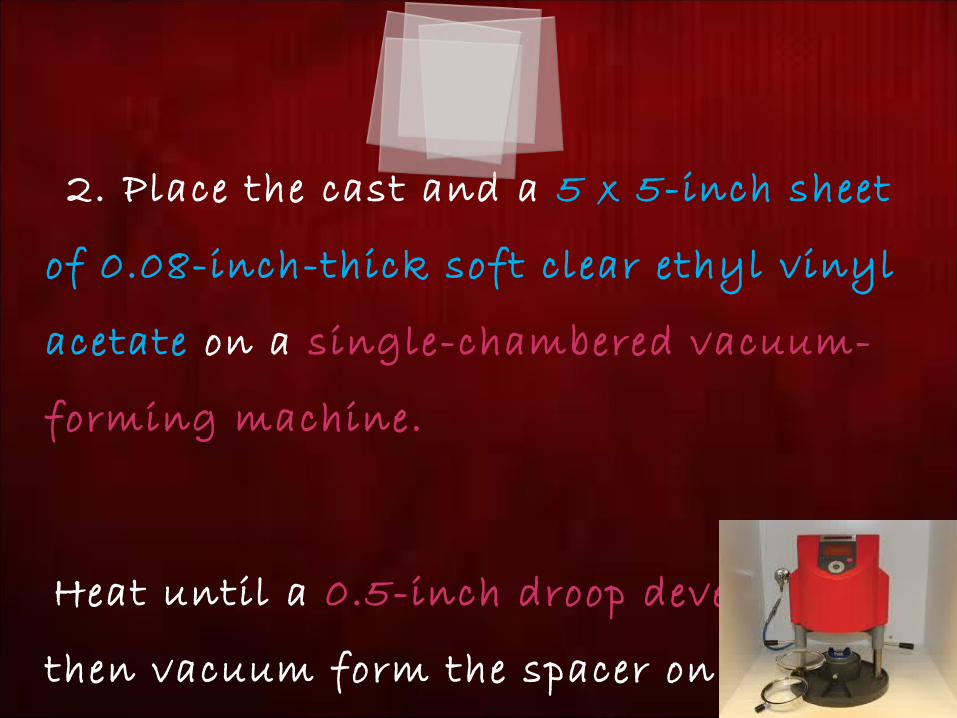
2. Place the cast and a 5 x 5-inch sheet
of 0.08-inch-thick soft clear ethyl vinyl
acetate on a single-chambered vacuum-
forming machine.
Heat until a 0.5-inch droop develops , and
then vacuum form the spacer on the cast.
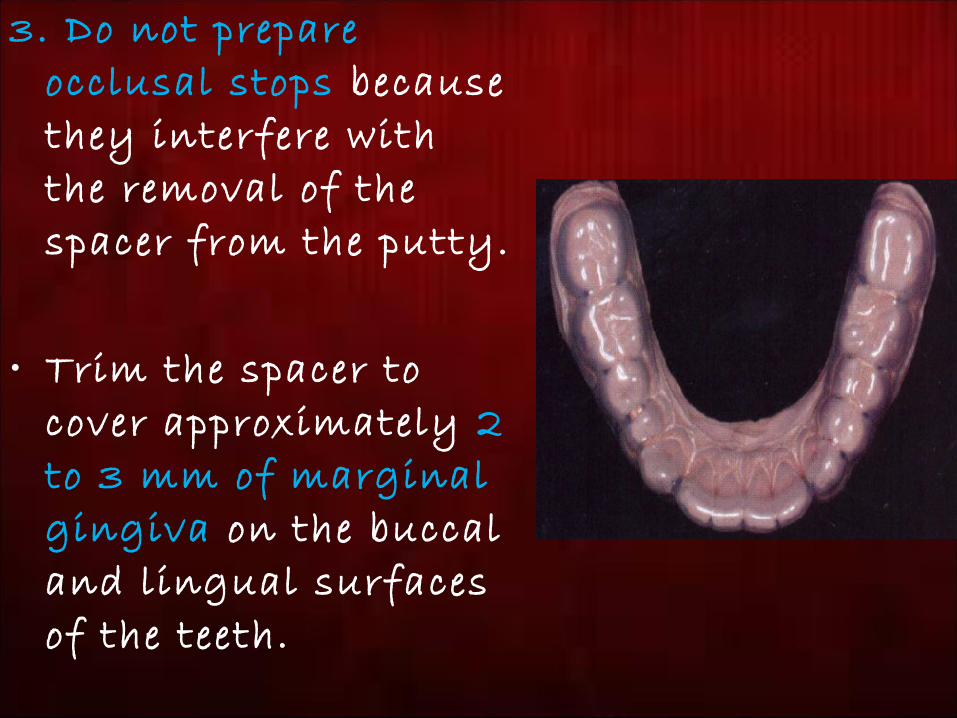
3. Do not prepare occlusal stops because they interfere with the removal of the spacer from the putty.
• Trim the spacer to cover approximately 2 to 3 mm of marginal gingiva on the buccal and lingual surfaces of the teeth.
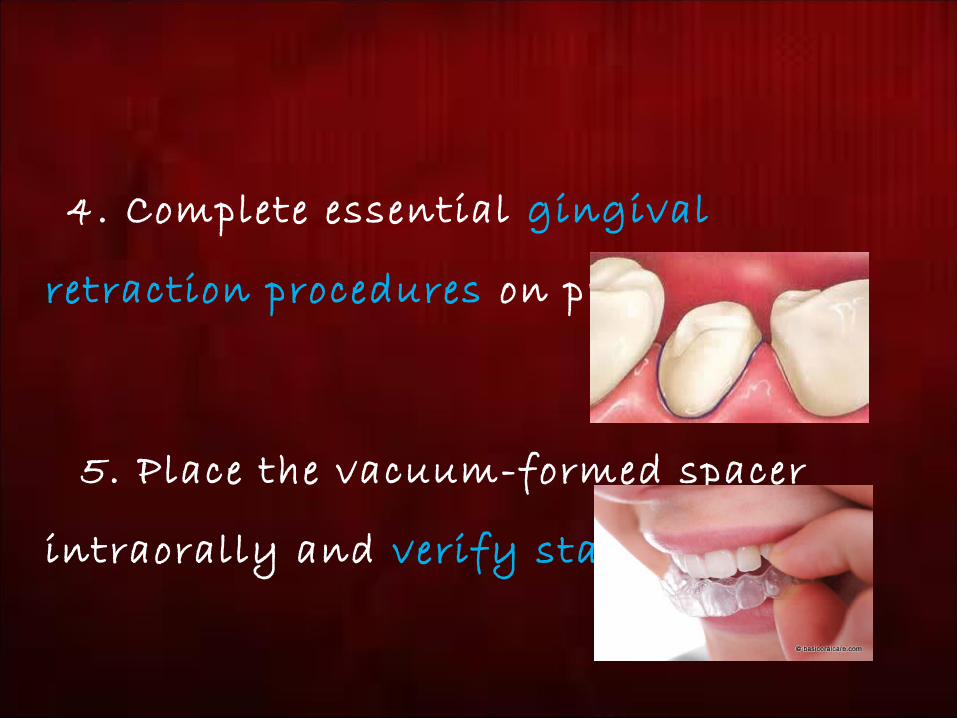
4. Complete essential gingival
retraction procedures on prepared teeth.
5. Place the vacuum-formed spacer
intraorally and verify stability.

6. Make a transfer impression of the spacer
with high-viscosity putty impression
material in a stock tray.
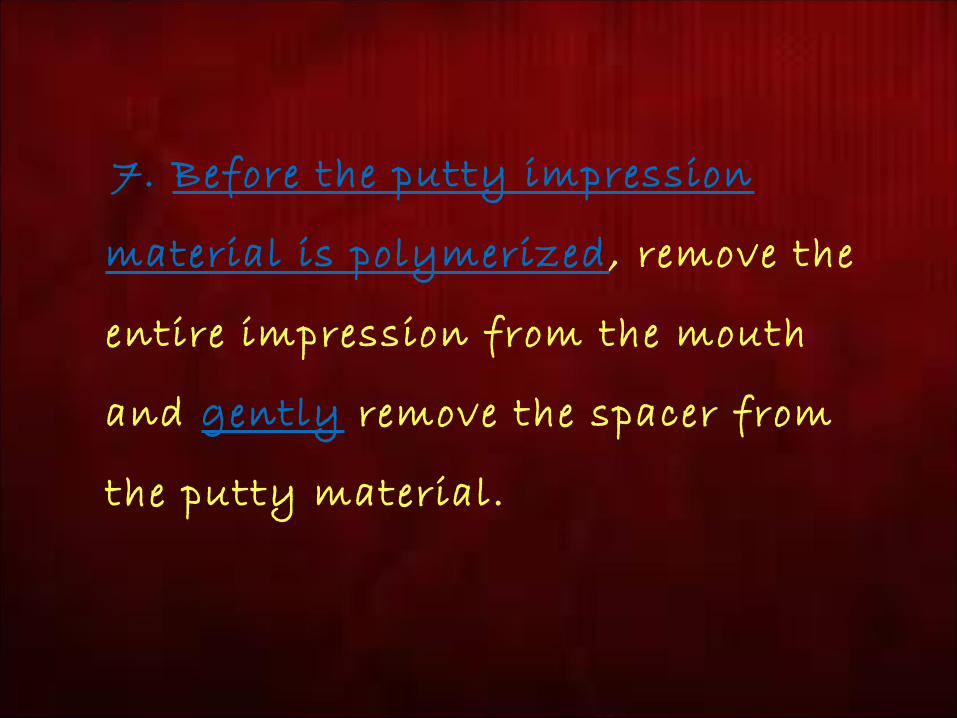
7. Before the putty impression
material is polymerized, remove the
entire impression from the mouth
and gently remove the spacer from
the putty material.
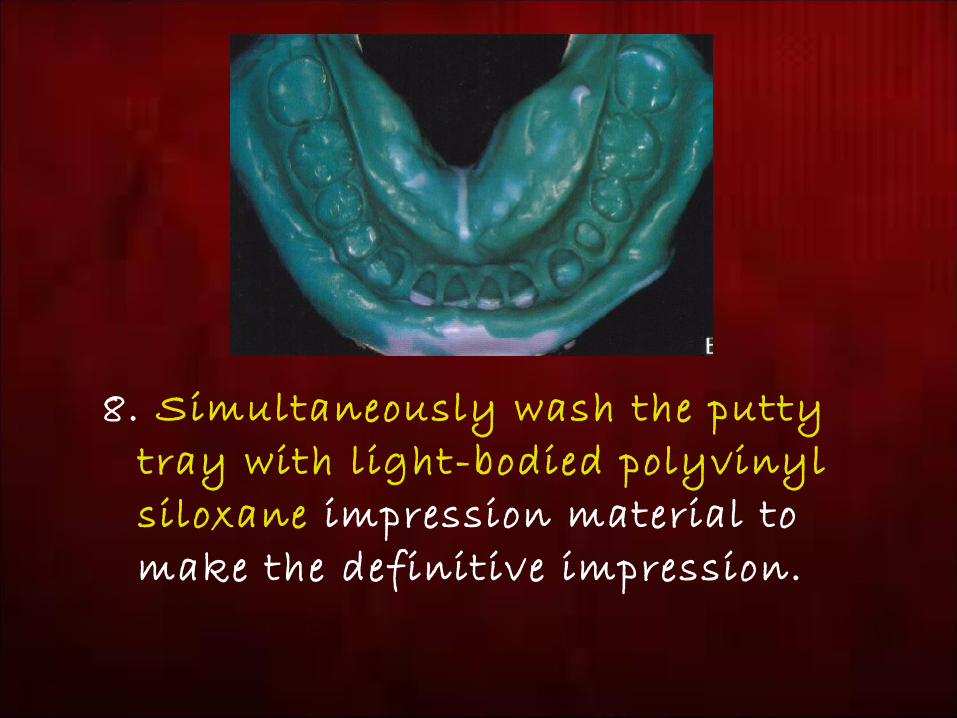
8. Simultaneously wash the putty tray with light-bodied polyvinyl siloxane impression material to make the definitive impression.


• Thickness of light body is controlled
• Putty doesn't show up in critical areas
• Decreased chair side time

Increased Laboratory time
Additional material(resin sheets )
Adds Cost to the patient

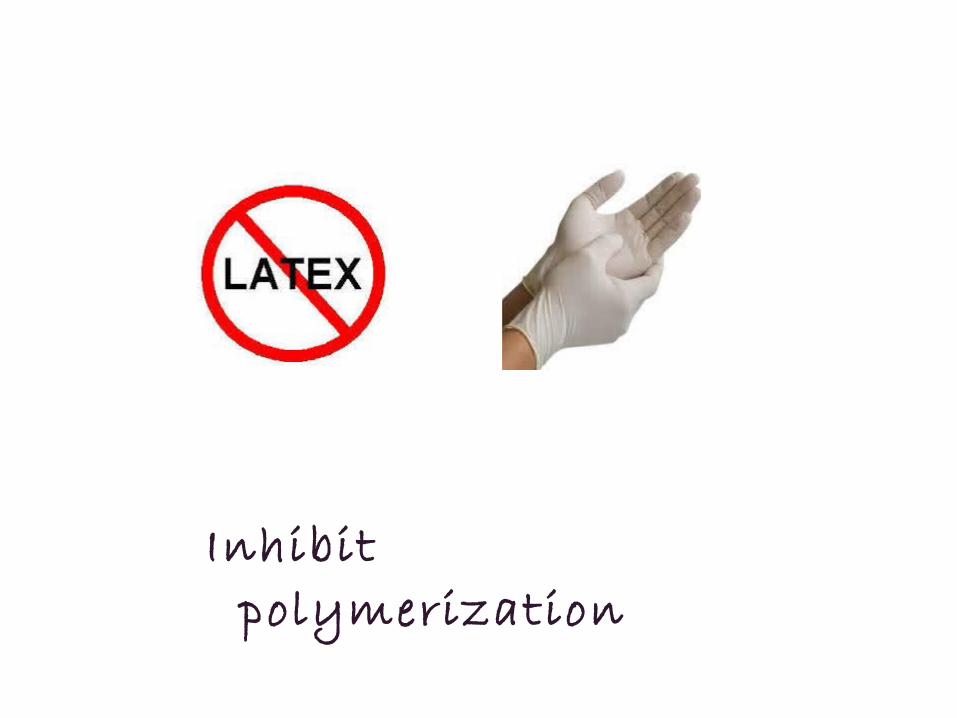
Inhibit polymerization

Fewer Inherent voidsExtended essential working timeReduce waste
Auto mix System

Adhesion of impression material to tray
All impression materials shrink slightly upon setting resulting in smaller die
With proper tray adhesive (7 to 15 min), impression material shrinks towards the tray during setting resulting in slightly larger die which is preferable to a smaller one
