music to your earbuds: jamie lee 05/04/10 eng393: 301 uploading music onto your apple ipod
TRANSCRIPT

Music to Your Earbuds:Music to Your Earbuds:
Jamie Lee05/04/10
Eng393: 301
Uploading Music onto your Apple iPod
iPod Music IntroiPod Music Intro
• What does this presentation explain?– Uploading songs onto your iPod
• Who is this for?– First-time iPod Users
• When should it be used?– Adding music to your iPod
• Safety: disconnecting iPod correctly; don’t “pirate” music
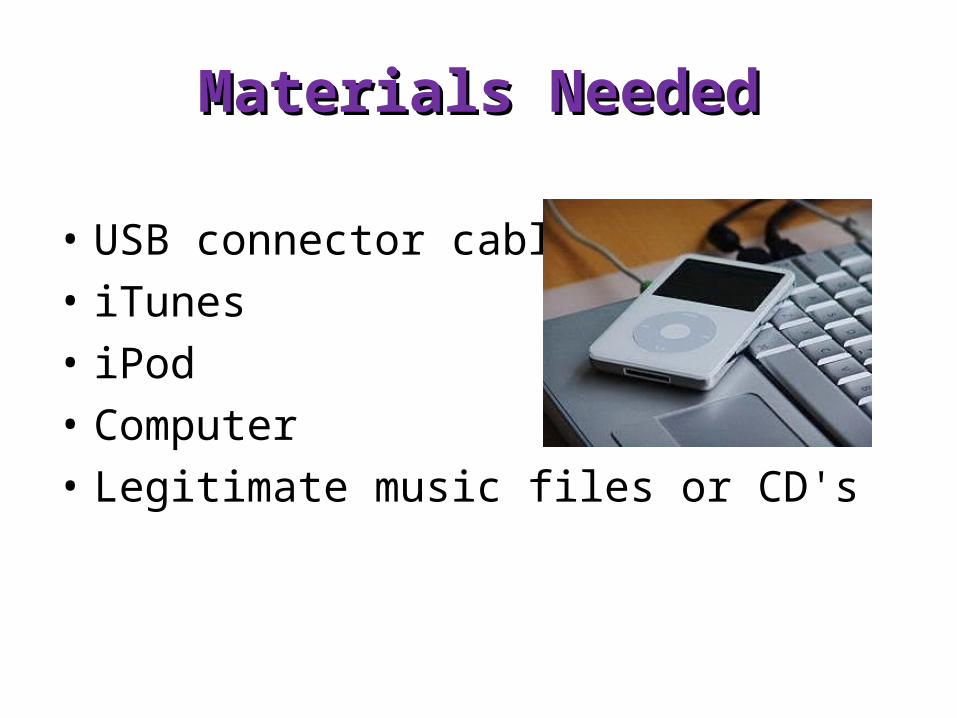
Materials NeededMaterials Needed
• USB connector cable• iTunes• iPod• Computer• Legitimate music files or CD's

InstructionsInstructions
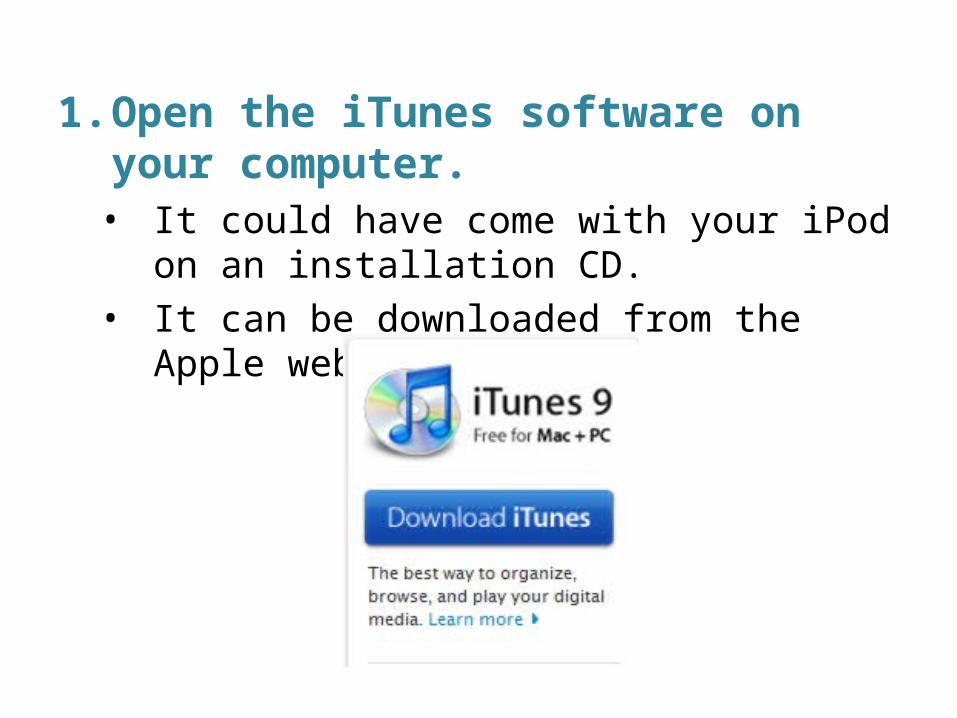
1. Open the iTunes software on your computer.• It could have come with your iPod on an
installation CD. • It can be downloaded from the Apple website.

2. Add music to your iTunes Library.• Click "File." • Choose "Add Folder to Library.“ • Find the folder (on your computer) that holds the
music you want to upload. • Highlight that folder and click "OK." The music
will be put into the iTunes Library.• You can buy songs from the iTunes website, as
well.

3. Connect your iPod to your computer.• Use the USB cable that came with your iPod.• After connecting, you will see the iPod listed
under "Devices" on the left-hand side of iTunes.• The iPod screen will say "Do not disconnect."
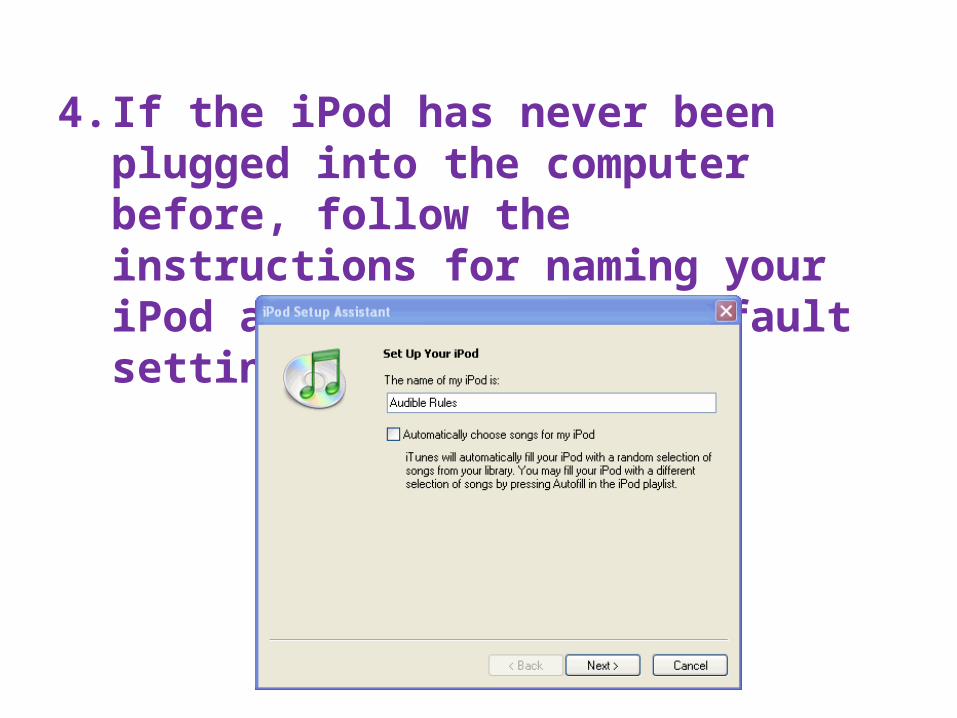
4. If the iPod has never been plugged into the computer before, follow the instructions for naming your iPod and changing the default settings.
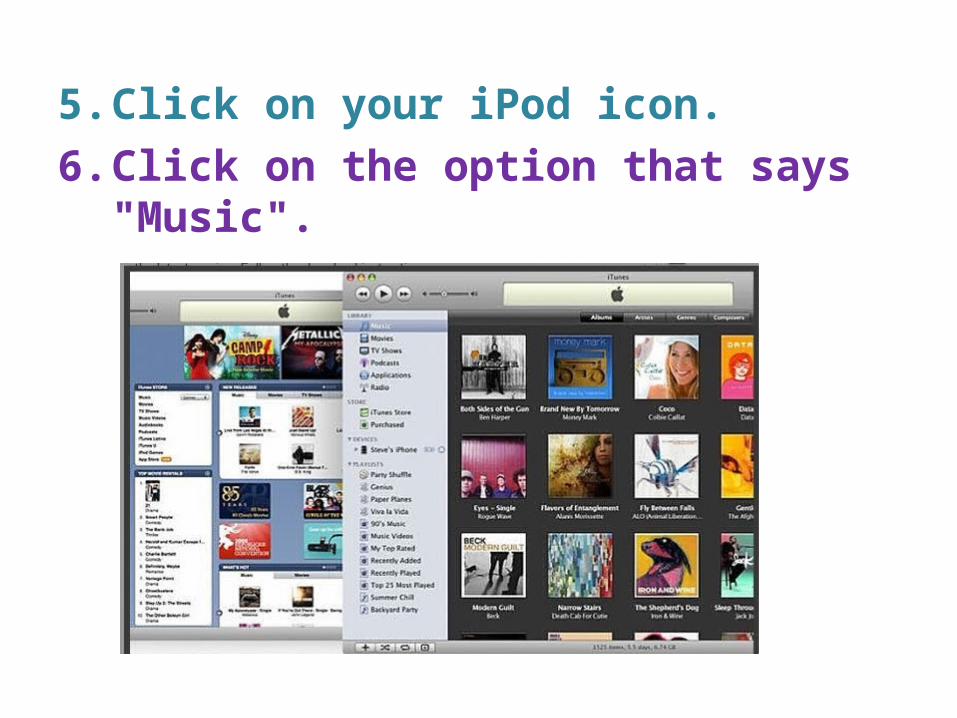
5. Click on your iPod icon. 6. Click on the option that says "Music".

7. Check the "Sync Music" checkbox, then check the box for whether you want your iPod to sync with the entire library or selected playlists. • If you only want selected playlists, choose the
playlists you want in the playlists category. • Syncing adds all music from your iTunes Library
onto your iPod. It will also delete any songs from your iPod that are not in your library.

8. Click the eject button next to the iPod icon in iTunes, once you’ve completed modifying your iPod song list.• Disconnect the iPod properly to
avoid problems or loss of files on your iPod.
• If you prematurely quit iTunes, drag the iPod icon on your desktop to the trash to eject (Mac). Right click on the iPod icon on your desktop on a Windows PC.

9. Close the iTunes software once you’ve completed adding/deleting songs from your iPod.

10. Enjoy listening to your new music!

Apple Warranty and SupportApple Warranty and Support

Warranty– iPods are covered for 1 year from their date of
purchase.– Excludes coverage for damage from accident,
liquid, and unauthorized service/modifications– Users can verify iPod is still within warranty• Enter serial number of iPod in the Online Service
Assistant section on the Apple Support site

Support• www.apple.com/support/ipod/• FAQs– Q: Can I update more than one iPod with my computer?
A: Yes. Each iPod communicates a unique device identification number to your computer…
– Q: Is there a clock on my iPod?A: Yes, iPod has a digital clock so you can keep track of the time wherever you go, which comes in handy at the gym.
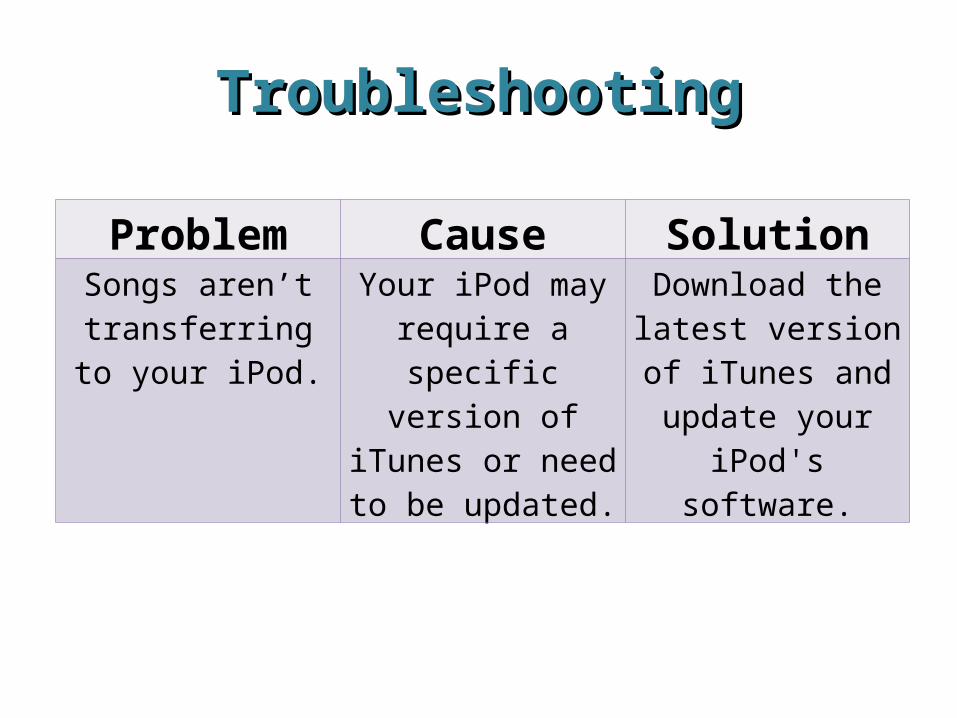
TroubleshootingTroubleshooting
Problem Cause SolutionSongs aren’t
transferring to your iPod.
Your iPod may require a specific
version of iTunes or need to be updated.
Download the latest version of iTunes and update your iPod's software.

Questions/Comments?
Questions/Comments?