name structure of the cell c3 workbookmrscienceut.net/c3workbook.pdfname _____ structure of the cell...
TRANSCRIPT
Name _____________________________________________________________
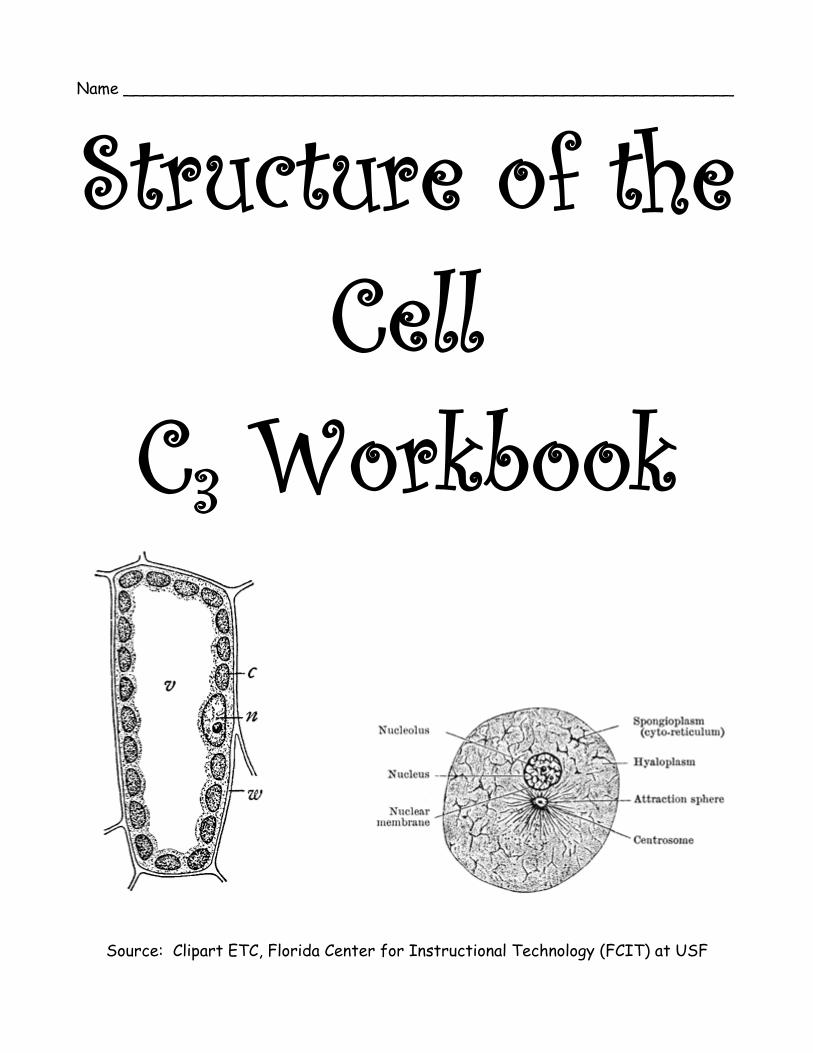
Structure of the Cell
C3 Workbook
Source: Clipart ETC, Florida Center for Instructional Technology (FCIT) at USF
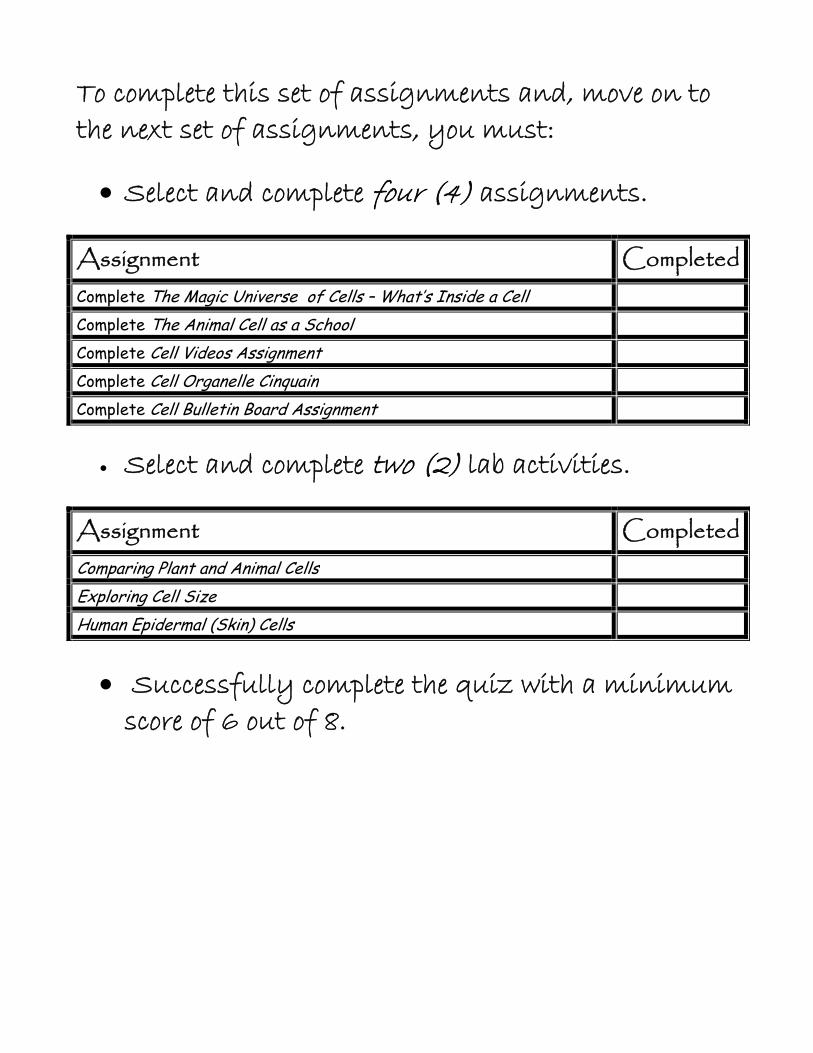
To complete this set of assignments and, move on to the next set of assignments, you must:
Select and complete four (4) assignments.
Assignment CompletedComplete The Magic Universe of Cells – What’s Inside a Cell Complete The Animal Cell as a School
Complete Cell Videos Assignment
Complete Cell Organelle Cinquain Complete Cell Bulletin Board Assignment
Select and complete two (2) lab activities.
Assignment CompletedComparing Plant and Animal Cells
Exploring Cell Size Human Epidermal (Skin) Cells
Successfully complete the quiz with a minimum score of 6 out of 8.

The Magic Universe of Cells: What is Inside a Cell?
Materials
Cell notes Piece of paper Pencils and erasers for sketching organelles Colored pencils for coloring organelles 8 ½” x 11” white paper Scissors Glue Cell textbook
Safety Concerns: Scissors. Emphasize safe use of scissors. Procedure 1. Review the organelles in a cell using your notes. 2. Using the textbook and cell handouts, draw and color a cell. The organelles should be an appropriate size for the size of your cell you draw. 3. If you are making a plant cell, your poster needs to be rectangular. If you are making an animal cell, it needs to be round.
The Animal Cell As a School A cell is like our school. Each part of the cell (and school) has responsibilities that must be done and certain organelles (people) to do them. Identify the function of the following parts of the cell. Then, identify which person does the same thing in the school.

Organelle Function Name part of school that has a similar function
Cell Membrane
Cytoplasm
Golgi Body/Apparatus/ Complex
Lysosome
Mitochondria
Nucleus
Nucleolus
Ribosome
Rough ER
Smooth ER
Vacuole
Cell Videos Assignment Go to a computer. Watch three cell videos. The videos are found on the desktop, Cells Video folder. Complete the worksheet as you watch the videos. Title of Video ______________________________________________________
Interesting Items 1.
6.
2. 7.
3. 8.
4. 9.
5. 10.
Title of Video ______________________________________________________ Interesting Items
1.
6.
2. 7.
3. 8.
4. 9.
5. 10.
Title of Video ______________________________________________________ Interesting Items
1.
6.
2. 7.
3. 8.
4. 9.
5. 10.
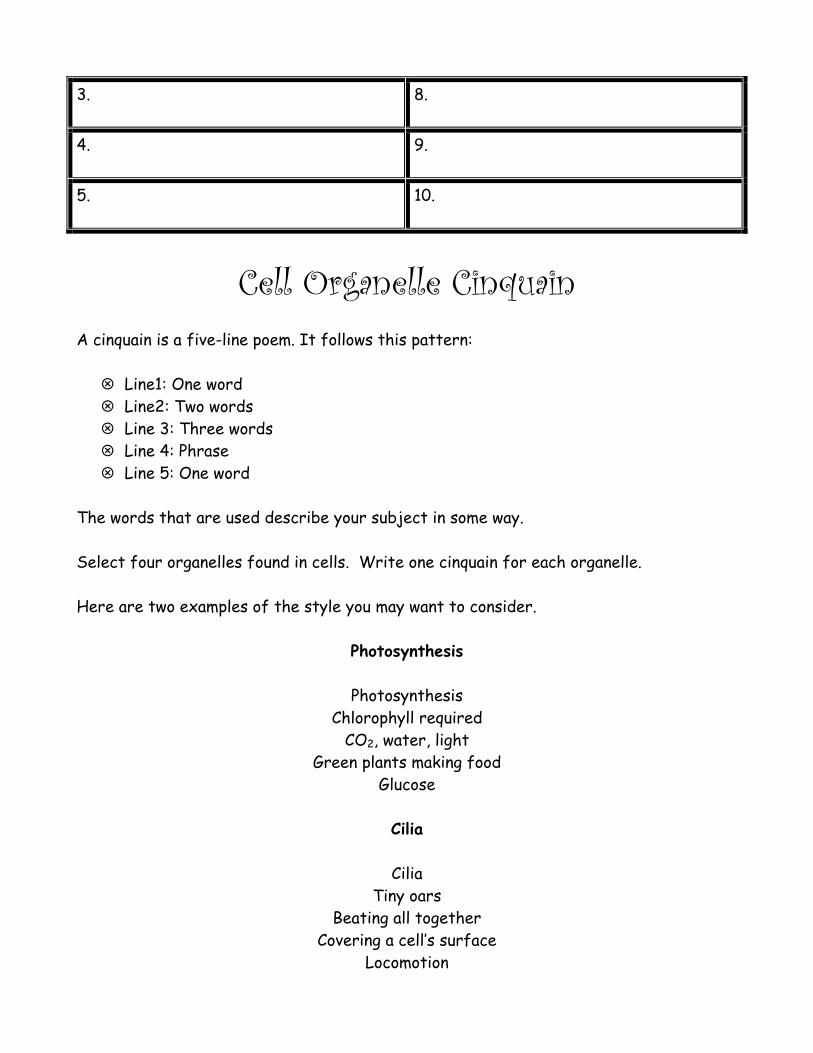
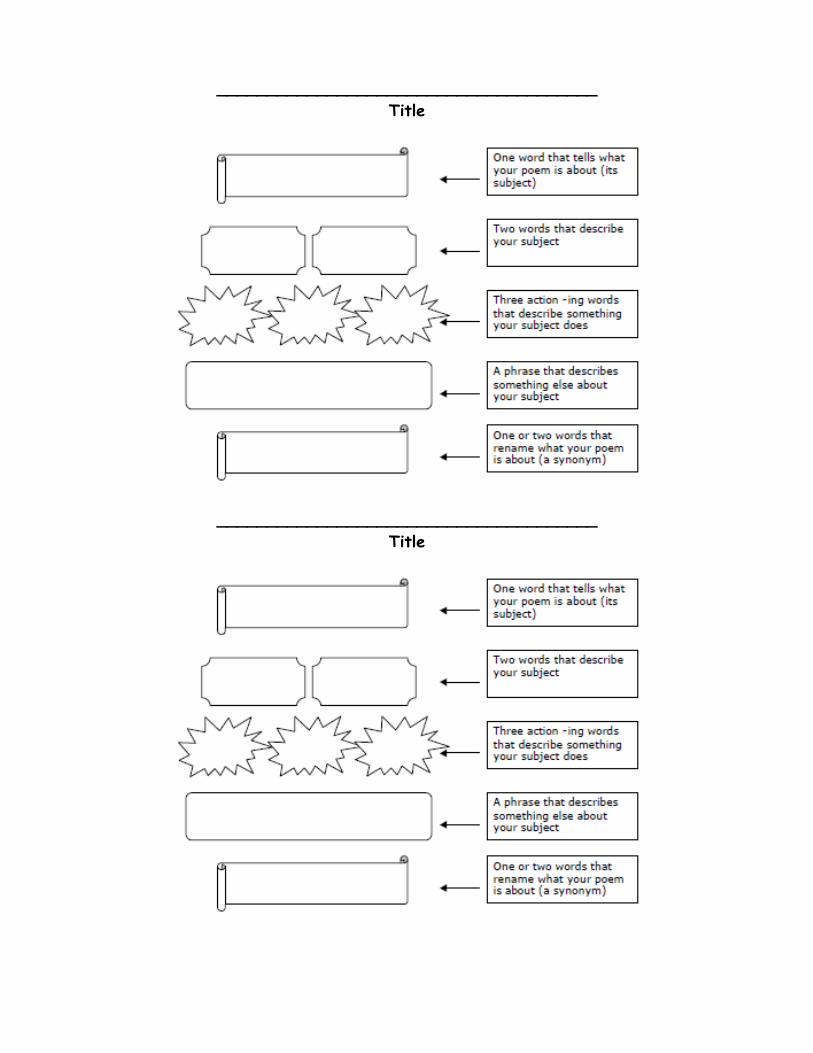
Cell Organelle Cinquain A cinquain is a five-line poem. It follows this pattern:
Line1: One word Line2: Two words Line 3: Three words Line 4: Phrase Line 5: One word
The words that are used describe your subject in some way. Select four organelles found in cells. Write one cinquain for each organelle. Here are two examples of the style you may want to consider.
Photosynthesis
Photosynthesis Chlorophyll required
CO2, water, light Green plants making food
Glucose
Cilia
Cilia Tiny oars
Beating all together Covering a cell’s surface
Locomotion

Have fun writing your cinquains!
______________________________________ Title
______________________________________
Title
______________________________________ Title
______________________________________ Title

Cell Bulletin Board Assignment Design a bulletin board that will teach students about cells. Describe what it looks like (or include a picture!); identify the organelles; etc. Remember, your goal is to teach about the cell! Draw your bulletin board in the space below. Color your design. Have fun being creative!
Comparing Plant and Animal Cells In this investigation, you will compare the structures of a typical plant cell and a typical animal cell. This lab consists of two parts. In Part A, you will observe three (3) different types of plant cells. In Part B, you will observe human check cells. You need to take care when gathering live cell samples. Scientists use tools such as forceps and slides to “touch” the specimens. This prevents contamination and also ensures that the delicate cells are not ruptured or damaged. Problem – How are plant and animal cells alike? How are they different? Materials
Forceps Pipette Glass slides Coverslip Paper towel Tomato Onion Plant leaf Distilled water Cotton swab Methylene Blue stain Iodine stain
Safety Concerns: Methylene blue/Iodine. This is a corrosive and will burn. Do not get it on your skin. Wash any area immediately with water. Inform Mr. Hill immediately. All students will wear gloves and goggles while preparing slides.
Procedure
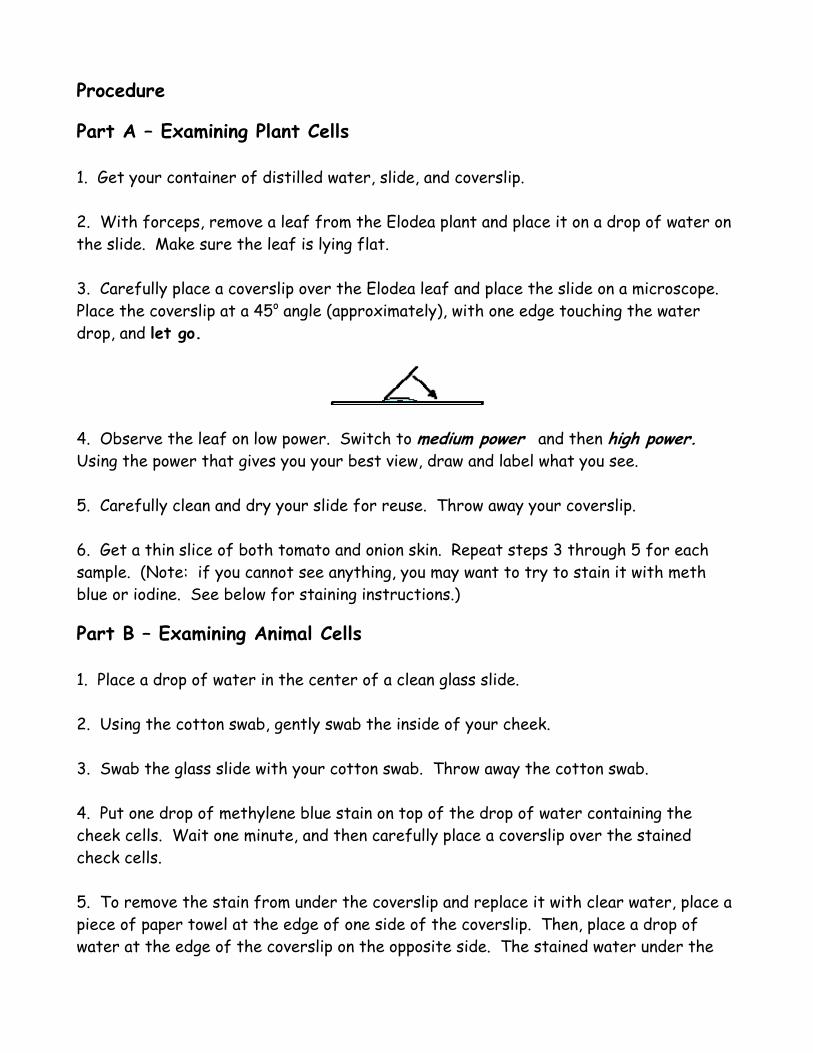
Part A – Examining Plant Cells 1. Get your container of distilled water, slide, and coverslip. 2. With forceps, remove a leaf from the Elodea plant and place it on a drop of water on the slide. Make sure the leaf is lying flat. 3. Carefully place a coverslip over the Elodea leaf and place the slide on a microscope. Place the coverslip at a 45o angle (approximately), with one edge touching the water drop, and let go.
4. Observe the leaf on low power. Switch to medium power and then high power. Using the power that gives you your best view, draw and label what you see. 5. Carefully clean and dry your slide for reuse. Throw away your coverslip. 6. Get a thin slice of both tomato and onion skin. Repeat steps 3 through 5 for each sample. (Note: if you cannot see anything, you may want to try to stain it with meth blue or iodine. See below for staining instructions.)
Part B – Examining Animal Cells 1. Place a drop of water in the center of a clean glass slide. 2. Using the cotton swab, gently swab the inside of your cheek. 3. Swab the glass slide with your cotton swab. Throw away the cotton swab. 4. Put one drop of methylene blue stain on top of the drop of water containing the cheek cells. Wait one minute, and then carefully place a coverslip over the stained check cells. 5. To remove the stain from under the coverslip and replace it with clear water, place a piece of paper towel at the edge of one side of the coverslip. Then, place a drop of water at the edge of the coverslip on the opposite side. The stained water under the

coverslip will be absorbed by the paper towel. As the stain is removed, the clear water next to the coverslip on the opposite side will be drawn under the coverslip. Throw away the paper towel after it has absorbed the stained water. (The stain makes the cell easier to see.)
6. Place the slide on the microscope. Observe the cheek cells under low power. You many need to reduce the amount of light coming through the slide in order to see the cells more clearly. Adjust the diaphragm as needed. 7. Switch to medium power and then high power. Using the power that gives you your best view, draw and label what you see. 8. Carefully clean and dry your slide. Throw away your coverslip. Make sure your microscope is turned off, is on lower power, and the stage is all the way down. Put the cover back on.
Make sure you label all your drawings. Animal cells should include the following labels: Cell membrane, Nucleus, and Cytoplasm. Plant Cells should include the following labels: Cell membrane, Cell wall, Nucleus, Cytoplasm, Chloroplast. (Note: If you cannot see one of the above organelles, identify which organelles you could not see.)

Observations
Tomato Onion Magnification (circle one) Magnification (circle one) Low Medium High Low Medium High
Plant Leaf Check Cell Magnification (circle one) Magnification (circle one) Low Medium High Low Medium High Analysis and Conclusions
1. What is the general shape of the plant cell? __________________________________________________________________
2. What is the general location of the nucleus in the plant cell? __________________________________________________________________ 3. What is the shape of the cheek cell? __________________________________________________________________ 4. What is the general location of the nucleus in the cheek cell? __________________________________________________________________ 5. Why are stains used when observing cells under the microscope? _________________________________________________________________ _________________________________________________________________ _________________________________________________________________ 6. Why is it possible to easily collect cells by gently scraping the inside of your cheek? _________________________________________________________________ __________________________________________________________________ 7. In general, the surface of a tree has a harder “feel” than does the surface of a dog. What cell characteristic of each organism can be used to explain this difference? _________________________________________________________________ _________________________________________________________________ _________________________________________________________________ 8. If you were given a slide containing living cell of an unknown organism, how would you identify the cells as either plant or animal? __________________________________________________________________

Exploring Cell Size In this activity, you will measure the size of a period at the end of a sentence and then compare the size of cells with the size of that period. Problem: How many cells can fit on the end of a period? Materials
Microscope Skin cell slide Blank slide Coverslip Newspaper Plant cell slide Clear plastic ruler Scissors
Safety Concerns: Scissors. Discuss safe use of scissors. Procedure 1. Take your clear ruler and place it on the microscope’s stage. Place the objective lens on low power (40x). Look through the microscope and determine the diameter of the field of view. Repeat this process for the field of view for medium (100x). Repeat this process for the field of view for high (400x). Record the measurements on your worksheet. 2. Make a dry-mount of a newspaper period. Place the period on the middle of a clean slide. Carefully place the cover slip over the top and gently lower the cover slip down on the drop of water.
3. Locate the period under low power. Observe how much space the period takes up. Draw the period in the circle as it appears in your viewing field. If the period takes up half of the space in the eyepiece, it should take up half of the space in the circle. (This is called “drawing to scale.”) 4. Using the clear plastic ruler, measure the width of the period and record it on the data in the table. 5. Repeat steps 2 and 3 observing the skin cell slide under medium power. Draw a
single skin cell to scale in a second circle.
6. Using your ruler, measure the diameter of one skin cell in your drawing in millimeters. Record the data in the table.
7. Repeat steps 2 and 3 observing a plant cell under medium power. Draw a single plant cell to scale in the third circle.
8. Using the ruler, measure the width of one plant cell. Record the data in the table. Make sure you label all your drawings. Animal cells should always include at least the following labels: Cell membrane, Nucleus, and Cytoplasm. Plant Cells should always include at least the following labels: Cell membrane, Cell wall, Nucleus, Cytoplasm, and Chloroplast. (If you cannot see an organelle, identify which organelles you cannot see.)
Diameter of the field of view (40X): _________mm
Diameter of the field of view (100X): _________mm
Diameter of the field of view (400X): _________mm
Period (Nothing needs to be labeled)
Skin
Magnification Used to Draw Specimen: Low Medium High
Plant
Magnification Used to Draw Specimen: Low Medium High
Questions and Analysis
Observation Table Object Viewed Diameter of Object Viewed (mm)
Period Skin Cell
Plant Cell
NOTE: If you measure the size of your cell on 100x, divide your size by 2.5. If measure the size of your cell on 400x, divide your size by 4.
1. Place the cells in order from the smallest to the largest (period, skin, plant).
Smallest –

Medium – Largest -
2. How many times larger is the period than the skin cell (divide the size of the period by the size of the skin cell)? How many cells will fit on the period? __________________________________________________________________ __________________________________________________________________ __________________________________________________________________ 3. What do your observations tell you about the size of cells? __________________________________________________________________ __________________________________________________________________ __________________________________________________________________
Human Epidermal (Skin) Cells Introduction What do your skin cells look like? It is easy to remove some and look at them with a microscope. Materials
Clear tape Microscope slide Slide coverslip Methylene blue Microscope Forceps

Safety Concerns: Methylene blue/Iodine. This is a corrosive and will burn. Do not get it on your skin. Wash any area immediately with water. Inform Mr. Hill immediately. All students will wear gloves and goggles while preparing slides. Procedure 1. Wash the underside of a wrist that will be sampled for epidermal cells with soap and water. 2. Stick a clean piece of clear tape on the underside of the washed wrist. 3. Gently remove the piece of tape from the wrist being careful to avoid getting fingerprints on the tape. A forceps might help to remove the tape and avoid fingerprinting the tape. 4. Place the tape, sticky-side up, on a clean microscope slide. 5. Stain the top, sticky side of the tape with 2 or 3 drops of methylene blue solution. 6. Use forceps to gently place a cover slip over the sticky tape. Lower the coverslip down onto the tape and then remove the forceps. This should help prevent staining your fingers. 7. Examine the slide under a microscope. Look for cells with low power first, and then switch to high power for details. 8. Record your observations of epidermal cells by making drawings. Label your drawings with appropriate magnifications.
Skin
Magnification Used to Draw Specimen: Low
Skin
Magnification Used to Draw Specimen: Medium

Skin
Magnification Used to Draw Specimen: High