network objects - faludi
TRANSCRIPT

Network Objects
Instructor: Rob Faludi

Plan for Today
• XBees
• Final Four Presentations
• Social Bomb
• Readings & Assignments

Let’s Get Our Stuff
• Download XBee Terminal Max:http://www.faludi.com/projects/xbee-terminal-max/
• Download FTDI drivers:http://www.ftdichip.com/Drivers/VCP.htm
• Download Processing:http://processing.org/download/

Wireless

Moving Data by Radio


Fleet Management

Rodent Traps

Radio Communications
• electromagnetic waves
• no medium required
• modulation
• well-described mystery: “air waves” “wireless” “ethereal communication”
• cool posters: http://faludi.com/2007/09/15/spectrum-posters/

Inverse Square Law
• power needs increase exponentially with distance

Some Methods for Device Communication
• Transmit/receive pairs
• Proprietary transceivers
• Ethernet
• WiFi
• Cell phone data
• Bluetooth
• Cell modules

802.15.4
• low power
• addressing
• cheap
• wireless
• small
• standardized

ZigBee & 802.15.4
• ZigBee is built on top of the IEEE 802.15.4 protocol
• XBee radios are available with or without ZigBee
• Both ways are useful

802.15.4 Topologies
• single peer
• multi-peer
• broadcast

ZigBee
• routing
• self-healing mesh
• ad-hoc network creation
• ZNet 2.5 older
• ZB Pro better density and frequency agility (ZigBee 2007)

ZigBee Topologies
• peer
• star
• mesh
• routing

Other Interesting Protocols
• ZigBee Smart Energy Profile
• ZigBee RF4CE
• 6LoWPAN TCP/IP
• XBee 802.15.4 vs. ZNet 2.5 vs. ZB Pro vs. DigiMesh

Okay, okay, so how do I make one?

Breakout Board Method
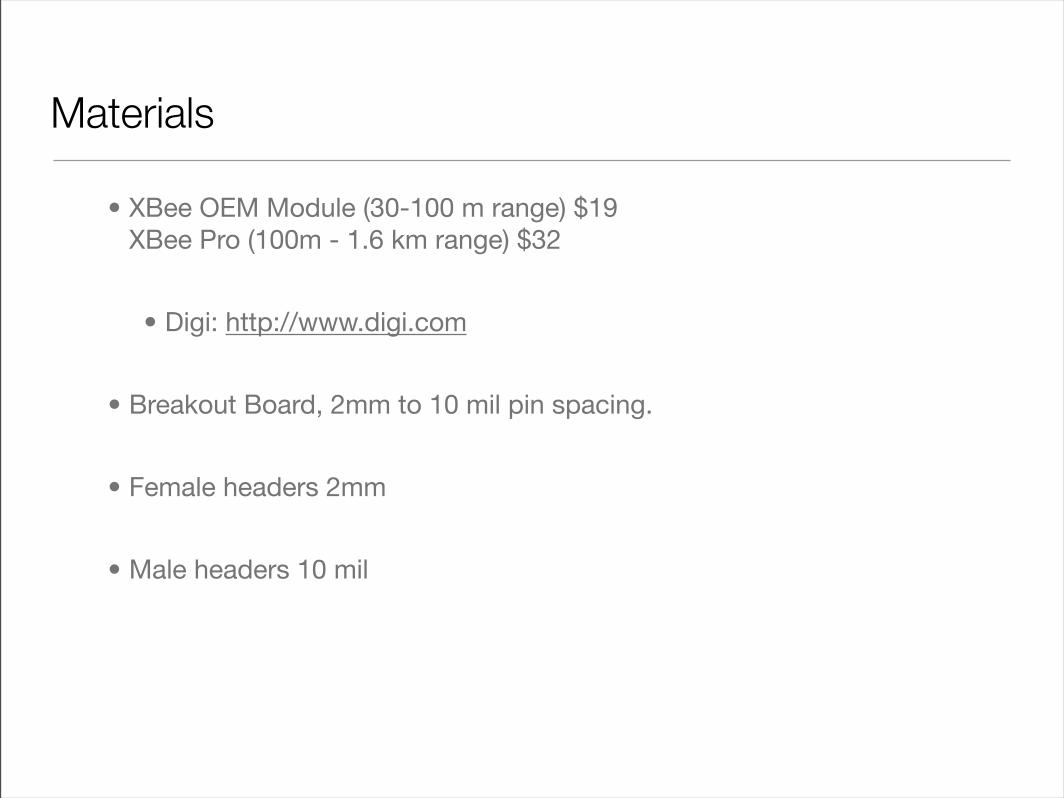
Materials
• XBee OEM Module (30-100 m range) $19XBee Pro (100m - 1.6 km range) $32
• Digi: http://www.digi.com
• Breakout Board, 2mm to 10 mil pin spacing.
• Female headers 2mm
• Male headers 10 mil

Soldering Breakout Boards: pin spacing
2mm 0.1”

Soldering Breakout Boards: finished

Wiring
+3.3 Vtransmitreceive
ground

Remember!
• Use only +3.3 Volts. Arduino can supply this, or use a voltage regulator
• Always use decoupling capacitors along with the voltage regulator.
• You can’t send infinitely fast. Try putting a 10 ms delay into your loop.
• XBee TX goes to Arduino RX and vice versa.
• Arduino can run on 3.3 Volts (use the breadboard version or create a PCB)

XBee Send/Receive

LilyPad XBee
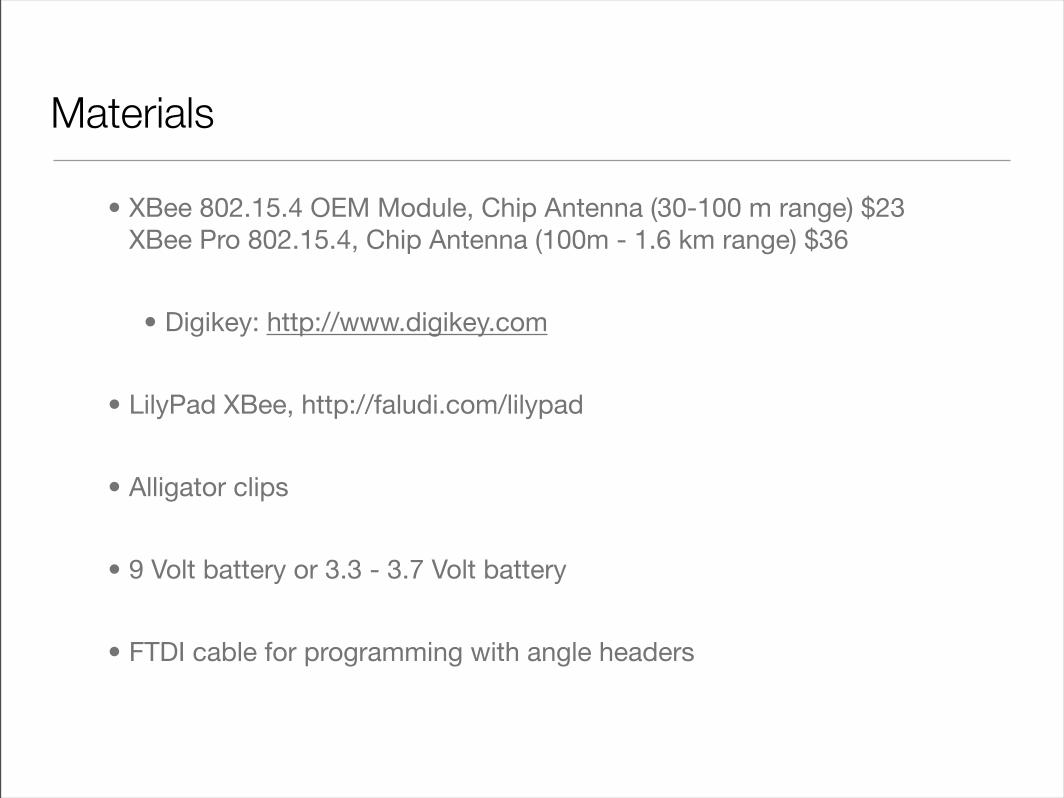
Materials
• XBee 802.15.4 OEM Module, Chip Antenna (30-100 m range) $23XBee Pro 802.15.4, Chip Antenna (100m - 1.6 km range) $36
• Digikey: http://www.digikey.com
• LilyPad XBee, http://faludi.com/lilypad
• Alligator clips
• 9 Volt battery or 3.3 - 3.7 Volt battery
• FTDI cable for programming with angle headers

Wiring
+3.3 V only
transmit
receiveground
+Voltage
(needs angle headers)

FTDI Cable
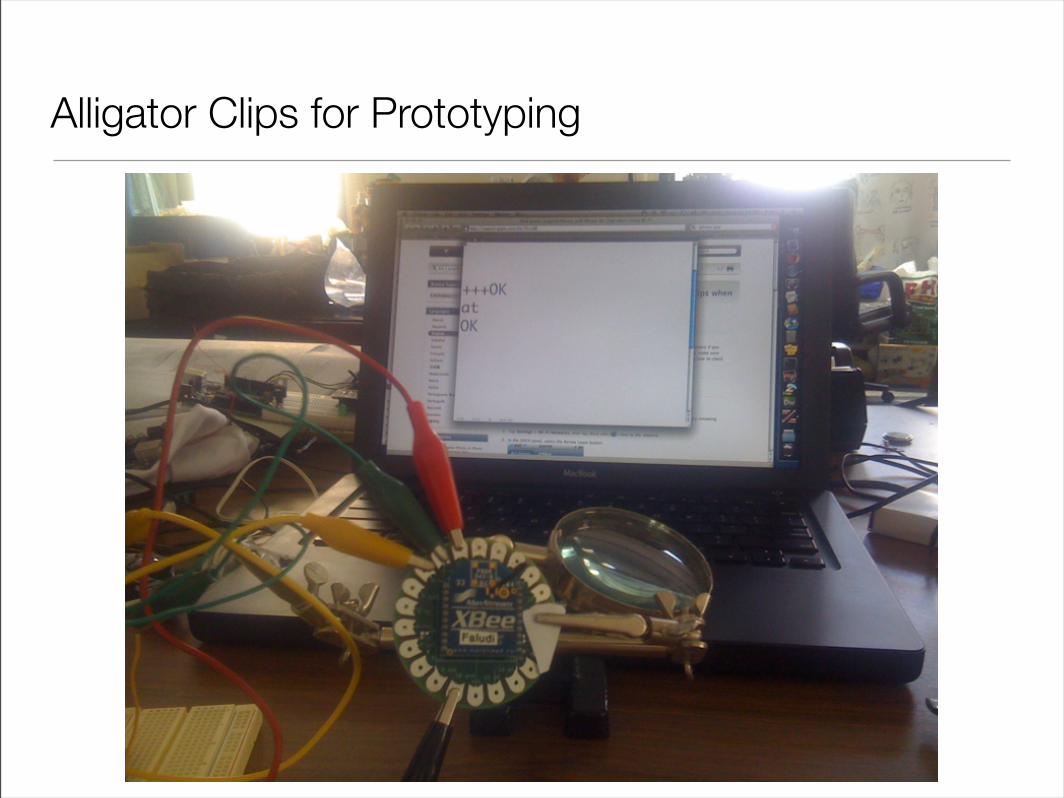
Alligator Clips for Prototyping

Remember!
• Never send more than about +4 Volts to the 3.3 pin. Use the + pin instead
• Conductive thread may be too resistive for power and ground, try fabric or wire
• XBee TX goes to Arduino RX and vice versa

Instructions
• XBee Practical Example: Paired communication between two microcontrollers. Includes building, wiring and code for PIC and Arduino
• Making Things Talk book by Tom Igoe
• I/O Example on faludi.com, or in the XBee manual section 2.2
• http://faludi.com/lilypadxbee

Connect to a Computer


Antennas
Chip Antenna on Pro

Serial Terminal Programs
• Processing: http://www.faludi.com/projects/xbee-terminal-max/
• Z-Term: http://homepage.mac.com/dalverson/zterm/
• HyperTerm: Windows Start Menu, Accessories, Communication
• screen: Terminal program on the Mac (or Linux)
• X-CTU: http://www.digi.com/support/productdetl.jsp?pid=3352&osvid=57&tp=4&s=316
• plenty of others

Baud, Bits and Parity
• Default baud rate: 9600
• Bits: 8
• Stop bits: 1
• Parity: None
• Flow control: none for now...

Okay, okay so let’s DO something!
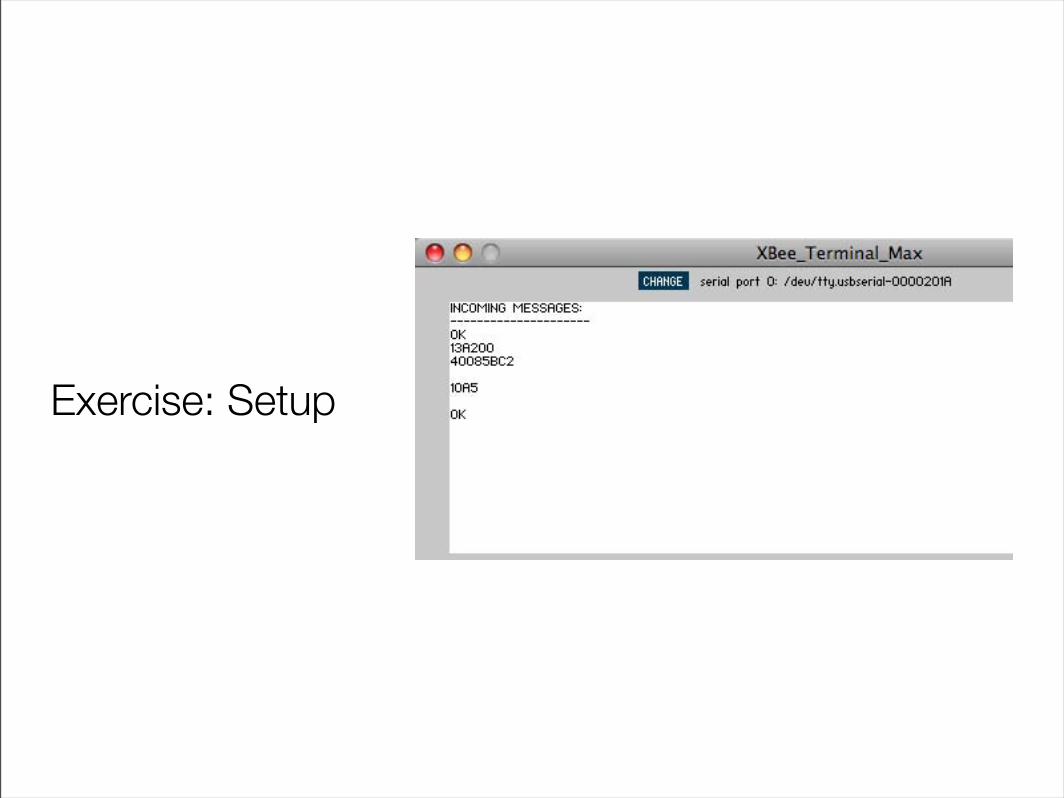
Exercise: Setup

Let’s Get Our Stuff
• Download XBee Terminal Max:http://www.faludi.com/projects/xbee-terminal-max/
• Download FTDI drivers:http://www.ftdichip.com/Drivers/VCP.htm
• Download Processing:http://processing.org/download/
• Download ETech Monkey Controller:http://www.faludi.com/downloads/etech2009

Setup
• Download all software and configure your computer
• if you can’t download, let us know
• if you don’t have access to install drivers, follow along with a friend
• Plug in your USB cable, XBee adaptor and the XBee
• Start up the XBee Terminal Max program
• Click Change to select the appropriate port, if needed

XBee Terminal MAX

Data Mode vs. Command Mode
• Idle Mode, transmit and receive data
• Command Mode, talk to the XBee itself
• +++ "Yo, XBee"
• AT "Attention!" (Hayes command set)

Some AT Commands
• AT -> OK
• ATMY -> my address
• ATDL -> destination address (low)
• ATID -> personal area network ID
• ATCN -> end command mode

Let’s Configure
• type just +++ to go into command mode. Don’t hit return or enter!
• you should see an OK response in the top window
• type AT and see if you get another OK response
• if you don’t you’ve gone back out of command mode, so do +++ again.
• type ATID to see the current (default) PAN ID in the top window
• type ATID followed by your PAN ID to set it
• if your PAN ID is 1437 then you’d type ATID 1437

Explore your XBee
• ATMY shows your address
• ATDL shows the destination address
• ATVR shows you the current version number
• 10A5 or 10CD are current ones
• 1084, you’ll definitely want to upgrade later on
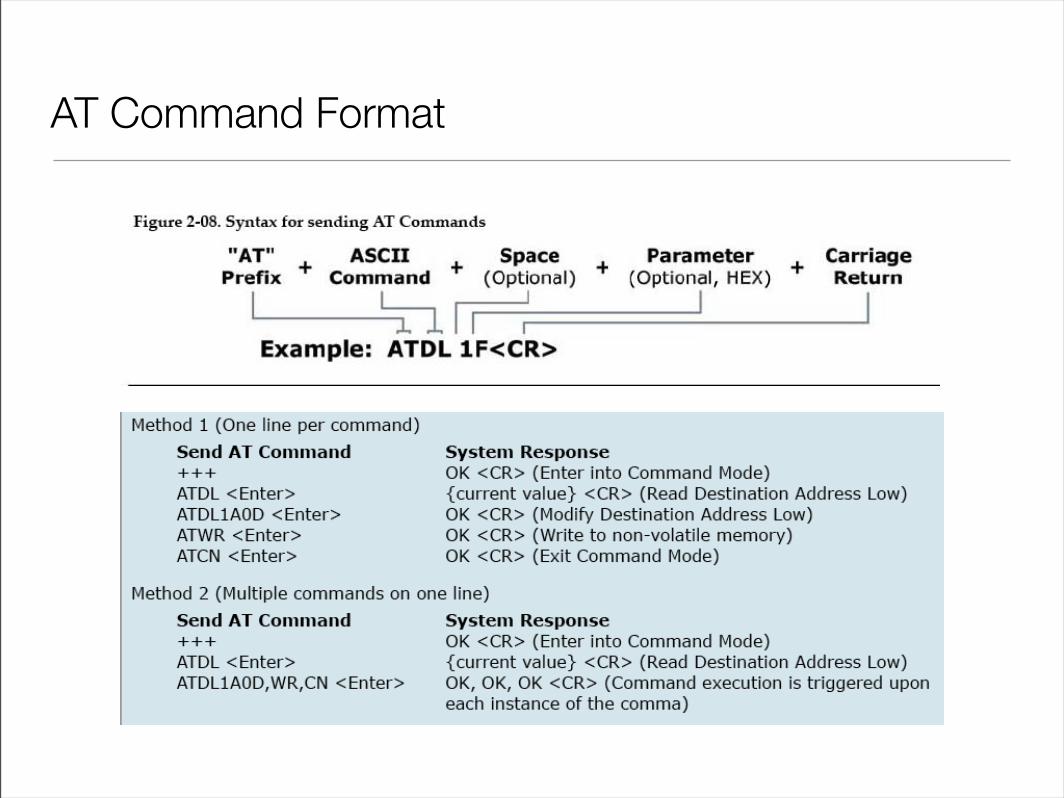
AT Command Format

Hexadecimals
• Just like decimals, but count from 0 to 15 in each position
• Since there’s no existing single numeral representing 10 - 15, use A - F instead
• A = 10, B=11, C=12 ... F=15
• A1 = 161, common notation: 0xA1
• What does BFF equal? What does it look like?
• Calculators on Mac & Windows
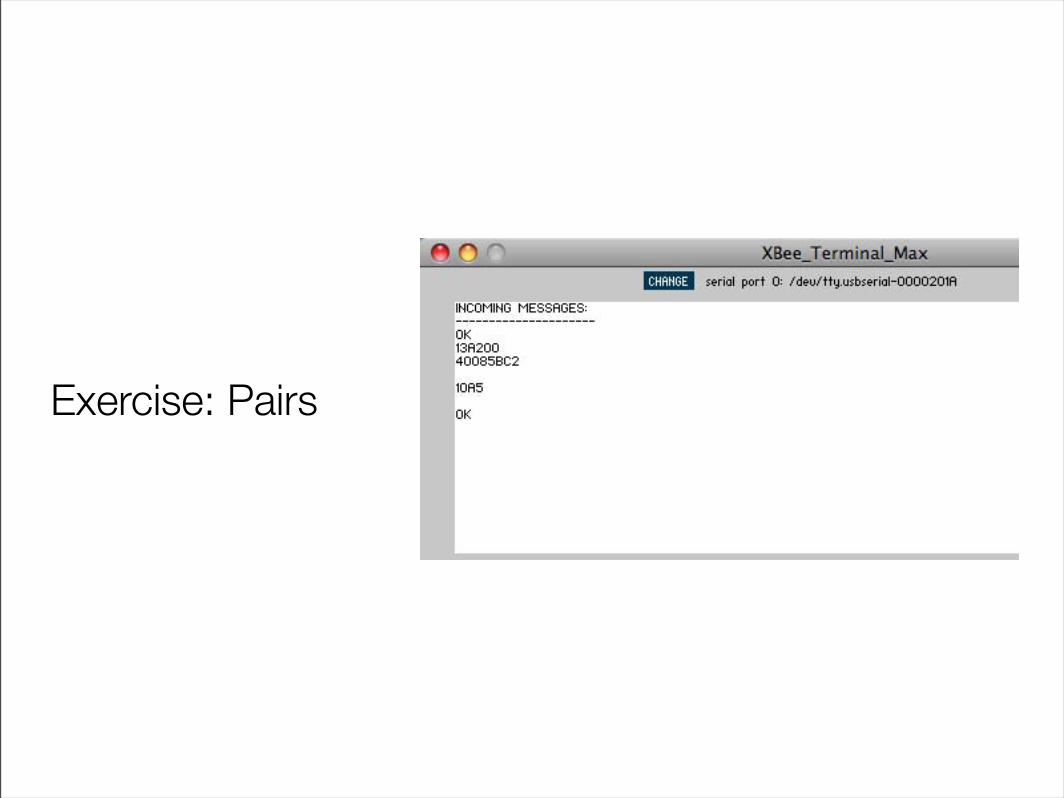
Exercise: Pairs

Meet Your Neighbor
• Shake hands, share a smile, have a mint together
• Pick one of your PAN IDs to use and configure that on both: ATID....
• Configure your local address: ATMY..
• Configure your partner’s address as your destination address: ATDL..
• Check to see if you got it right, then ATCN to exit command mode
• Chat with your neighbor!

Exercise: Strangers

Find Your XBee Soulmate
• Configure yourself for the common PAN ID: ATID 1234
• Set your destination address to the soulmate one listed on your handout: ATDL....
• Check your work, then get out of command mode: ATCN
• Chat with and identify your soulmate
• what color socks are they wearing?do they like broccoli?

Exercise: Groups

Groups
• Configure yourself for the Group PAN ID on your handout: ATID....
• Give your radio a friendly name or node indicator: ATNI....................
• Find a friend to chat with using node discovery: ATND2 <- your new friend’s address!!13A200 <-Manufacturer ID40020DBF <-Serial Number47 <-RSSITrixie the XBee <-node indicator, aka friendly name
• Change the destination address to that person’s to chat: ATDL..
• Try using the broadcast address to talk to everyone: ATDL FFFF

Protocols
• Sending
• Flow control
• Call / response
• Broadcast
• Start / stop
• Checksums
• Collisions

XBee I/O mode

I/O Why
• Why:
• Save space, save power, save weight and save money
• Reduce complications
• Why not:
• Limited inputs/outputs
• No access to logic
• Each radio must be manually configured

• For simple input and/or output
• Eight digital input/outputs
• One additional digital output
• Seven analog inputs
• Two analog outputs
• But not all at once! Pins are shared.
I/O Intro

Input/Output Wiring
+3.3 Vtransmitreceive
Ground
I/O pins
PWM outVoltage
reference
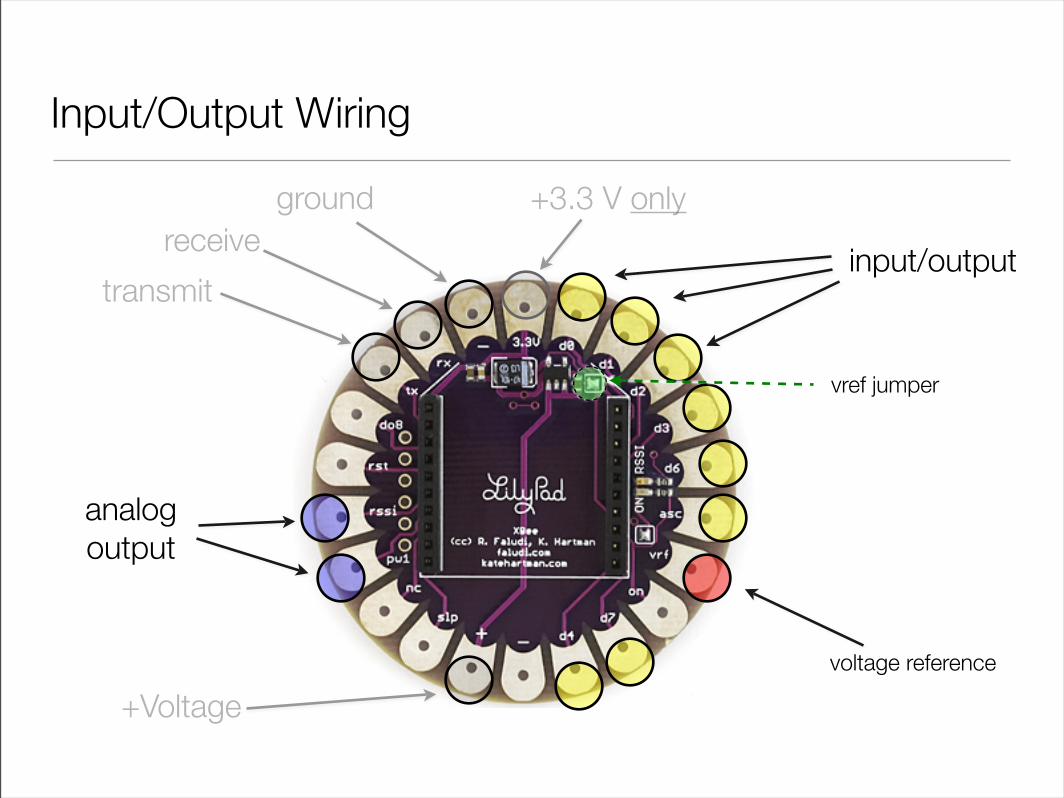
Input/Output Wiring
+3.3 V only
transmit
receiveground
+Voltage
input/output
analogoutput
voltage reference
vref jumper

I/O AT Commands
• ATD0...D8 -> configure pins for I/O
• ATIR -> sample rate
• ATIT -> samples before transmit
• ATP0...P1 -> PWM configuration
• ATIU -> I/O output enable (UART)
• ATIA -> I/O input address

Example Configuration
• ATID3456 (PAN ID)ATMY1 my address 1ATDL2 destination address 2ATD02 pin 0 in analog in modeATD13 pin 1 in digital in modeATIR14 sample rate 20 milliseconds (hex 14)ATIT5 samples before transmit 5
• ATID3456 (PAN ID)ATMY2 my address 2ATDL1 destination address 1ATP02 PWM 0 in PWM modeATD15 pin 1 in digital out high modeATIU1 I/O output enabledATIA1 I/O input from address 1

Common XBee Mistakes
• http://www.faludi.com/projects/common-xbee-mistakes/

API Mode
• Powerful, steeper learning curve
• Data wrapped together with commands, addressing and status information

API Mode Format
*ATNJ = node join

Wayward Soles

Readings and Assignments
• Readings
• Everything Everywhere
• Assignment
• Final Project