office 2003 introductory concepts and techniques m i c r o s o f t word project 2 creating a...
Post on 20-Dec-2015
212 views
TRANSCRIPT

Office 2003Introductory Concepts
and Techniques
M i c r o s o f t
Word Project 2
Creating a Research Paper

2Word Project 2: Creating a Research Paper
Objectives
• Describe the MLA documentation style for research papers
• Change the margin settings and line spacing in a document
• Use a header to number pages of a document• Apply formatting using shortcut keys• Modify paragraph indentation

3Word Project 2: Creating a Research Paper
Objectives
• Add a footnote to a document
• Count the words in a document
• Insert a manual page break
• Create a hyperlink
• Sort selected paragraphs

4Word Project 2: Creating a Research Paper
Objectives
• Proof and revise a document
• Display the Web page associated with a hyperlink
• E-mail a copy of a document
• Use the Research task pane to locate information

5Word Project 2: Creating a Research Paper
MLA Documentation Style
• Double-space text
• One-inch margins
• First-line indent for all paragraphs
• Author’s last name and page number in top-right corner
• Cite your sources– Parenthetical citations– Works cited

6Word Project 2: Creating a Research Paper
Starting and Customizing Word
• Click the Start button on the Windows taskbar, point to All Programs on the Start menu, point to Microsoft Office on the All Programs submenu, and then click Microsoft Office Word 2003 on the Microsoft Office submenu
• If the Word window is not maximized, double-click its title bar to maximize it
• If the Language bar appears, right-click it and then click Close the Language bar on the shortcut menu
• If the Getting Started task pane is displayed in the Word window, click its Close button
7Word Project 2: Creating a Research Paper
Starting and Customizing Word
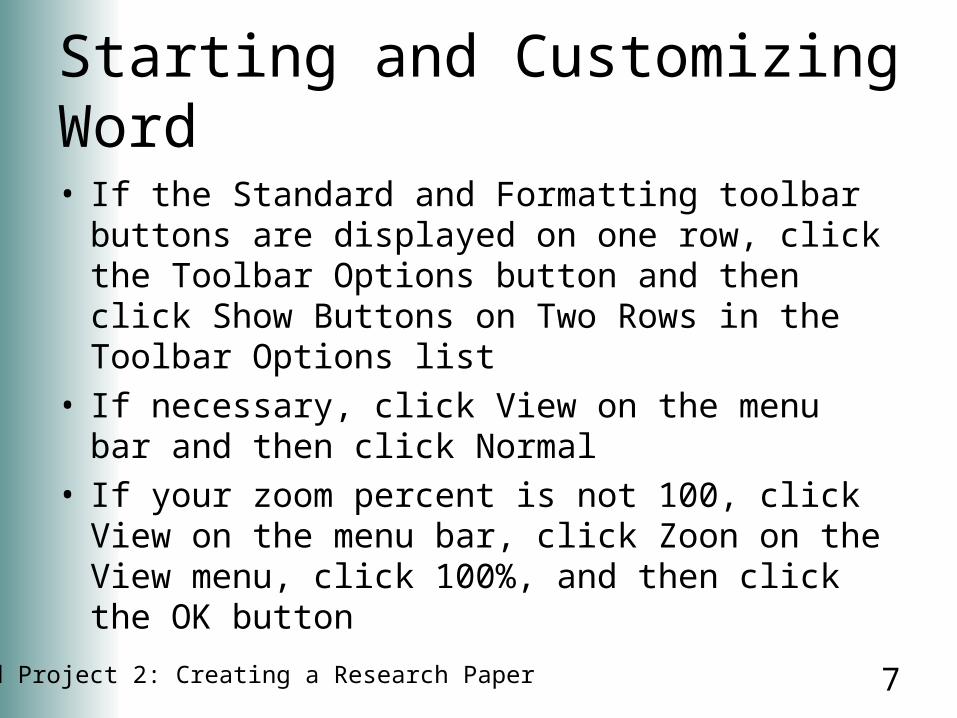
• If the Standard and Formatting toolbar buttons are displayed on one row, click the Toolbar Options button and then click Show Buttons on Two Rows in the Toolbar Options list
• If necessary, click View on the menu bar and then click Normal
• If your zoom percent is not 100, click View on the menu bar, click Zoon on the View menu, click 100%, and then click the OK button

8Word Project 2: Creating a Research Paper
Displaying Formatting Marks
• If the Show/Hide ¶ button on the Standard toolbar is not selected already, click it

9Word Project 2: Creating a Research Paper
Changing the Margins
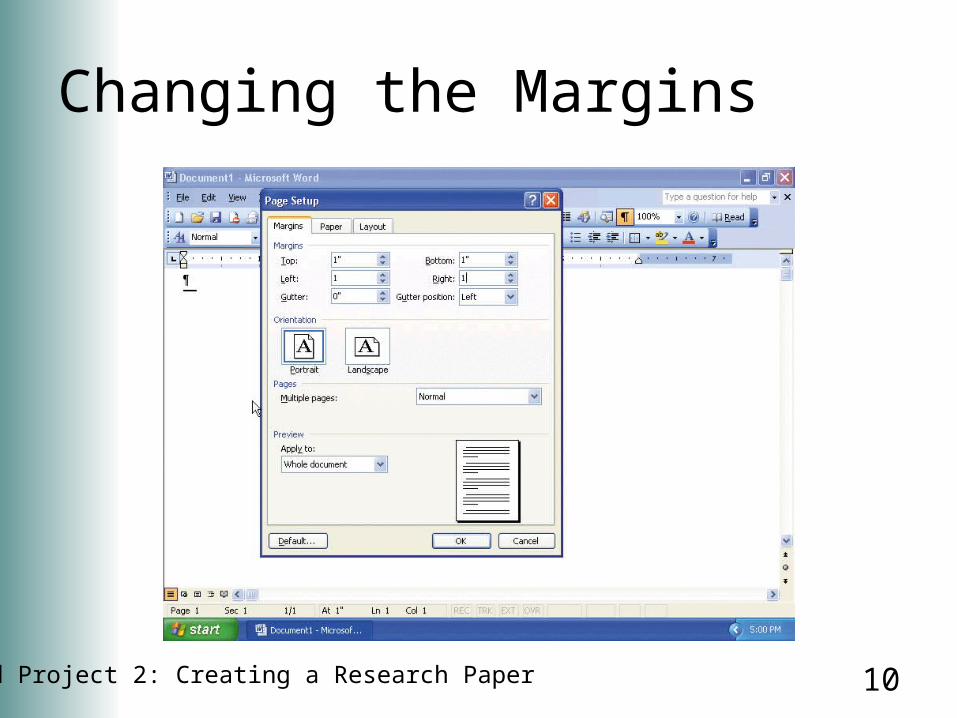
• Click File on the menu bar• Click Page Setup on the File menu. When Word
displays the Page Setup dialog box, if necessary, click the Margins tab
• With 1” selected in the Top text box, press the TAB key twice to select 1.25” in the Left text box. – Type 1 and then press the TAB key. – Type 1 in the Right text box
• Click the OK button in the Page Setup dialog box
10Word Project 2: Creating a Research Paper
Changing the Margins
11Word Project 2: Creating a Research Paper
Double-Spacing Text
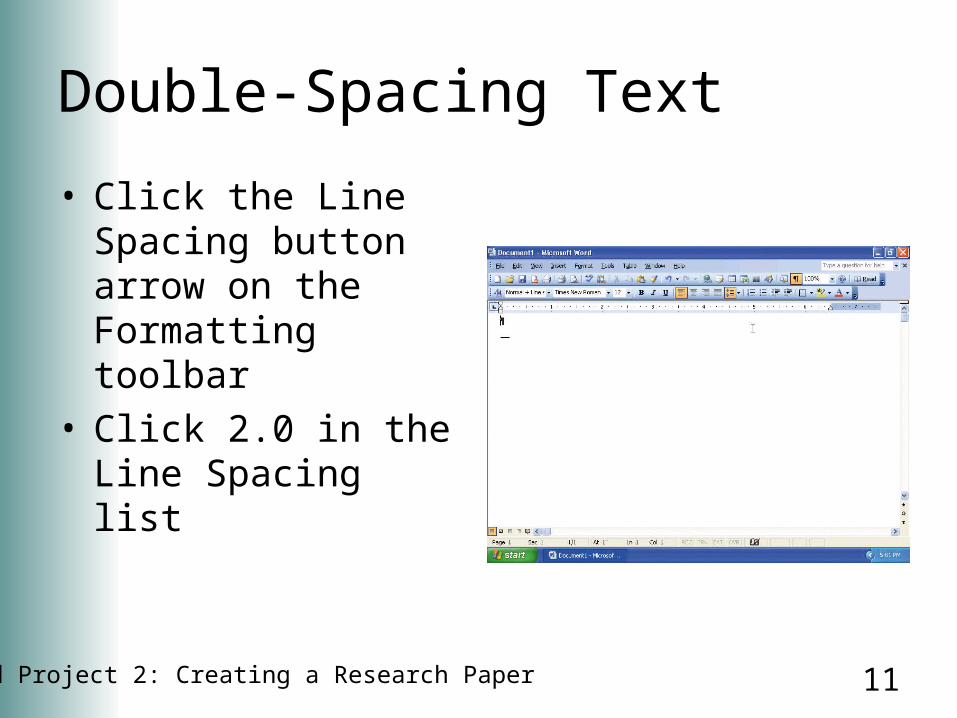
• Click the Line Spacing button arrow on the Formatting toolbar
• Click 2.0 in the Line Spacing list

12Word Project 2: Creating a Research Paper
Displaying the Header Area
• Click View on the menu bar
• Click Header and Footer on the View menu
• If your Zoom percent is not 100, click View on the menu bar, click Zoom on the View menu, click 100%, and then click the OK button

13Word Project 2: Creating a Research Paper
Entering Text Using Click and Type
• Position the mouse pointer at the right edge of the header area to display a right-align icon next to the I-beam
• Double-click• Type Zhao and then
press the SPACEBAR

14Word Project 2: Creating a Research Paper
Entering a Page Number
• Click the Insert Page Number button on the Header and Footer toolbar
• Click the Close Header and Footer button on the Header and Footer toolbar

15Word Project 2: Creating a Research Paper
Typing the Body of the Research Paper• Type Suzy Zhao and
then press the ENTER key
• Type Mr. Ortiz and then press the ENTER key
• Type Information Systems 101 and then press the ENTER key
• Type October 13, 2005 and then press the ENTER key

16Word Project 2: Creating a Research Paper
Formatting Text Using Shortcut Keys• Press CTRL + E• Type Biometrics
and then press the ENTER key
• Press CTRL + L

17Word Project 2: Creating a Research Paper
Formatting Text Using Shortcut Keys

18Word Project 2: Creating a Research Paper
Saving a Document
• Insert a USB flash drive into one of the computer’s USB ports
• Click the Save button on the Standard toolbar• Type Biometrics Paper in the File name text
box• Click the Save in box arrow and then click USB
flash drive• Click the Save button in the Save As dialog box

19Word Project 2: Creating a Research Paper
Indenting Paragraphs
• With the insertion point on the paragraph mark in line 6, point to the First Line Indent marker on the ruler
• Drag the First Line Indent marker to the .5” mark on the ruler
• Release the mouse button• In your document, type the text as shown
on the next slide, and then press the ENTER key

20Word Project 2: Creating a Research Paper

21Word Project 2: Creating a Research Paper
AutoCorrecting as You Type
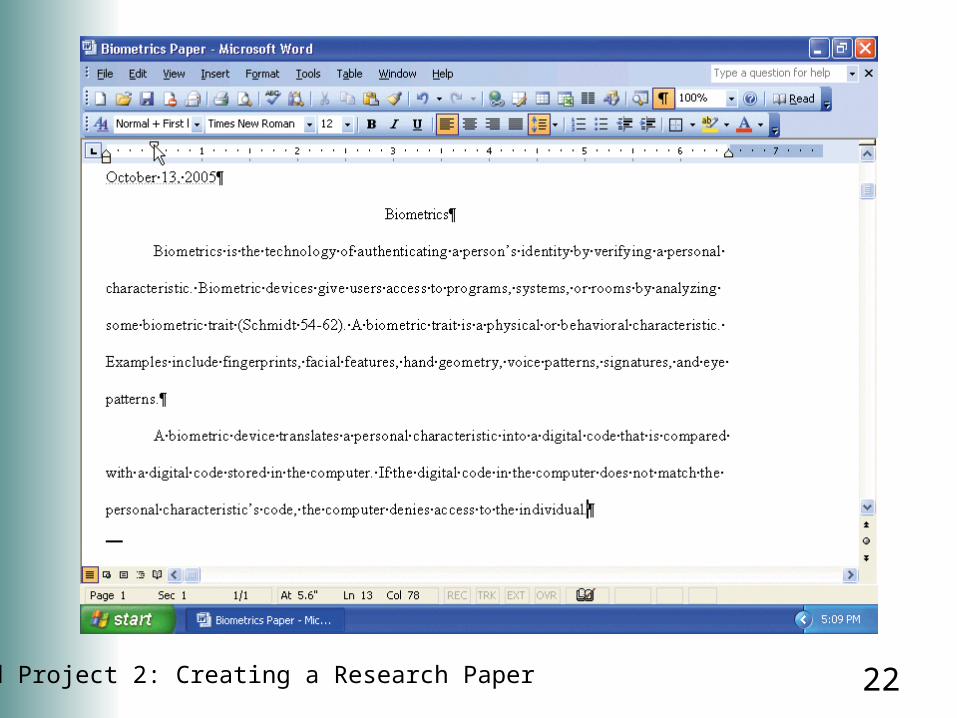
• Press the SPACEBAR• Type the beginning of the next sentence,
misspelling the word, the, as follows: If the digital code in the computer does not match teh
• Press the SPACEBAR• Type the rest of the sentence: personal characteristic’s code, the computer denies access to the individual
22Word Project 2: Creating a Research Paper

23Word Project 2: Creating a Research Paper
Using the AutoCorrect Options Button• Position the mouse pointer at the beginning of
the text automatically corrected by Word (in this case, the t in the)
• Point to the small blue box to display the AutoCorrect Options button
• Click the AutoCorrect Options button• Press the ESCAPE key to remove the
AutoCorrect Options menu from the screen

24Word Project 2: Creating a Research Paper
Using the AutoCorrect Options Button

25Word Project 2: Creating a Research Paper
Creating an AutoCorrect Entry
• Click Tools on the menu bar• Click AutoCorrect Options on the Tools menu. • When Word displays the AutoCorrect dialog box,
type comptuer in the Replace text box• Press the TAB key and then type computer in
the With text box• Click the Add button in the AutoCorrect dialog
box. (If your dialog box displays a Replace button instead, click it and then click the Yes button in the Microsoft Office Word dialog box). Click the OK button

26Word Project 2: Creating a Research Paper
Creating an AutoCorrect Entry
27Word Project 2: Creating a Research Paper
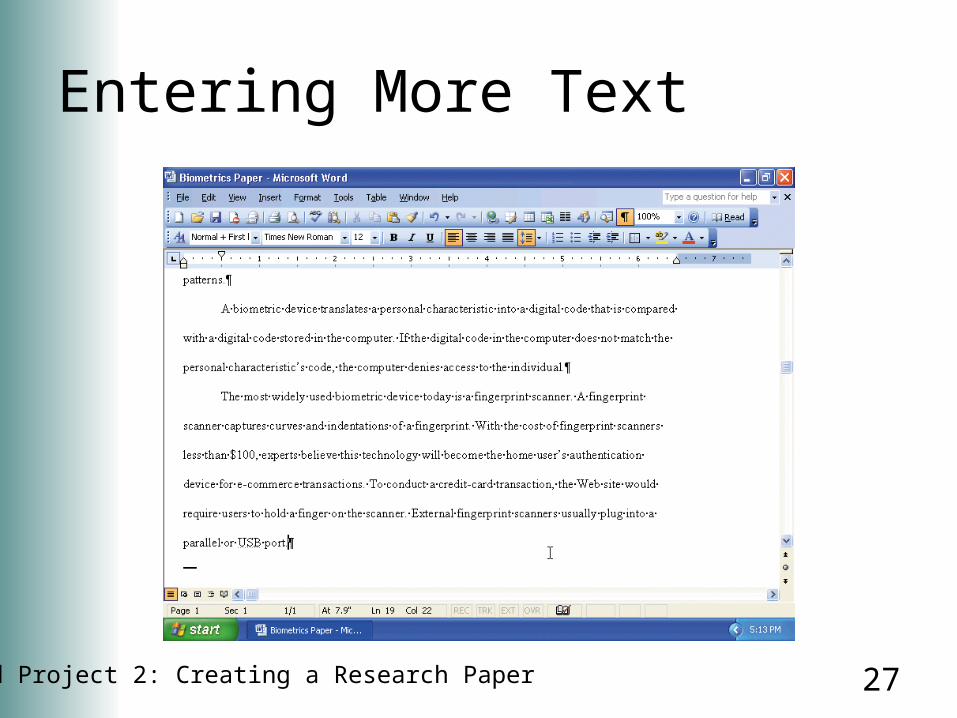
Entering More Text

28Word Project 2: Creating a Research Paper
Adding a Footnote
• With the insertion point positioned at the end of the last sentence, click Insert on the menu bar and then point to Reference
• Click Footnote on the Reference submenu• Click the Insert button in the Footnote and
Endnote dialog box• Type According to Carter and Juarez, newer keyboards and notebook computers have a fingerprint scanner built into them (42-53).

29Word Project 2: Creating a Research Paper
Adding a Footnote

30Word Project 2: Creating a Research Paper
Modifying a Style
• Right-click the note text in the note pane
• Click Style on the shortcut menu
• When Word displays the Style dialog box, if necessary, click Footnote Text in the Styles list
• Click the Modify button in the Style dialog box

31Word Project 2: Creating a Research Paper
Modifying a Style
• When Word displays the Modify Style dialog box, click the Font Size box arrow in the Formatting area and then click 12 in the Font Size list
• Click the Double Space button in the Modify Style dialog box
• Click the Format button in the Modify Style dialog box
• Click Paragraph on the Format button menu

32Word Project 2: Creating a Research Paper
Modifying a Style
• When Word displays the Paragraph dialog box, click the Special box arrow and then click First line
• Click the OK button in the Paragraph dialog box• Click the OK button in the Modify Style dialog
box• When Word closes the Modify Style dialog box,
click the Apply button in the Style dialog box

33Word Project 2: Creating a Research Paper
Modifying a Style

34Word Project 2: Creating a Research Paper
Closing the Note Pane
• Position the mouse pointer on the Close button in the note pane
• Click the Close button to remove the note pane from the document window

35Word Project 2: Creating a Research Paper
Counting Words
• Click Tools on the menu bar• Click Word Count on the Tools menu• When Word displays the Word Count dialog box,
if necessary, click Include footnotes and endnotes to place a check mark in the check box
• Click the Show Toolbar button in the Word Count dialog box
• Click the Close button in the Word Count dialog box

36Word Project 2: Creating a Research Paper
Counting Words

37Word Project 2: Creating a Research Paper
Automatic Page Breaks
• With the insertion point positioned at the end of the word port, press the SPACEBAR and then type the last two sentences of the third paragraph of the paper, as shown on the next slide
• Press the ENTER key and then type the fourth paragraph. Italicize the text in the parenthetical citation
• Drag the title bar of the Word Count toolbar to the location shown on the next slide

38Word Project 2: Creating a Research Paper
Automatic Page Breaks

39Word Project 2: Creating a Research Paper
Recounting Words in a Document
• Click the Recount button on the Word Count toolbar
• Click the Close button on the Word Count toolbar

40Word Project 2: Creating a Research Paper
Recounting Words in a Document
41Word Project 2: Creating a Research Paper
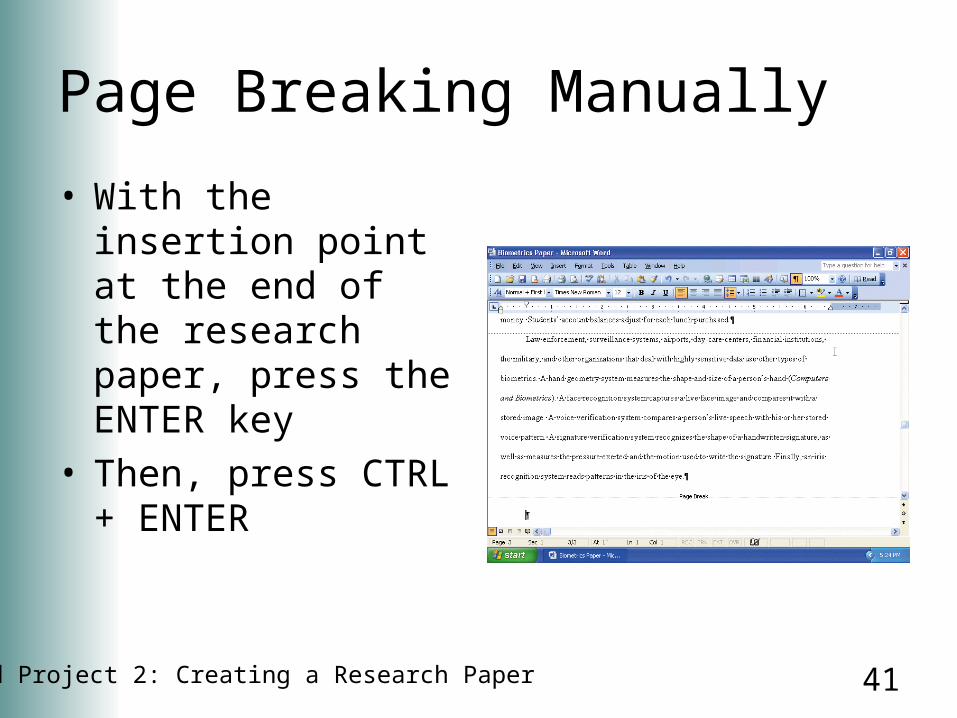
Page Breaking Manually
• With the insertion point at the end of the research paper, press the ENTER key
• Then, press CTRL + ENTER

42Word Project 2: Creating a Research Paper
Centering the Title of the Works Cited Page• Drag the First Line Indent marker to the 0” mark
on the ruler, which is at the left margin• Click the Center button on the Formatting toolbar• Type Works Cited as the title• Press the ENTER key• Because your fingers are already on the
keyboard, press CTRL + L to left-align the paragraph mark

43Word Project 2: Creating a Research Paper
Centering the Title of the Works Cited Page

44Word Project 2: Creating a Research Paper
Creating a Hanging Indent
• With the insertion point in the paragraph to format, point to the Hanging Indent marker on the ruler
• Drag the Hanging Indent marker to the .5” mark on the ruler

45Word Project 2: Creating a Research Paper
Entering Works Cited Paragraphs

46Word Project 2: Creating a Research Paper
Inserting Symbols Automatically
• With the insertion point positioned as shown on the previous slide, press CTRL + I to turn on the italic format
• Type Computers and Biometrics.
• Press CTRL + I to turn off the italic format
• Press the SPACEBAR
• Type Shelly Cashman Series(r

47Word Project 2: Creating a Research Paper
Inserting Symbols Automatically
• Press the RIGHT PARENTHESIS key
• Press the PERIOD key
• Press the SPACEBAR
• Type Course Technology. 3 Oct. 2005.
• Press the SPACEBAR
48Word Project 2: Creating a Research Paper
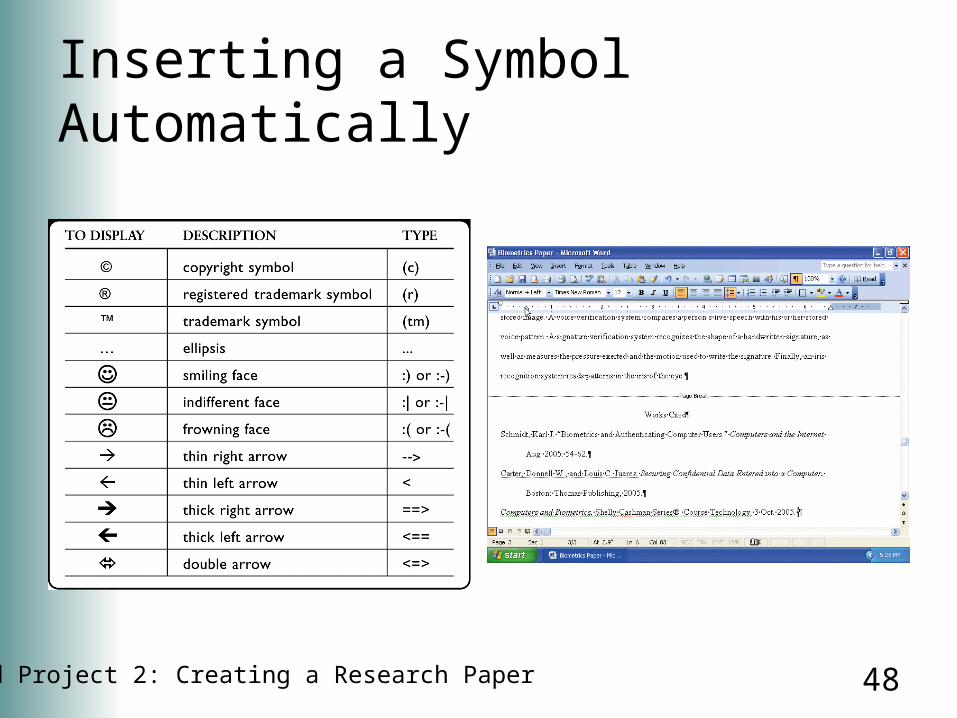
Inserting a Symbol Automatically

49Word Project 2: Creating a Research Paper
Creating a Hyperlink
• With the insertion point positioned as shown on the previous slide, type http://www.scsite.com/wd2003/pr2/wc.htm
• Press the ENTER key

50Word Project 2: Creating a Research Paper
Sorting Paragraphs
• Select all the works cited paragraphs by pointing to the left of the first paragraph and dragging down
• Click Table on the menu bar• Click Sort on the Table menu• Click the OK button in the Sort text dialog
box• Click inside the selected text to remove
the selection

51Word Project 2: Creating a Research Paper
Sorting Paragraphs

52Word Project 2: Creating a Research Paper
Browsing by Page
• Click the Select Browse Object button on the vertical scroll bar
• When Word displays the Select Browse Object menu, position the mouse pointer on the Browse by Page icon
• Click the Browse by Page icon• Position the mouse pointer on the Previous
Page button on the vertical scroll bar• Click the Previous page button

53Word Project 2: Creating a Research Paper
Browsing by Page

54Word Project 2: Creating a Research Paper
Selecting a Sentence
• Position the mouse pointer (an I-beam) in the sentence to be moved
• Press and hold down the CTRL key. While holding the CTRL key, click the sentence
• Release the CTRL key

55Word Project 2: Creating a Research Paper
Moving Selected Text
• With the mouse pointer in the selected text, press and hold down the mouse button
• Drag the dotted insertion point to the location where the selected text is to be moved
• Release the mouse button. Click outside the selected text to remove the selection

56Word Project 2: Creating a Research Paper
Moving Selected Text

57Word Project 2: Creating a Research Paper
Displaying the Paste Options Menu
• Click the Paste Options button
• Press the ESCAPE key to remove the Paste Options menu from the window
58Word Project 2: Creating a Research Paper
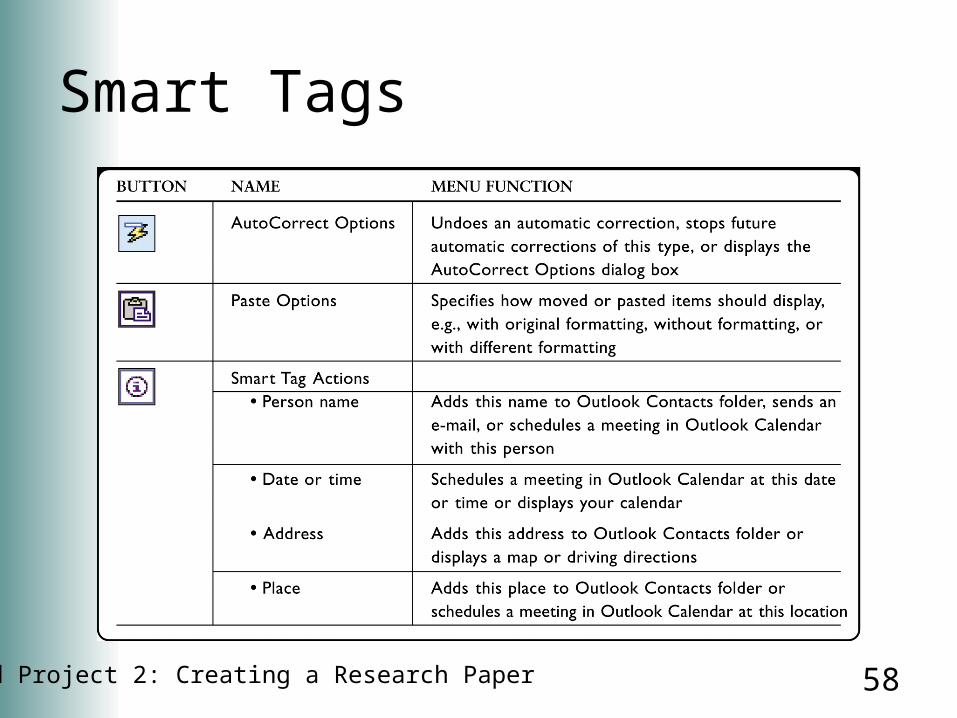
Smart Tags

59Word Project 2: Creating a Research Paper
Finding and Replacing Text
• Press CTRL + HOME to position the insertion point at the top of the document
• Double-click the status bar anywhere to the left of the status indicators
• When Word displays the Find and Replace dialog box, click the Replace tab.
• Type trait in the Find what text box

60Word Project 2: Creating a Research Paper
Finding and Replacing Text
• Press the TAB key. Type identifier in the Replace with text box
• Click the Replace All button in the Find and Replace dialog box
• Click the OK button in the Microsoft Office Word dialog box
• Click the Close button in the Find and Replace dialog box

61Word Project 2: Creating a Research Paper
Finding and Replacing Text

62Word Project 2: Creating a Research Paper
Finding and Inserting a Synonym
• Right-click the word for which you want to find a synonym (give, in this case)
• Point to Synonyms on the shortcut menu
• Click the synonym you want (grant) on the Synonyms submenu

63Word Project 2: Creating a Research Paper
Checking the Spelling and Grammar at Once• Press CTRL + HOME to move the
insertion point to the beginning of the document
• Click the Spelling and Grammar button on the Standard toolbar
• Click the Change button in the Spelling and Grammar dialog box
• Click the Ignore Once button

64Word Project 2: Creating a Research Paper
Checking the Spelling and Grammar at Once• Click the Ignore Once button for the next
grammar error that Word flags on the Works Cited page
• Click the Ignore All button• Click the Ignore Once button for each remaining
grammar error that Word flags on the Works Cited page
• When the spelling and grammar check is done and Word displays a dialog box, click its OK button

65Word Project 2: Creating a Research Paper
Checking the Spelling and Grammar at Once

66Word Project 2: Creating a Research Paper
Saving a Document Again and Printing It• Click the Save button on the Standard
toolbar
• Click the Print button on the Standard toolbar

67Word Project 2: Creating a Research Paper
Navigating to a Hyperlink
• Display the third page of the research paper in the document window and then position the mouse pointer in the hyperlink
• While holding down the CTRL key, click the hyperlink. Release the CTRL key
• Close the browser window• If necessary, click the Microsoft Word program
button on the taskbar to redisplay the Word window
• Press CTRL + HOME

68Word Project 2: Creating a Research Paper
E-mailing a Copy of the Research Paper• Click the E-mail button on the Standard
toolbar
• Fill in the To text box with Mr. Ortiz’s e-mail address and the Introduction text box as shown on the next slide
• Click the Send a Copy button

69Word Project 2: Creating a Research Paper
E-mailing a Copy of the Research Paper

70Word Project 2: Creating a Research Paper
Using the Research Task Pane to Locate Information• While holding down the ALT key, click the
word for which you want a definition (in this case, e-commerce). Release the ALT key
• If the Research task pane does not display the definition of the ALT+CLICKED word, click the Search for box arrow and then click All Reference Books

71Word Project 2: Creating a Research Paper
Using the Research Task Pane to Locate Information

72Word Project 2: Creating a Research Paper
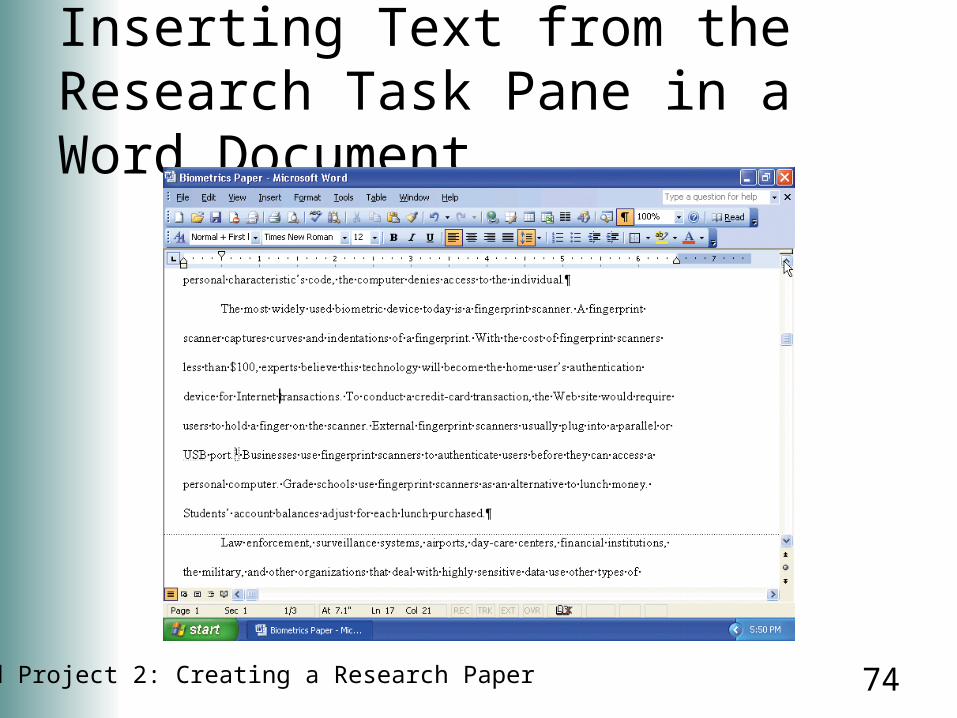
Inserting Text from the Research Task Pane in a Word Document• In the Research task pane, double-click
the word, Internet
• Right-click the selected word
• Click Copy on the shortcut menu to copy the selected text to the Clipboard
• Drag through the word, e-commerce, in the research paper

73Word Project 2: Creating a Research Paper
Inserting Text from the Research Task Pane in a Word Document• Right-click the selected text in the
document
• Click Paste on the shortcut menu
• If necessary, press the SPACEBAR to insert a space after the inserted word
• Click the Close button in the Research task pane
74Word Project 2: Creating a Research Paper
Inserting Text from the Research Task Pane in a Word Document

75Word Project 2: Creating a Research Paper
Quitting Word
• Click the Close button in the Word window
• If Word displays a dialog box, click the No button

76Word Project 2: Creating a Research Paper
Summary
• Describe the MLA documentation style for research papers
• Change the margin settings and line spacing in a document
• Use a header to number pages of a document• Apply formatting using shortcut keys• Modify paragraph indentation

77Word Project 2: Creating a Research Paper
Summary
• Add a footnote to a document
• Count the words in a document
• Insert a manual page break
• Create a hyperlink
• Sort selected paragraphs

78Word Project 2: Creating a Research Paper
Summary
• Proof and revise a document
• Display the Web page associated with a hyperlink
• E-mail a copy of a document
• Use the Research task pane to locate information

Office 2003Introductory Concepts
and Techniques
M i c r o s o f t
Word Project 2 Complete