onsite check-in - gevme check-in...of the assisted counters to register without hassle. •...
TRANSCRIPT
ONSITE CHECK-IN & REGISTRATION FOR SMALL CONFERENCESSUCCESS SOLUTION
TABLE OF CONTENTS
Introduction� 3
Check-in of Pre-Registered Delegates� 4
QR Code Ticket Scanning and Onsite Payments� 4
Manual Search for Check-in� 5
Personalized Messages Upon Check-in� 5
Onsite Registration� 6
Self-service Registration on Laptops� 6
Self Registration on Personal Mobile Devices� 7
Assisted Registration� 8
On-Demand Name Badge Printing� 9
Flow of Attendees� 12
Pre-registered Attendees with QR Codes� 12
Pre-registered Attendees with No QR Codes� 13
Onsite registration� 13
Conclusion� 14

INTRODUCTION
Small conferences are relatively easier to manage on the ground. The processes of preparation, checking in and printing of name badges are made seamless, providing a wonderful event experience for both attendees and organizers.
What are the usual types of attendees that come for these conferences?
On top of checking in pre-registered attendees, small conferences usually get a low number of walk-in registrations. These are easily handled by using GEVME Onsite technology which requires minimal supervision. Walk-in attendees can also make use of the assisted counters to register without hassle.
• Delegates
• Sponsors
• Exhibitors
• Speakers
• VIPs
How does GEVME Onsite make it simple for small conferences?
CHECK-IN OF PRE-REGISTERED DELEGATES
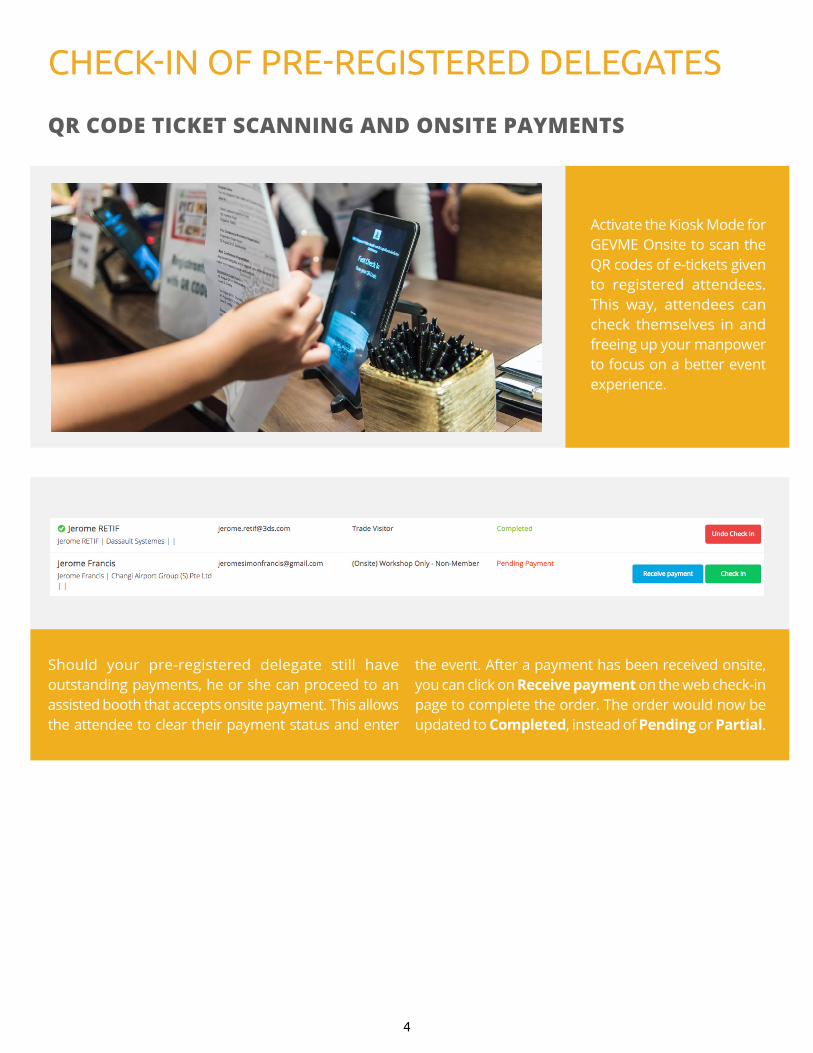
QR CODE TICKET SCANNING AND ONSITE PAYMENTS
Activate the Kiosk Mode for GEVME Onsite to scan the QR codes of e-tickets given to registered attendees. This way, attendees can check themselves in and freeing up your manpower to focus on a better event experience.
Should your pre-registered delegate still have outstanding payments, he or she can proceed to an assisted booth that accepts onsite payment. This allows the attendee to clear their payment status and enter
the event. After a payment has been received onsite, you can click on Receive payment on the web check-in page to complete the order. The order would now be updated to Completed, instead of Pending or Partial.
4

If your delegates have forgotten their tickets, switch the GEVME Onsite app to Manual Search mode, allowing you to quickly key in their personal details and search for their attendee�profile�to�check�them�in.�This resolves any downtime that might occur due to missing tickets.
Some of the default fields that you can search for are:
Make the check-in experience far more enjoyable and informative through personalization in GEVME Onsite. Create personalized welcome�messages� that� reflect�the key information relevant to an attendee — or even showcase the session that he or she is checking into.
Make a delegate feel welcome, and your event is off to a great start.
• Name• Email• Contact Number
MANUAL SEARCH FOR CHECK-IN
PERSONALIZED MESSAGES UPON CHECK-IN
5
ONSITE REGISTRATION
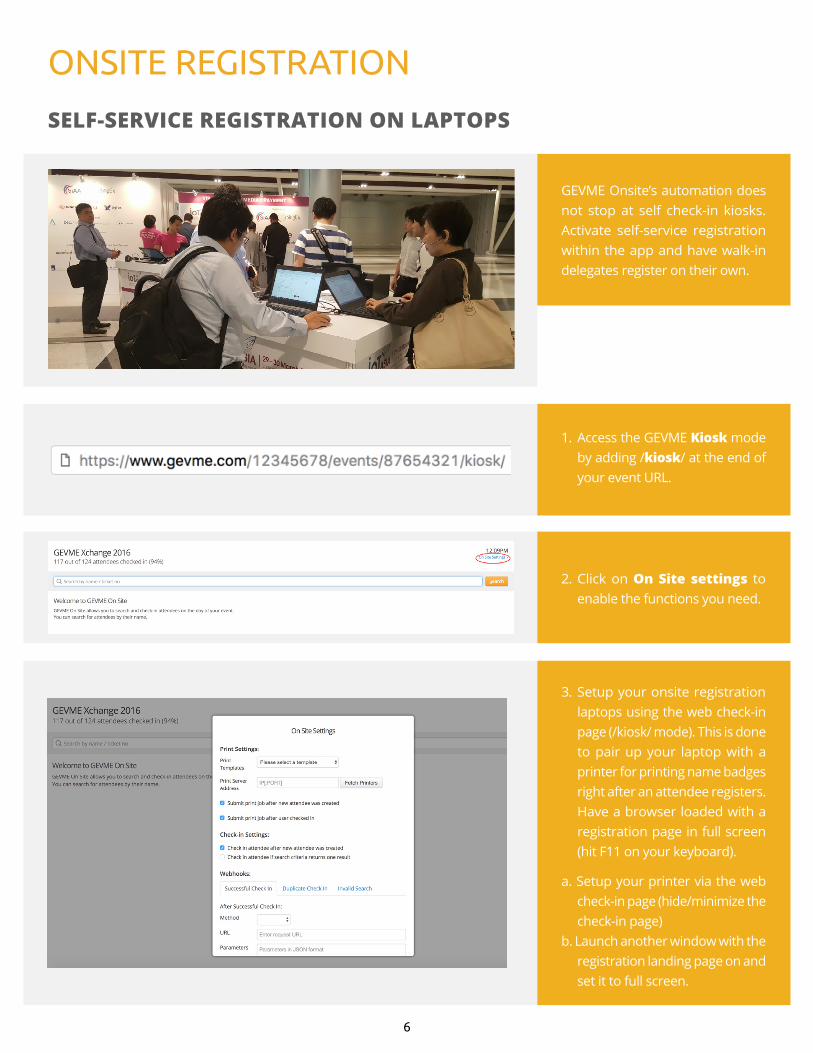
SELF-SERVICE REGISTRATION ON LAPTOPS
GEVME Onsite’s automation does not stop at self check-in kiosks. Activate self-service registration within the app and have walk-in delegates register on their own.
1. Access the GEVME Kiosk mode by adding /kiosk/ at the end of your event URL.
2. Click on On Site settings to enable the functions you need.
3. Setup your onsite registration laptops using the web check-in page (/kiosk/ mode). This is done to pair up your laptop with a printer for printing name badges right after an attendee registers. Have a browser loaded with a registration page in full screen (hit F11 on your keyboard).
a. Setup your printer via the web check-in page (hide/minimize the check-in page)
b. Launch another window with the registration landing page on and set it to full screen.
6
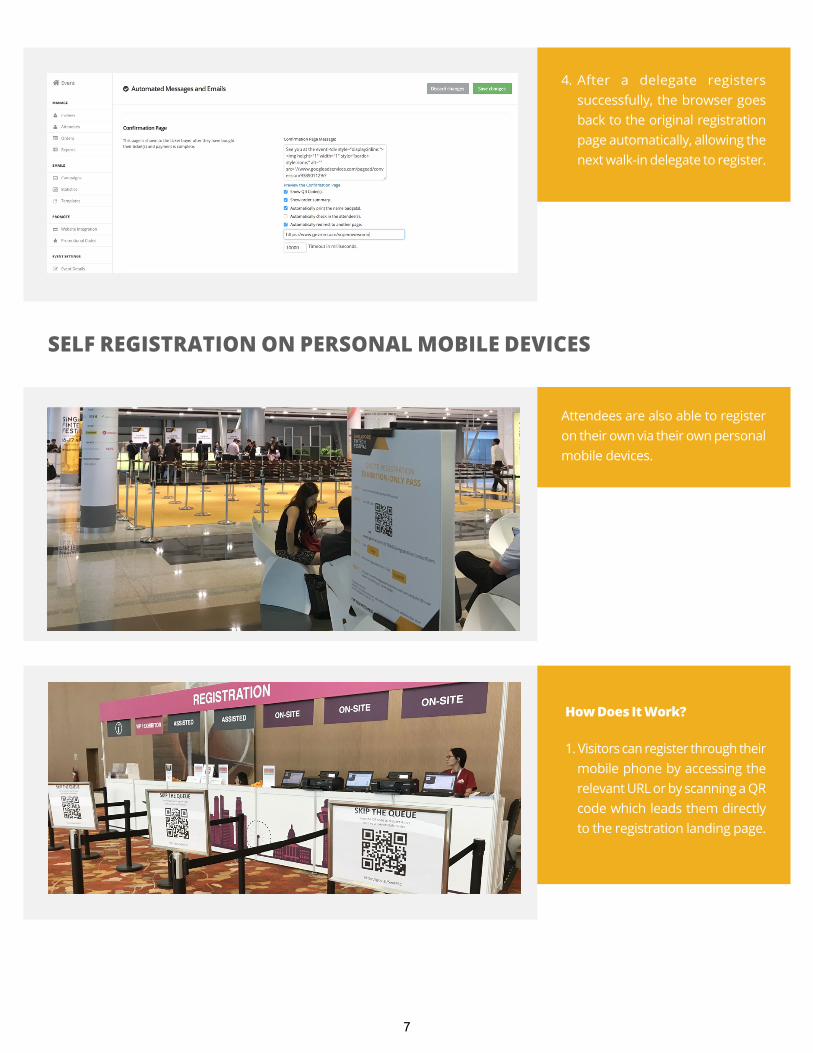
4. After a delegate registers successfully, the browser goes back to the original registration page automatically, allowing the next walk-in delegate to register.
Attendees are also able to register on their own via their own personal mobile devices.
How Does It Work?
1. Visitors can register through their mobile phone by accessing the relevant URL or by scanning a QR code which leads them directly to the registration landing page.
SELF REGISTRATION ON PERSONAL MOBILE DEVICES
7
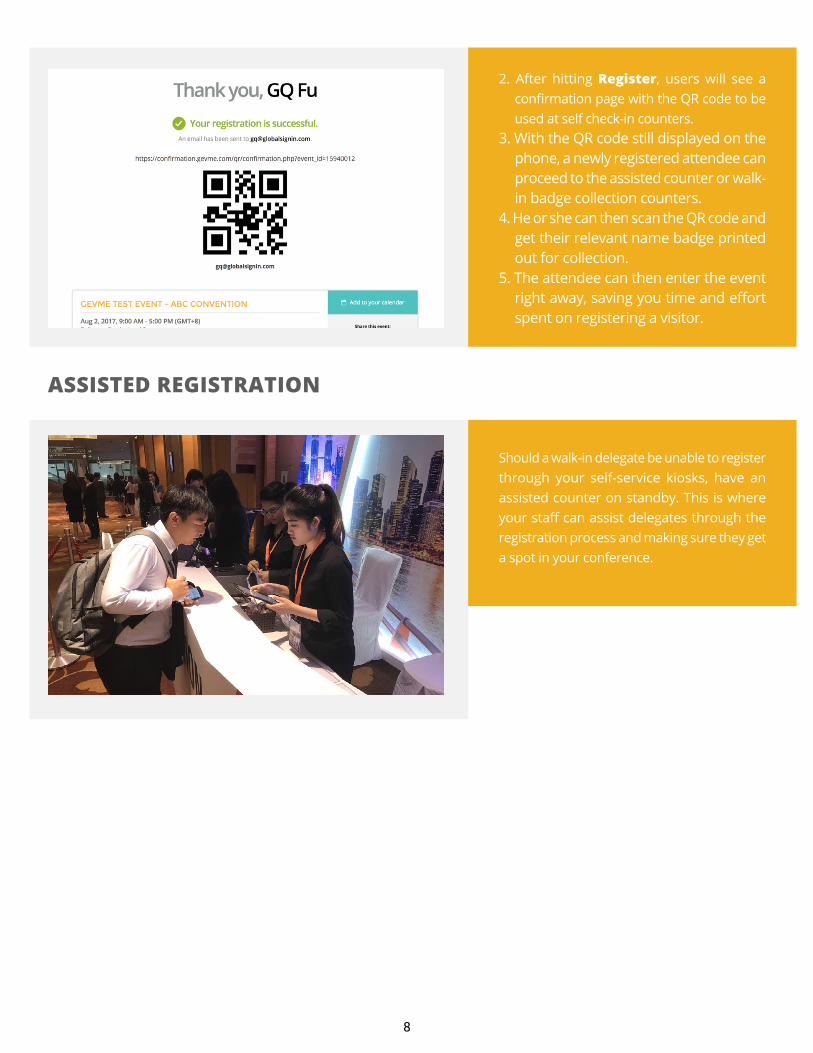
2. After hitting Register, users will see a confirmation�page�with�the�QR�code�to�be�used at self check-in counters.
3. With the QR code still displayed on the phone, a newly registered attendee can proceed to the assisted counter or walk-in badge collection counters.
4. He or she can then scan the QR code and get their relevant name badge printed out for collection.
5. The attendee can then enter the event right�away,�saving�you�time�and�effort�spent on registering a visitor.
Should a walk-in delegate be unable to register through your self-service kiosks, have an assisted counter on standby. This is where your�staff�can�assist�delegates�through�the�registration process and making sure they get a spot in your conference.
ASSISTED REGISTRATION
8
ON-DEMAND NAME BADGE PRINTING
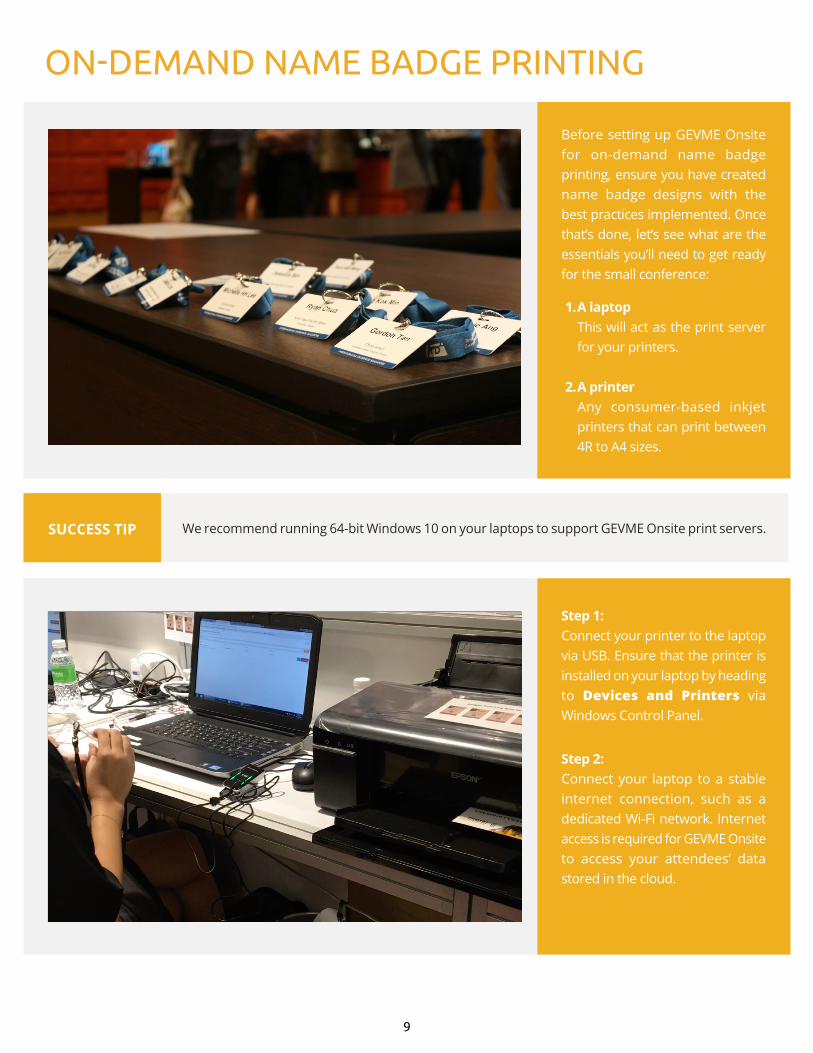
Before setting up GEVME Onsite for on-demand name badge printing, ensure you have created name badge designs with the best practices implemented. Once that’s done, let’s see what are the essentials you’ll need to get ready for the small conference:
1. A laptop This will act as the print server
for your printers.
2. A printer Any consumer-based inkjet
printers that can print between 4R to A4 sizes.
Step 1:Connect your printer to the laptop via USB. Ensure that the printer is installed on your laptop by heading to Devices and Printers via Windows Control Panel.
We recommend running 64-bit Windows 10 on your laptops to support GEVME Onsite print servers.SUCCESS TIP
Step 2:Connect your laptop to a stable internet connection, such as a dedicated Wi-Fi network. Internet access is required for GEVME Onsite to access your attendees’ data stored in the cloud.
9

Step 3:Launch the GEVME Print Server executable�file�on�your�laptop. Step 4:Login to www.gevme.com and sign in with your Admin account.
Ensure that you are using the same SSID for the devices intended for a single print server.SUCCESS TIP
Step 5:Select the event you intend to work on. You will then be redirected to the event’s dashboard.
Step 6:To setup up GEVME Onsite settings via the web check-in portal, you could either:
• Add “/kiosk/” in the current URL above and hit Enter.
Example: https://www.gevme.
com/12345678/events/87654321/kiosk/
• Click on On Site via the vertical menu on the left to access the On-site page.
Then, click on Check-in Attendees to be redirected to the web check-in page.
10

Once�the�necessary�fields�are�filled�up, scroll down and hit t. You are now�finished�with�the�setup�and�are�ready to begin printing!
Step 7:
Click on On Site Settings located at�the�top�right�of�the�page�and�fill�in the required details.
1. Select your print template.2. Enter the print server’s IP Address.
If the current laptop you are using is the print server itself, type in localhost.
3. Click on Fetch Printer and select the printer you want to print from.
4. Check the necessary settings you require to control print automation behavior.
Leave it as default if you are not sure what they do or consult our Onsite Specialists at [email protected].
11

FLOW OF ATTENDEESThe�final�piece�of�the�puzzle�—�managing�the�flow�of�attendees.�Once�you�have�a�system�in�place�to�guide�attendees�at�your�event venue, there will be less opportunities for mistakes. In fact, you will experience almost no queues because everyone is moving around seamlessly!
1. Attendees make their way to the designated badge collection area.
2. They scan their QR code tickets.3. Their name badges get printed automatically
after scanning.4. They collect their name badges.5. They can then help themselves to the plastic
pouches and lanyards you have laid out for them at the lanyard collection point.
6. An alternative would be to have them collect the items directly from the event ambassadors.
For attendees who registered beforehand and have QR code tickets on hand, they can take the self-serve approach to free up your manpower. The�flow�goes�like�this:
PRE-REGISTERED ATTENDEES WITH QR CODES
12
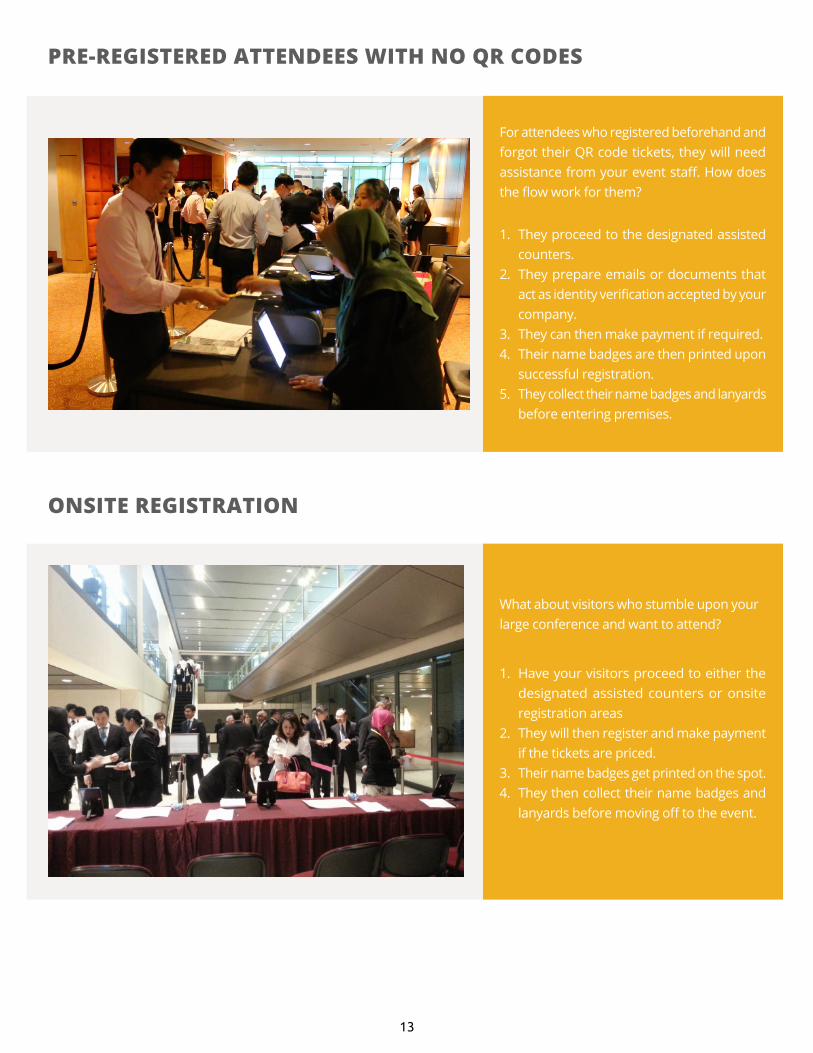
1. Have your visitors proceed to either the designated assisted counters or onsite registration areas
2. They will then register and make payment if the tickets are priced.
3. Their name badges get printed on the spot.4. They then collect their name badges and
lanyards�before�moving�off�to�the�event.
What about visitors who stumble upon your large conference and want to attend?
ONSITE REGISTRATION
PRE-REGISTERED ATTENDEES WITH NO QR CODES
1. They proceed to the designated assisted counters.
2. They prepare emails or documents that act�as�identity�verification�accepted�by�your�company.
3. They can then make payment if required.4. Their name badges are then printed upon
successful registration.5. They collect their name badges and lanyards
before entering premises.
For attendees who registered beforehand and forgot their QR code tickets, they will need assistance�from�your�event�staff.�How�does�the�flow�work�for�them?
13
Great Events Made Easy
CONCLUSION
Small conferences are easier to manage, and they can easily be made simpler by using an integrated event onsite solution. Make use of GEVME Onsite to capture attendees’ information�and�sort�out�your�financial�transactions.
START WITH GEVME TODAY FOR FREE