open foam tutorial 2012
DESCRIPTION
bbTRANSCRIPT

Durham University OpenFOAM Tutorial
The Durham OpenFOAM Tutorial
Introduction
This provides a short step by step guide to calculating the flow around an aerofoil using the OpenFOAM package. The aim being to introduce you the important features of the program in the shortest possible space of time. The solution presented here will require further work to be used as a basis for any serious engineering but this gets you started.
OpenFOAM is readly installable on machines running the GNU/Linux operating system. OpenFOAM is free (as in freedom) software and there is a wealth of on-line documentation and description at: http://www.openfoam.org/index.php This tutorial was conducted on an Ubuntu 12.04 system with OpenFOAM installed from the Ubuntu Deb Pack Installation from the above website but you can compile the system yourself if you wish!
Hint: OpenFOAM is designed for CFD specialists. Please bear in mind that it is not easy to use and you will need to edit text files and read error messages on the console carefully to get your solution to work. However once you have got over the learning curve I have had students get very enthusiastic about the software.
Once you have logged into your system you will need to carry out some magic to get various environment variables initialised and setup. Once this is done you can start using the program – note that you never run a program called OpenFOAM you run individual solvers in this case we will be running a module called simpleFoam.
Mesh Import
You should set-up a special directory to run your case:$ mkdir naca5012Now move into the working directory:$ cd naca5012then copy one of the tutorial files to your working directory, since we are doing 2D calculations on aerofoil there is a handy example entitled airfoil2D which we can use:$ cp r $FOAM_TUTORIALS/incompressible/simpleFoam/airFoil2D/* ./obviously you need to find where the tutorials will be installed on the system to copy them to your local directory. If your environment variables are set up correctly you can get this location from the $FOAM_TUTORIALS shell variable.
Hint: OpenFOAM is only available on the GNU/Linux platform and so it is a good idea to get familiar with that operating system. The CIS has various guides that can help with basic operating system operations: http://www.dur.ac.uk/cis/docs/category/?id=9
We now need to copy the mesh to the case directory and convert it to OpenFOAM format. If you use the mesh created in the gmsh tutorial earlier it will be called naca5012_step3.msh, the command to convert it is therefore:$ gmshToFoam naca5012_step3.mshThis will send a bunch of text scrolling past which you can look at once the command has run to see what has happened. You can run a command to check the mesh.
$ checkMesh
-1-
Durham University OpenFOAM Tutorial
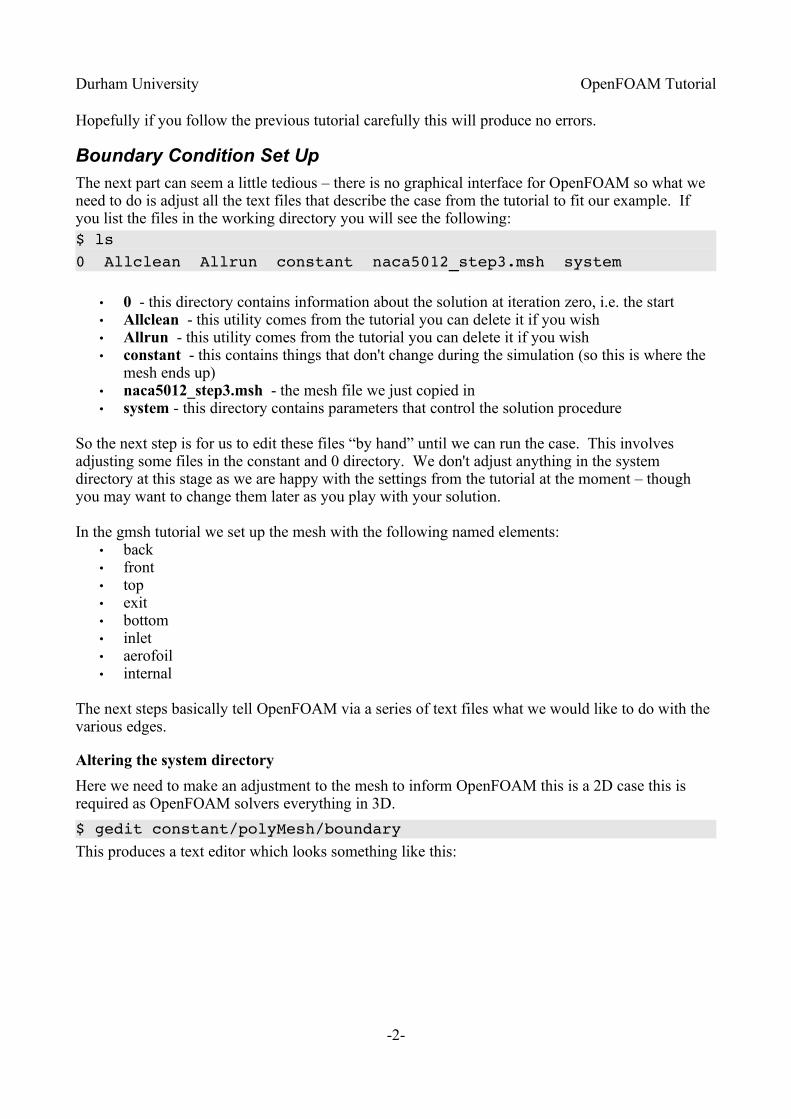
Hopefully if you follow the previous tutorial carefully this will produce no errors.
Boundary Condition Set Up
The next part can seem a little tedious – there is no graphical interface for OpenFOAM so what we need to do is adjust all the text files that describe the case from the tutorial to fit our example. If you list the files in the working directory you will see the following:$ ls 0 Allclean Allrun constant naca5012_step3.msh system
• 0 - this directory contains information about the solution at iteration zero, i.e. the start• Allclean - this utility comes from the tutorial you can delete it if you wish• Allrun - this utility comes from the tutorial you can delete it if you wish• constant - this contains things that don't change during the simulation (so this is where the
mesh ends up)• naca5012_step3.msh - the mesh file we just copied in• system - this directory contains parameters that control the solution procedure
So the next step is for us to edit these files “by hand” until we can run the case. This involves adjusting some files in the constant and 0 directory. We don't adjust anything in the system directory at this stage as we are happy with the settings from the tutorial at the moment – though you may want to change them later as you play with your solution.
In the gmsh tutorial we set up the mesh with the following named elements:• back • front • top• exit• bottom• inlet• aerofoil• internal
The next steps basically tell OpenFOAM via a series of text files what we would like to do with the various edges.
Altering the system directory
Here we need to make an adjustment to the mesh to inform OpenFOAM this is a 2D case this is required as OpenFOAM solvers everything in 3D.
$ gedit constant/polyMesh/boundaryThis produces a text editor which looks something like this:
-2-

Durham University OpenFOAM Tutorial
Figure 1: Editing the boundary File
This is one of the outputs from the gmshToFoam command we ran earlier. Each of the various named elements is shown individually. We need to change the front and back types to “empty”, so they should look this after editing:
front { type empty; nFaces 29542; startFace 44018; } back { type empty; nFaces 29542;
-3-

Durham University OpenFOAM Tutorial
startFace 73560; }Secondly we need to tell OpenFOAM that the aerofoil surface is a wall:
aerofoil { type wall; nFaces 410; startFace 103282; }Don't forget to save the file after you have completed the edits.
Altering the 0 directory
$ ls 0/ nut nuTilda p U The 0 directory contains four files which describe the system at the first iteration of the calculations:
• p is the pressure
• U is the velocity
• nut and nuTilda are parameters from the turbulence model being used (in this case the tutorial example uses Spallart Allmaras and so we stick with that)
The various files should be edited to add the various names of patches and apply the correct boundary or initial conditions (this is a bit tedious as you have to repeat this four times) but the p file should contain the following:
inlet { type freestreamPressure; }
exit { type freestreamPressure; }
top { type freestreamPressure; }
bottom { type freestreamPressure;
-4-

Durham University OpenFOAM Tutorial
}
aerofoil { type zeroGradient; }
front { type empty; }
back { type empty; } This should hopefully be self-explainatory – for more details on each boundary type consult the OpenFOAM documentation. The U file should contain the following information:
inlet { type freestream; freestreamValue uniform (25.75 3.62 0); }
exit { type freestream; freestreamValue uniform (25.75 3.62 0); }
bottom { type freestream; freestreamValue uniform (25.75 3.62 0); }
top {
-5-

Durham University OpenFOAM Tutorial
type freestream; freestreamValue uniform (25.75 3.62 0); }
aerofoil { type fixedValue; value uniform (0 0 0); }
front { type empty; }
back { type empty; } Here values as well as types are specified, so we have a velocity set as 25.75 m/s in the x direction and 3.62 m/s in the y direction which gives an incidence of around 8 degrees and a velocity magnitude of 26 m/s. These are actually the values found in the tutorial file but they seem good enough to be going on with. The nut file should be set up as follows:
inlet { type freestream; freestreamValue uniform 0.14; }
exit { type freestream; freestreamValue uniform 0.14; }
top { type freestream; freestreamValue uniform 0.14;
-6-

Durham University OpenFOAM Tutorial
}
bottom { type freestream; freestreamValue uniform 0.14; }
aerofoil { type nutUSpaldingWallFunction; value uniform 0; }
front { type empty; }
back { type empty; }and the nuTilda file should have the following editing into it:
inlet { type freestream; freestreamValue uniform 0.14; }
exit { type freestream; freestreamValue uniform 0.14; }
top { type freestream;
-7-

Durham University OpenFOAM Tutorial
freestreamValue uniform 0.14; }
bottom { type freestream; freestreamValue uniform 0.14; }
aerofoil { type fixedValue; value uniform 0; }
front { type empty; }
back { type empty; }
Running the Solver
The next step is to simply run the solver, change to the working directory and run the solver:
$ simpleFoamThis then sends lots of text wizzing past the terminal as OpenFOAM explains what it is doing as it goes along. On my laptop the solution took around one minute to solve and I end up with something like this in the terminal window:
-8-

Durham University OpenFOAM Tutorial
Figure 2: A Successful Solution
If you don't get a successful solution you need to do some troubleshooting, this basically involves reading the error messages carefully and working out what to do. This isn't difficult but requires patience and precision.
Hint: SimpleFoam is so called because it uses the Semi-Implicit Method for Pressure-Linked Equations in the solution. To get other solution methods you need to run other modules such as icoFoam which is a transient solver for incompressible, laminar flow of Newtonian fluids
Using the default values from the tutorial means we haven't had to think very much about solver parameters or even make a choice of turbulence models and these are things you should certainly consider if you were to want to use these results.
Post Processing
So far all we have is a bunch of text scrolling up the screen, to understand and interpret the results we need to post process them. This is done using an open source visualisation package called Paraview. You can use this in a number of ways the easiest is just to launch it from the command line from the working directory:
$ paraFoamThis gives you a window that looks like this:
-9-

Durham University OpenFOAM Tutorial
Figure 3: ParaView Initial Window
Hit the highlighted apply button to load the data. The switch the Object Inspector (Bottom Left) to the Display Tab and then change the Color to “p” using the drop down as shown:
-10-

Durham University OpenFOAM Tutorial
Figure 4: Changing the Contours to Pressure
By default this reads in time or iteration 0, so use the time controls at the top right to select the last time for the solution:
-11-

Durham University OpenFOAM Tutorial
Figure 5: Selecting the Last Iteration and Changing the Scales
You will then need to use the controls highlight to scale the contours to give you a useful output. Note that Paraview is displaying the 3D shape use a “Filter” to cut through the shape and give you a true 2D plane to look at.
Filters → Common → Slice. Then select Z normal and apply.
Filters → Common → Contour. Then click on New Range to generate a range of pressure to contour and then hit apply. Your slice will then disappear to find again click on the eye icon in the tree menu at the top.
This should give you something like the following picture:
-12-

Durham University OpenFOAM Tutorial
Figure 6: Contours of Pressure Around the Aerofoil
Obviously you need to do some work to make sure the solution is any way reasonable – but that at least gets you started....
Grant Ingram
Wednesday 14 November 2012
-13-