original recipe - united · pdf fileoriginal recipe sweet flowers quiet book ... instructions...
TRANSCRIPT

Original Recipe can be found at www.modabakeshop.com
Original Recipe
Sweet Flowers Quiet Book
Hi, everyone, it's LeAnne Ballard from Everyday Celebrations. It has been too long since I've posted over here so I am very excited to share this project. When I first started up my blog back in 2007, some of my first projects were Quiet or Fabric Books. I love making them to keep little ones happy and distracted while mama, or dad for that matter, are out and about running errands, sitting in church, or waiting in a doctor's office. I've made several different books and you can see all my patterns/tutorials for quiet books here or in my shop. (My most popular one is the FREE 'my colors' quiet book tutorial.) I had fun making this little quiet book for the Bake Shop and hope you enjoy all things summery, flower-y, and nature-y found in this little book. For a change, this book has no words, and I think it turned out just darling. Enjoy!
Original Recipe can be found at www.modabakeshop.com
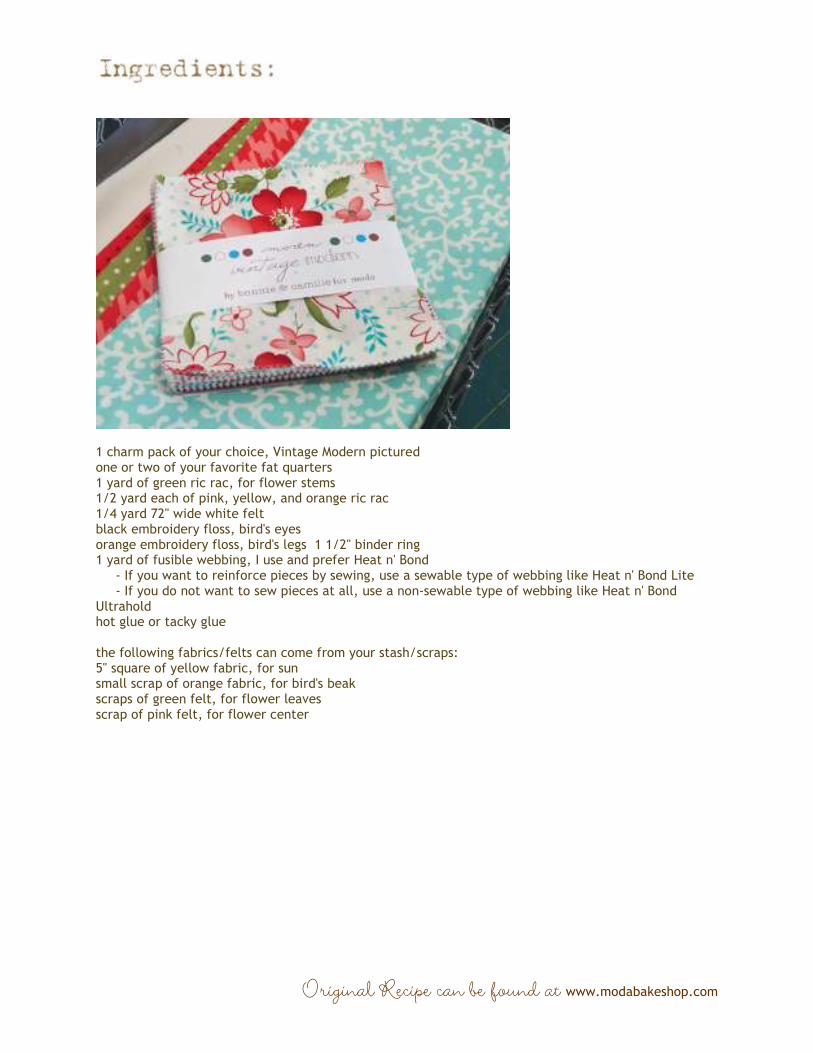
1 charm pack of your choice, Vintage Modern pictured one or two of your favorite fat quarters 1 yard of green ric rac, for flower stems 1/2 yard each of pink, yellow, and orange ric rac 1/4 yard 72" wide white felt black embroidery floss, bird's eyes orange embroidery floss, bird's legs 1 1/2" binder ring 1 yard of fusible webbing, I use and prefer Heat n' Bond - If you want to reinforce pieces by sewing, use a sewable type of webbing like Heat n' Bond Lite - If you do not want to sew pieces at all, use a non-sewable type of webbing like Heat n' Bond Ultrahold hot glue or tacky glue the following fabrics/felts can come from your stash/scraps: 5" square of yellow fabric, for sun small scrap of orange fabric, for bird's beak scraps of green felt, for flower leaves scrap of pink felt, for flower center
Original Recipe can be found at www.modabakeshop.com
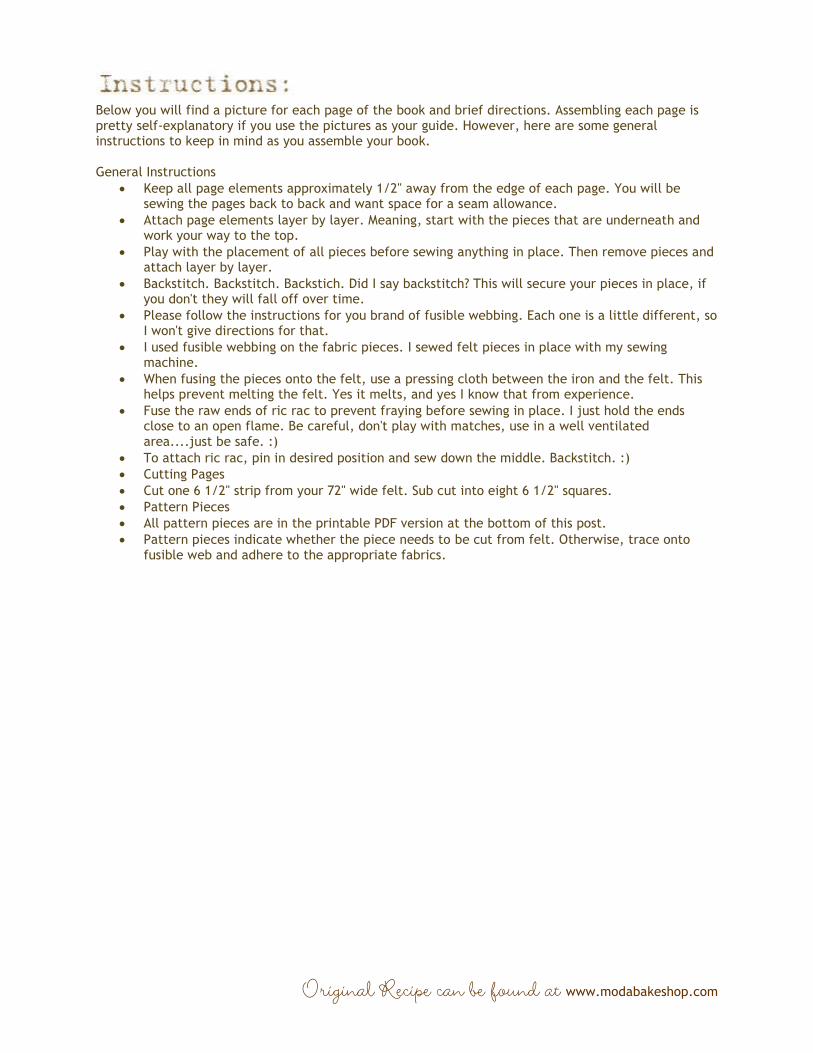
Below you will find a picture for each page of the book and brief directions. Assembling each page is pretty self-explanatory if you use the pictures as your guide. However, here are some general instructions to keep in mind as you assemble your book. General Instructions
• Keep all page elements approximately 1/2" away from the edge of each page. You will be sewing the pages back to back and want space for a seam allowance.
• Attach page elements layer by layer. Meaning, start with the pieces that are underneath and work your way to the top.
• Play with the placement of all pieces before sewing anything in place. Then remove pieces and attach layer by layer.
• Backstitch. Backstitch. Backstich. Did I say backstitch? This will secure your pieces in place, if you don't they will fall off over time.
• Please follow the instructions for you brand of fusible webbing. Each one is a little different, so I won't give directions for that.
• I used fusible webbing on the fabric pieces. I sewed felt pieces in place with my sewing machine.
• When fusing the pieces onto the felt, use a pressing cloth between the iron and the felt. This helps prevent melting the felt. Yes it melts, and yes I know that from experience.
• Fuse the raw ends of ric rac to prevent fraying before sewing in place. I just hold the ends close to an open flame. Be careful, don't play with matches, use in a well ventilated area....just be safe. :)
• To attach ric rac, pin in desired position and sew down the middle. Backstitch. :)
• Cutting Pages
• Cut one 6 1/2" strip from your 72" wide felt. Sub cut into eight 6 1/2" squares.
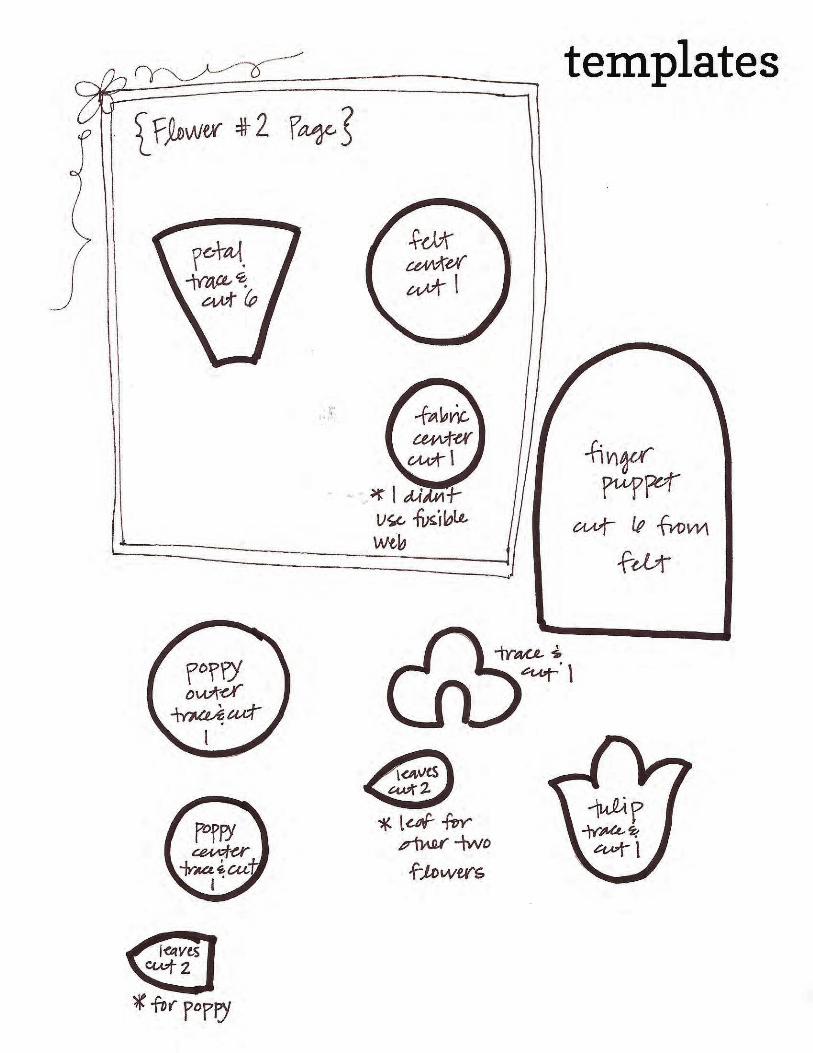
• Pattern Pieces
• All pattern pieces are in the printable PDF version at the bottom of this post.
• Pattern pieces indicate whether the piece needs to be cut from felt. Otherwise, trace onto fusible web and adhere to the appropriate fabrics.
Original Recipe can be found at www.modabakeshop.com
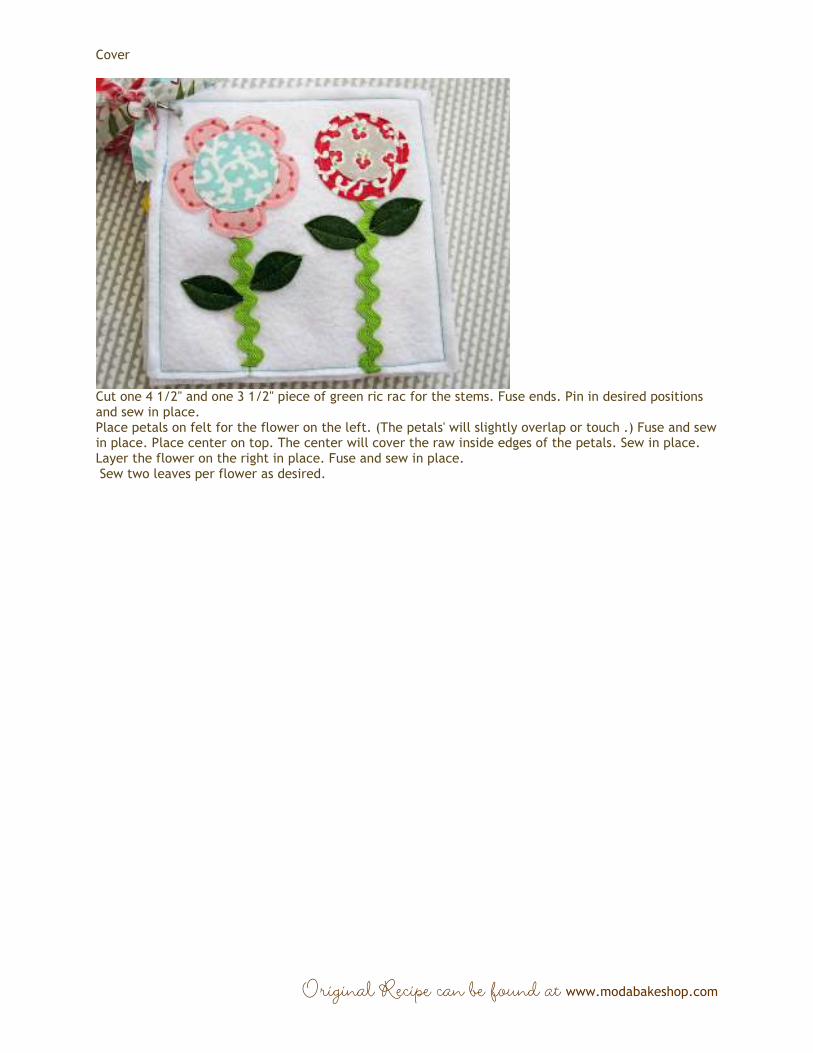
Cover
Cut one 4 1/2" and one 3 1/2" piece of green ric rac for the stems. Fuse ends. Pin in desired positions and sew in place. Place petals on felt for the flower on the left. (The petals' will slightly overlap or touch .) Fuse and sew in place. Place center on top. The center will cover the raw inside edges of the petals. Sew in place. Layer the flower on the right in place. Fuse and sew in place. Sew two leaves per flower as desired.
Original Recipe can be found at www.modabakeshop.com
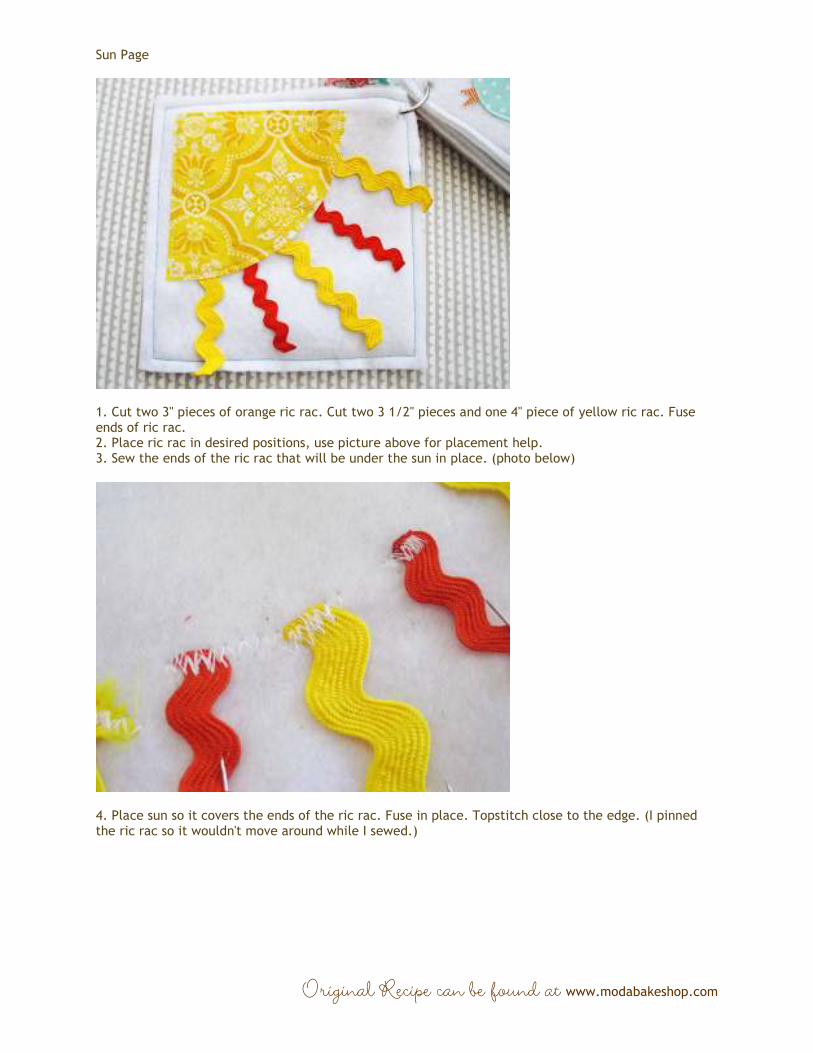
Sun Page
1. Cut two 3" pieces of orange ric rac. Cut two 3 1/2" pieces and one 4" piece of yellow ric rac. Fuse ends of ric rac. 2. Place ric rac in desired positions, use picture above for placement help. 3. Sew the ends of the ric rac that will be under the sun in place. (photo below)
4. Place sun so it covers the ends of the ric rac. Fuse in place. Topstitch close to the edge. (I pinned the ric rac so it wouldn't move around while I sewed.)
Original Recipe can be found at www.modabakeshop.com
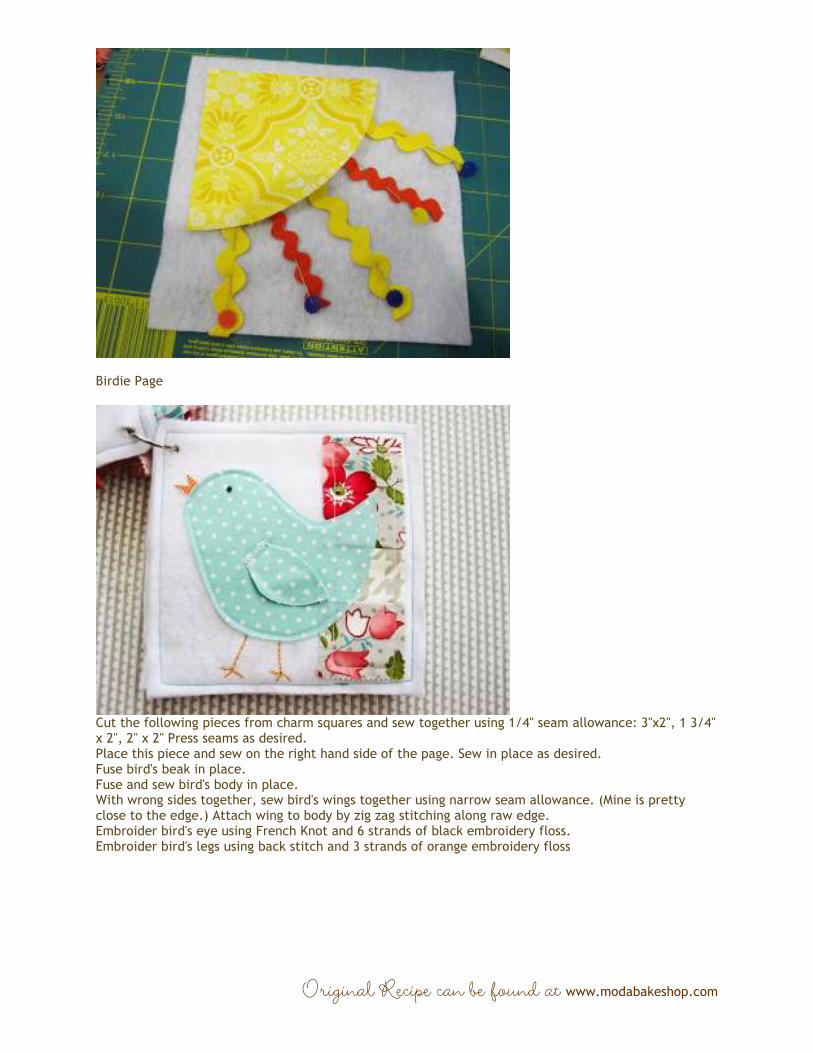
Birdie Page
Cut the following pieces from charm squares and sew together using 1/4" seam allowance: 3"x2", 1 3/4" x 2", 2" x 2" Press seams as desired. Place this piece and sew on the right hand side of the page. Sew in place as desired. Fuse bird's beak in place. Fuse and sew bird's body in place. With wrong sides together, sew bird's wings together using narrow seam allowance. (Mine is pretty close to the edge.) Attach wing to body by zig zag stitching along raw edge. Embroider bird's eye using French Knot and 6 strands of black embroidery floss. Embroider bird's legs using back stitch and 3 strands of orange embroidery floss

Original Recipe can be found at www.modabakeshop.com
Rain Page
Fuse raindrops in place in desired positions. Sew in place using decorative stitching. I basically just sewed down the middle of each rain drop however I wanted. I used zig zag stitches, a series of straight stitches, etc.
Original Recipe can be found at www.modabakeshop.com
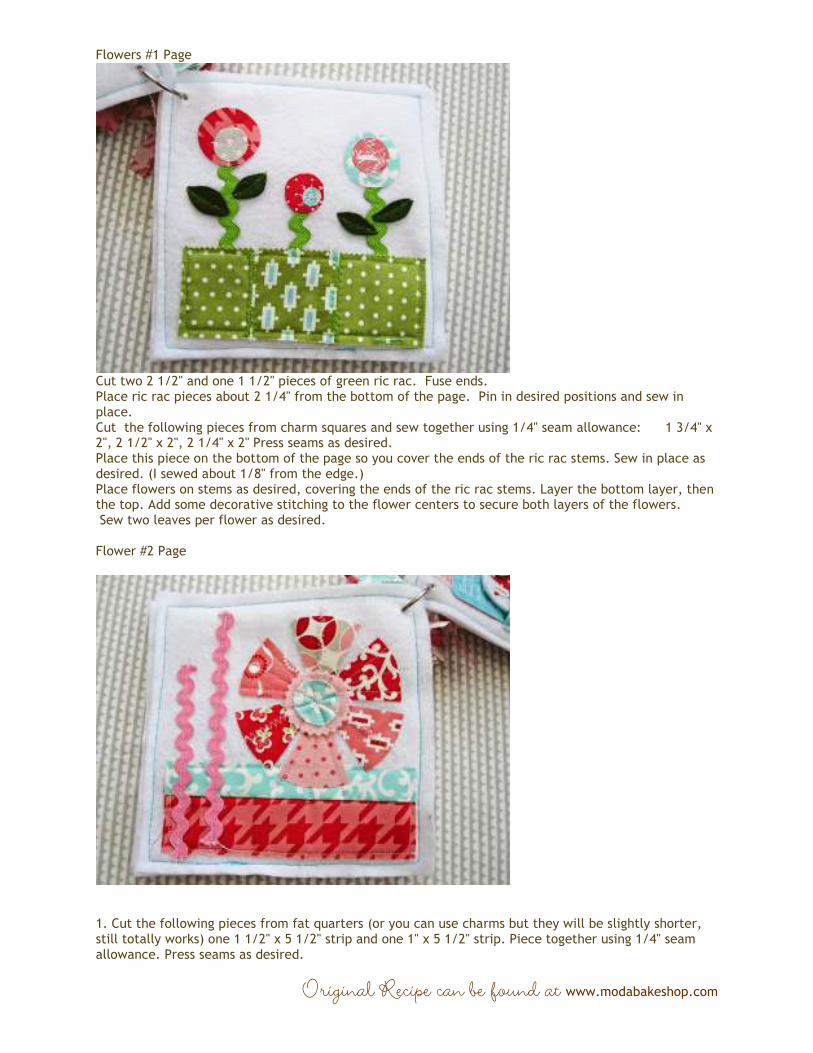
Flowers #1 Page
Cut two 2 1/2" and one 1 1/2" pieces of green ric rac. Fuse ends. Place ric rac pieces about 2 1/4" from the bottom of the page. Pin in desired positions and sew in place. Cut the following pieces from charm squares and sew together using 1/4" seam allowance: 1 3/4" x 2", 2 1/2" x 2", 2 1/4" x 2" Press seams as desired. Place this piece on the bottom of the page so you cover the ends of the ric rac stems. Sew in place as desired. (I sewed about 1/8" from the edge.) Place flowers on stems as desired, covering the ends of the ric rac stems. Layer the bottom layer, then the top. Add some decorative stitching to the flower centers to secure both layers of the flowers. Sew two leaves per flower as desired. Flower #2 Page
1. Cut the following pieces from fat quarters (or you can use charms but they will be slightly shorter, still totally works) one 1 1/2" x 5 1/2" strip and one 1" x 5 1/2" strip. Piece together using 1/4" seam allowance. Press seams as desired.

Original Recipe can be found at www.modabakeshop.com
2. Place this piece and sew on the bottom of the page. (I sewed about 1/8" from the edge.) 3. Cut one 4 1/2" and one 5 1/2" piece of pink ric rac. Fuse ends. Place ric rac as shown and sew in place. 4. Place flower petals as shown. Fuse in place. Use decorative stitching to secure the flower petals. I sewed down the middle of the petals, similar to how I did the rain drops. (As you can see I just went from flower to flower through the middle part. Saved me a little time instead of removing the page after each stitch.)
6. Place felt center and fabric center as desired, covering the stitching and the raw inside edges of the petals. 7. Sew centers in place by sewing through both layers.
Original Recipe can be found at www.modabakeshop.com
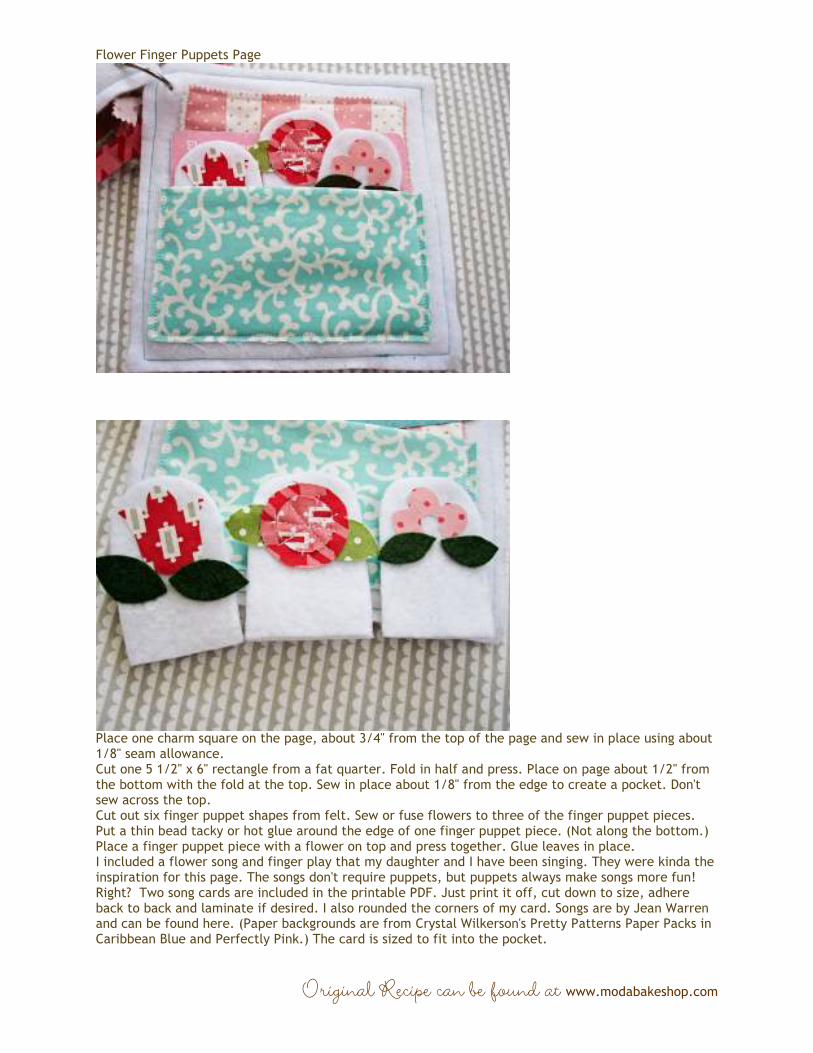
Flower Finger Puppets Page
Place one charm square on the page, about 3/4" from the top of the page and sew in place using about 1/8" seam allowance. Cut one 5 1/2" x 6" rectangle from a fat quarter. Fold in half and press. Place on page about 1/2" from the bottom with the fold at the top. Sew in place about 1/8" from the edge to create a pocket. Don't sew across the top. Cut out six finger puppet shapes from felt. Sew or fuse flowers to three of the finger puppet pieces. Put a thin bead tacky or hot glue around the edge of one finger puppet piece. (Not along the bottom.) Place a finger puppet piece with a flower on top and press together. Glue leaves in place. I included a flower song and finger play that my daughter and I have been singing. They were kinda the inspiration for this page. The songs don't require puppets, but puppets always make songs more fun! Right? Two song cards are included in the printable PDF. Just print it off, cut down to size, adhere back to back and laminate if desired. I also rounded the corners of my card. Songs are by Jean Warren and can be found here. (Paper backgrounds are from Crystal Wilkerson's Pretty Patterns Paper Packs in Caribbean Blue and Perfectly Pink.) The card is sized to fit into the pocket.

Original Recipe can be found at www.modabakeshop.com
Back Cover
In the upper right hand corner leave a about a 1" square free from fabric for the binder ring hole. The back cover is just a series of thin strips from charm squares. I cut them in various widths from 1/2" - 1". Then just stagger them across the page and sew in place. Again, I used various types of decorative stitching.
Original Recipe can be found at www.modabakeshop.com
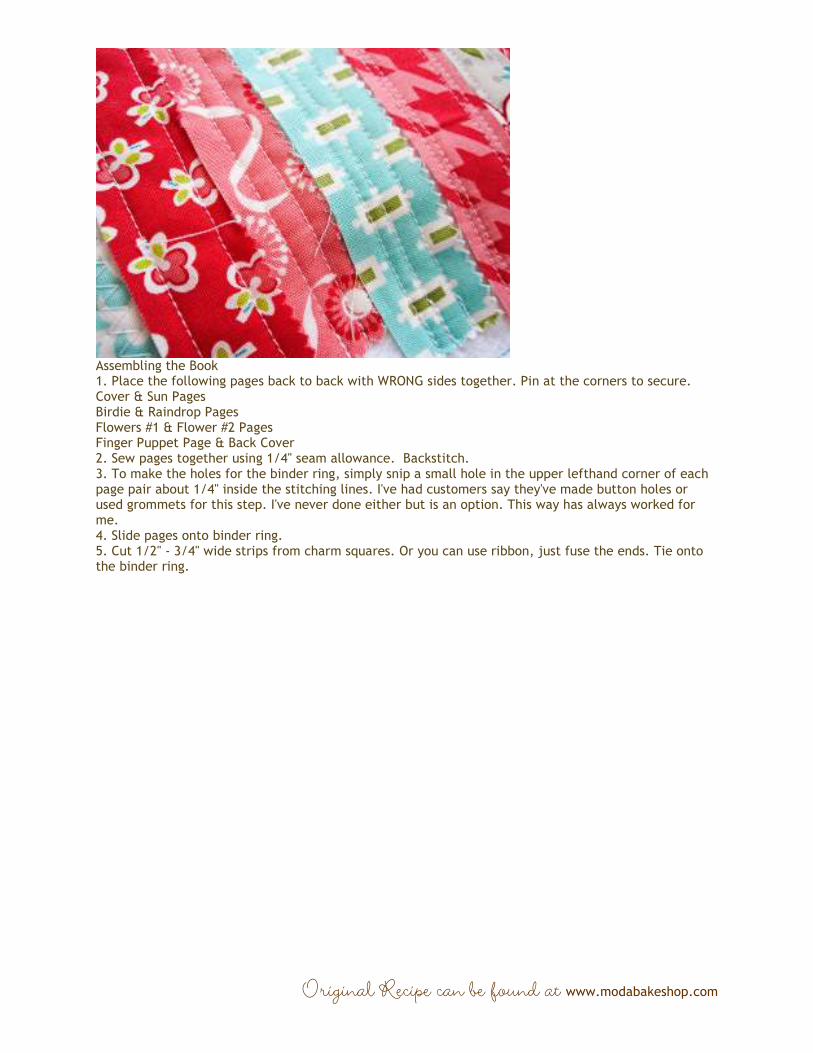
Assembling the Book 1. Place the following pages back to back with WRONG sides together. Pin at the corners to secure. Cover & Sun Pages Birdie & Raindrop Pages Flowers #1 & Flower #2 Pages Finger Puppet Page & Back Cover 2. Sew pages together using 1/4" seam allowance. Backstitch. 3. To make the holes for the binder ring, simply snip a small hole in the upper lefthand corner of each page pair about 1/4" inside the stitching lines. I've had customers say they've made button holes or used grommets for this step. I've never done either but is an option. This way has always worked for me. 4. Slide pages onto binder ring. 5. Cut 1/2" - 3/4" wide strips from charm squares. Or you can use ribbon, just fuse the ends. Tie onto the binder ring.

Original Recipe can be found at www.modabakeshop.com
One darling quiet book for one lucky little lady
LeAnne Ballard {everydaycelebrate.blogspot.com}