pe embroidery software - techsoft design.pdf · 104 [email protected] for education use creating...
TRANSCRIPT
102 www.techsoft.co.uk [email protected]
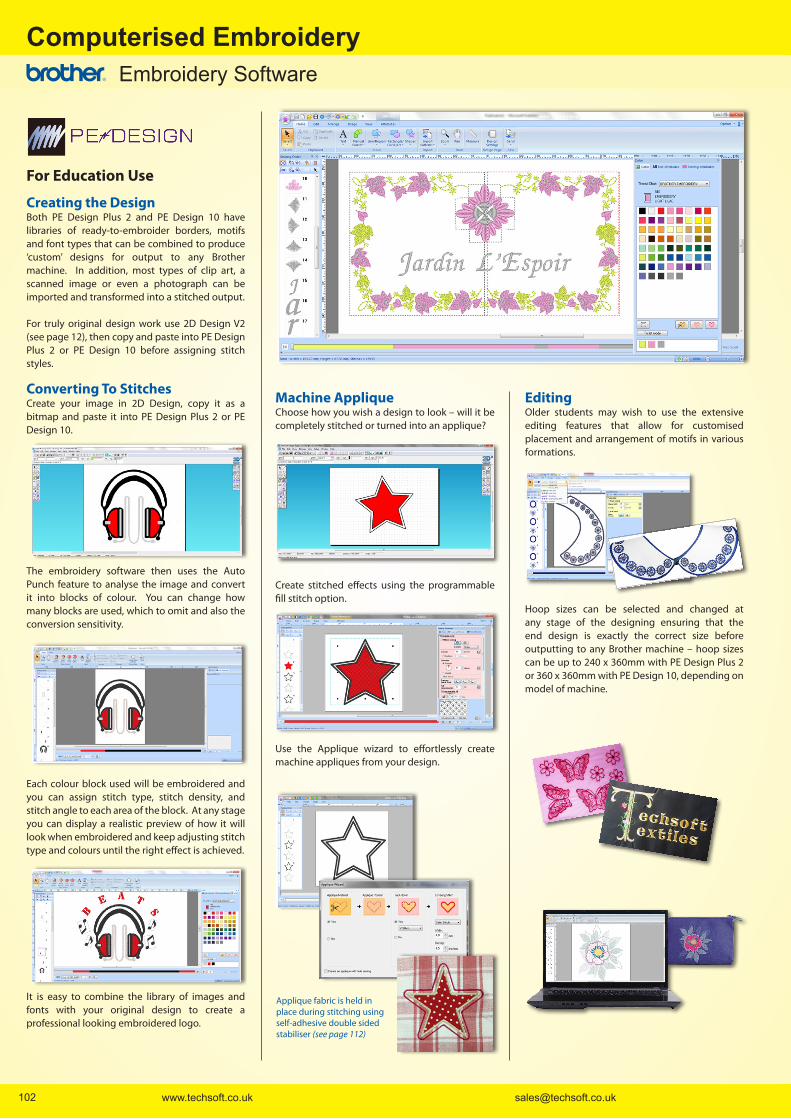
For Education Use
Creating the DesignBoth PE Design Plus 2 and PE Design 10 have libraries of ready-to-embroider borders, motifs and font types that can be combined to produce ‘custom’ designs for output to any Brother machine. In addition, most types of clip art, a scanned image or even a photograph can be imported and transformed into a stitched output.
For truly original design work use 2D Design V2 (see page 12), then copy and paste into PE Design Plus 2 or PE Design 10 before assigning stitch styles.
Converting To StitchesCreate your image in 2D Design, copy it as a bitmap and paste it into PE Design Plus 2 or PE Design 10.
The embroidery software then uses the Auto Punch feature to analyse the image and convert it into blocks of colour. You can change how many blocks are used, which to omit and also the conversion sensitivity.
Each colour block used will be embroidered and you can assign stitch type, stitch density, and stitch angle to each area of the block. At any stage you can display a realistic preview of how it will look when embroidered and keep adjusting stitch type and colours until the right effect is achieved.
It is easy to combine the library of images and fonts with your original design to create a professional looking embroidered logo.
EmbroiderySoftware
Machine AppliqueChoose how you wish a design to look – will it be completely stitched or turned into an applique?
Create stitched effects using the programmable fill stitch option.
Use the Applique wizard to effortlessly create machine appliques from your design.
Applique fabric is held in place during stitching using self-adhesive double sided stabiliser (see page 112)
EditingOlder students may wish to use the extensive editing features that allow for customised placement and arrangement of motifs in various formations.
Hoop sizes can be selected and changed at any stage of the designing ensuring that the end design is exactly the correct size before outputting to any Brother machine – hoop sizes can be up to 240 x 360mm with PE Design Plus 2 or 360 x 360mm with PE Design 10, depending on model of machine.
Computerised Embroidery
103 TEL:01745535007 FAX:01745535008
EmbroiderySoftware
Why Choose PE Design for Education? • Choose how you want your students to use it – ideal for beginner level
but has the potential to extend the brightest students across all age ranges and key stages, including university level.
• Link to 2D Design V2 by allowing students to create their own original artwork and copying it across to PE Design Plus 2 or PE Design 10. This will cut down on bottlenecks that occur when embroidery software is only a single licence.
• Outputting the designs is simple – either by USB data key directly into the machine or via cable linked to the computer. All designs can be saved as a .pes file for future use.
• PE Design Plus 2 and PE Design 10 can be used across all Brother machines.
Prices £ (See inside front cover)
Single Needle Embroidery Machines
PE Design Plus 2 Single Licence TM-EMB-PEDESPLUS2
PE Design 10 Single Licence TM-EMB-PEDES10
Software Information
Minimum Hardware RequirementsWindows Vista / 7 / 8 / 10Microsoft recommended minimum hardware specification advisedUSB Port
The same motif can be stitched as a repeat design or on soluble stabiliser (Solufleece) see page 112
Computerised Embroidery
Standard(ex VAT)
*Education Only
* Brother subsidise some of their products for UK bona-fide educational establishments.
Enhanced lettering features in PE Design 10 allow greater creativity when designing logos
Stitching features for more expressive embroidery in Design 10
PE Design Plus 2 or PE Design 10?Both PE Design Plus 2 and PE Design 10 allow images to be imported and then converted to stitches automatically using Auto Punch, Cross Stitch or Photo Stitch styles. In many cases this is all that is needed before the design is output to the embroidery machine, but there are various editing features available for those who want to adjust the stitching. A realistic preview of how it will look when embroidered means that you can go back as often as you like to get just the right effect.
PE Design Plus 2PE Design Plus 2 is a good starting point for any Textiles department.
PE Design Plus 2 provides 40 in-built fonts and 287 design elements for direct use or for combining, editing and customising. Outline stitches include zigzag, running and motif. Fill stitches include satin, fill, prog. fill, motif and stippling.
Files can be output to any Brother machine with hoop sizes up to 240 x 360mm.
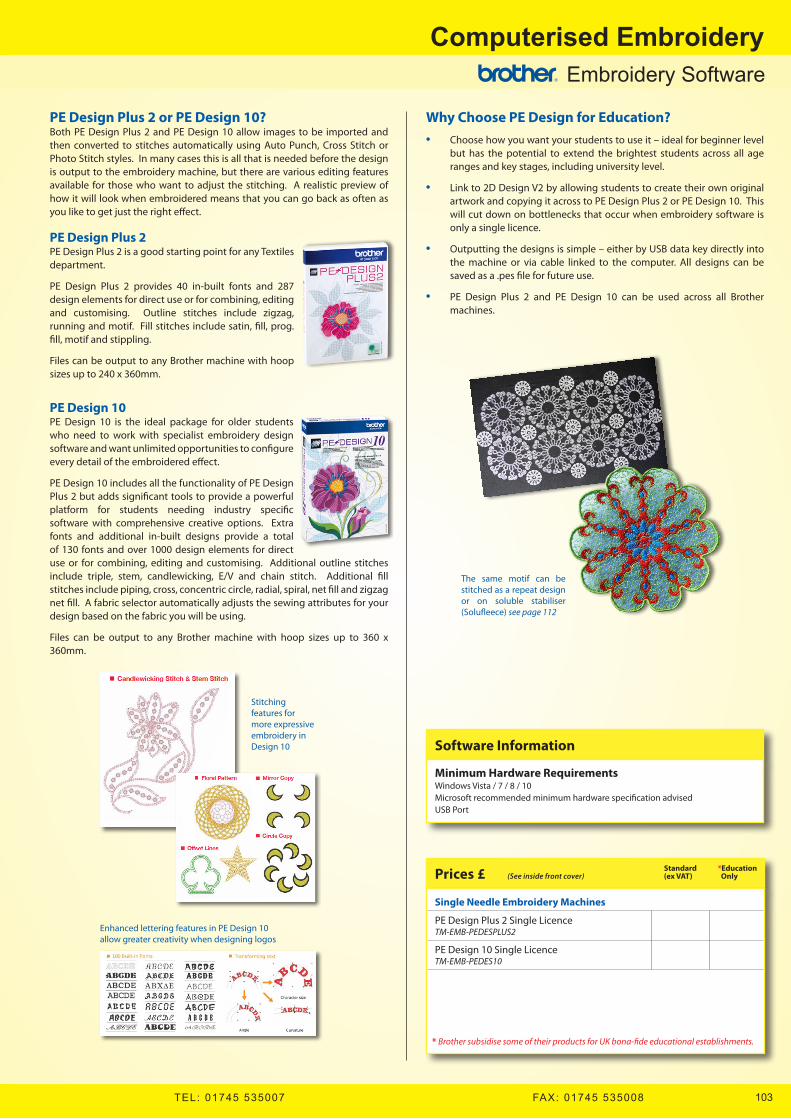
PE Design 10PE Design 10 is the ideal package for older students who need to work with specialist embroidery design software and want unlimited opportunities to configure every detail of the embroidered effect.
PE Design 10 includes all the functionality of PE Design Plus 2 but adds significant tools to provide a powerful platform for students needing industry specific software with comprehensive creative options. Extra fonts and additional in-built designs provide a total of 130 fonts and over 1000 design elements for direct use or for combining, editing and customising. Additional outline stitches include triple, stem, candlewicking, E/V and chain stitch. Additional fill stitches include piping, cross, concentric circle, radial, spiral, net fill and zigzag net fill. A fabric selector automatically adjusts the sewing attributes for your design based on the fabric you will be using.
Files can be output to any Brother machine with hoop sizes up to 360 x 360mm.