pegaso “ronin” xvi century – 75mm part 1
TRANSCRIPT

Pegaso“Ronin”XVICentury–75mmPart1
GeoffWoods
I fell in love with this model when it was first released by Pegaso Models, but retailing at around £79.00 I thought I’d wait. As luck should have it somebody was selling it on Ebay for under half price so I decided to purchase it.
Opening the box, there is a small potted history of the Ronin samurai and the kit itself - not too many parts. The castings are very nicely done and did not require too much cleaning up. I used a drill mounted with brass brushes and hand files to remove all the seam lines. A figure of this size when completed is fairly heavy so I’ll pin the legs and the arms and also the armour, when I get there.
When I was happy that everything was ready to assemble I washed the parts with soapy water to remove all the grease from my fingers that gets on the castings.
I usually like to assemble as much as I can before painting but with this figure, as the arms being across the middle of the body, I thought it best to paint several areas first as some areas will be covered. I would nearly always paint the face first but the hair is jointed to the back of the head and that makes it impossible to put the head in place without the hair which covers most of the back armour so painting the face will have to wait.
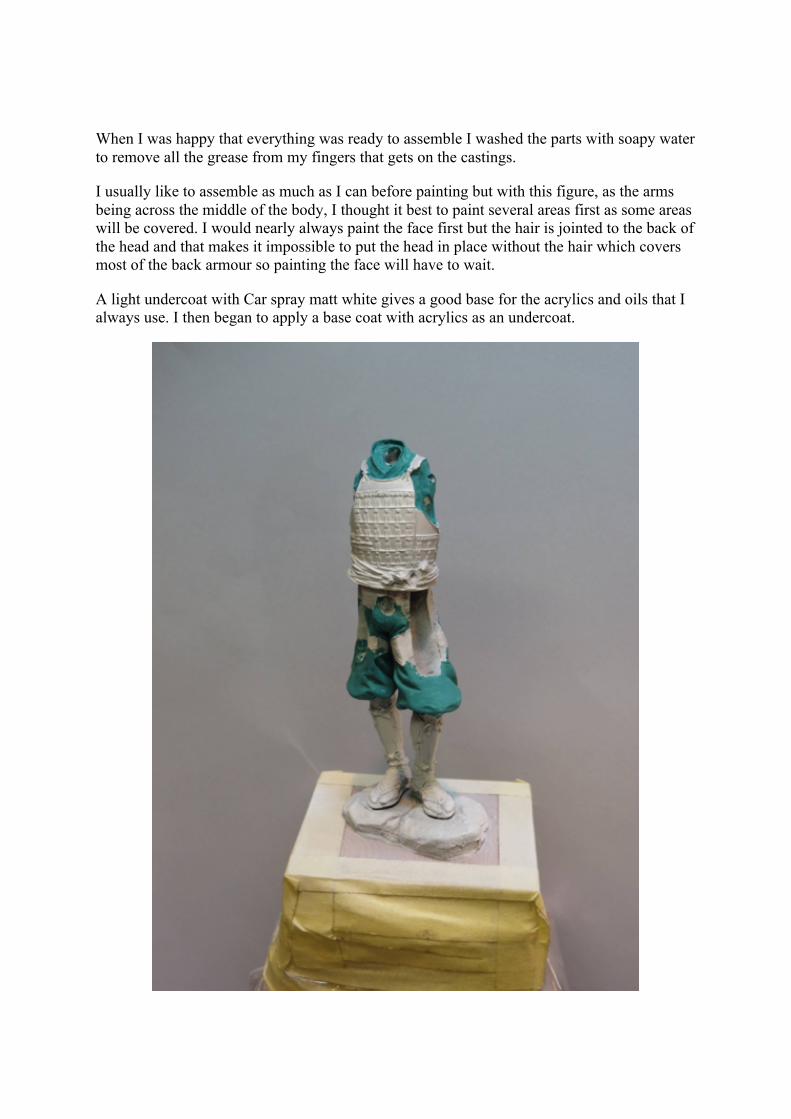
A light undercoat with Car spray matt white gives a good base for the acrylics and oils that I always use. I then began to apply a base coat with acrylics as an undercoat.

I wanted to paint a patterned material on his trousers and jacket as Samurai wore colourful clothing. I painted the pattern at this stage intending to shade with oils later.
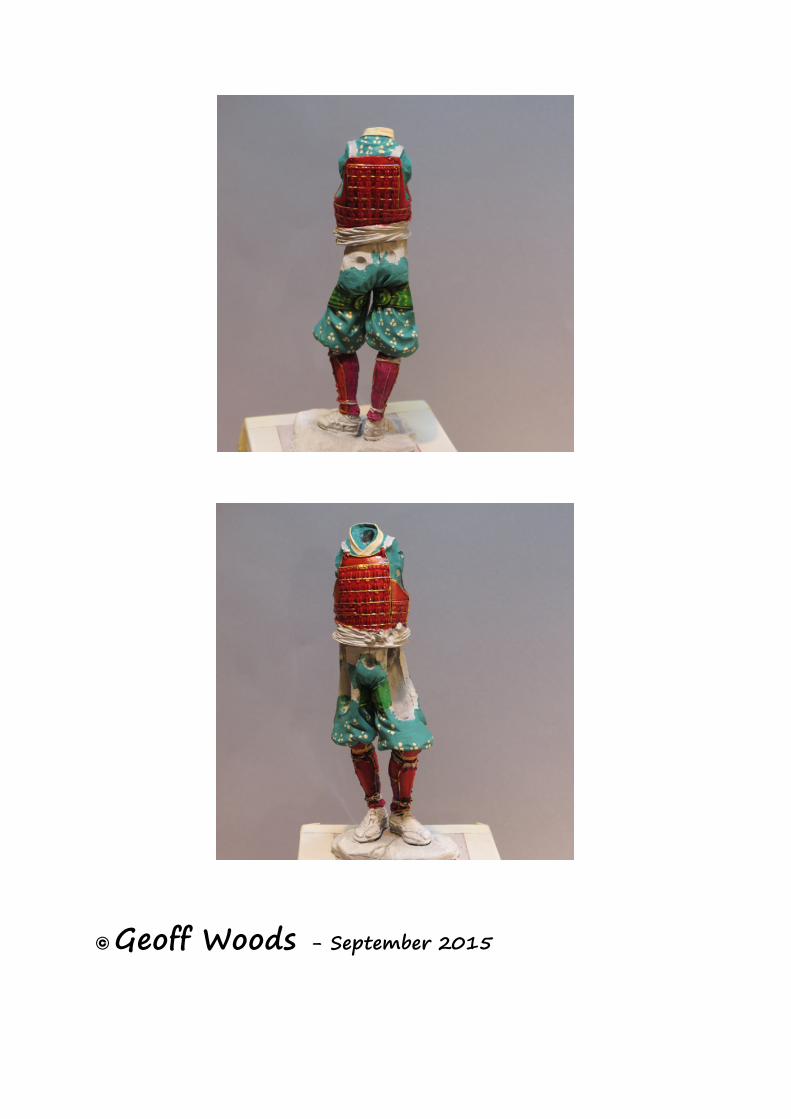
Here the pattern is starting to take shape. So far this is all in acrylics
The red armour was created by metal left out to rust then, using pigments to control the colour, varnishing it gave a lovely patina. I started on painting the armour red and using sepia washes to create depth. I highlighted the red then gave everything a couple of coats of Johnsons Klear to imitate varnish All the armour was treated this way with the lacing being picked out in kingfisher blue then shaded and highlighted matt to give a contrast to the shiny armour.
© Geoff Woods - September 2015