printer alignment instructions - fellowship onesupportimages.fellowshipone.com/images/f1/install...
TRANSCRIPT

© 2011 Fellowship Technologies a part of Active Network
ResetGodex/ResetZebra
Instructions

ResetGodex/ResetZebra Instructions
Page 2 of 20 September 7, 2011
© 2011 Fellowship Technologies a part of Active Network
This Guide details how to setup and run the Rese Godex and ResetZebra
scripts in Windows XP and Windows 7
Contents
Alignment Issues ....................................................................................................................................... 3
Windows XP Printer Alignment ............................................................................................................. 3
Windows 7 Printer Alignment ............................................................................................................. 13

ResetGodex/ResetZebra Instructions
Page 3 of 20 September 7, 2011
© 2011 Fellowship Technologies a part of Active Network
Alignment Issues
At times both the Zebra and Godex printers can have alignment issues where the labels may print extra
blank labels or print across labels. This procedure will show how to setup and run the ResetGodex and
the Reset Zebra scripts to correct this issue.
Windows XP Printer Alignment
1. Click the Start button.
2. Click Printers and Faxes.

ResetGodex/ResetZebra Instructions
Page 4 of 20 September 7, 2011
© 2011 Fellowship Technologies a part of Active Network
3. Right-click on the on the printer that will be used for Check-in
4. Select “Properties”.

ResetGodex/ResetZebra Instructions
Page 5 of 20 September 7, 2011
© 2011 Fellowship Technologies a part of Active Network
5. The Printer properties will open.
6. Change the name of the printer to “Check-In Printer”. This must be exact.

ResetGodex/ResetZebra Instructions
Page 6 of 20 September 7, 2011
© 2011 Fellowship Technologies a part of Active Network
7. Click the Sharing tab.
8. Click Share this printer
9. Set the Share name as Check-In Printer
10. Click OK.
11. The printer will show as Check-In Printer.

ResetGodex/ResetZebra Instructions
Page 7 of 20 September 7, 2011
© 2011 Fellowship Technologies a part of Active Network
12. Launch Check-in to set the default printer.
13. Click Menu.
14. Click Set Default Printer.

ResetGodex/ResetZebra Instructions
Page 8 of 20 September 7, 2011
© 2011 Fellowship Technologies a part of Active Network
15. Select the Check-In Printer.
16. Click Continue.
17. Download the correct Script to the computer desktop to reset the printer.

ResetGodex/ResetZebra Instructions
Page 9 of 20 September 7, 2011
© 2011 Fellowship Technologies a part of Active Network
18. Right-click and select Extract All.
19. The Extraction Wizard will begin.
20. Click Next.

ResetGodex/ResetZebra Instructions
Page 10 of 20 September 7, 2011
© 2011 Fellowship Technologies a part of Active Network
21. The directory can be changed but keeping the default will install it on the Desktop.
22. Click Next.
23. On the last screen insure that “Show extracted files” is checked.
24. Click Finish.
ResetGodex/ResetZebra Instructions
Page 11 of 20 September 7, 2011
© 2011 Fellowship Technologies a part of Active Network
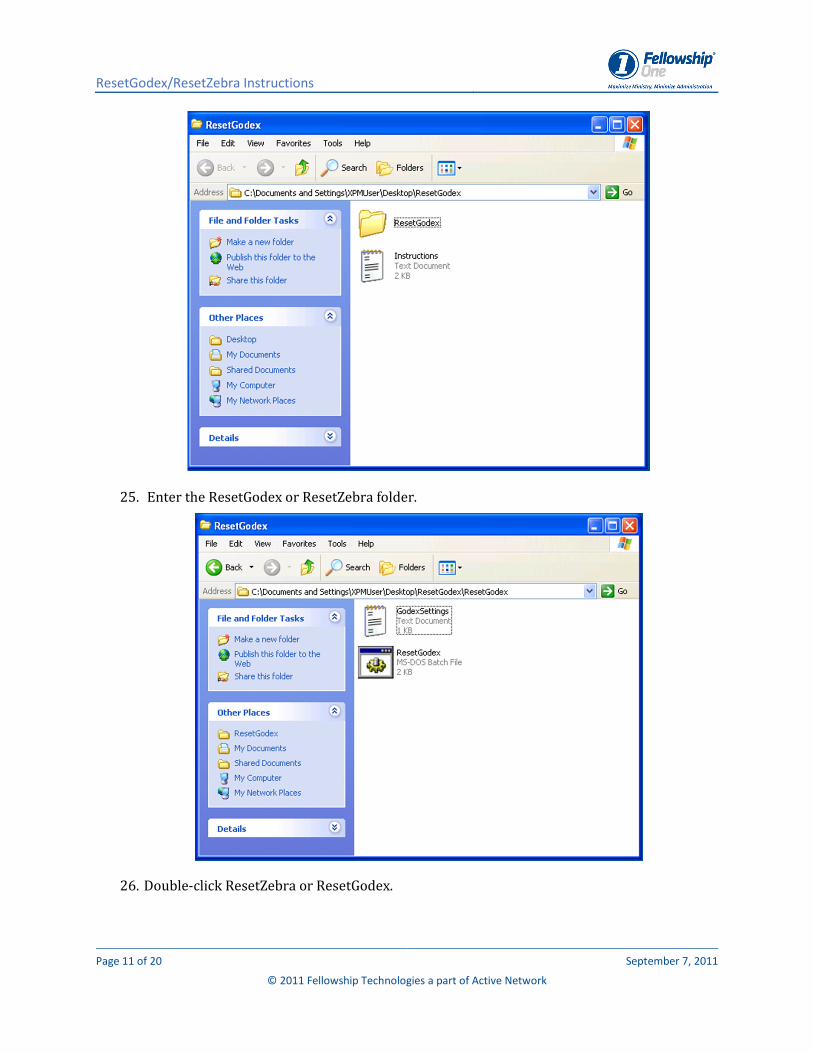
25. Enter the ResetGodex or ResetZebra folder.
26. Double-click ResetZebra or ResetGodex.
ResetGodex/ResetZebra Instructions
Page 12 of 20 September 7, 2011
© 2011 Fellowship Technologies a part of Active Network
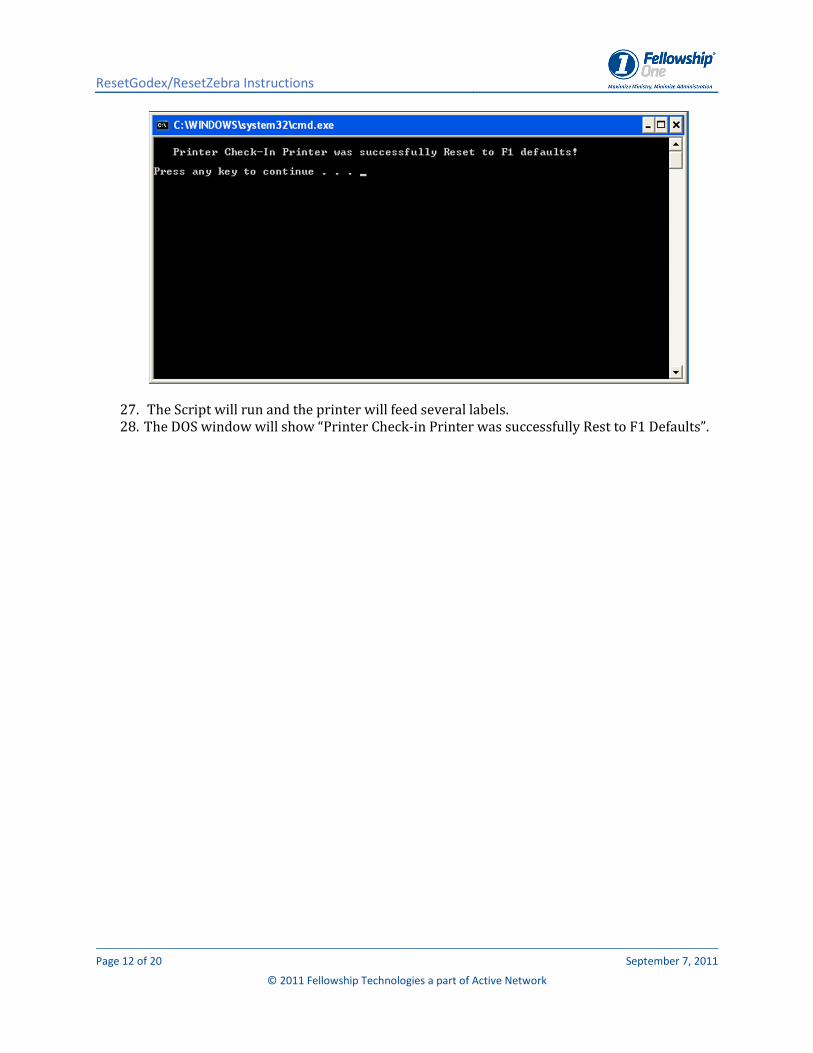
27. The Script will run and the printer will feed several labels.
28. The DOS window will show “Printer Check-in Printer was successfully Rest to F1 Defaults”.

ResetGodex/ResetZebra Instructions
Page 13 of 20 September 7, 2011
© 2011 Fellowship Technologies a part of Active Network
Windows 7 Printer Alignment
1. Click the Start button.
2. Click Devices and Printers.

ResetGodex/ResetZebra Instructions
Page 14 of 20 September 7, 2011
© 2011 Fellowship Technologies a part of Active Network
3. Right-click on the on the printer that will be used for Check-in
4. Select “Printer properties”.

ResetGodex/ResetZebra Instructions
Page 15 of 20 September 7, 2011
© 2011 Fellowship Technologies a part of Active Network
5. The Printer properties will open.
6. Change the name of the printer to “Check-In Printer”. This must be exact.
7. Click the Sharing tab.
8. Click Share this printer
9. Set the Share name as Check-In Printer
10. Click OK.
11. The printer will show as Check-In Printer.
ResetGodex/ResetZebra Instructions
Page 16 of 20 September 7, 2011
© 2011 Fellowship Technologies a part of Active Network
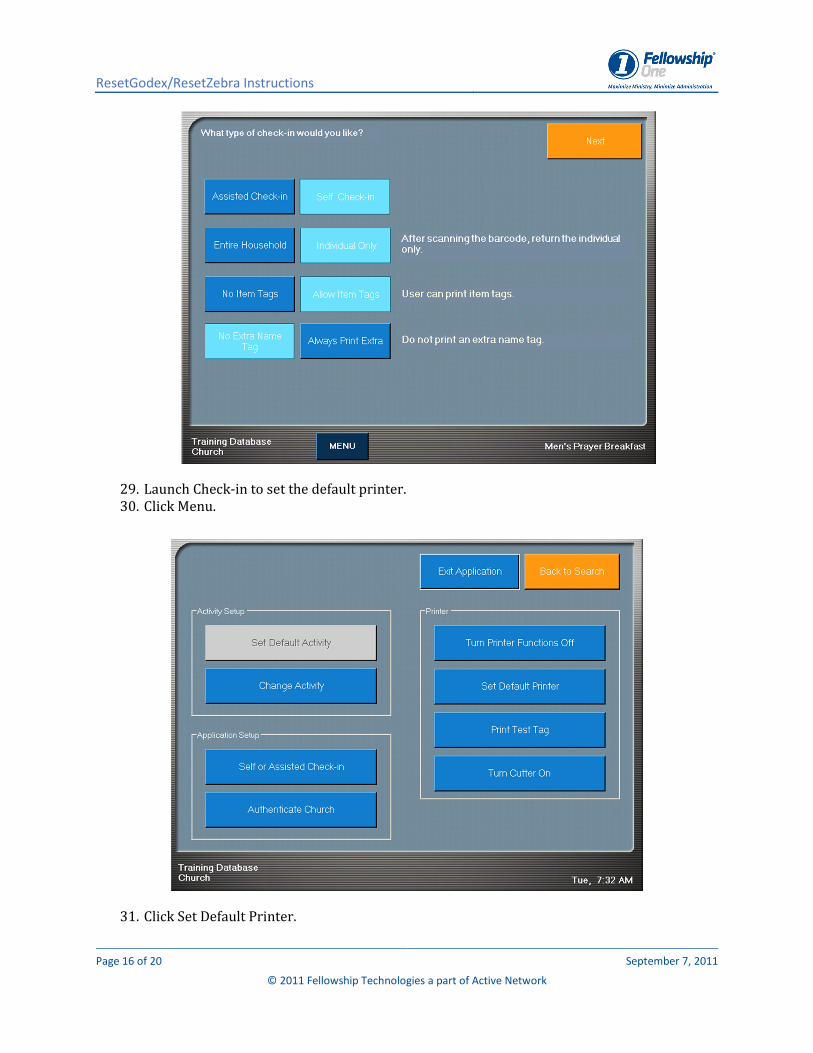
29. Launch Check-in to set the default printer.
30. Click Menu.
31. Click Set Default Printer.

ResetGodex/ResetZebra Instructions
Page 17 of 20 September 7, 2011
© 2011 Fellowship Technologies a part of Active Network
32. Select the Check-In Printer.
33. Click Continue.
34. Download the correct Script to the computer desktop to reset the printer.

ResetGodex/ResetZebra Instructions
Page 18 of 20 September 7, 2011
© 2011 Fellowship Technologies a part of Active Network
35. Right-click and select Extract All.
36. The Extraction Wizard will begin.
37. The directory can be changed but keeping the default will install it on the Desktop.
38. Insure that “Show extracted files when complete” is checked.
39. Click Extract.
ResetGodex/ResetZebra Instructions
Page 19 of 20 September 7, 2011
© 2011 Fellowship Technologies a part of Active Network
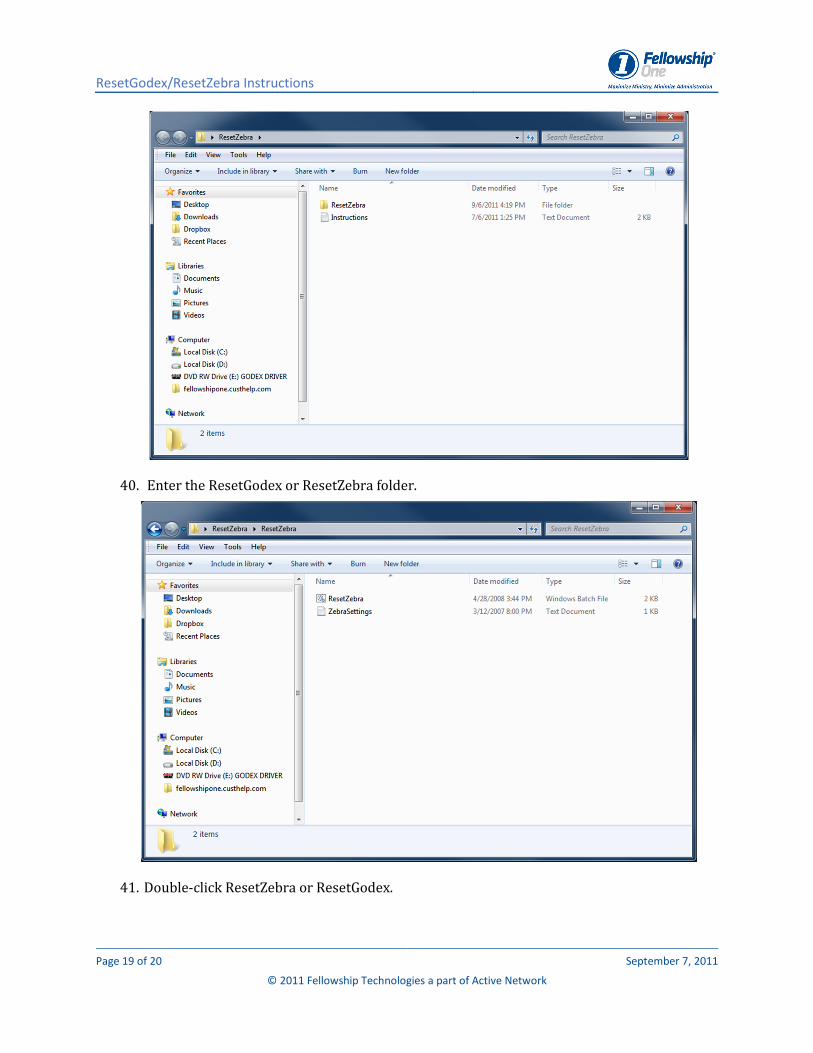
40. Enter the ResetGodex or ResetZebra folder.
41. Double-click ResetZebra or ResetGodex.

ResetGodex/ResetZebra Instructions
Page 20 of 20 September 7, 2011
© 2011 Fellowship Technologies a part of Active Network
42. The Script will run and the printer will feed several labels.
43. The DOS window will show “Printer Check-in Printer was successfully Rest to F1 Defaults”.