project in-e-learning
TRANSCRIPT
The Rose Napkin Fold

Activity to be
Submitted To: Dr. Dennis O. Dumrique
Submitted By: Aramina M. Danieles
Free Tutorial on How to Make a
Rose Napkin Fold for a Table
Setting
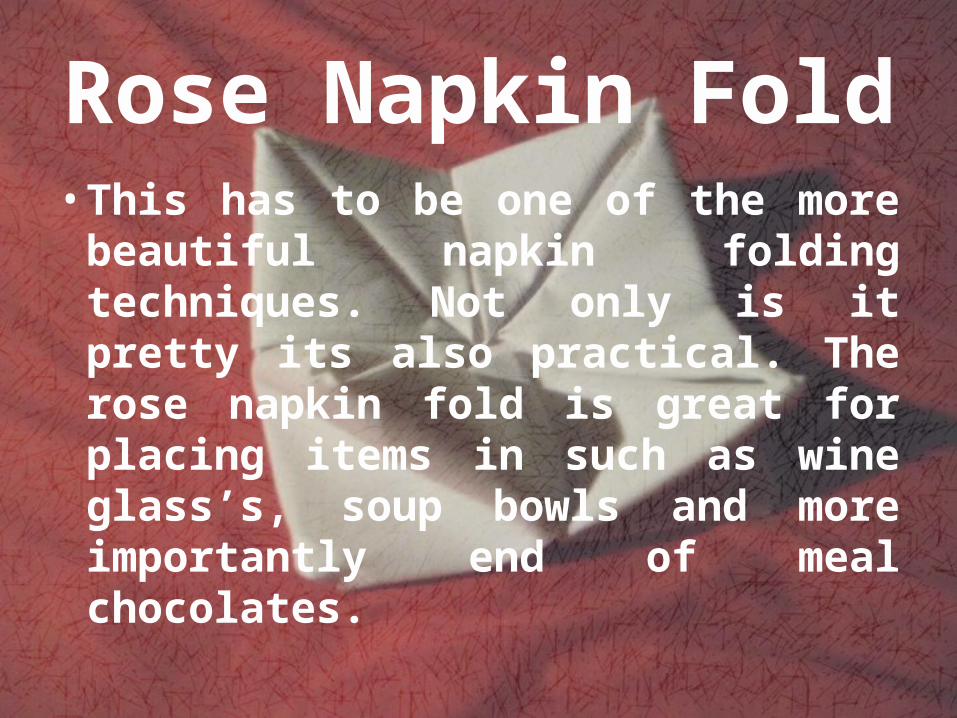
Rose Napkin Fold• This has to be one of the more
beautiful napkin folding techniques. Not only is it pretty its also practical. The rose napkin fold is great for placing items in such as wine glass’s, soup bowls and more importantly end of meal chocolates.

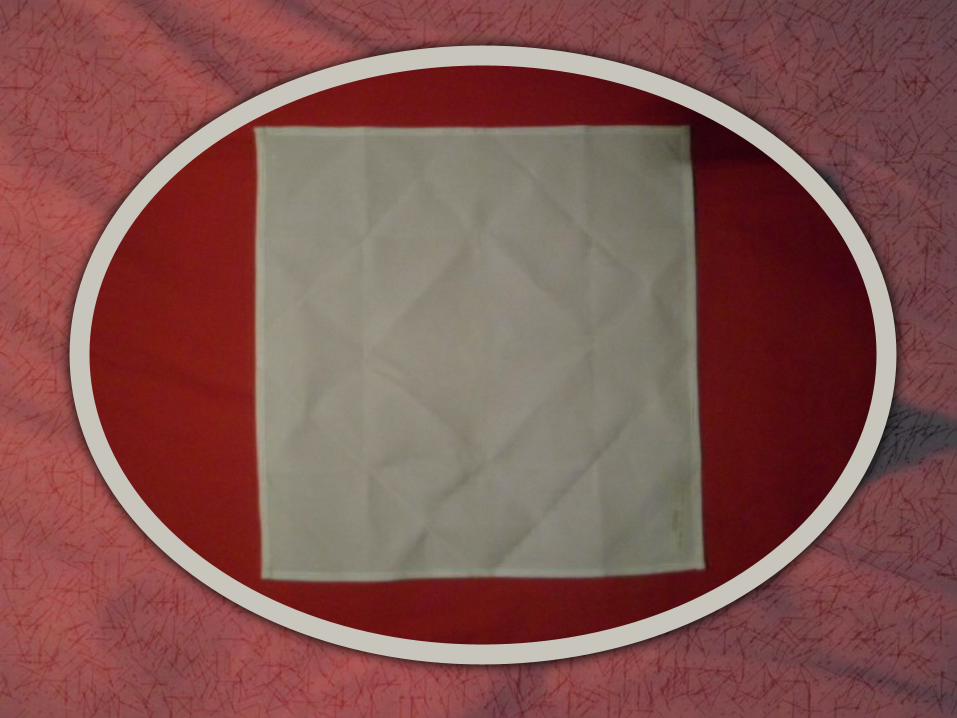
Step one:
Lay the napkin out in front of you. If the napkin has labels, tags or a folded over seam make sure that these are facing upwards at the start.

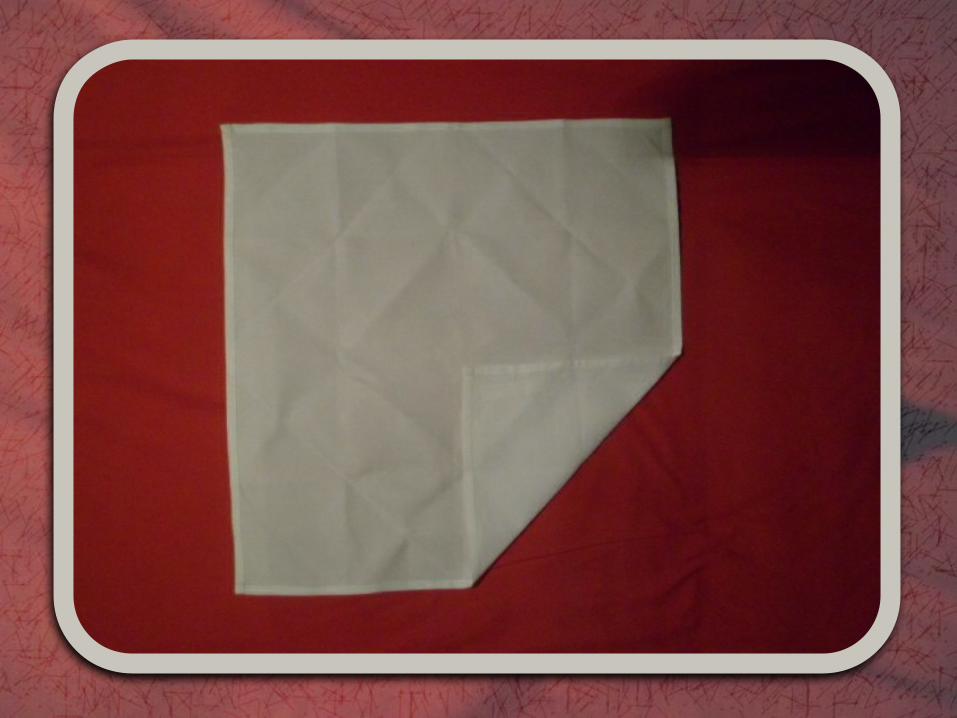
Step two:There will be a lot of drawn out
explanation that I will include just to completely eliminate
confusion. Fold the bottom right corner in to the middle.
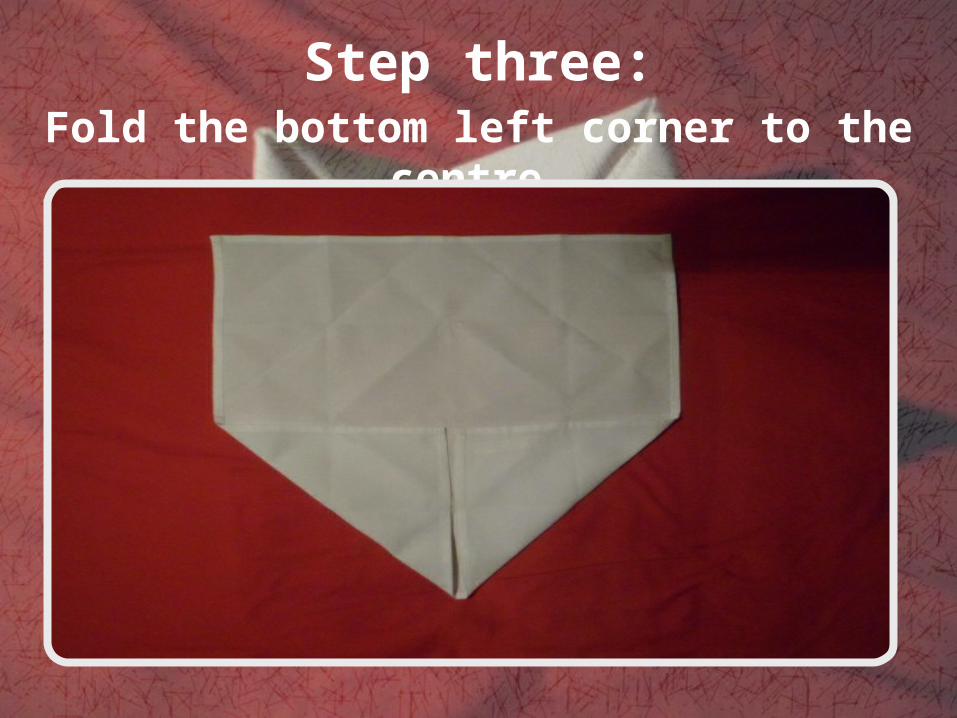
Step three:Fold the bottom left corner to the centre.
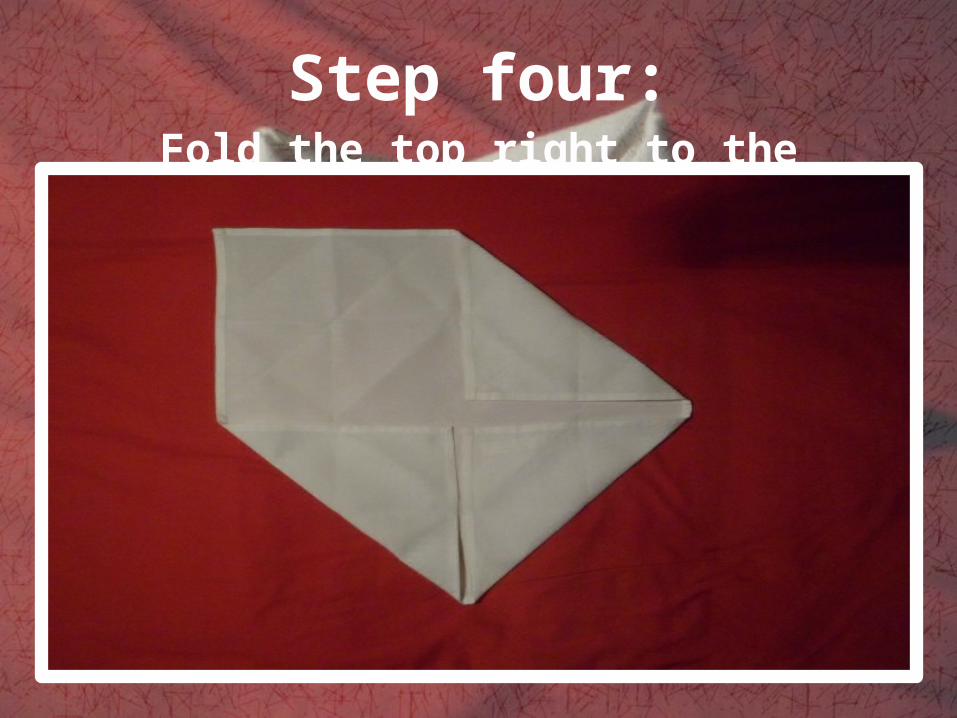
Step four:Fold the top right to the middle.
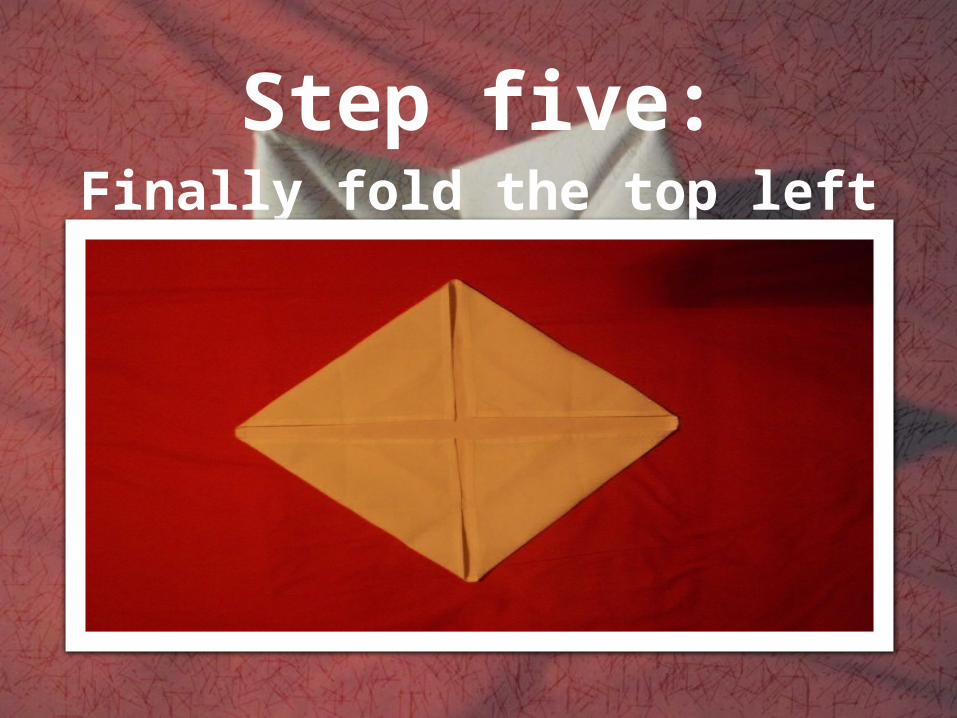
Step five:Finally fold the top left to the centre.
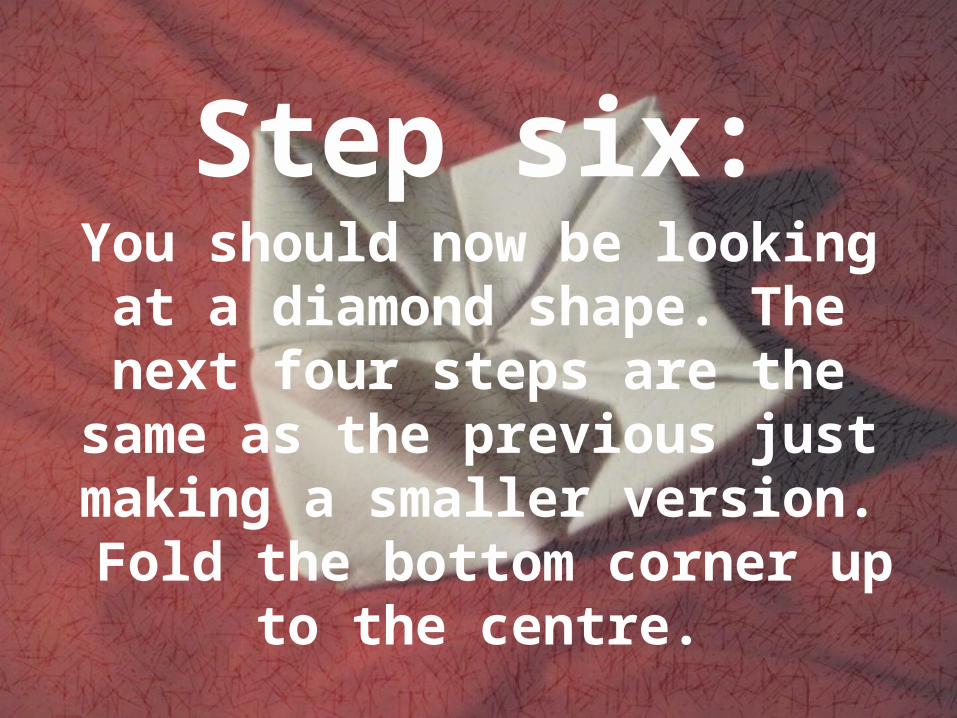
Step six:You should now be looking at a
diamond shape. The next four steps are the same as the previous just
making a smaller version. Fold the bottom corner up to the centre.
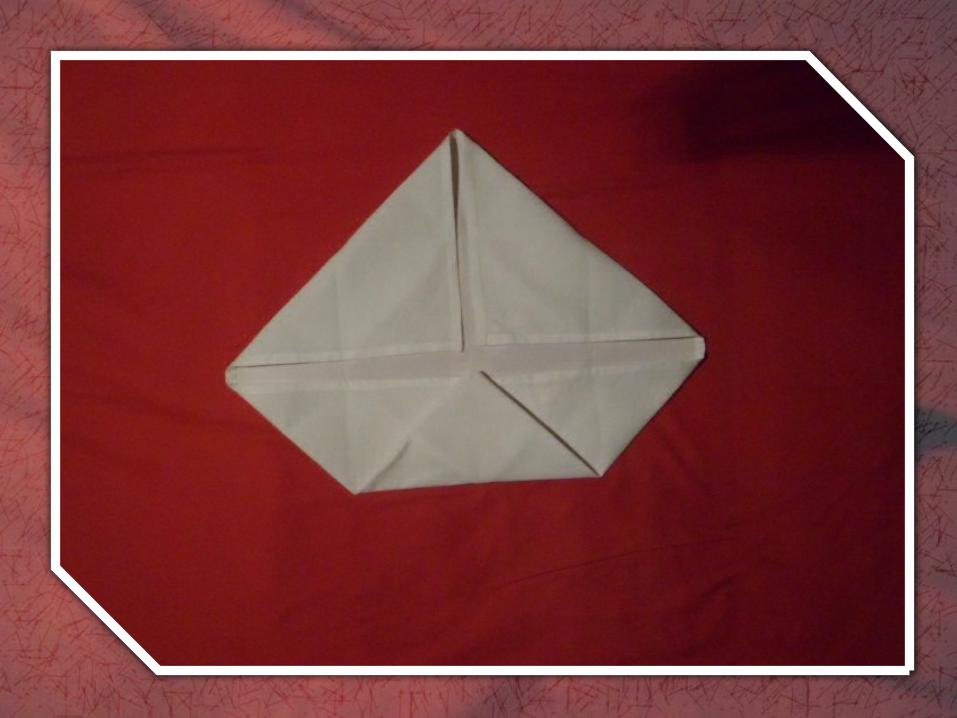
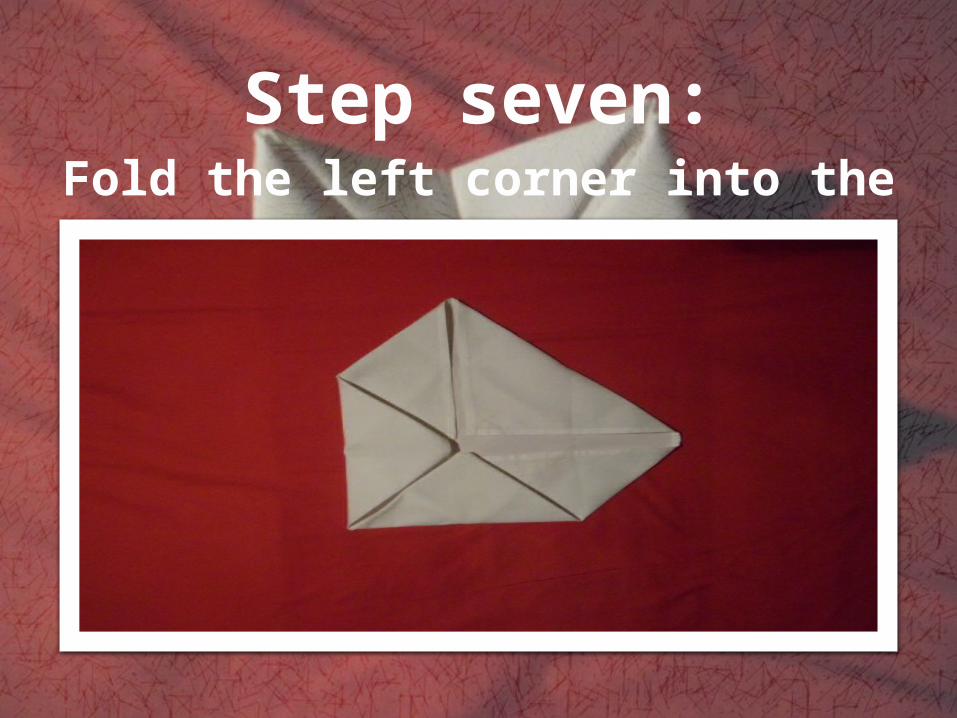
Step seven:Fold the left corner into the centre.
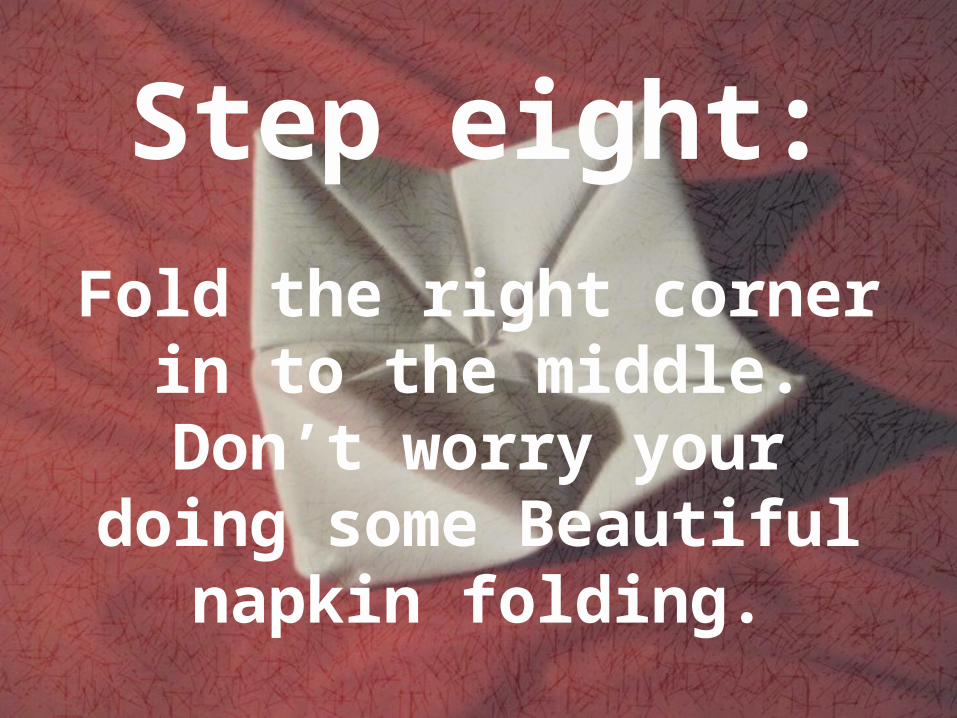
Step eight:
Fold the right corner in to the middle. Don’t worry your doing some Beautiful napkin folding.
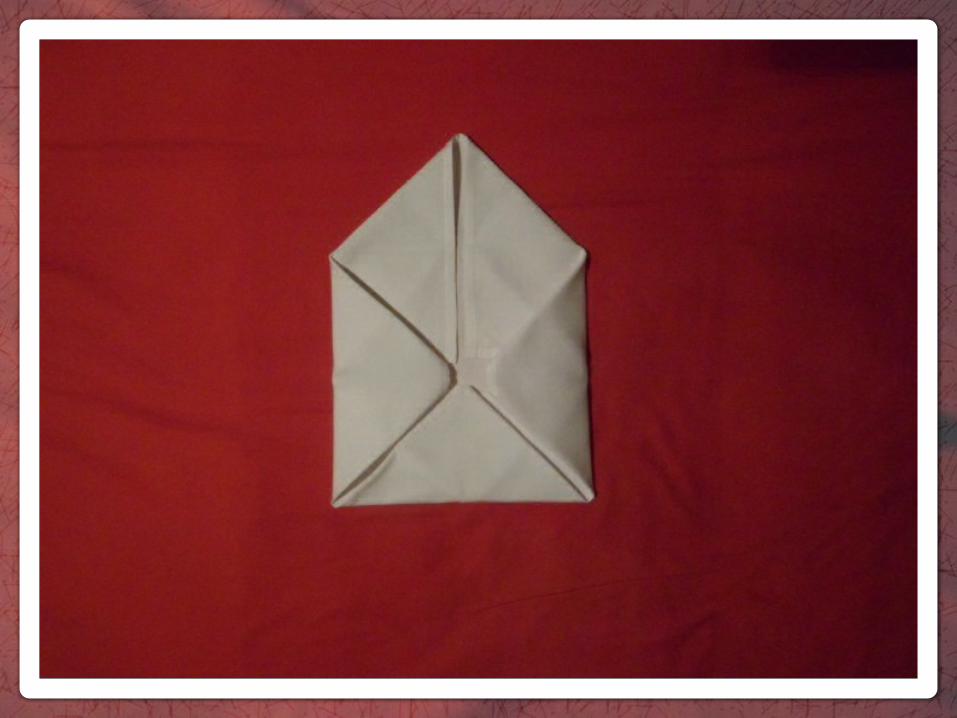
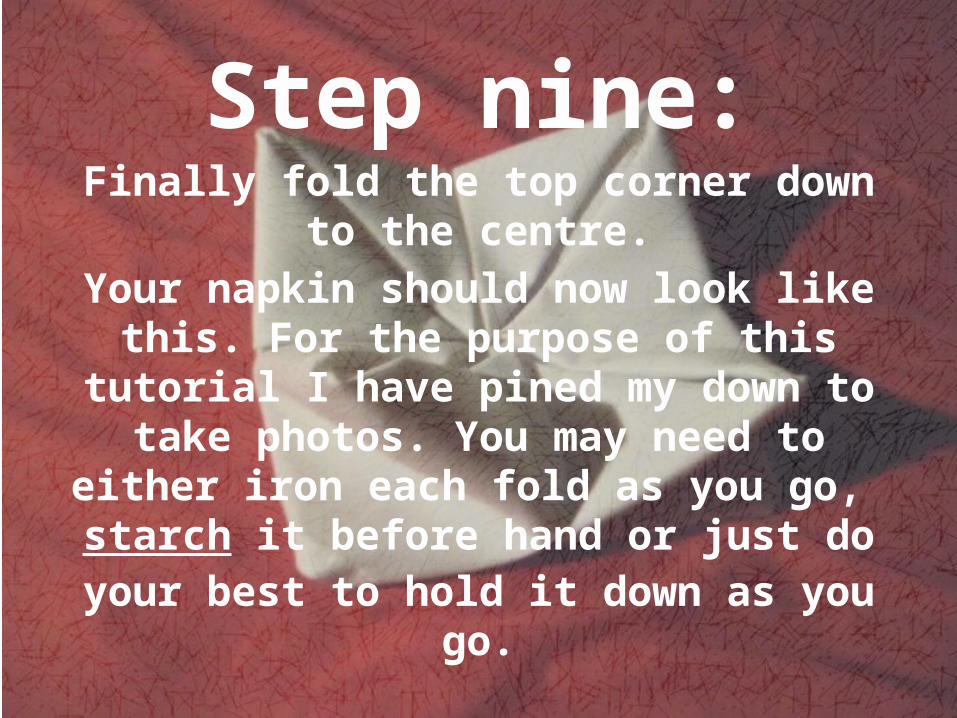
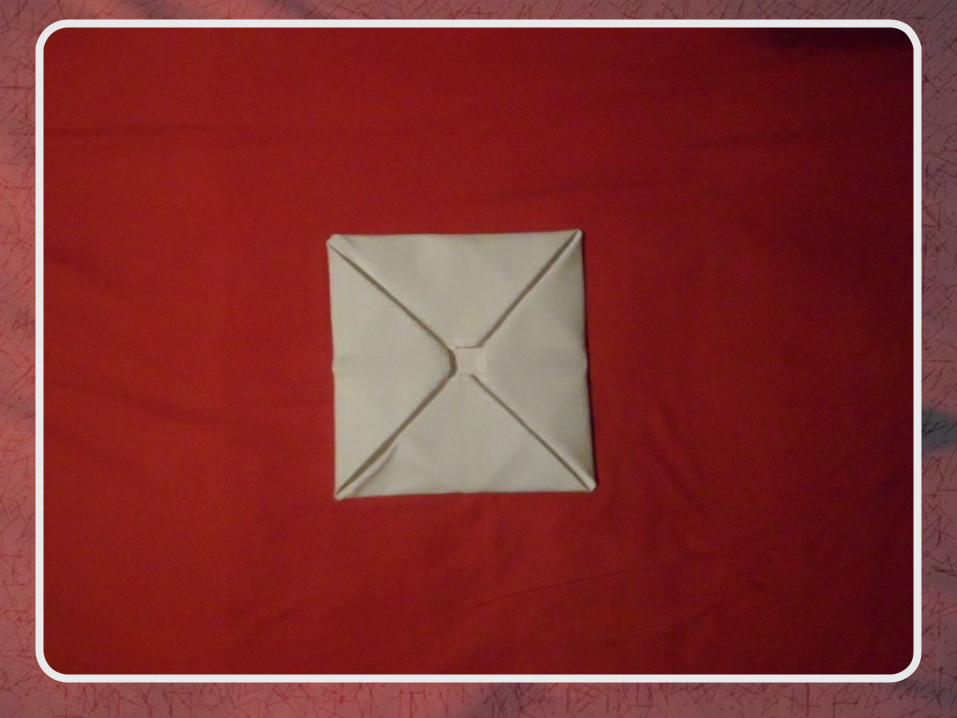
Step nine:Finally fold the top corner down to the
centre.Your napkin should now look like this. For the purpose of this tutorial I have pined
my down to take photos. You may need to either iron each fold as you go, starch it
before hand or just do your best to hold it down as you go.
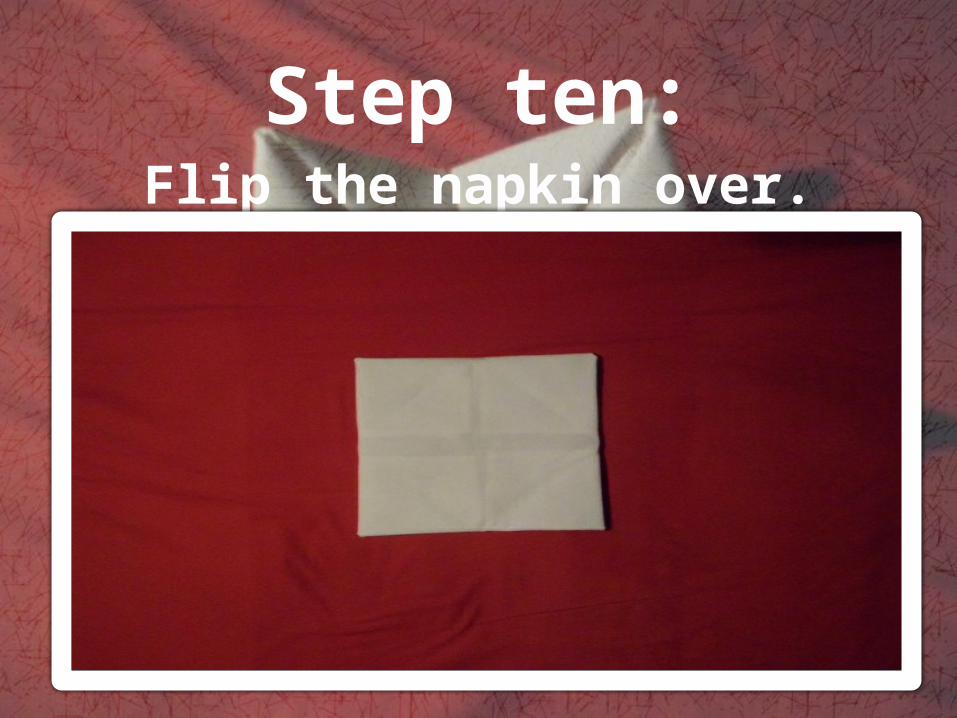
Step ten:Flip the napkin over.

Step eleven:This is where it can get a bit tricky. In the
video tutorial I have just used my hand to fold down the folds as I went. If your finding this
hard there’s a number of solutions; weigh down the centre folds with an object, wine glass, small dish, paper weight, use tacking
pins or sowing needles to pin as you go or try to iron it some more.
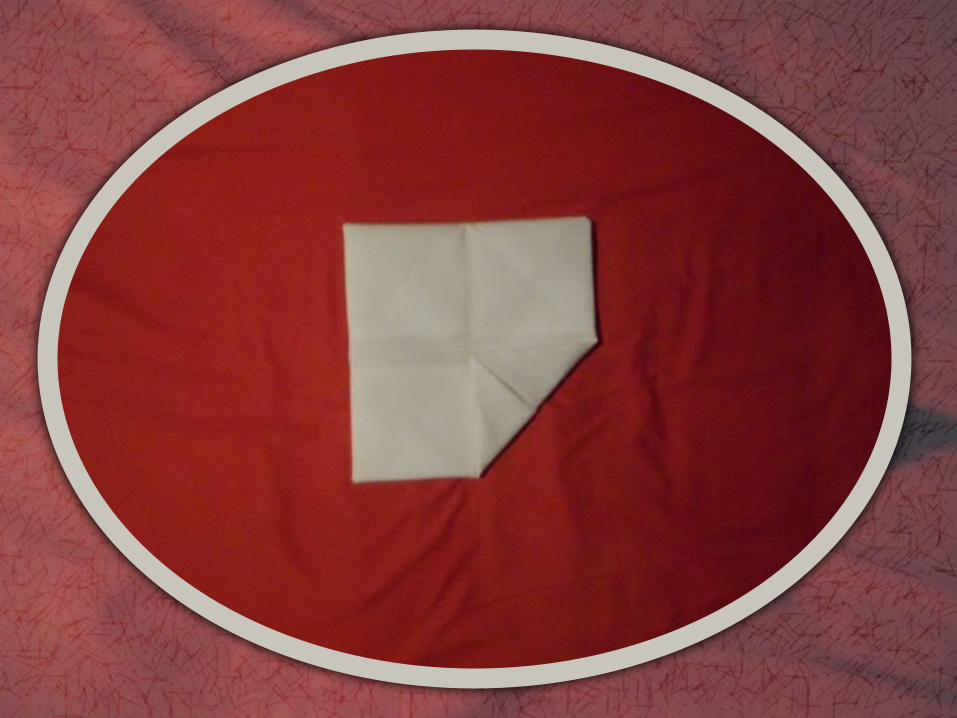
• Fold the bottom right corner in to the centre.
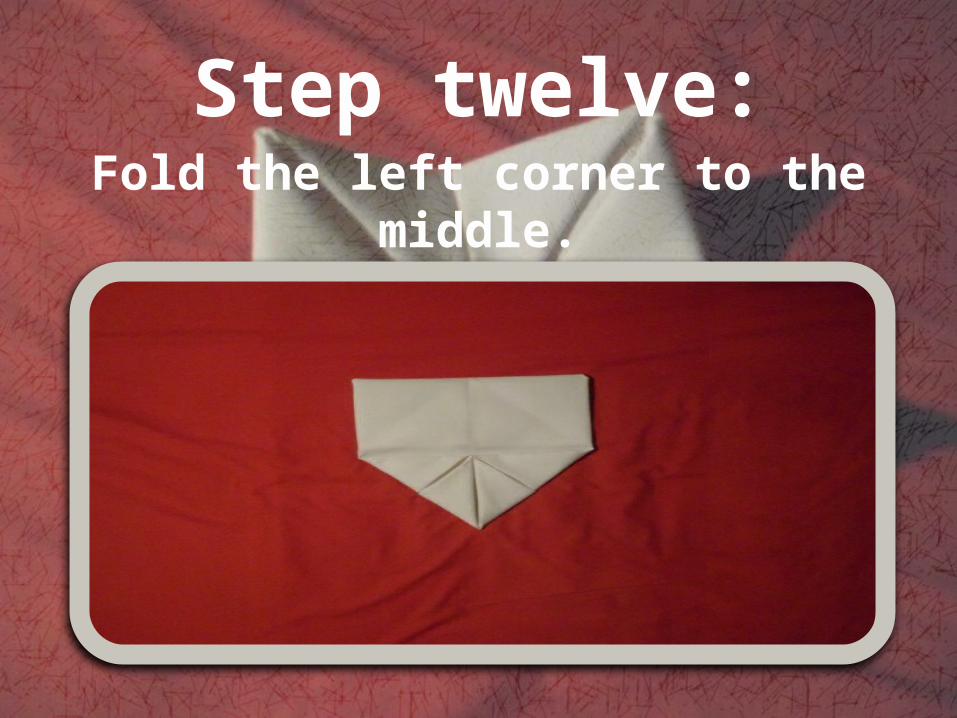
Step twelve:Fold the left corner to the middle.
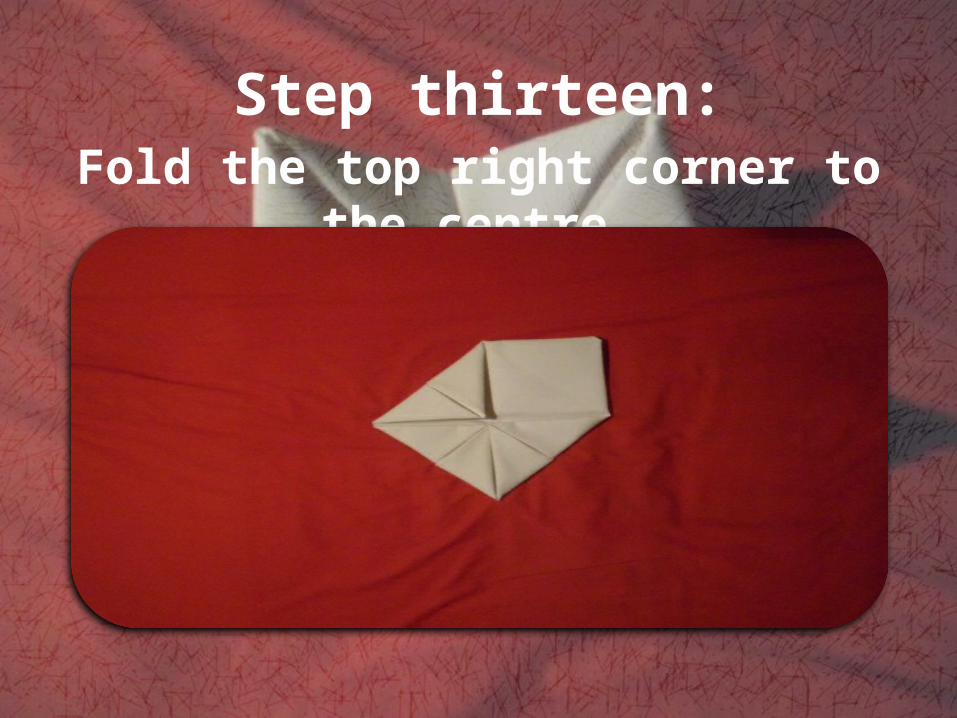
Step thirteen:Fold the top right corner to the centre.
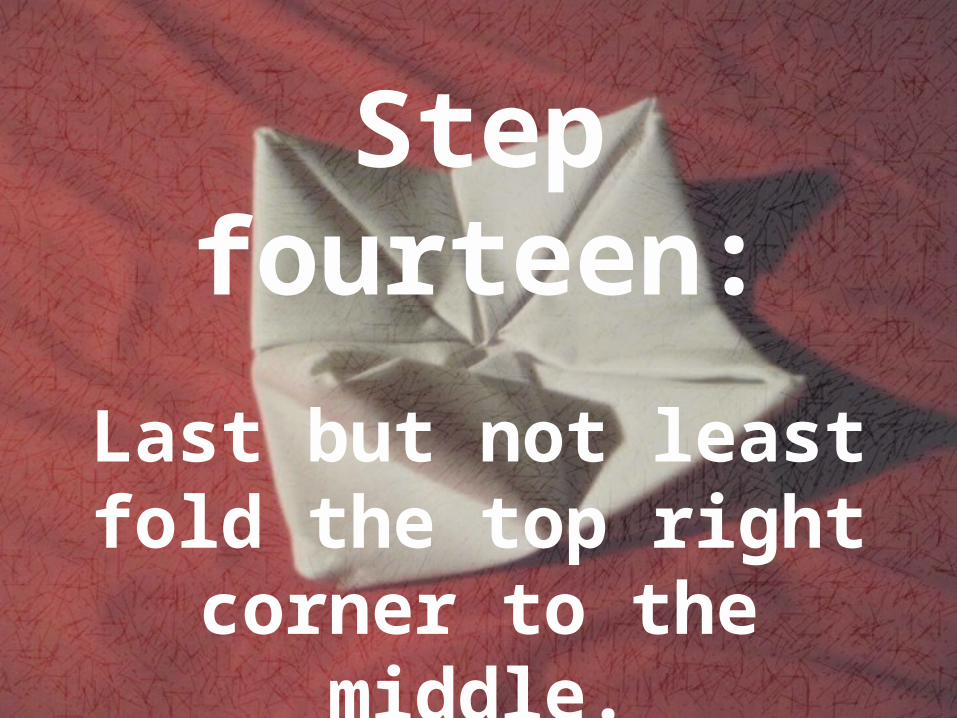
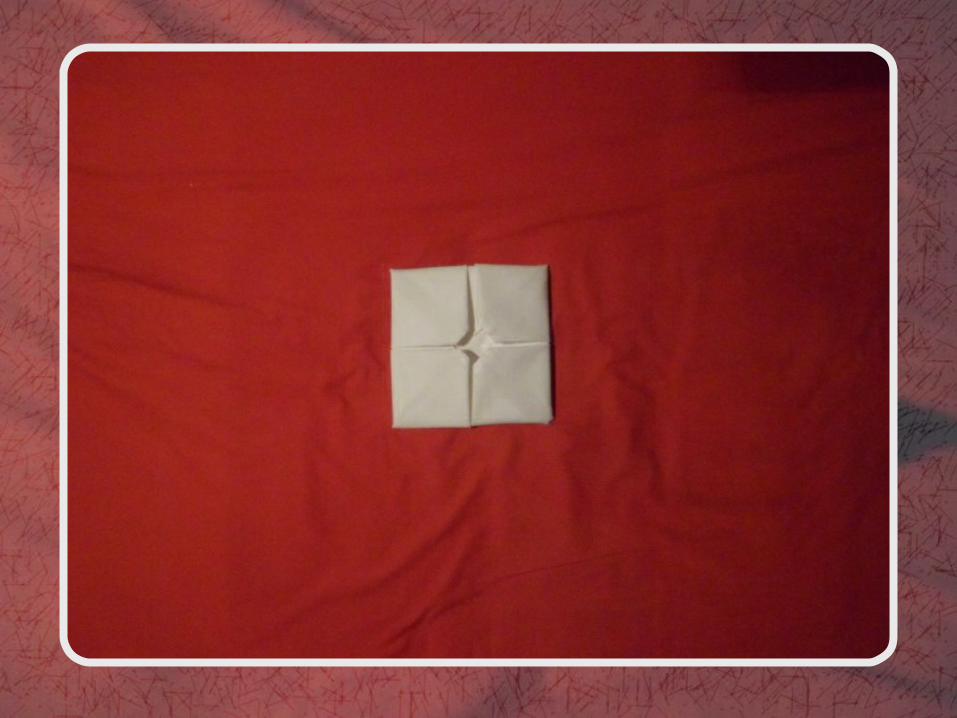
Step fourteen:
Last but not least fold the top right corner to the
middle.
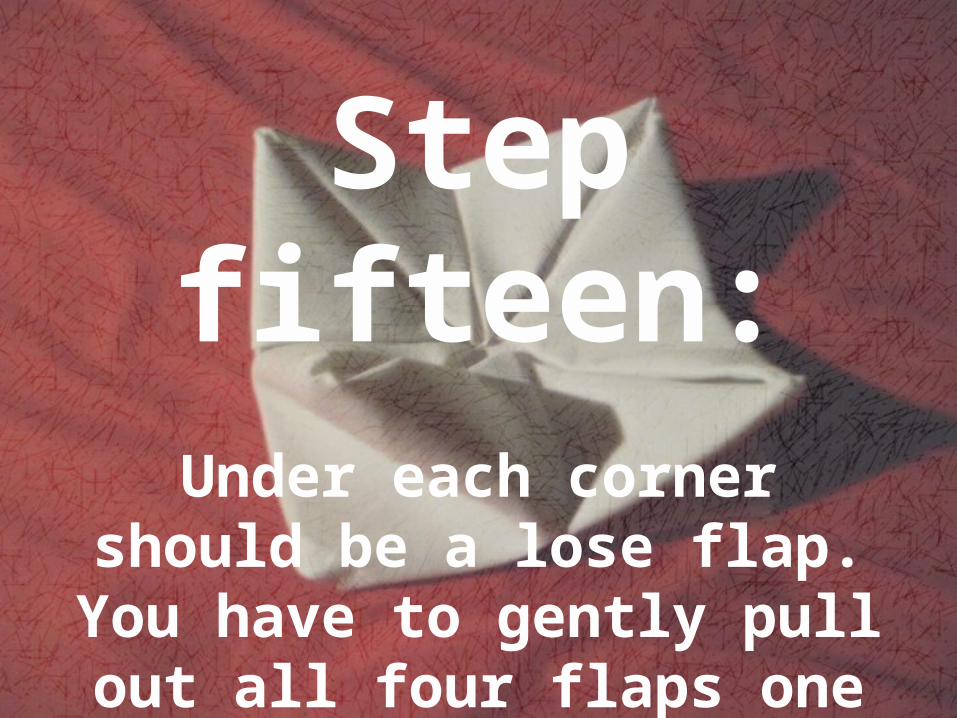
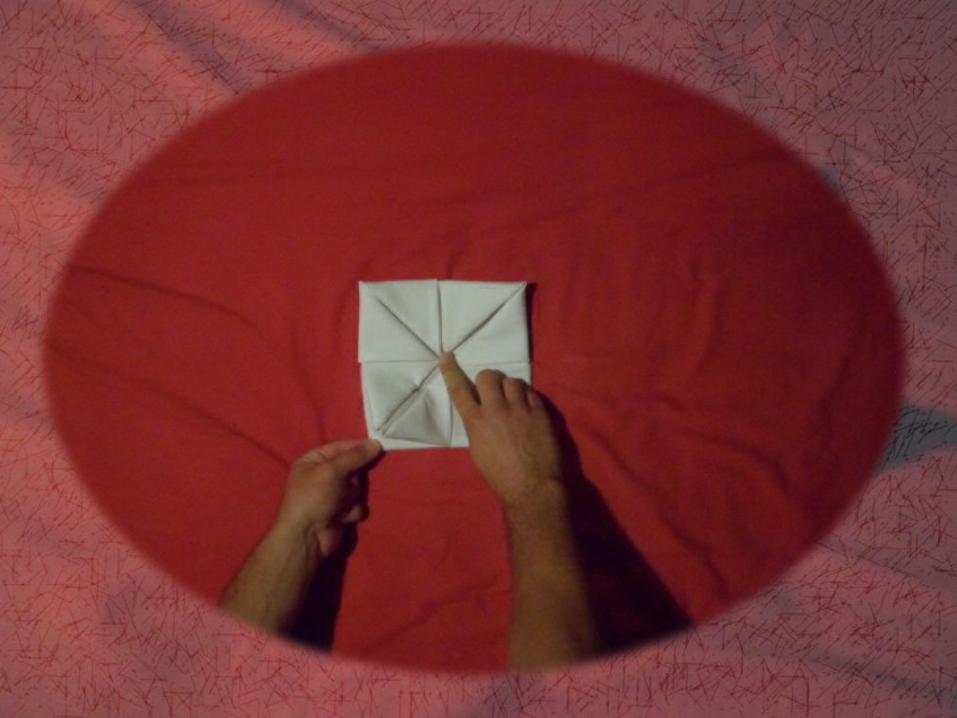
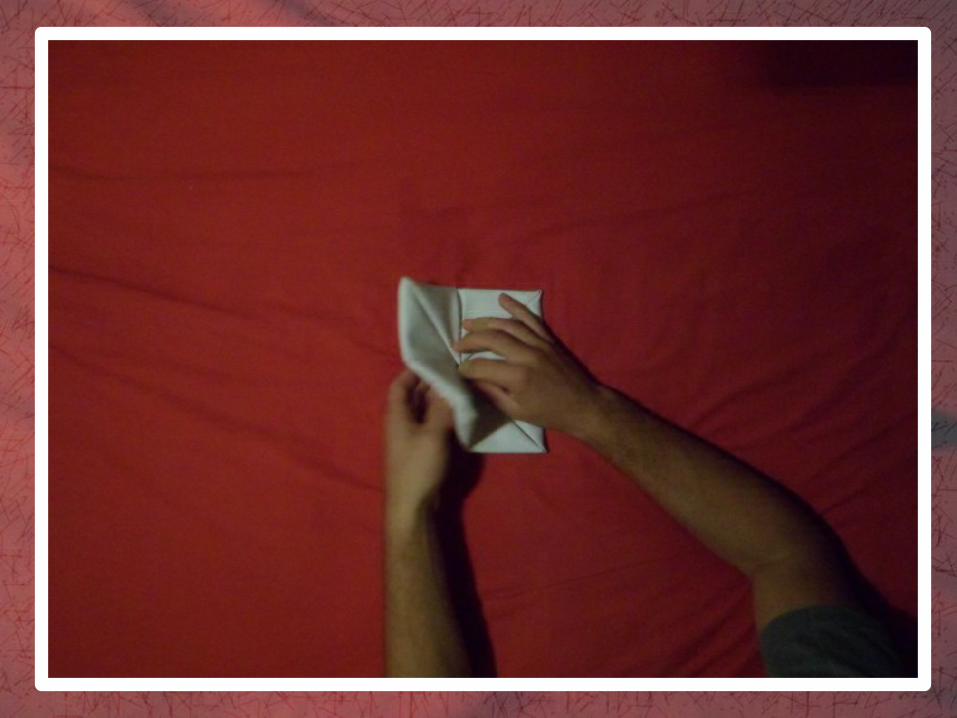
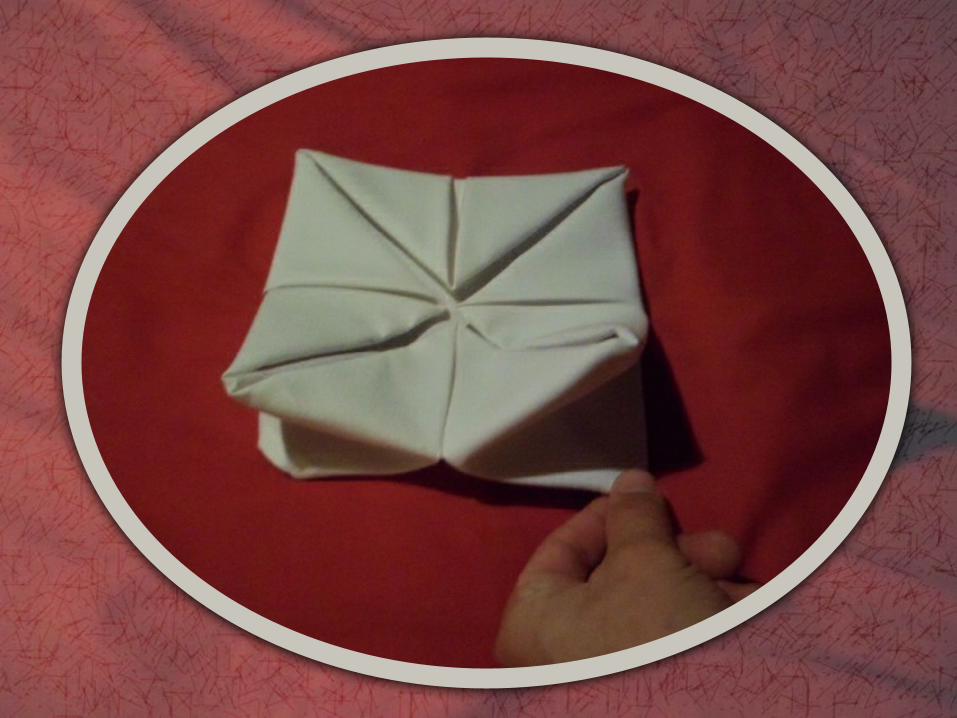
Step fifteen:
Under each corner should be a lose flap. You have to gently pull
out all four flaps one by one.

Step sixteen:
Tidy the under flaps up and straight up the rest.

Step seventeen:
Tidy up all the lose ends making sure its all even.
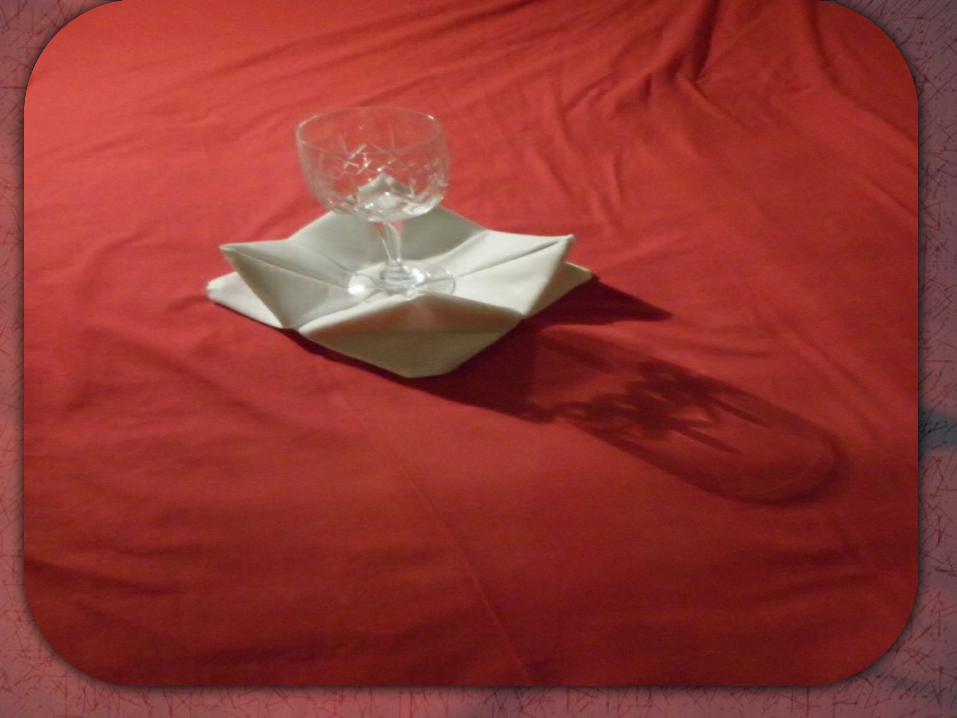

Finally its time to admire
your beautiful napkin folding. Rose will always
impress!

Thank You for
Watching…