promethean basics by: stephanie wiley. connection connect the board and projector to computer before...
TRANSCRIPT

Promethean Basics
By:Stephanie Wiley

ConnectionConnect the board and projector to computer
before it is turned on. Plug board into the AC adapter first, then power up the computer and projector.

Connection on back of boardPower cord and serial adapter into back of computer

Hold the active pen over the
flame icon in the upper left
corner of the board until the white
calibration screen appears. Carefully
click the center of each target that
appears.
Calibrate

Dashboard Following are explanations
of the items found on the Dashboard of Promethean
Version 3.5

New/Open
New-start a new flipchart hereCustom-refers to screen size, don’t need unless you are changing the sizeFlipchart Builder-advanced feature for making professional pagesAssessment Quiz-used to create Activote questions-advanced featureActivity-wizard for creating activities with flash and animation
Contains a list of recently used flipcharts; these can be accessed at other places as well

New/OpenThese are the files that you create; they can also be accessed from the Resource Library
Activresource Manager-Advanced SessionActivmarker-Not used in our versionPowerpoint Converter-can import a powerpoint and change it to flipchart pagesExport-can export flipchart pages to other software like Word

ConfigureThe board can be calibrated from here; the board must be connected for any interaction. After board is connected, you may calibrate the board.
Before voting devices can be used, they must be registered; management tools are found here.
Activslate is setup here

ConfigureIt is possible to customize different profiles-example-if you teach Math and Science, you might want different items on your tool bars. You can make those changes here.

Online
Useful links to resources found online.

Training
Opportunities for training outside of school

Overview of ToolbarMenu
Flip ChartSize of pen, highlighter, and eraserColor picker
Selection Tool
Highlighter
Text Tool
UndoReveal
ToolPower ToolsCamera
Pen Tool
Eraser
Clear ToolRedo
Spotlight Tool
Zoom
Recognition Tool

MenuSelections include:Design Mode-used when you design at the computer; has more editing tools and a Menu bar
Studio Settings-clicking here takes you too another big selection box that will allow you to make many kinds of changes-refer to help if you are unsure of any of these
Show Dashboard-brings the dashboard back to the screen
List of recently used flipcharts-clicking on any of them will open that flipchart
Exit-ends the program session

Flipchart MenuYou go here to save, print and open flipcharts. Other options are to embed actions, such as hyperlinks and tickertapes, import and export documents (this is also accessible from the dash board).

CustomizeYou can change the icons on your tool bars here. Profile and screen size (dashboard also)Orientation refers to the area where the tool bar appearsAdd more colors to toolbarOther options are items or features that can be added or deleted as desired.

ActivextrasMost of these were also accessed from the Dashboard. Some that are not:Activcataloger-allows you to import entire groups of items to the resource libraryActivannotation Upgrader-not used in this version
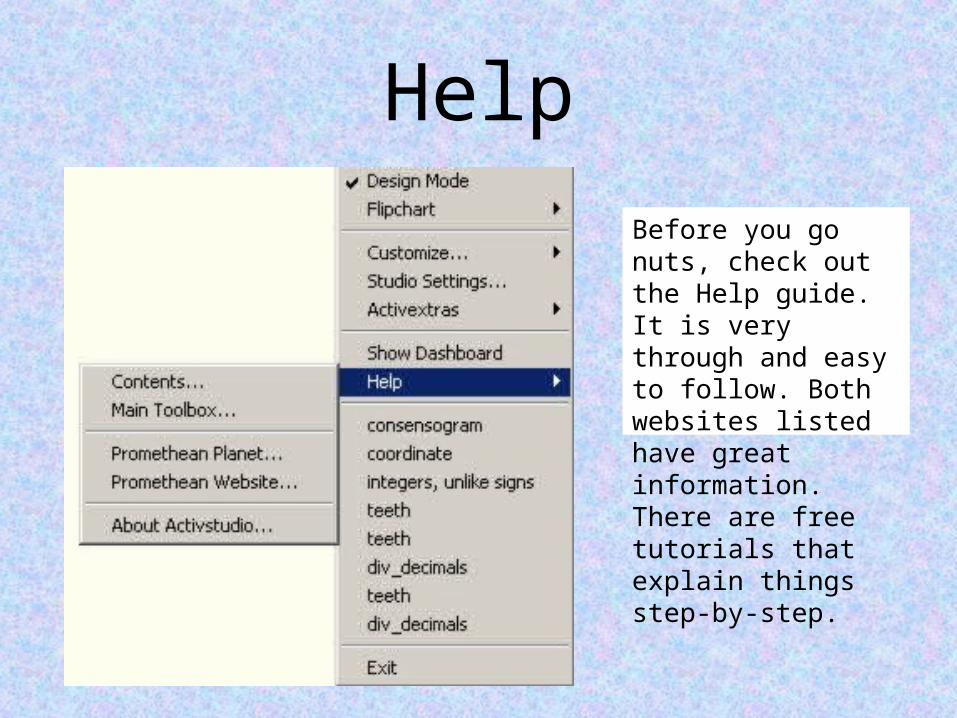
Help
Before you go nuts, check out the Help guide. It is very through and easy to follow. Both websites listed have great information. There are free tutorials that explain things step-by-step.

Activote Students can interact directly with the board
using Activotes. Each student is assigned an “egg” to record answers to multiple choice, yes/no, or True/False questions.
The eggs must be registered before use. This process can be accessed from the Dashboard. Questions can be teacher-made, spur of the moment (ad-hoc) or taken from a question bank. Promethean has a question library, but you can use any test database.

ActivoteHow to register activotes• Make sure the board is turned on and attached to the
computer• Click on register devices from the Configure Tab on
the Dashboard• Be sure to choose USA• Point each “egg” towards the board and hold down
the flame button in the center until the green light flashes
• A letter and number are automatically assigned to each egg
• You can assign each egg a student name or assign a student to a particular egg number

Activote Questions• You can create questions on your flipchart page, in the
assessment wizard or cut and copy from a question database
• Questions can be edited• The correct answer must be communicated to the
board at some point• The Activote icon must be turned on before each
question and turned off to turn the page