ravi 11g installation errors
DESCRIPTION
installation pdfTRANSCRIPT

7/16/2019 Ravi 11g Installation Errors
http://slidepdf.com/reader/full/ravi-11g-installation-errors 1/9
PREPARED BY RAVI KUMAR LANKE Page 1
REMOVING INSTALLATION ERRORS ORACLE 11G IN LINUX
#echo $home :- shows the current home directory
#. .bash_profile :- executing bash profile
#mount -t nfs -o rw 172.16.12.40:/mnt/softwares /mnt/softwares
The free -m command shows that the swap memory is now ,
root@server[~]# free -m
total used free shared buffers cached
Mem: 3954 3824 130 0 175 2091
-/+ buffers/cache: 1558 2396
Swap: 2047 0 2047
CREATING AND USING ADDITIONAL SWAP SPACE
If you don’t have any additional disks, you can create a file somewhere on your filesystem, and
use that file for swap space.The following dd command example creates a swap file with the name “myswapfile” under /root
directory with a size of 1024MB (1GB).
# dd if=/dev/zero of=/root/myswapfile bs=1M count=1024
1024+0 records in
1024+0 records out
# ls -l /root/myswapfile
-rw-r--r-- 1 root root 1073741824 Aug 14 23:47 /root/myswapfile
Change the permission of the swap file so that only root can access it.
# chmod 600 /root/myswapfile
Make this file as a swap file using mkswap command.
# mkswap /root/myswapfile
Setting up swapspace version 1, size = 1073737 kB
Enable the newly created swapfile.
# swapon /root/myswapfile
To make this swap file available as a swap area even after the reboot, add the following line to
the /etc/fstab file.
# vi /etc/fstab
/root/myswapfile swap swap defaults
0 0
7/16/2019 Ravi 11g Installation Errors
http://slidepdf.com/reader/full/ravi-11g-installation-errors 2/9
PREPARED BY RAVI KUMAR LANKE Page 2
Verify whether the newly created swap area is available for your use.
# swapon -s
Filename Type Size Used
Priority/dev/sda2 partition 4192956 0 -1/root/myswapfile file 1048568 0 -2
# free -k
total used free shared buffers cached
Mem: 3082356 3022364 59992 0 52056 2646472
-/+ buffers/cache: 323836 2758520
Swap: 5241524 0 5241524
Note: In the output of swapon -s command, the Type column will say “file” if the swap space is
created from a swap file.
TO SOLVE THE ERROR OS Kernel Parameter: semopm
The semop system call (function) provides the ability to do operations for multiple semaphores
with one semop system call. A semaphore set can have the maximum number of SEMMSL
semaphores per semaphore set and is therefore recommended to set SEMOPM equal to SEMMSL.
Oracle recommends setting the SEMOPM to a value of no less than 100. When you need to
change the semopm value you can do the following:
echo "kernel.sem=250 32000 100 128" >> /etc/sysctl.conf
sysctl -p /etc/sysctl.conf
This should solve this issue and you should be able to install the database.
TO SOLVE THE ERROR OS Kernel Parameter: file-max
OS Kernel Parameter: file-max
This is a prerequisite condition to test whether the OS kernel parameter "file-max" is
properly set.
Expected Value
: 6815744 Actual Value
: 198903
Stating that the file-max kernel setting should read 6815744. The solution to this is to edit the
file /etc/sysctl.conf and add the (or change a existing line to) line to the following:
fs.file-max = 6815744

7/16/2019 Ravi 11g Installation Errors
http://slidepdf.com/reader/full/ravi-11g-installation-errors 3/9
PREPARED BY RAVI KUMAR LANKE Page 3
After you have done so you will have to activate the new file-max setting. One can do so by a
reboot or you can do it on the fly by executing the following command:
sysctl -p /etc/sysctl.conf
This should have resolved your issue. You can check it by executing the oracle database installeror you can directly check from the command line by executing the following command:
cat /proc/sys/fs/file-max
The result of this should now list 6815744
TO SOLVE THE ERROR OS Kernel Parameter: IP-LOCAL-PORT-RANGE
OS Kernel parameter: ip_local_port_range
This is a prerequisite condition to test whether the OS kernel parameter
"ip_local_port_range" is properly set.
Expected Value : between 9000 & 65500
Actual Value : between 32768 & 61000
The /proc/sys/net/ipv4/ip_local_port_range defines the local port range that is used by TCP and
UDP traffic to choose the local port. You will see in the parameters of this file two numbers: The
first number is the first local port allowed for TCP and UDP traffic on the server, the second is the
last local port number. For high-usage systems you may change its default parameters to 32768-
61000 -first-last.
echo "net.ipv4.ip_local_port_range = 9000 65500" >> /etc/sysctl.conf
sysctl -p /etc/sysctl.conf
This should solve your problem and you should be able to install the Oracle database on your
system.
Yes, the keys in the /etc/sysctl.conf file are incorrect. Modify
your entries to read:
net.core.rmem_default = 262144
net.core.rmem_max = 262144
net.core.wmem_default = 262144
net.core.wmem_max = 262144
TO CHECK sysctl -p /etc/sysctl.conf

7/16/2019 Ravi 11g Installation Errors
http://slidepdf.com/reader/full/ravi-11g-installation-errors 4/9
PREPARED BY RAVI KUMAR LANKE Page 4
TO SOLVE THE ERROR OS Kernel Parameter: aio-max-nr
This is a prerequisite condition to test whether the OS kernel parameter "aio-max-nr"
is properly set.
Expected Value : 1048576
Actual Value : 65536
The /proc/sys/fs/aio-max-nr file is the maximum number of allowable concurrent requests. The
maximum is commonly 64KB, which is adequate for most applications. This is related to
asynchronous I/O usage on your system. IBM is running a great article on this which you can
find here at the IBM website where they dive into the POSIX AIO API.
To solve the problem in hand you have to add the below line to your /etc/sysctl.conf file.
fs.aio-max-nr = 1048576
After you have done so you can activate your settings by executing the following command:
sysctl -p /etc/sysctl.conf
When this is done you should be set and ready to continue the installation of your database.
RPM PACKAGE STORAGE
#mkdir dvd
#mount /dev/hdc /dvd
#cd root/dvd/Server
#ls - packagename -* :- to list the package
Run the above scripts by connecting to Root user
__________________________________________________________________________________

7/16/2019 Ravi 11g Installation Errors
http://slidepdf.com/reader/full/ravi-11g-installation-errors 5/9
PREPARED BY RAVI KUMAR LANKE Page 5
17.Scripts running..
__________________________________________________________________________________

7/16/2019 Ravi 11g Installation Errors
http://slidepdf.com/reader/full/ravi-11g-installation-errors 6/9
PREPARED BY RAVI KUMAR LANKE Page 6
AFTER INSTALLING ORACLE 11G TO CHECK
#hostname :- to find the host name of the server
# su - oracle :- switch to oracle user
$cd /u01/app/oracle/
$ls
$cd product/11.2.0/db_1/
$ls
$sqlplus
(if we get shared library error go to se linux doc and find error log and
execute it
login to root user and ececute
#chcon -t textrel_shlib_t
'/u01/app/oracle/product/11.2.0/db_1/lib/libclntsh.so.11.1'
7/16/2019 Ravi 11g Installation Errors
http://slidepdf.com/reader/full/ravi-11g-installation-errors 7/9
PREPARED BY RAVI KUMAR LANKE Page 7

7/16/2019 Ravi 11g Installation Errors
http://slidepdf.com/reader/full/ravi-11g-installation-errors 8/9
PREPARED BY RAVI KUMAR LANKE Page 8

7/16/2019 Ravi 11g Installation Errors
http://slidepdf.com/reader/full/ravi-11g-installation-errors 9/9
PREPARED BY RAVI KUMAR LANKE Page 9
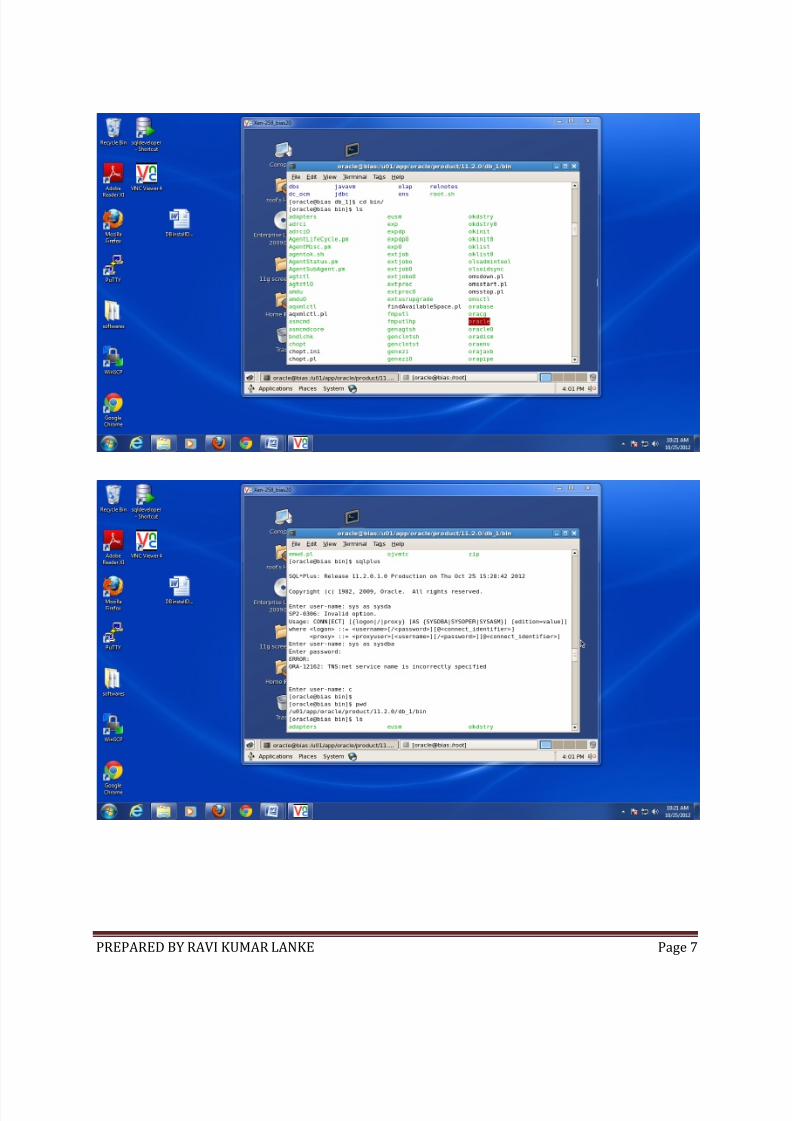
ORA-12162 TNS:net service name is incorrectly
specified
Oracle Tips by Burleson Consulting
The error message ORA-12162 "TNS:net service name is incorrectly specified" , is verymisleading. It suggests that there is a problem with the tnsnames.ora file contents, but in reality the messageORA-12162 "TNS:net service name is incorrectly specified" results from improperly setting your ORACLE_SID value. To fix this error in Windows, set your $ORACLE_HOME: c:> set ORACLE_SID=fred In Linux, these commands sets ORACLE_HOME and $ORACLE_SID as follows:
$ export ORACLE_HOME=/u01/app/oracle/product/11.2.0/db_1
$ export ORACLE_SID=orcl
how to find ORACLE_SIDA few ways would be the following.
UNIX/LINUX:
echo $ORACLE_SID
If this doesn't show anything, you can check the /var/opt/oracle/oratab file on UNIX and the
/etc/oratab file on LINUX.
Windows:
echo %ORACLE_SID%
If this doesn't show anything, you can check the window's service for a service named
OracleSerivce<sid_name>.