rv / motorhome re-roofing overview - best materialsrv / motorhome re-roofing overview updated by...
TRANSCRIPT

Best Industry Practices
P.O. Box 1806 - Elkhart, IN 46515Photos and text courtesy Dicor.
RV / Motorhome Re-Roofing Overview
Updated by Best Materials®.
read all Safety Data Sheets. Use Fall Protection.specific instructions. Read and Follow these. Before startingand does not cover all details. Each product used has This is intended as a general guide for roof replacment
http://www.bestmaterials.com/PDF_Files/EPDM-ROOF-PATCH-REPAIR-KIT-INSTR-W-SDS.pdf
If overlapping old and new product (patch), or making seams, see the Best Materials Patch Repair guide here:

Page 1of 17
01
02
Decking must be fastened to the roof frame with nails, staples, or screws. Resheet with exterior grade plywood.
The edge of the decking must be fastened securely tothe rail. All metal must be below the edge of the roof deck.
USE DECK SCREWS WHERE POSSIBLE. NAILS CAN BACK-OUT.
GENERAL GUIDE FOR EPDM ROOF INSTALLATION

Page 2 of 17
03
04
All fasteners must be set below the decking surface.
Decking joints must be securely fastened to rafters.
USE DECK SCREWS TO PREVENT BACK-OUT OF FASTENERS.

Page 3 of 17
05
06
Decking should also be fastened to all rafters that landin the mid field of the sheet.
SuperSeam Tape is applied over all seams.http://www.bestmaterials.com/detail.aspx?ID=19862
Page 4 of 17
07
08
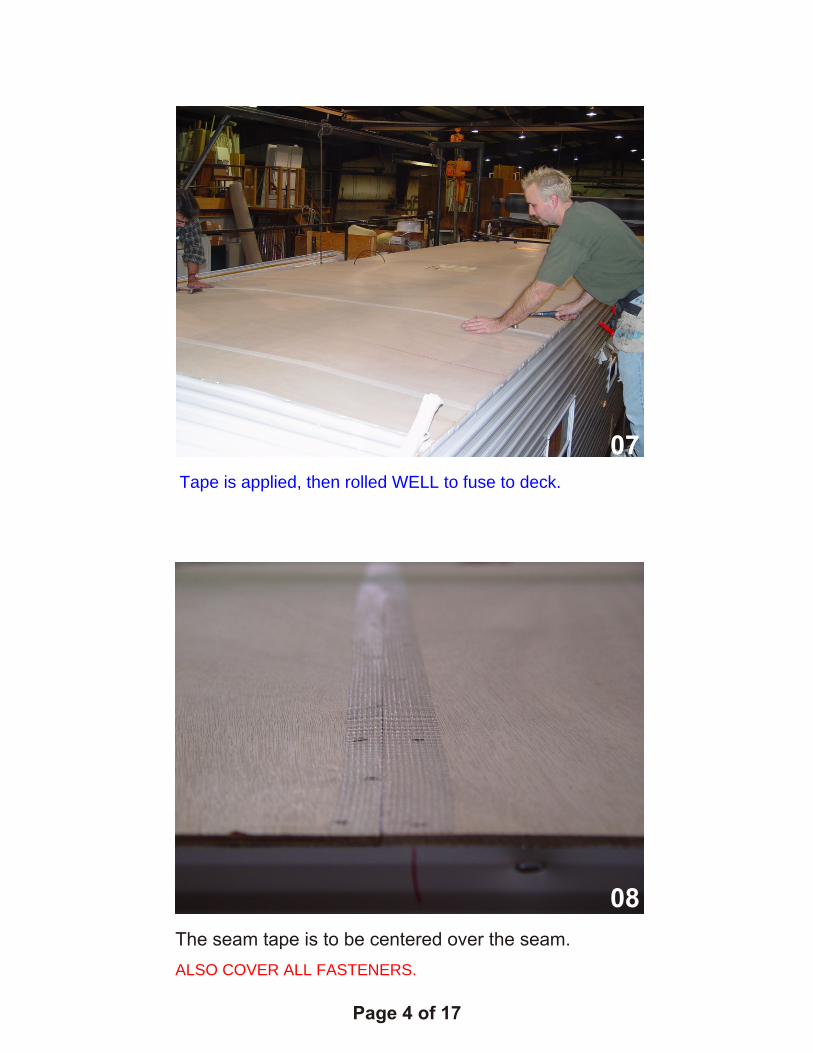
The seam tape is to be centered over the seam.
ALSO COVER ALL FASTENERS.
Tape is applied, then rolled WELL to fuse to deck.

The EPDM sheet is pulled back or booked to expose thefront half of the roof deck.
Page 5 of 17
09
10
Prior to applying adhesive, the EPDM sheet is unrolledonto the clean roof deck in order to check length andhow the EPDM will fit in the space. If EPDM sheet has wrinkles, let it rest for a few days.

Page 6 of 17
11
12
The front half of the roof is ready for the EPDM adhesive to be applied.
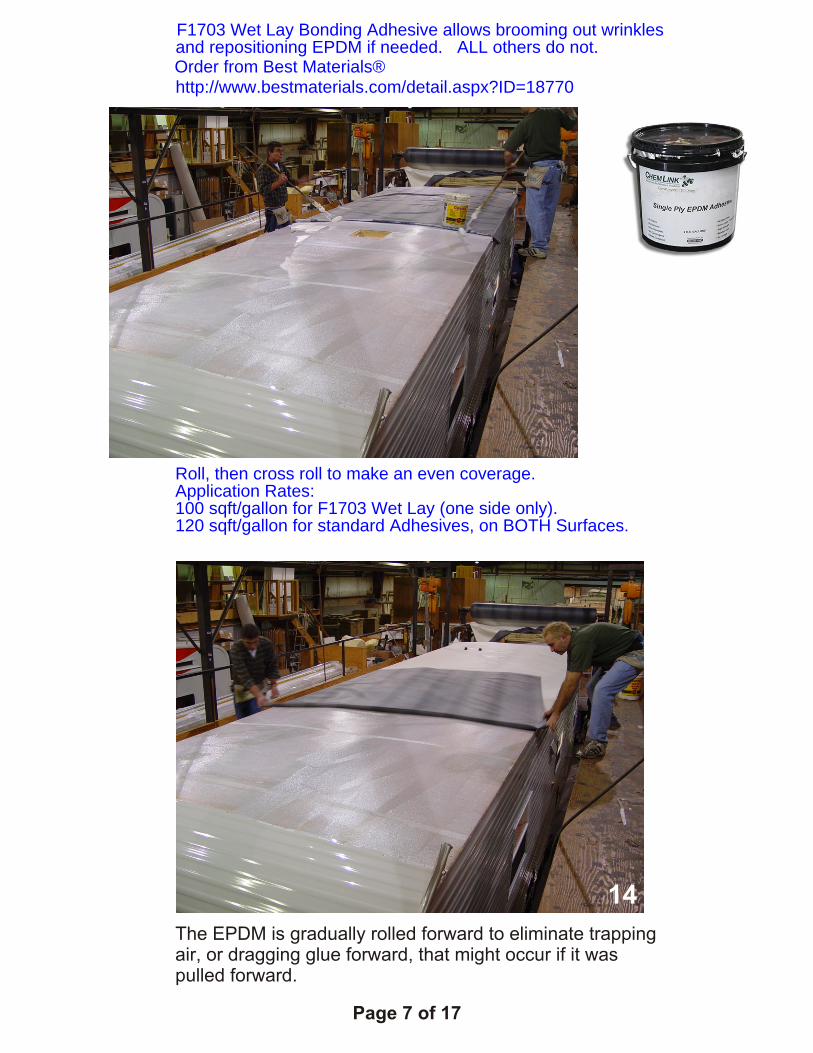
READ ADHESIVE INSTRUCTIONS. Thoroughly mix adhesive well first (5 minutes). Adhesive is applied in an even and continuous coat with a 1/2" nap rollerto BOTH surfaces. Application rate is 60 sqft/Gallon total.Allow to flash-off until its not wet.
Page 7 of 17
13
14
The EPDM is gradually rolled forward to eliminate trappingair, or dragging glue forward, that might occur if it was pulled forward.
F1703 Wet Lay Bonding Adhesive allows brooming out wrinklesand repositioning EPDM if needed. ALL others do not.Order from Best Materials®http://www.bestmaterials.com/detail.aspx?ID=18770
Roll, then cross roll to make an even coverage. Application Rates: 100 sqft/gallon for F1703 Wet Lay (one side only).120 sqft/gallon for standard Adhesives, on BOTH Surfaces.

Page 8 of 17
15
16
The rear half of the roof deck EPDM is then booked, aswas done on the front half.
The rear half of the roof deck is then ready to apply theproper amount of adhesive.
If using F1703 Wet Lay, more adhesive is NOT added to EPDM.

Page 9 of 17
17
18
After the EPDM is placed on the adhesive, a squeegee is used to lightly push the rubber from the middle of the unit to the front end and the rear. This will provide tight EPDM over the roof seams and a smooth surface. Caution should be used to prevent pushing the adhesive around under the rubber. Alterntively, a stiff broom can be used.
All wrinkles are moved to the rear.
Removing Wrinkles or reposition EPDM can only be doneif you use F1703 Wet Lay Adhesive.Do not apply Standard Adhesive to one side and apply EPDM while its wet -- bubbles will result.

Page 10 of 17
19
20
These wrinkles are worked to the rear evenly.
Once the rear is completed, the same process is done onthe front half.
Page 11 of 17
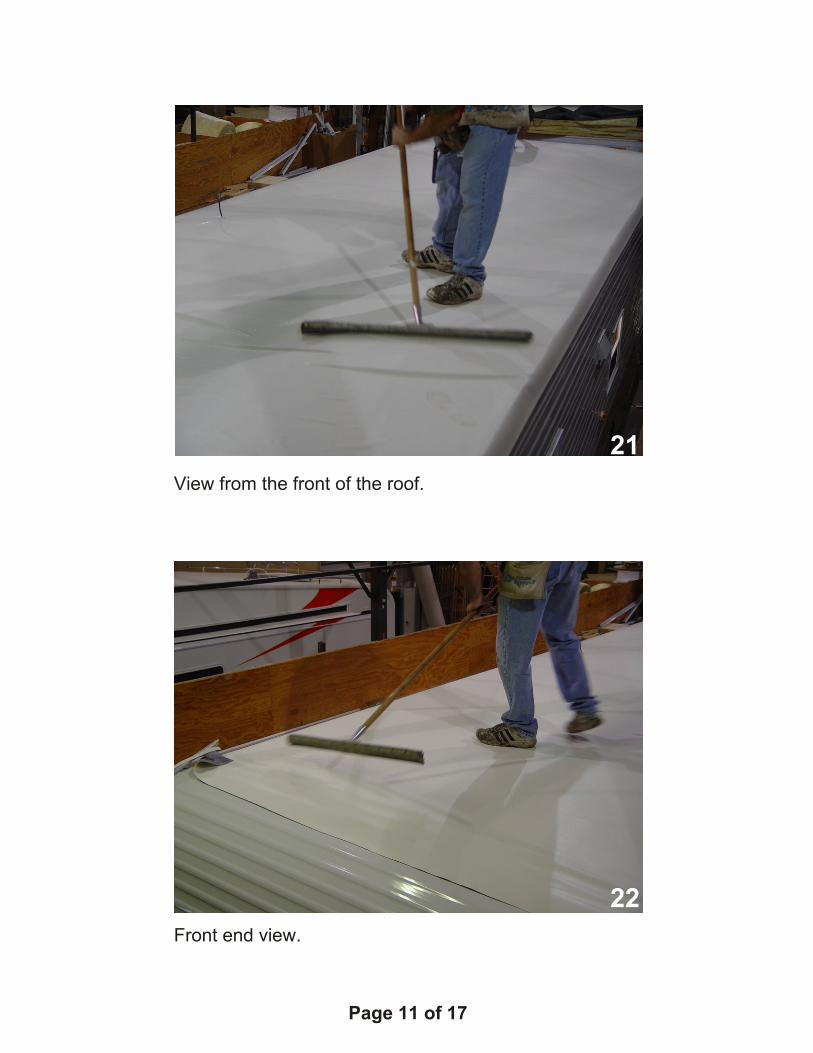
View from the front of the roof.
21
22
Front end view.
Page 12 of 17
23
24
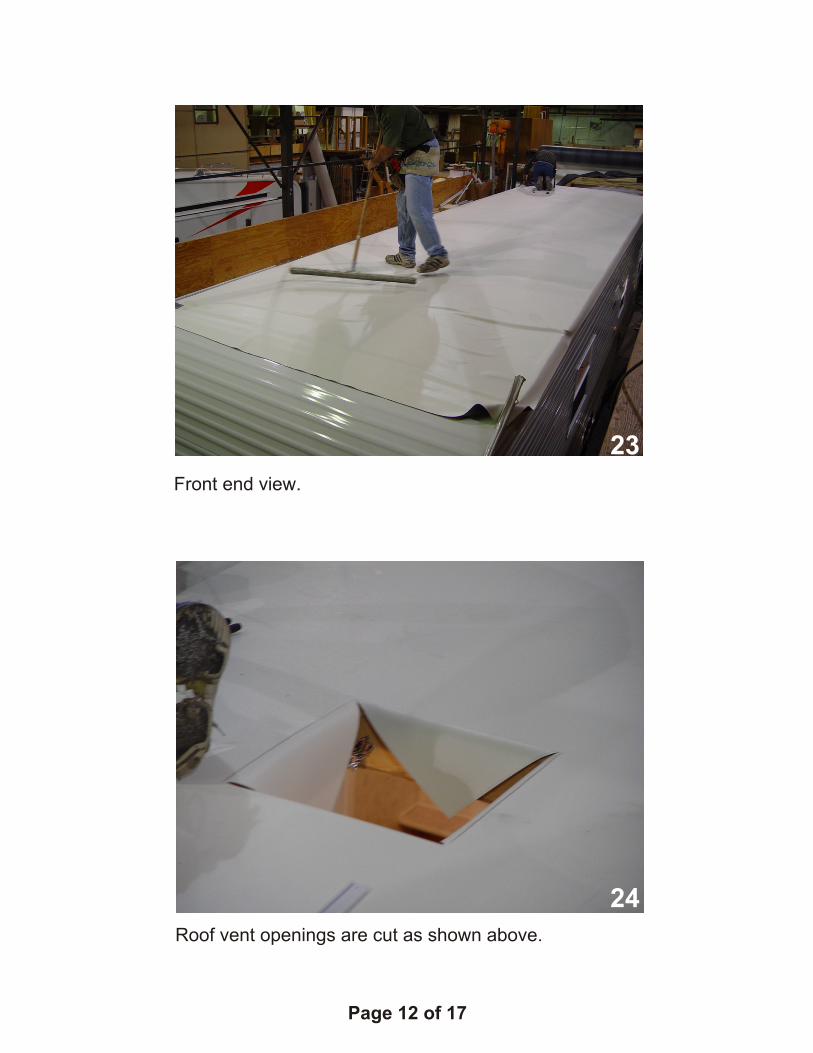
Front end view.
Roof vent openings are cut as shown above.

Page 13 of 17
The flaps are pulled down, stapled, and the excess EPDM is trimmed.
25
26

Page 15 of 17
29
30
When the EPDM is lifted back, there should be an evencoating on the back of the sheet with all areas coated.
A broom may also be used to brush down the EPDM ontothe roof deck.

When completed, a hand print should be slightly visibleif pressed onto the EPDM sheet. As the adhesive driesthe print will disappear.
31
Finally, finish roof edges by reapplying termination bar.Use new Butyl Rubber sealant under term-bar.Use M1 sealant to seal odd penetrations.
SEAMS: Please see this document for detail instructions-http://www.bestmaterials.com/PDF_Files/WeatherBondInstallationGuide.pdfSummary: The membrane should be positioned so that the width of the seam is 3".Remove excess chalk from a chalk line by snapping the line into the air andthen chalk a line one-quarter (1/4”) to one half inch (1/2”) from the leadingseam edge. Fold the top sheet back to expose the seam area. Using the 1/2" nap phenolic roller apply the WeatherBond Multipurpose Primer to the seamarea until the seam surface attains a smooth black appearance. Apply the WeatherBondMultipurpose Primer past the seam edge to the chalk line. Allow the Primerto fl ash off. Unroll the 3” wide Seam Tape along the length of the seam, tape sidedown, aligning the Seam Tape (not the clear backing) along the chalk line.Using moderate pressure set the Seam Tape into place to keep air frombeing trapped under the tape. Fold the top membrane onto the Seam Taperelease paper. If the Seam Tape does not visibly extend beyond the leadingseam edge, the membrane edge should be cut back to expose one-quarterinch (1/4") of Seam Tape.) Reaching under the top ply of membrane, pull the release paper awayfrom the Seam Tape at a 45-degree angle to the seam. While removing thepaper, draw your hand across the seam, from the back to the leading edge.This will prevent wrinkles and fi sh mouths from forming in the seam. Afterthe paper is removed, roll the entire length of the seam with a steel orsilicone hand roller. First, across the seam, and then the length of the seam.NOTE: When splicing Seam Tape, overlap each piece a minimum of oneinch and firmly roll with a steel or silicone hand roller. Apply a seondary layer of COVERSTRIP tape over seam edge. Clean and prime this area before applying asabove. Otherwise apply M1 sealant along the seam’s leading edge.