sega 500 close combat weapons jeff “ezeikeil” giles [email protected] jgiles
TRANSCRIPT
So far
We’ve created a weapons template for mapping out all the weapon dependencies and a Flamethrower which fired globs of flaming goo.
Today
We’re going to get up close & personal by building a Tazer.
Using the Shield gun mesh & some of it’s functionality to shock our subject to death.
Our goal is to cover the basics of setting up this weapon.
Close Combat
At it’s core, a close combat weapon is not all that different from the regular weapons in UT.
In effect, to build this I just used the template I build in lesson 21 & copied all these files into a new package.
I then added CC as a prefix to the namesCC as in “Close combat”.
Close Combat
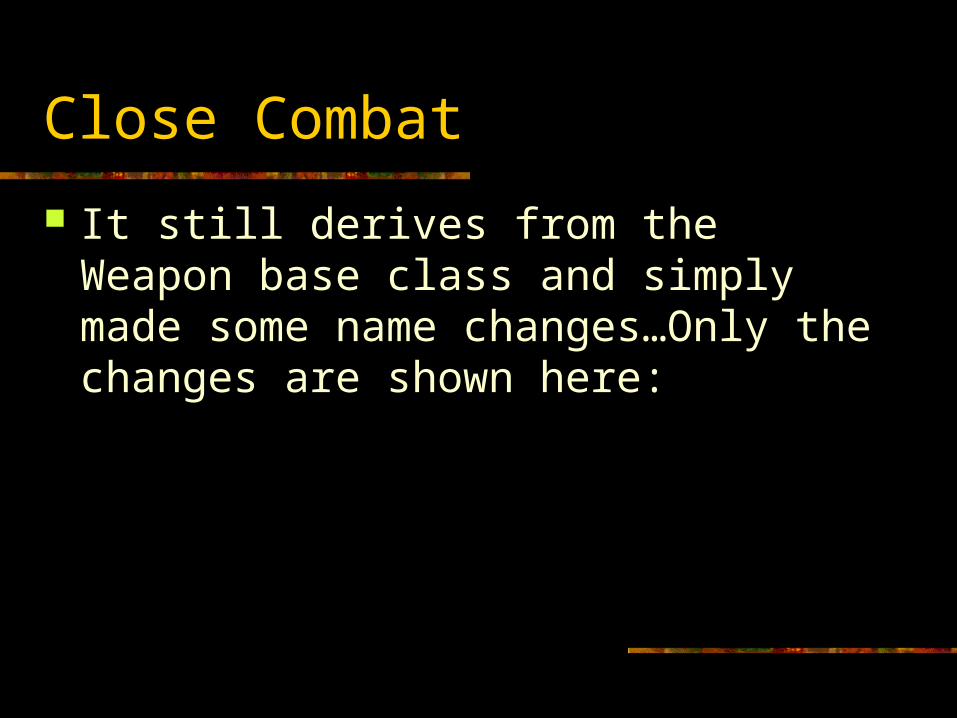
It still derives from the Weapon base class and simply made some name changes…Only the changes are shown here:
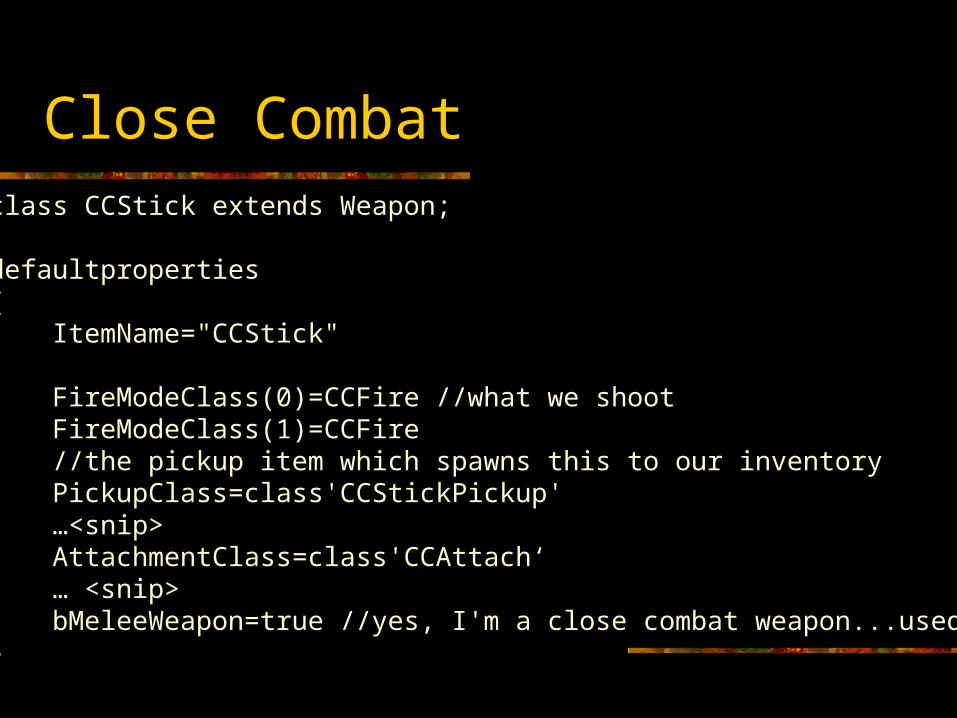
Close Combatclass CCStick extends Weapon;
defaultproperties{ ItemName="CCStick"
FireModeClass(0)=CCFire //what we shoot FireModeClass(1)=CCFire //the pickup item which spawns this to our inventory PickupClass=class'CCStickPickup' …<snip> AttachmentClass=class'CCAttach‘ … <snip> bMeleeWeapon=true //yes, I'm a close combat weapon...used in AI}
Close Combat
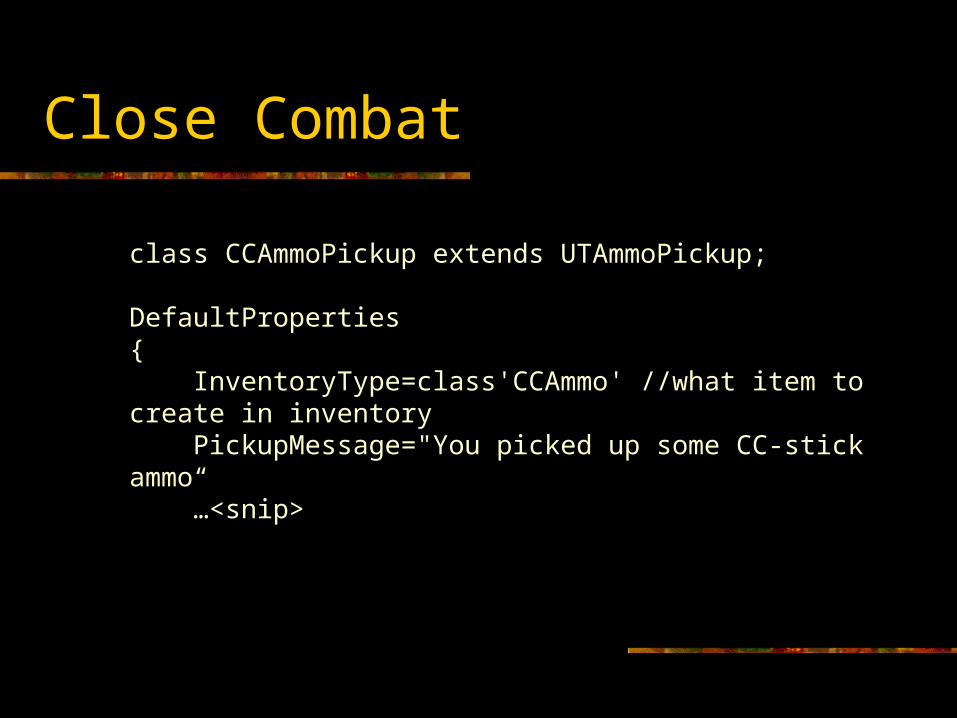
class CCAmmoPickup extends UTAmmoPickup;
DefaultProperties{ InventoryType=class'CCAmmo' //what item to create in inventory PickupMessage="You picked up some CC-stick ammo“ …<snip>
Close Combat
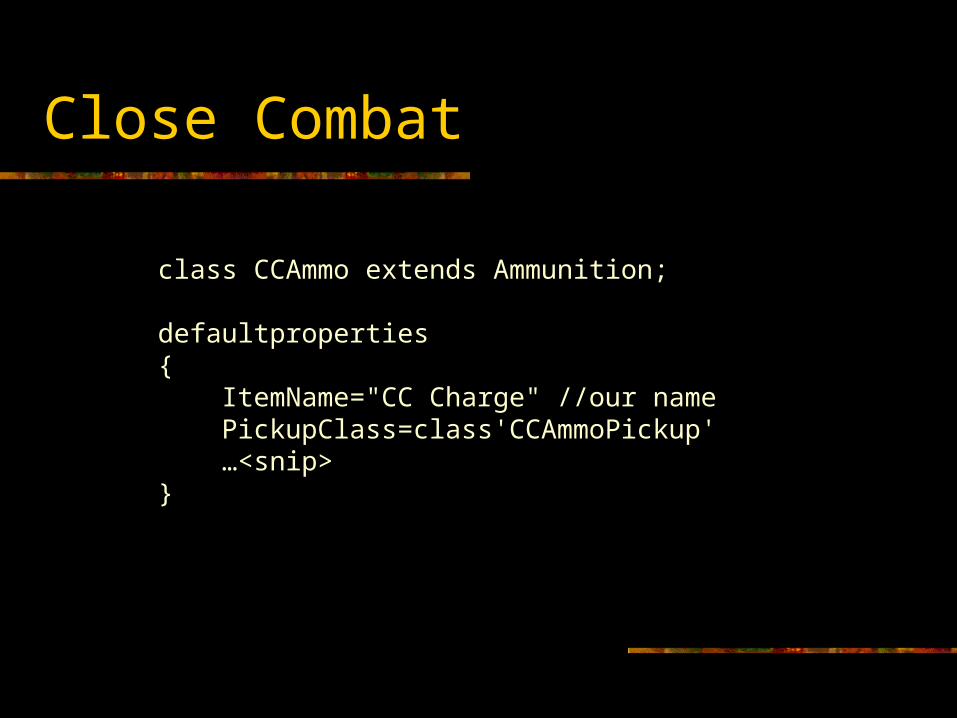
class CCAmmo extends Ammunition;
defaultproperties{ ItemName="CC Charge" //our name PickupClass=class'CCAmmoPickup' …<snip>}
Close Combat
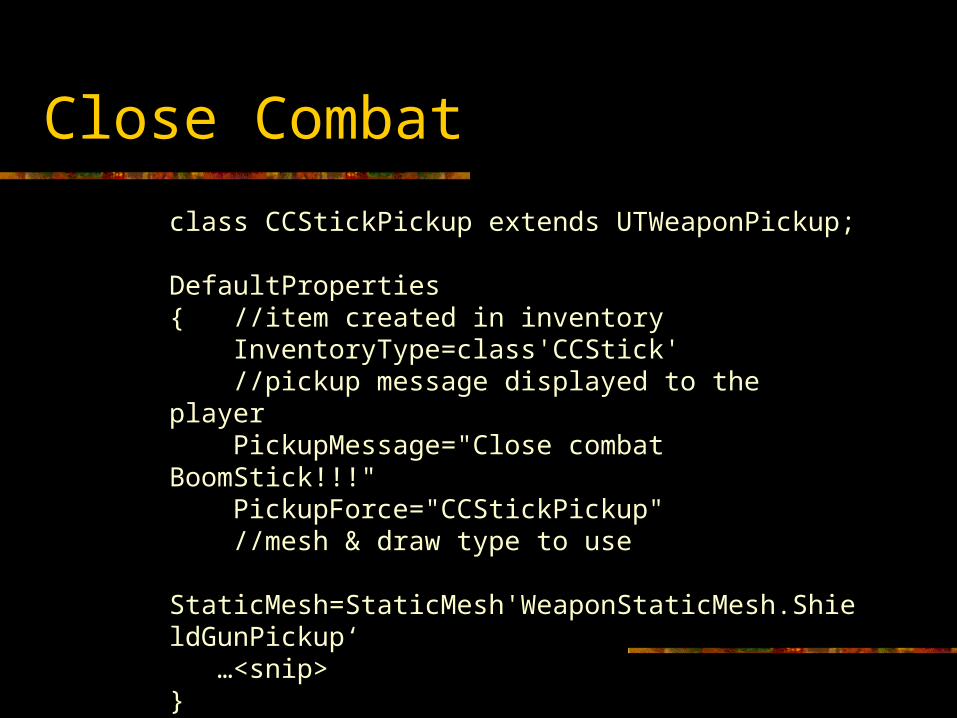
class CCStickPickup extends UTWeaponPickup;
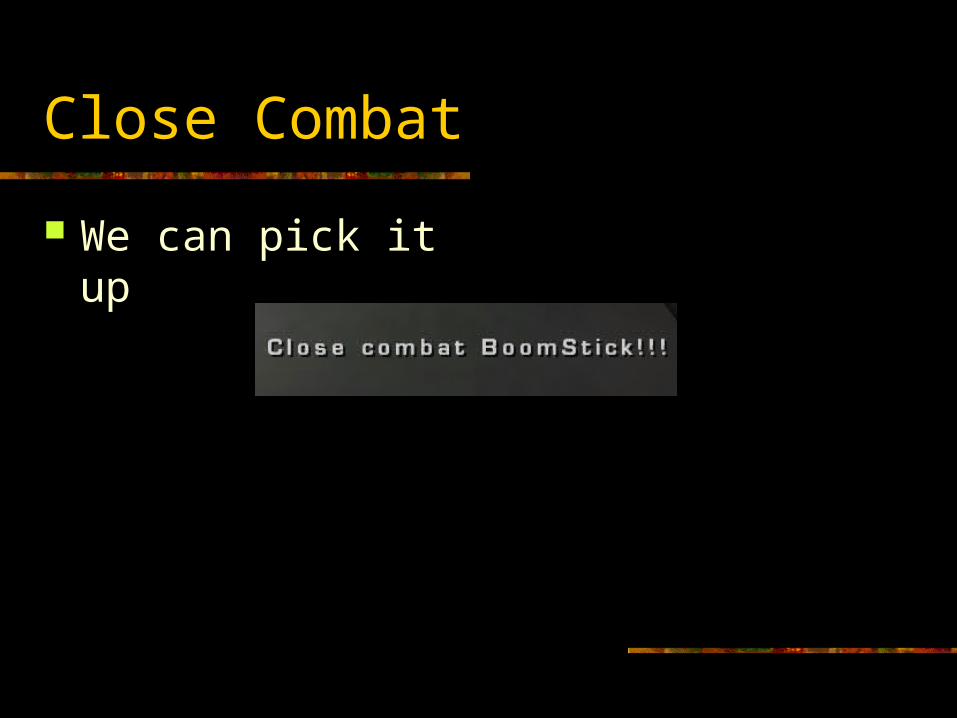
DefaultProperties{ //item created in inventory InventoryType=class'CCStick' //pickup message displayed to the player PickupMessage="Close combat BoomStick!!!" PickupForce="CCStickPickup" //mesh & draw type to use StaticMesh=StaticMesh'WeaponStaticMesh.ShieldGunPickup‘ …<snip>}
Close Combat
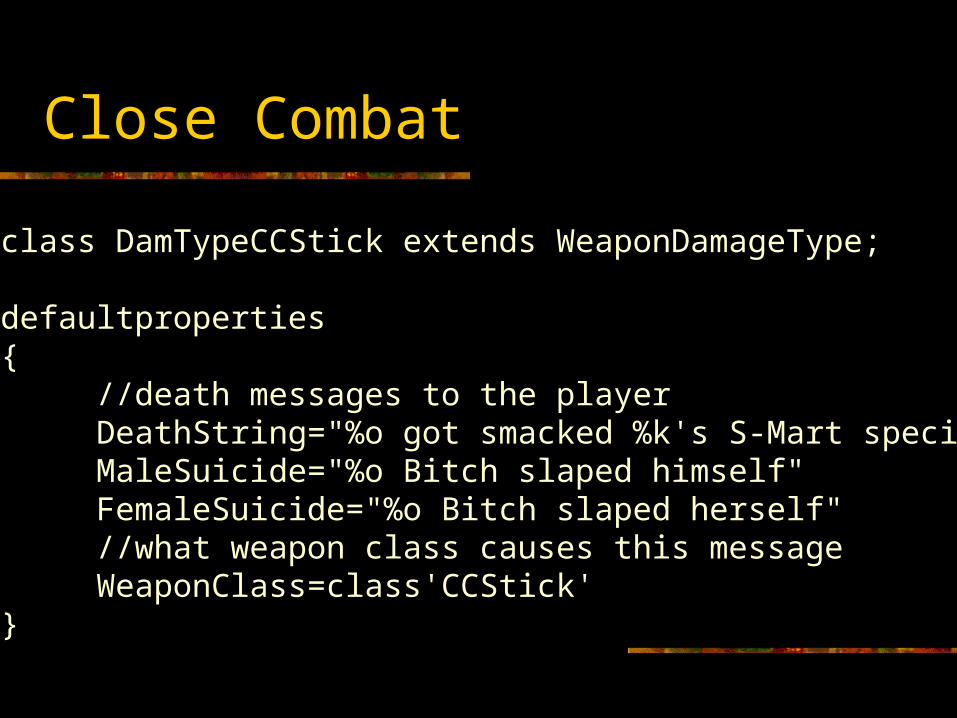
class DamTypeCCStick extends WeaponDamageType;
defaultproperties{
//death messages to the playerDeathString="%o got smacked %k's S-Mart special."MaleSuicide="%o Bitch slaped himself"FemaleSuicide="%o Bitch slaped herself"//what weapon class causes this messageWeaponClass=class'CCStick'
}
Close Combat
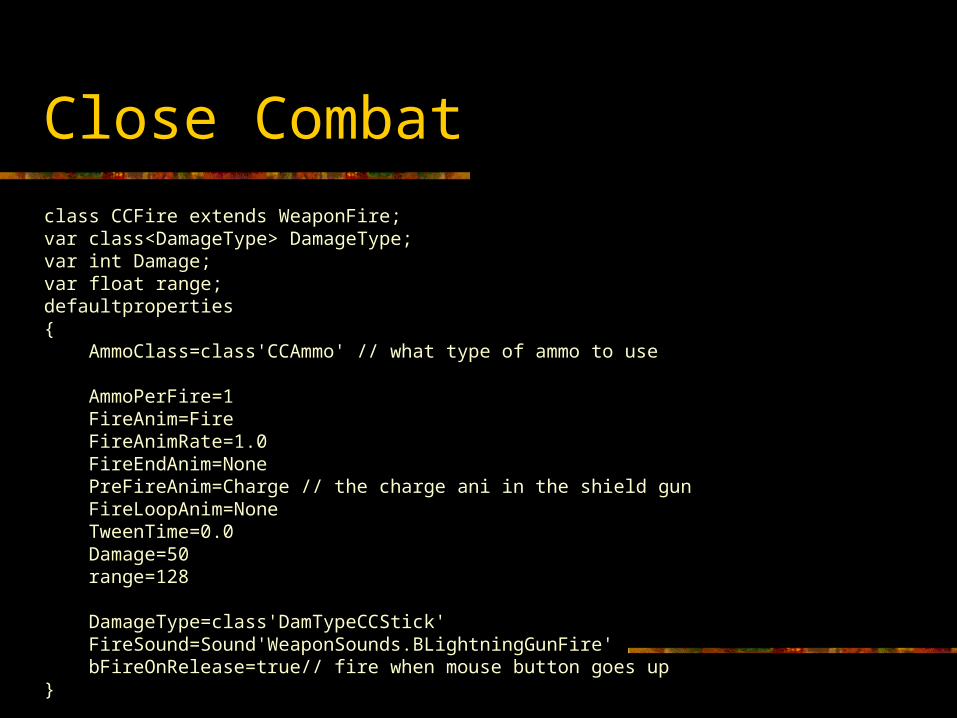
class CCFire extends WeaponFire;var class<DamageType> DamageType;var int Damage;var float range;defaultproperties{ AmmoClass=class'CCAmmo' // what type of ammo to use
AmmoPerFire=1 FireAnim=Fire FireAnimRate=1.0 FireEndAnim=None PreFireAnim=Charge // the charge ani in the shield gun FireLoopAnim=None TweenTime=0.0 Damage=50 range=128
DamageType=class'DamTypeCCStick' FireSound=Sound'WeaponSounds.BLightningGunFire' bFireOnRelease=true// fire when mouse button goes up}
Close Combat
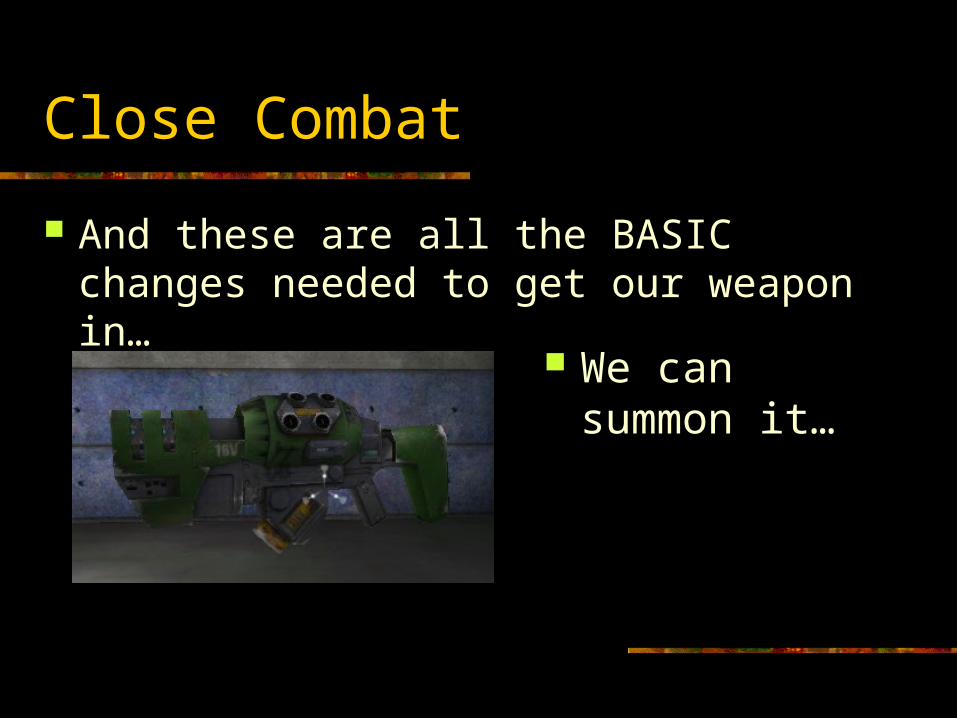
And these are all the BASIC changes needed to get our weapon in…
We can summon it…
Close Combat
We can pick it up
Close Combat
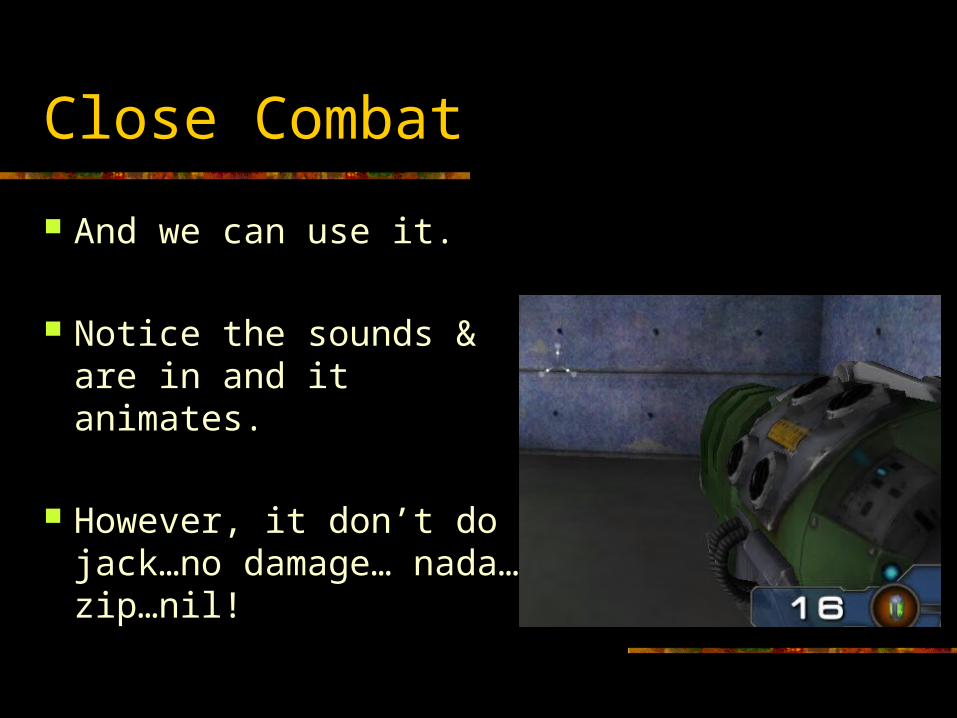
And we can use it.
Notice the sounds & are in and it animates.
However, it don’t do jack…no damage… nada…zip…nil!

Close Combat
But as you can see that by following this template, we go a new weapon in the game in under 10 minutes…
Hooray for good object orientation!!!

Close Combat
Ok, granted it doesn’t DO anything other than make some noise, but we have out starting point.
Lets start by making it deal some hurt. Then we’ll worry about pretty…
Functionality over fashion.
Close Combat
So, open up the CCFire class & add one function named DoFireEffect.
This fella is going to calculate what we hit & deal damage for us.
…In all it’s glory…
Close Combat
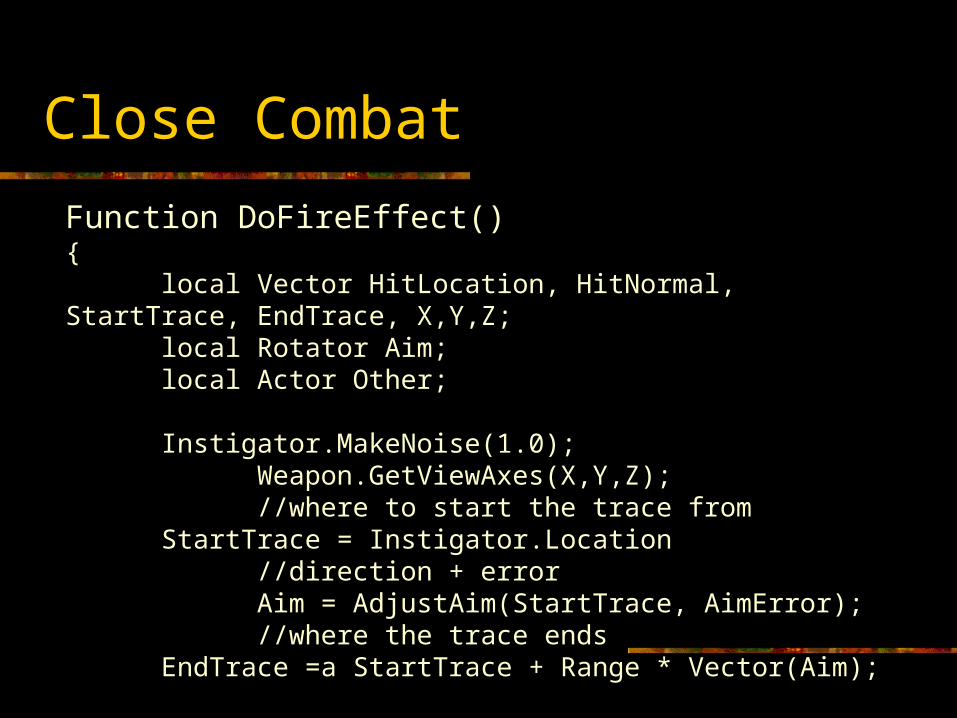
Function DoFireEffect(){
local Vector HitLocation, HitNormal, StartTrace, EndTrace, X,Y,Z;local Rotator Aim;local Actor Other;
Instigator.MakeNoise(1.0); Weapon.GetViewAxes(X,Y,Z); //where to start the trace from
StartTrace = Instigator.Location //direction + error Aim = AdjustAim(StartTrace, AimError); //where the trace ends
EndTrace =a StartTrace + Range * Vector(Aim);
Close Combat
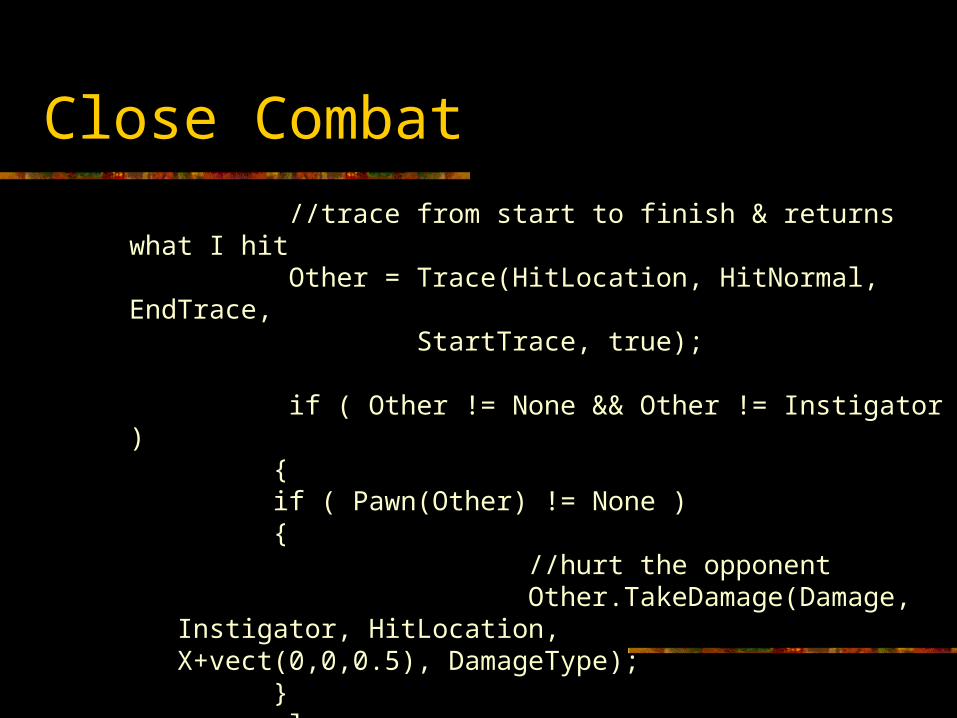
//trace from start to finish & returns what I hit Other = Trace(HitLocation, HitNormal, EndTrace,
StartTrace, true); if ( Other != None && Other != Instigator ) {
if ( Pawn(Other) != None ) { //hurt the opponent Other.TakeDamage(Damage, Instigator, HitLocation,
X+vect(0,0,0.5), DamageType); }
else Instigator.TakeDamage(Damage/2, Instigator,
HitLocation,, DamageType) }
Close Combat
Something to note: We’re not using a projectile here. This is an instant hit weapon which is why you see the trace functions.
Hence we also dispensed with projectile class from the class list.
Close Combat
What’s going on?
Weapon.GetViewAxes(X,Y,Z); The orientation of the x,y,z axis of our
weapon in model space…not world space
Close Combat
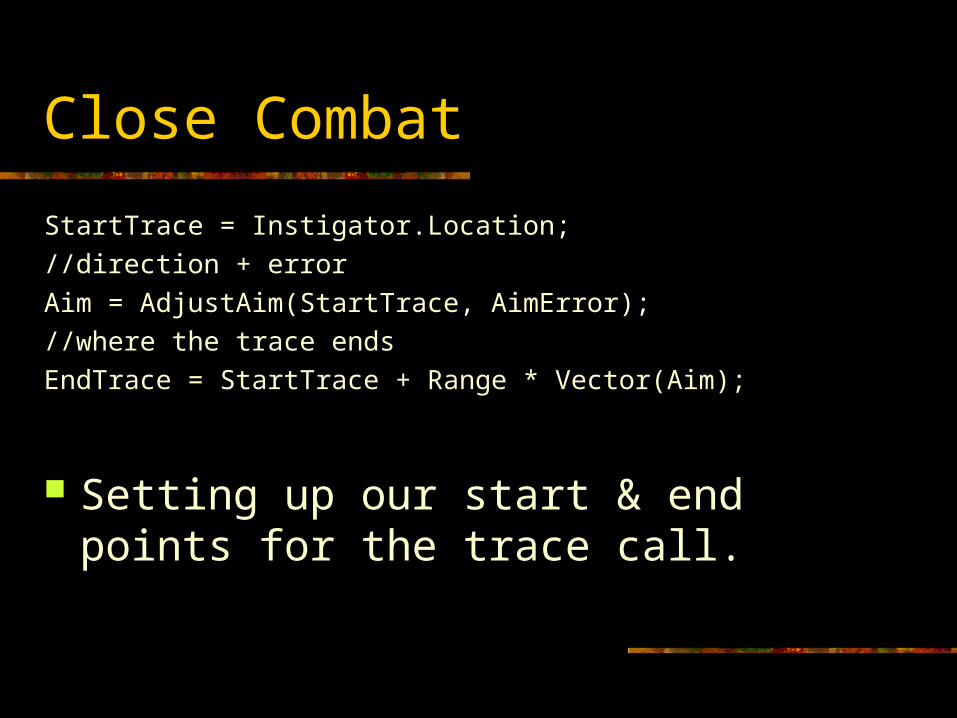
StartTrace = Instigator.Location;
//direction + error
Aim = AdjustAim(StartTrace, AimError);
//where the trace ends
EndTrace = StartTrace + Range * Vector(Aim);
Setting up our start & end points for the trace call.
Close Combat
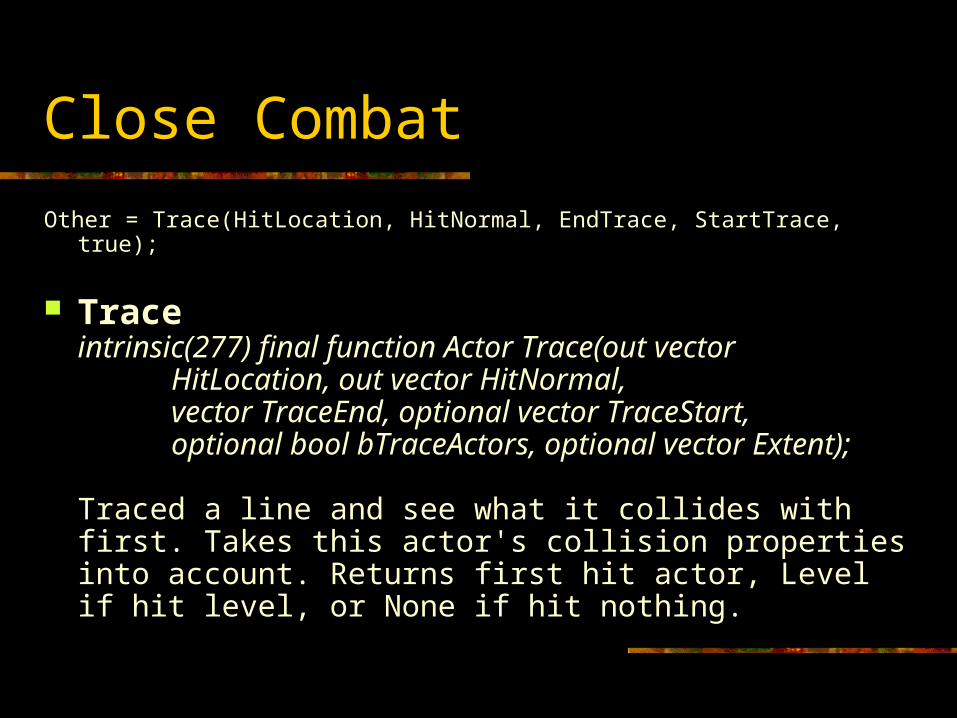
Other = Trace(HitLocation, HitNormal, EndTrace, StartTrace, true);
Traceintrinsic(277) final function Actor Trace(out vector HitLocation, out vector HitNormal, vector TraceEnd, optional vector TraceStart, optional bool bTraceActors, optional vector Extent);
Traced a line and see what it collides with first. Takes this actor's collision properties into account. Returns first hit actor, Level if hit level, or None if hit nothing.
Close Combat
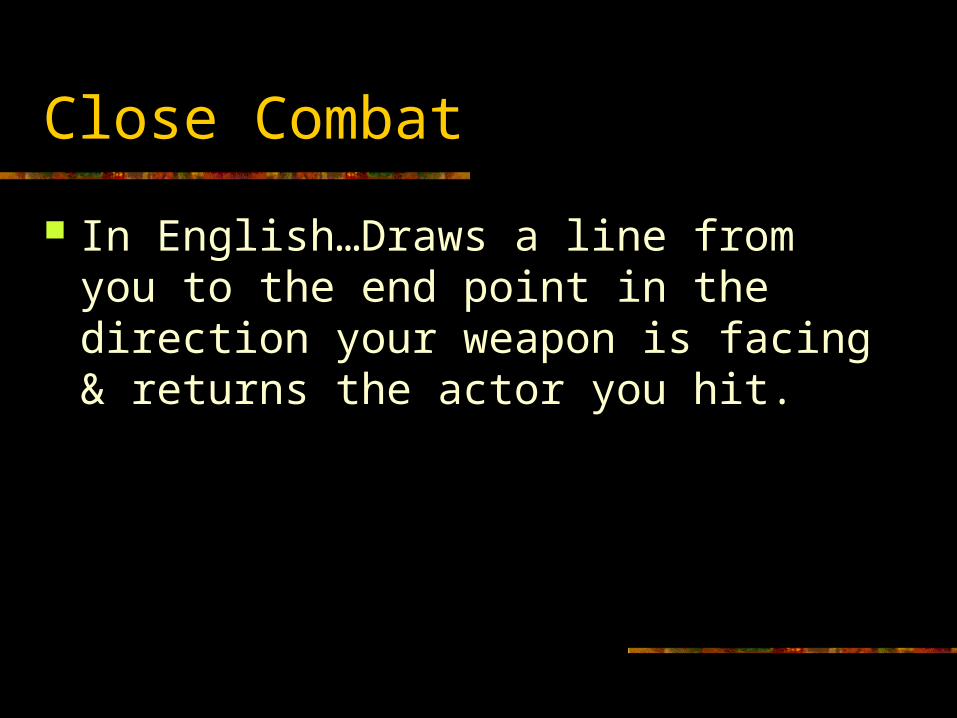
In English…Draws a line from you to the end point in the direction your weapon is facing & returns the actor you hit.
Close Combat
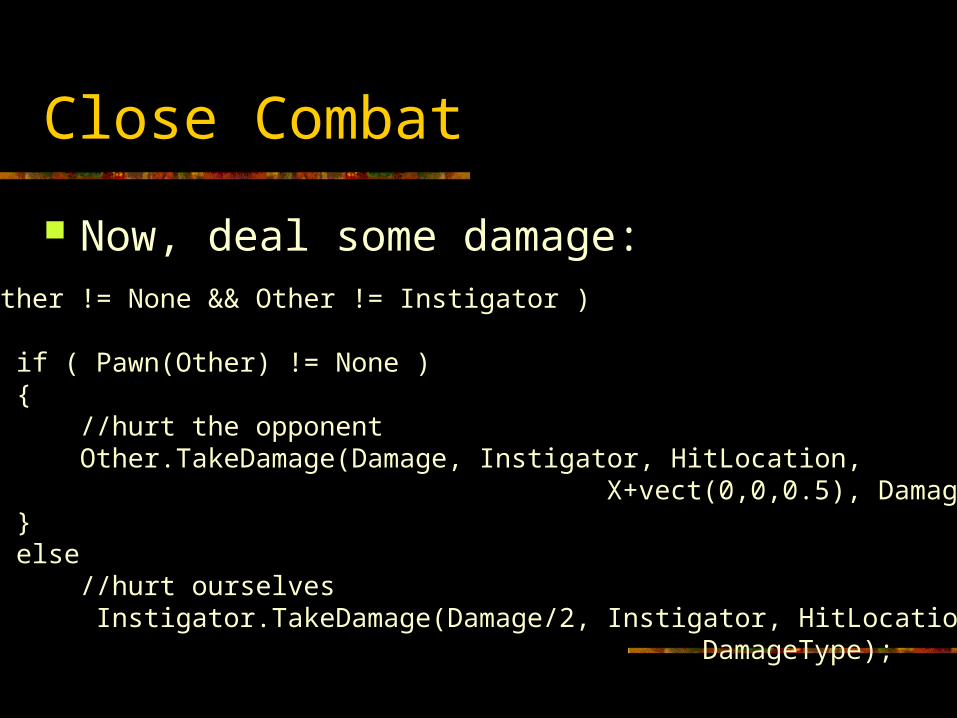
Now, deal some damage: if ( Other != None && Other != Instigator ) { if ( Pawn(Other) != None ) { //hurt the opponent Other.TakeDamage(Damage, Instigator, HitLocation, X+vect(0,0,0.5), DamageType); } else //hurt ourselves Instigator.TakeDamage(Damage/2, Instigator, HitLocation,, DamageType);
Close Combat
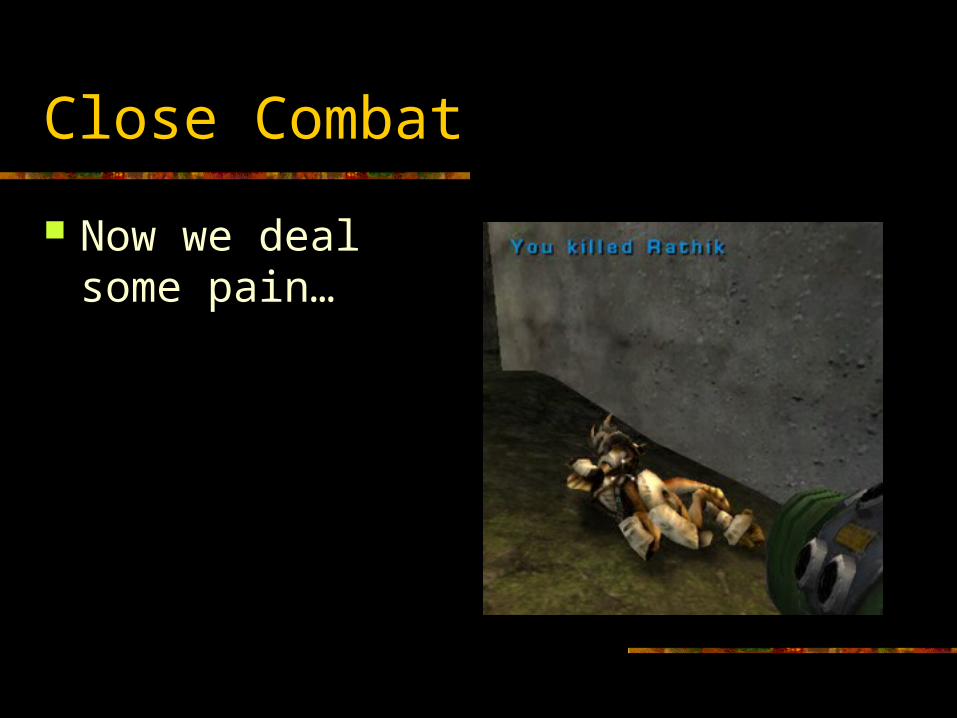
Now we deal some pain…
Close Combat
This is all well & good, but we really have to make it interesting to look at.
Now that we’ve the function down…time for the fashion.
Since a Tazer is an electric shock weapon, lets cause some appropriate effects.
Close Combat
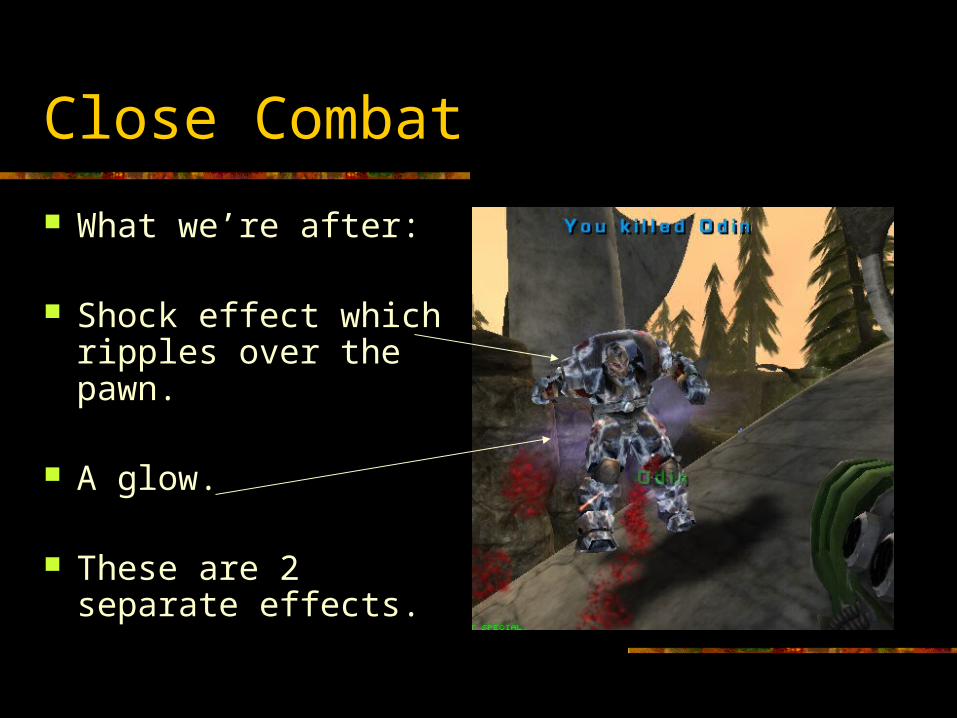
What we’re after:
Shock effect which ripples over the pawn.
A glow.
These are 2 separate effects.
Close Combat
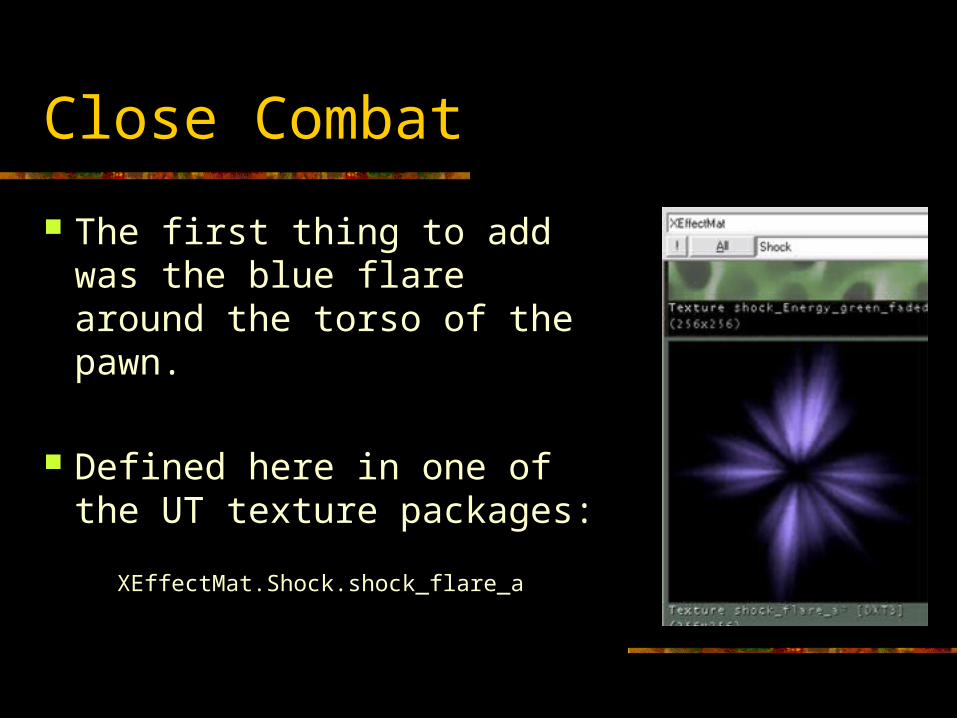
The first thing to add was the blue flare around the torso of the pawn.
Defined here in one of the UT texture packages:
XEffectMat.Shock.shock_flare_a
Close Combat
Nothing more than a texture which, like the fire from yesterday, is nicely wrapped up into an xEmitter for us.
So we can do pretty much the same thing…Spawn it & set it’s base.
Close Combat
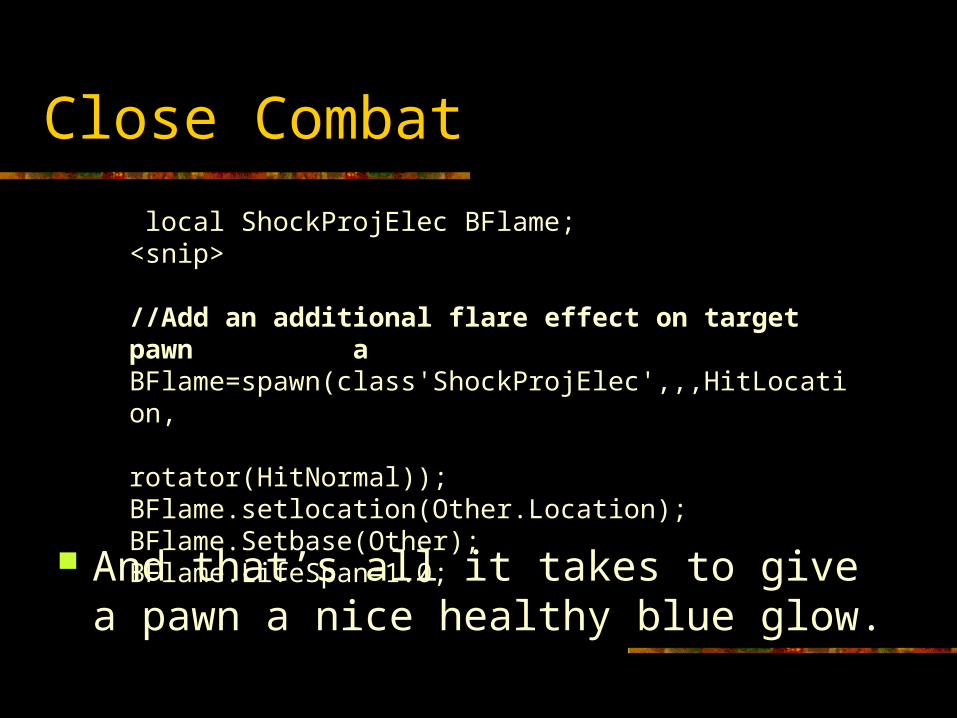
And that’s all it takes to give a pawn a nice healthy blue glow.
local ShockProjElec BFlame;<snip> //Add an additional flare effect on target pawn aBFlame=spawn(class'ShockProjElec',,,HitLocation, rotator(HitNormal));BFlame.setlocation(Other.Location);BFlame.Setbase(Other);BFlame.LifeSpan=1.0;
Close Combat
Lastly was the electric shock effect on the pawn.
Surprisingly, this is really quite easy to do, it’s just a matter of knowing where to look for it.
Close Combat
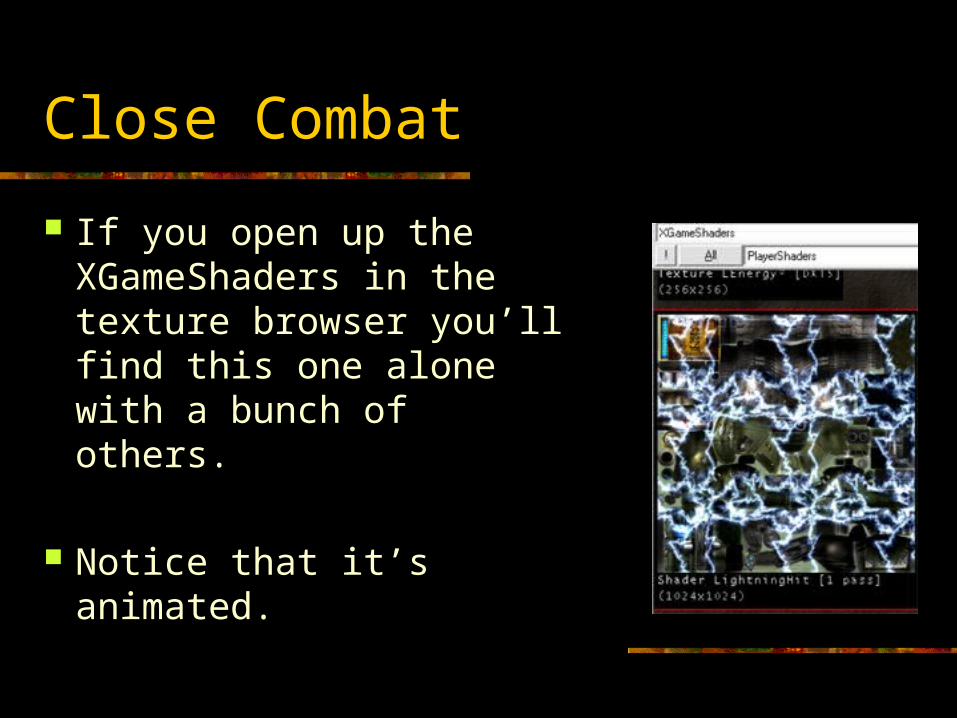
If you open up the XGameShaders in the texture browser you’ll find this one alone with a bunch of others.
Notice that it’s animated.
Close Combat
To get this effect in the game, we just have to add 2 lines of code.
DamageOverlayMaterial=Material'XGameShaders.PlayerShaders.LightningHit'
DamageOverlayTime=1.0
But the big surprise is where.
Close Combat
class DamTypeCCStick extends WeaponDamageType;
In our custom damage type.
But if you think about it… Kind of makes sense. When damage occurs, render the overlay.
Close Combat
And that’s it, basic functionality for close combat weapons…
Now, some food for thought. Look at *how* this weapon works. It does a trace over a very short range…in effect, functioning like an instant fire weapon

Close Combat
This is as far as I got on close combat weapons. There’s a bit more to do, like binding the proper attachments and spawning impact effects on non-actor surfaces (like walls).
But the basics of the functionality are in and as you can see it does have a shocking effect on our opponents.