silverlight business apps: module 6 - multipage printing...
TRANSCRIPT
Building Business Applications in Silverlight 4
Hands-On LabBuilding Applications in Silverlight 4Module 6: Printing the Schedule
Printing the Schedule 1 | P a g e

Building Business Applications in Silverlight 4
Contents
Introduction...........................................................................................................................................3
Exercise 1: Printing the Schedule on One Page......................................................................................4
Create the Printing ViewModel and View......................................................................................4
Hook up the Print Button...............................................................................................................7
Set the Printable Content..............................................................................................................7
Exercise 2: Printing a Schedule across Multiple Pages.........................................................................10
Pagination Concerns....................................................................................................................10
Add Logic for Pagination..............................................................................................................10
Page Numbering..........................................................................................................................14
Printing the Schedule 2 | P a g e

Building Business Applications in Silverlight 4
Introduction
In this lab, you will enable end users to print out the planned schedule for an event that they built using the schedule planner you added in the previous lab.
You can start from where you left off with the previous lab, if you completed it. But if you did not get to the end, or if it you would just prefer to work from a fresh starting point, make a copy of the solution in the StartingPoint folder for this lab—it contains the completed solution from the previous lab.
Printing the Schedule 3 | P a g e
Building Business Applications in Silverlight 4
Exercise 1: Printing the Schedule on One Page
In this part of the lab, you will add the ability to print an attendee’s schedule for an event. In this first part, the output will all be on a single page. The structure of the code and XAML will be very similar in some respects to what you created in the earlier lab for the schedule planner. But there are a few differences in the detail for printing that warrant building a separate view rather than attempting to print using the existing components.
Create the Printing ViewModel and View
1. Open the SlEventManager solution in Visual Studio 2010.
2. In the SlEventManager project’s ViewModels folder add a new class called SchedulePrintViewModel.
This will act as the source data for the XAML file that will ultimately define the layout for the printed document.
3. Add the following using directive:
C#
using System.ComponentModel;
Visual Basic
Imports System.ComponentModel
4. Implement SchedulePrintViewModel class like this:
C#
public class SchedulePrintViewModel{public string EventTitle { get; set; }public string AttendeeName { get; set; }public ICollectionView Talks { get; set; }public double PrintWidth { get; set; }}
Visual Basic
Public Class SchedulePrintViewModelPublic Property EventTitle() As StringPublic Property AttendeeName() As StringPublic Property Talks() As ICollectionViewPublic Property PrintWidth() As Double
Printing the Schedule 4 | P a g e

Building Business Applications in Silverlight 4
End Class
The PrintWidth property will hold the width of the printable area. We’ll need this to impose a layout constraint, as you’ll see.
5. In the SlEventManager project’s Views folder, add a new Silverlight User Control called SchedulePrintView.
6. Add the following Grid to the SchedulePrintView:
XAML
<Grid><Grid.RowDefinitions><RowDefinition Height="Auto" /><RowDefinition Height="Auto" /><RowDefinition Height="*" /></Grid.RowDefinitions>
<TextBlockFontSize="20"FontWeight="Bold"HorizontalAlignment="Center" Text="{Binding Path=EventTitle}" />
<StackPanelGrid.Row="1" Orientation="Horizontal"HorizontalAlignment="Center"><TextBlock Text="Schedule for " /><TextBlock Text="{Binding Path=AttendeeName}" /></StackPanel>
<ViewboxVerticalAlignment="Top"StretchDirection="DownOnly"Grid.Row="2"><ItemsControl Width="{Binding Path=PrintWidth}"ItemsSource="{Binding Path=Talks.Groups}"><ItemsControl.ItemTemplate><DataTemplate><Grid Margin="20,5"><Grid.RowDefinitions><RowDefinition Height="20" /><RowDefinition Height="Auto" /></Grid.RowDefinitions>
Printing the Schedule 5 | P a g e

Building Business Applications in Silverlight 4
<TextBlock Text="{Binding Path=Name,StringFormat=HH:mm}" />
<ItemsControlGrid.Row="1"ItemsSource="{Binding Path=Items}"><ItemsControl.ItemTemplate><DataTemplate><Grid><Grid.RowDefinitions><RowDefinition Height="Auto" /><RowDefinition MaxHeight="40" /></Grid.RowDefinitions>
<TextBlock Text="{Binding Path=TalkTitle}"FontWeight="Bold" /><TextBlockGrid.Row="1" Text="{Binding Path=TalkAbstract}"TextWrapping="Wrap" /></Grid></DataTemplate></ItemsControl.ItemTemplate></ItemsControl></Grid></DataTemplate></ItemsControl.ItemTemplate></ItemsControl></Viewbox></Grid>
This is similar to the markup you created for the schedule planner, but with a few subtle differences. We can’t use tooltips in printed output because tooltips rely on mouse interaction, something that doesn’t work too well on paper. On screen, we use tooltips to show the full abstract, enabling us to truncate in the usual view, but when printing, we need to show the whole abstract up front rather than trimming it. (Also, if you did the optional Fluid UI section in the previous lab, you’ll notice that we’re not using a ListBox any longer because we only added that for the entry and exit animations.)
Also note that we’ve wrapped the ItemsControl in a Viewbox, a new feature in Silverlight 4. This can enlarge or shrink items to fit the available space. We’ve set the StretchDirection to DownOnly meaning this particular Viewbox will never try to enlarge the content—if it’s smaller than the space available it just won’t fill it. But if there’s too much content, it will be shrunk, to fit it on the page. (In the planner UI we were able to deal with this problem
Printing the Schedule 6 | P a g e
Building Business Applications in Silverlight 4
by using a ScrollViewer, but of course that’s another UI element type that’s not a great choice for printed output.)
The Viewbox is the reason we needed the ViewModel to make the PrintWidth available. Notice that the outer ItemsControl’s Width is constrained to be PrintWidth. Without that, the Viewbox would allow the ItemsControl to grow as wide as it liked—the Viewbox performs unconstrained layout on its children. The result would be that all each talk abstract would occupy a single, possibly very long line—the absence of a constraint would mean the text would never be wrapped because the line of text could grow indefinitely long. The Viewbox would then shrink everything to fit. The result would be tiny text with very long talk abstract lines. By forcing the ItemsControl not to get wider than PrintWidth, word wrapping kicks in, and the Viewbox only does its job once the content becomes too tall to fit.
Hook up the Print Button
1. Open SchedulePlanner.xaml.
2. Add a new button to the UI at the top right.
3. Set its content to Print…
4. Name the button printButton.
5. Add a Click event handler for printButton.
There’s a slight challenge to getting this button to behave well in layout. In an earlier lab you added a Canvas that covers the whole UI, to make it possible to remove the context menu when the user clicks outside the menu. Because this Canvas is on top, Visual Studio will add new elements to that when you drop them onto the design surface. But because of how this layout resizes, the button would be better off being in the Grid. You can either edit the XAML manually to put it where you need it, or you could use Blend, which has more sophisticated support for working with multiple overlapping layers of content, and deeply nested containers. Or you could temporarily remove the Canvas while you position the button. Or you could just live with the fact that it won’t appear quite where you want when you resize the UI.
6. In the SchedulePlanner.xaml.cs or SchedulePlanner.xaml.vb code behind file, add these using directives:
C#
using System.Windows.Printing;using System.Windows.Data;using System.ComponentModel;
Visual Basic
Imports System.Windows.Printing
Printing the Schedule 7 | P a g e

Building Business Applications in Silverlight 4
Imports System.Windows.DataImports System.ComponentModel
Set the Printable Content
1. In the Click handler you just added, write this code to create a PrintDocument
C#
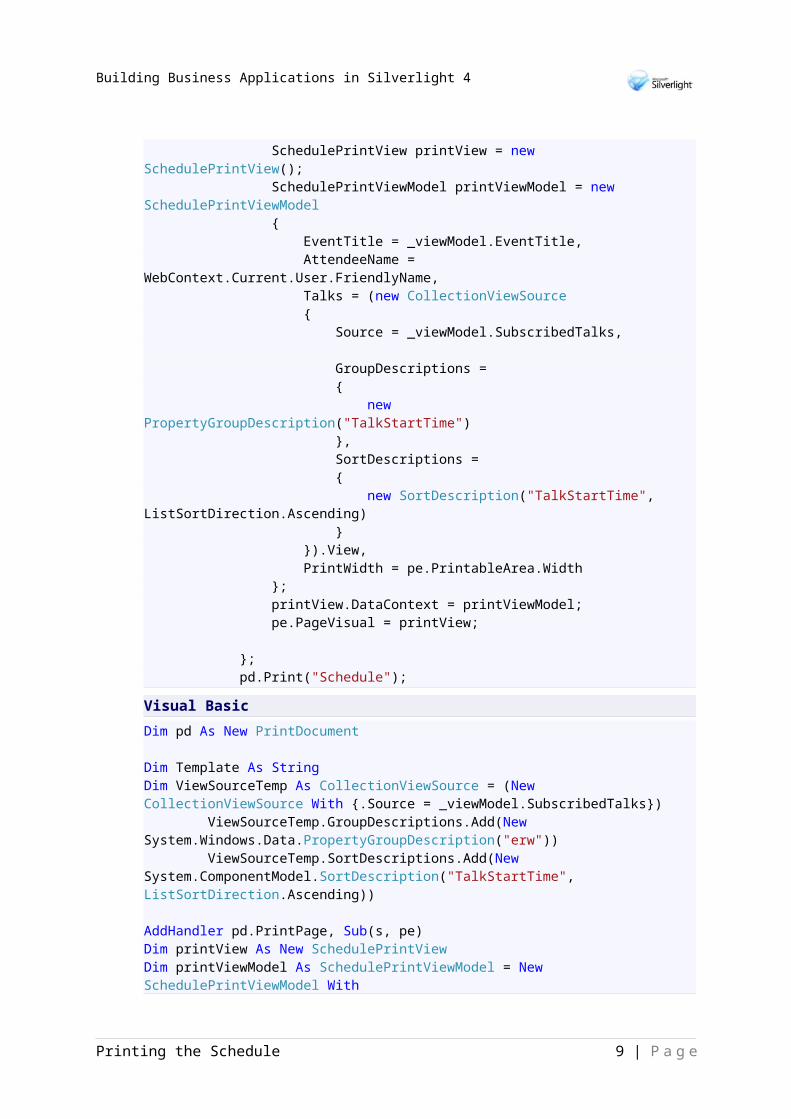
PrintDocument pd = new PrintDocument(); pd.PrintPage += (s, pe) => { SchedulePrintView printView = new SchedulePrintView(); SchedulePrintViewModel printViewModel = new SchedulePrintViewModel { EventTitle = _viewModel.EventTitle, AttendeeName = WebContext.Current.User.FriendlyName, Talks = (new CollectionViewSource { Source = _viewModel.SubscribedTalks,
GroupDescriptions = { new PropertyGroupDescription("TalkStartTime") }, SortDescriptions = { new SortDescription("TalkStartTime", ListSortDirection.Ascending) } }).View, PrintWidth = pe.PrintableArea.Width }; printView.DataContext = printViewModel; pe.PageVisual = printView;
}; pd.Print("Schedule");
Visual Basic
Dim pd As New PrintDocument
Dim Template As StringDim ViewSourceTemp As CollectionViewSource = (New CollectionViewSource With {.Source = _viewModel.SubscribedTalks}) ViewSourceTemp.GroupDescriptions.Add(New System.Windows.Data.PropertyGroupDescription("erw"))
Printing the Schedule 8 | P a g e
Building Business Applications in Silverlight 4
ViewSourceTemp.SortDescriptions.Add(New System.ComponentModel.SortDescription("TalkStartTime", ListSortDirection.Ascending))
AddHandler pd.PrintPage, Sub(s, pe)Dim printView As New SchedulePrintViewDim printViewModel As SchedulePrintViewModel = New SchedulePrintViewModel With {.EventTitle = _viewModel.EventTitle, .AttendeeName = WebContext.Current.User.FriendlyName, .Talks = ViewSourceTemp.View, .PrintWidth = pe.PrintableArea.Width} printView.DataContext = printViewModel pe.PageVisual = printViewEnd Subpd.Print("Schedule")
2. After the PrintPage handler, invoke the Print method of the PrintDocument
C#
pd.Print("Schedule");
Visual Basic
pd.Print("Schedule")
This creates a PrintDocument, and attaches a handler for its PrintPage event. That handler creates the print view and view model.
We’re creating the CollectionViewSource in code here and putting its View property directly into the view model. We’re doing this because in the current preview, putting a CollectionViewSource in XAML doesn’t appear to work when printing. The grouped data does not appear to be available for binding at the point at which printing happens. (The data binding system often defers loading of data. This is usually not a problem on screen, because the screen will update as soon as the information becomes available. But with printing it can be a problem: if you don’t have the data by the time you print, it won’t make it onto the page.) By putting this in code and extracting the view source’s View property directly, we seem to get the grouped data when needed.
3. Run the application.
4. Log in as the user ian and password of P@ssw0rd
Printing the Schedule 9 | P a g e
Building Business Applications in Silverlight 4
5. Go to the event planner for the first event.
6. Click the Print… button. You should see the print dialog appear.
7. Select a printer.
You might want to use the Microsoft XPS Document Writer because that way, if things aren’t perfect first time, you won’t waste paper printing things out for real.
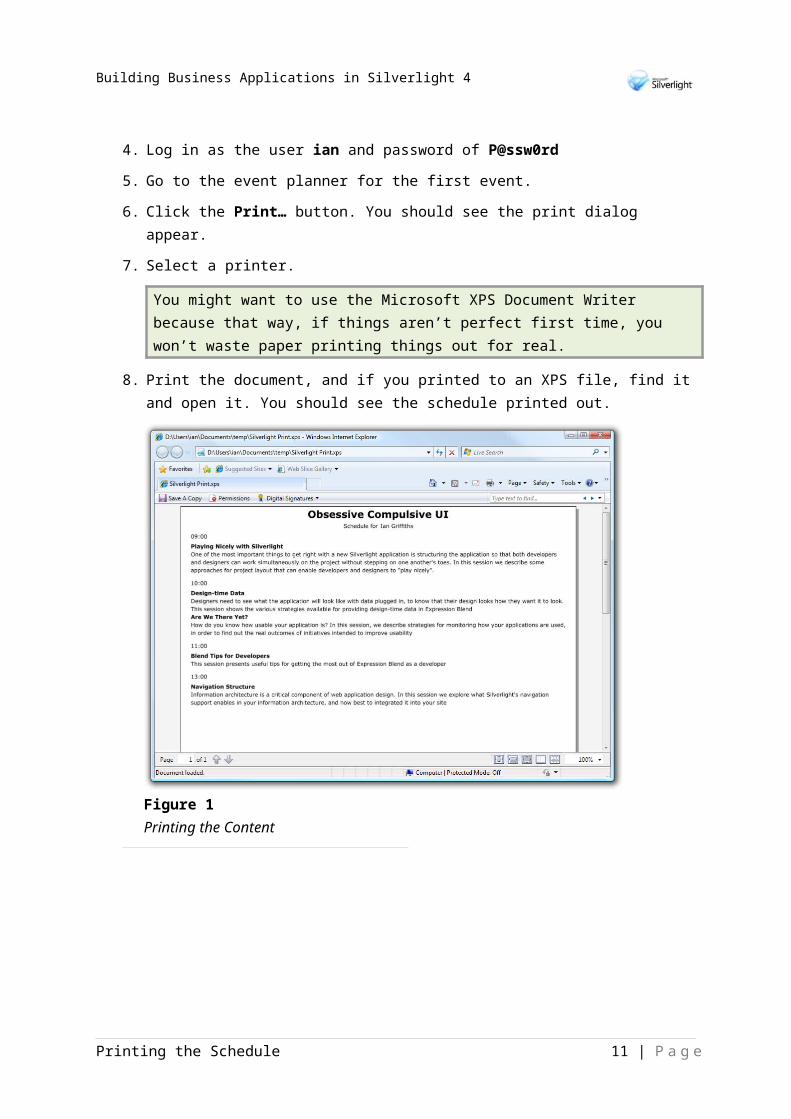
8. Print the document, and if you printed to an XPS file, find it and open it. You should see the schedule printed out.
Figure 1Printing the Content
Printing the Schedule 10 | P a g e
Building Business Applications in Silverlight 4
Exercise 2: Printing a Schedule across Multiple Pages
Although a schedule is fairly likely to fit comfortably onto a single page, and we can force it to fit uncomfortably if necessary thanks to the Viewbox, squashing things to fit on one page is not a good general-purpose solution. In practice, splitting content across multiple pages is often necessary, so we’ll modify the printing code to support this.
Pagination Concerns
1. Run the application
2. Go into the schedule planner and subscribe to lots oftalks.
3. Print the talks.
If you added a lot of talks, you may notice the content’s font is getting smaller when printed (there is no page 2). If you get 3 or more talks in every time slot for the whole day, you’ll see that when you print, the list of talks starts to get narrower, as the Viewbox has to shrink it down to make it fit vertically. This ensures we have enough items in the schedule to make paging important.
To paginate the content, we’ll need to take control of how many items we show on screen at once. This means we need to stop relying on the ItemsControl to display the top-level list of groups.
4. Stop the application.
Add Logic for Pagination
1. Add a new user control to the Views folder called ScheduleTimeSlotPrintView.
2. Replace ScheduleTimeSlotPrintView’s Grid named LayoutRoot with the following content:
XAML
<Grid Margin="20,5"><Grid.RowDefinitions><RowDefinition Height="20" /><RowDefinition Height="Auto" /></Grid.RowDefinitions>
<TextBlock Text="{Binding Path=Name,StringFormat=HH:mm}" />
<StackPanel x:Name="talkPanel"Grid.Row="1" />
Printing the Schedule 11 | P a g e

Building Business Applications in Silverlight 4
</Grid>
Notice the StackPanel. We are going to populate that with the talks for the time group, so this fills the role that was previously taken by the inner ItemsControl. So we’re getting rid of both ItemsControls. We’re not actually going to split individual time slots across page boundaries. All the talks from a given slot will be on the same page. However, we still can’t use the ItemsControl to generate the individual talks within a slot, albeit for a slightly different reason.
We’re avoiding ItemsControl at the top level so that we can paginate, but we’re avoiding a nested ItemsControl here simply because it doesn’t work. AdataboundItemsControl defers the generation of its child items. While the information will be available in time to print, it won’t be available at the point at which we try to work out how many items will fit on a page. If the information for the nested items control isn’t available at that point, we can’t know how big it’s going to be. If we ask the ItemsControl how big it wants to be at that point, it will return a preferred height of 0. Since our pagination calculations need to know how big this control will be, we can’t use ItemsControl. Instead we’ll have to populate the panel manually.
3. Add the following using statements to the ScheduleTimeSlotPrintView.xaml.cs or ScheduleTimeSlotPrintView.xaml.vb code behind:
C#
using SlEventManager.Web;using System.Windows.Data;
Visual Basic
Imports SlEventManager.WebImports System.Windows.Data
4. Add the following to the ScheduleTimeSlotPrintView.xaml.cs or ScheduleTimeSlotPrintView.xaml.vb code behind:
C#
public void SetData(CollectionViewGroup cvg){this.DataContext = cvg;foreach (Talk item in cvg.Items) {talkPanel.Children.Add(new TextBlock { Text = item.TalkTitle,FontWeight = FontWeights.Bold });talkPanel.Children.Add(new TextBlock { Text = item.TalkAbstract,
Printing the Schedule 12 | P a g e

Building Business Applications in Silverlight 4
TextWrapping = TextWrapping.Wrap }); }}
Visual Basic
Public Sub SetData(ByVal cvg As Object) Me.DataContext = cvg Dim item = CType(cvg, SlEventManager.Talk) talkPanel.Children.Add(New TextBlock With {.Text = item.TalkTitle, .FontWeight = FontWeights.Bold}) talkPanel.Children.Add(New TextBlock With {.Text = item.TalkAbstract,.TextWrapping = TextWrapping.Wrap}) End Sub
For each talk this will generate a title and an abstract, just like the template we had previously been using did.
5. Open SchedulePrintView.xaml, find the Viewbox.
6. Delete the Viewbox and its contents. Replace it with the following Border:
XAML
<Border x:Name="timeSlotContainer"Grid.Row="2" />
7. Add the following using statements to the SchedulePrintView.xaml.cs or SchedulePrintView.xaml.vb code behind:
C#
Using System.Windows.Data;
Visual Basic
Imports System.Windows.Data
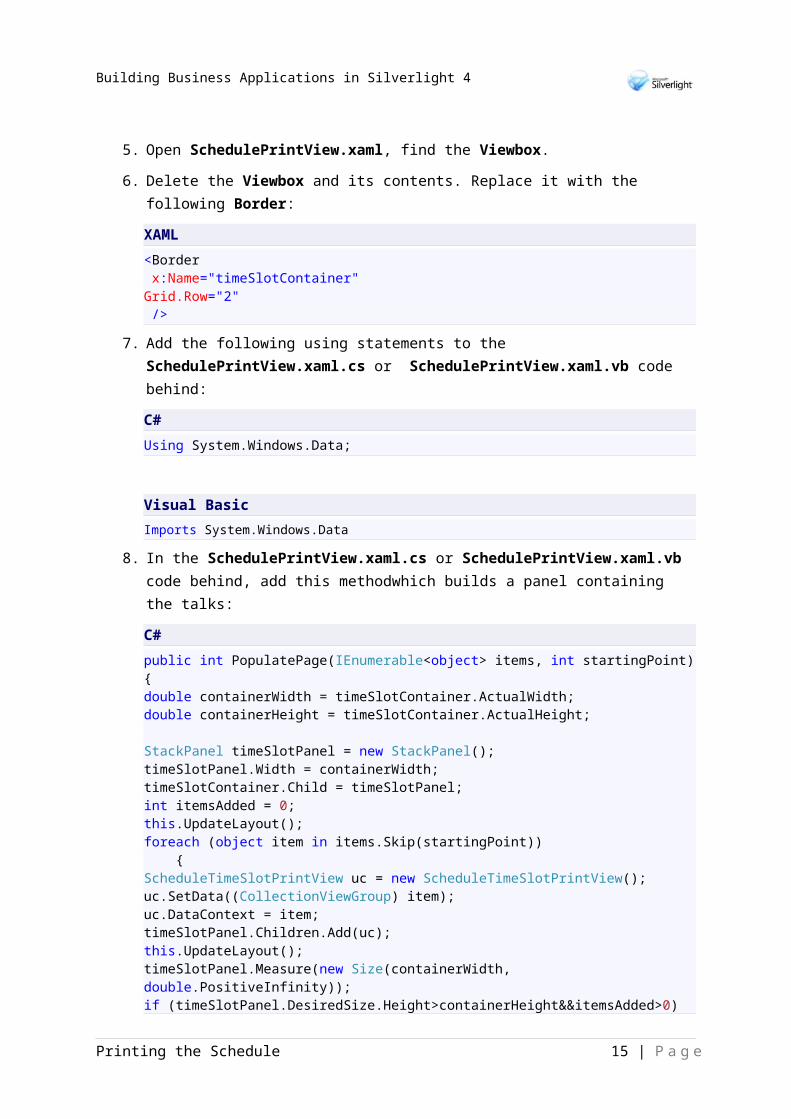
8. In the SchedulePrintView.xaml.cs or SchedulePrintView.xaml.vb code behind, add this methodwhich builds a panel containing the talks:
C#
public int PopulatePage(IEnumerable<object> items, int startingPoint){double containerWidth = timeSlotContainer.ActualWidth;double containerHeight = timeSlotContainer.ActualHeight;
StackPanel timeSlotPanel = new StackPanel();timeSlotPanel.Width = containerWidth;timeSlotContainer.Child = timeSlotPanel;int itemsAdded = 0;
Printing the Schedule 13 | P a g e

Building Business Applications in Silverlight 4
this.UpdateLayout();foreach (object item in items.Skip(startingPoint)) {ScheduleTimeSlotPrintView uc = new ScheduleTimeSlotPrintView();uc.SetData((CollectionViewGroup) item);uc.DataContext = item;timeSlotPanel.Children.Add(uc);this.UpdateLayout();timeSlotPanel.Measure(new Size(containerWidth, double.PositiveInfinity));if (timeSlotPanel.DesiredSize.Height>containerHeight&&itemsAdded>0) {timeSlotPanel.Children.Remove(uc);break; }itemsAdded += 1; }returnitemsAdded;}
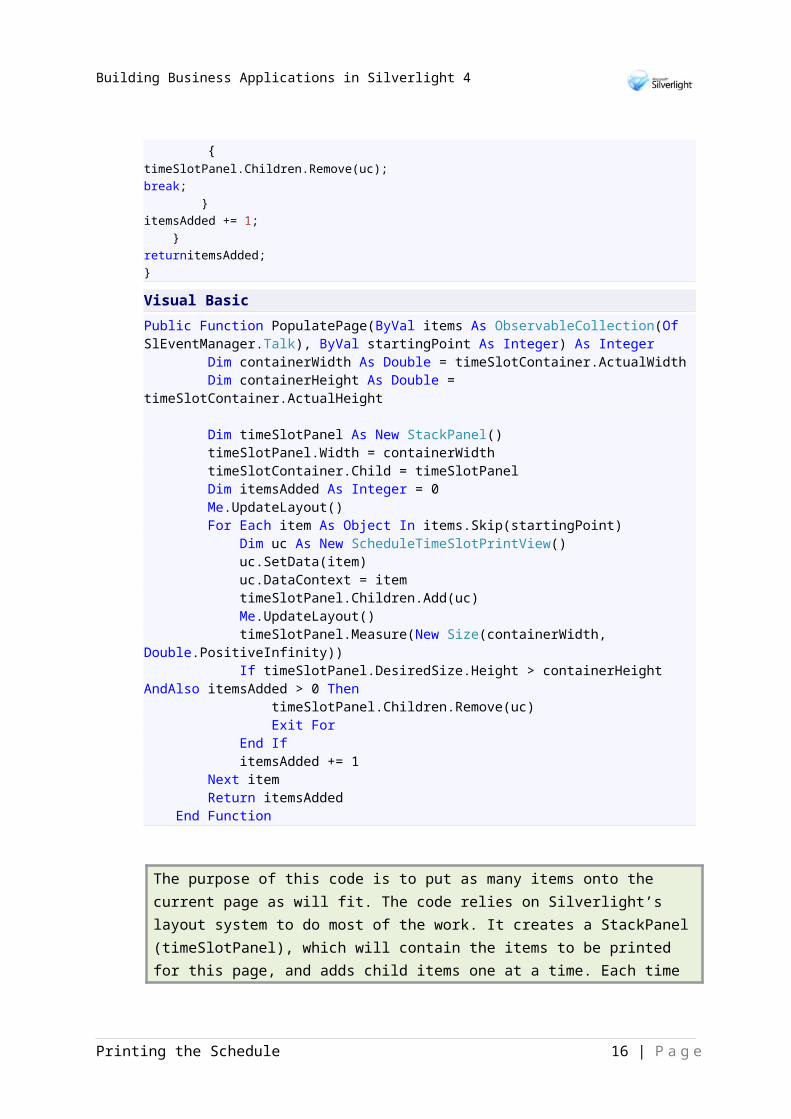
Visual Basic
Public Function PopulatePage(ByVal items As ObservableCollection(Of SlEventManager.Talk), ByVal startingPoint As Integer) As Integer Dim containerWidth As Double = timeSlotContainer.ActualWidth Dim containerHeight As Double = timeSlotContainer.ActualHeight
Dim timeSlotPanel As New StackPanel() timeSlotPanel.Width = containerWidth timeSlotContainer.Child = timeSlotPanel Dim itemsAdded As Integer = 0 Me.UpdateLayout() For Each item As Object In items.Skip(startingPoint) Dim uc As New ScheduleTimeSlotPrintView() uc.SetData(item) uc.DataContext = item timeSlotPanel.Children.Add(uc) Me.UpdateLayout() timeSlotPanel.Measure(New Size(containerWidth, Double.PositiveInfinity)) If timeSlotPanel.DesiredSize.Height > containerHeight AndAlso itemsAdded > 0 Then timeSlotPanel.Children.Remove(uc) Exit For End If itemsAdded += 1 Next item Return itemsAdded End Function
Printing the Schedule 14 | P a g e
Building Business Applications in Silverlight 4
The purpose of this code is to put as many items onto the current page as will fit. The code relies on Silverlight’s layout system to do most of the work. It creates a StackPanel (timeSlotPanel), which will contain the items to be printed for this page, and adds child items one at a time. Each time round the loop, we call this.UpdateLayout() to get Silverlight to lay the page out based on its current content.
Then we find out how much space is required by the items we’ve added so far by calling Measure on the StackPanel. It’s fairly unusual to call this directly, because Silverlight calls Measure for you on all your UI elements as part of the layout mechanism to find out how much space they would like. But even though Measure will have been called here during UpdateLayout, the layout process goes on to do further work, and by the time UpdateLayout returns, we will know how much space the StackPanel has been allocated in the final layout, whereas what we really want to know is how much it wanted: it may have been allocated less space than it desired. (And if that happens, it means we’ve tried to put more items on the page than will fit.)
We call Measure ourselves, passing in double.PositiveInfinity as the height. This requests a vertically unconstrained layout: a mode of layout in which the element is required to work out how much space it would like in an ideal world, if there were no constraints. (Note that we constrain the width—we are essentially asking “If you were this wide, how tall would you need to be for all your contents to fit?”) If the StackPanel would like more space than is actually available, we know that adding this last item pushed us just past the point where the items will fit. We remove the last item to get back to a point where we’ve not overfilled the page, and then break out of the loop. The code returns the number of items that it added, so that the calling code knows whether it needs to print more pages, and if so, what item it should start at for the next page.
9. In SchedulePlanner.xaml.cs or SchedulePlanner.xaml.vb, find the print button click handler.
10. Add this variable to the start of the method (this tracks the number of items that have been printed so far)
C#
int totalItemsPrinted = 0;
Visual Basic
Dim totalItemsPrinted As Integer = 0
11. after the line PrintWidth property, add this code:
C#
PageNumber = currentPage++
Visual Basic
.PageNumber = Function() As Integer
Printing the Schedule 15 | P a g e
Building Business Applications in Silverlight 4
currentPage += 1 Return (currentPage - 1) End Function.Invoke
12. Then immediately after the line that sets the PageVisual property, add this code:
C#
totalItemsPrinted += printView.PopulatePage(printViewModel.Talks.Groups, totalItemsPrinted);pe.HasMorePages = totalItemsPrinted<printViewModel.Talks.Groups.Count;
Visual Basic
totalItemsPrinted += printView.PopulatePage(printViewModel.Talks.SourceCollection, totalItemsPrinted)pe.HasMorePages = totalItemsPrinted<CType(printViewModel.Talks.SourceCollection, ObjectModel.ObservableCollection(Of SlEventManager.Talk)).Count
This calls the code you just added to populate the current page, and then works out whether it needs more pages after this one.
13. Run the application and print the schedule to an XPS file. You should now find it prints across two pages:
Printing the Schedule 16 | P a g e
Building Business Applications in Silverlight 4
Figure 2Printing Multiple Pages of Content
With multipage printouts it’s often useful to add page numbers. This is relatively straightforward to achieve.
Page Numbering
1. Open the SchedulePrintViewModel class add the following property:
C#
public int PageNumber { get; set; }
Visual BasicPublic Property PageNumber() As Integer
2. In SchedulePlanner.xaml.cs or SchedulePlanner.xaml.vb, go to the print click handler.
3. After the totalItemsPrinted variable, add another variable to track the current page:
C#
int currentPage = 1;
Printing the Schedule 17 | P a g e
Building Business Applications in Silverlight 4
Visual Basic
Dim currentPage As Integer = 1
4. Find the code that constructs a SchedulePrintViewModel using the C# object initializer to set the properties.
5. Add one more property initializer to set the PageNumber property to currentPage++.
The increment operator will ensure the page number goes up each time.
6. In SchedulePrintView.xaml, find the Grid.RowDefinitions section near the top.
7. Add a fourth RowDefinition with a Height of Auto.
8. Inside the Grid, add the following TextBox:
XAML
<TextBlockGrid.Row="3" Text="{Binding Path=PageNumber}"HorizontalAlignment="Center" />
9. Run the application and print again. This time you should see page numbers at the bottom of the page.
Printing the Schedule 18 | P a g e