site access - lifescan labs
TRANSCRIPT

LifePoint Portal Basics
Site Access URL: https://lifepointlink.com/lifescan Client Number: 200 UserID: Will be provided by CSR Password: Initial Password always Lifescan1 **Requires Acceptance of Terms and Conditions
**Must be reset at first login **You must have all pop-up blockers disabled for this URL.
Login Page In the Client Number field, enter 200 In the User ID field – enter the User ID provided by your CSR In the Password field – enter either the initial password provided, or the password that you set after your initial login
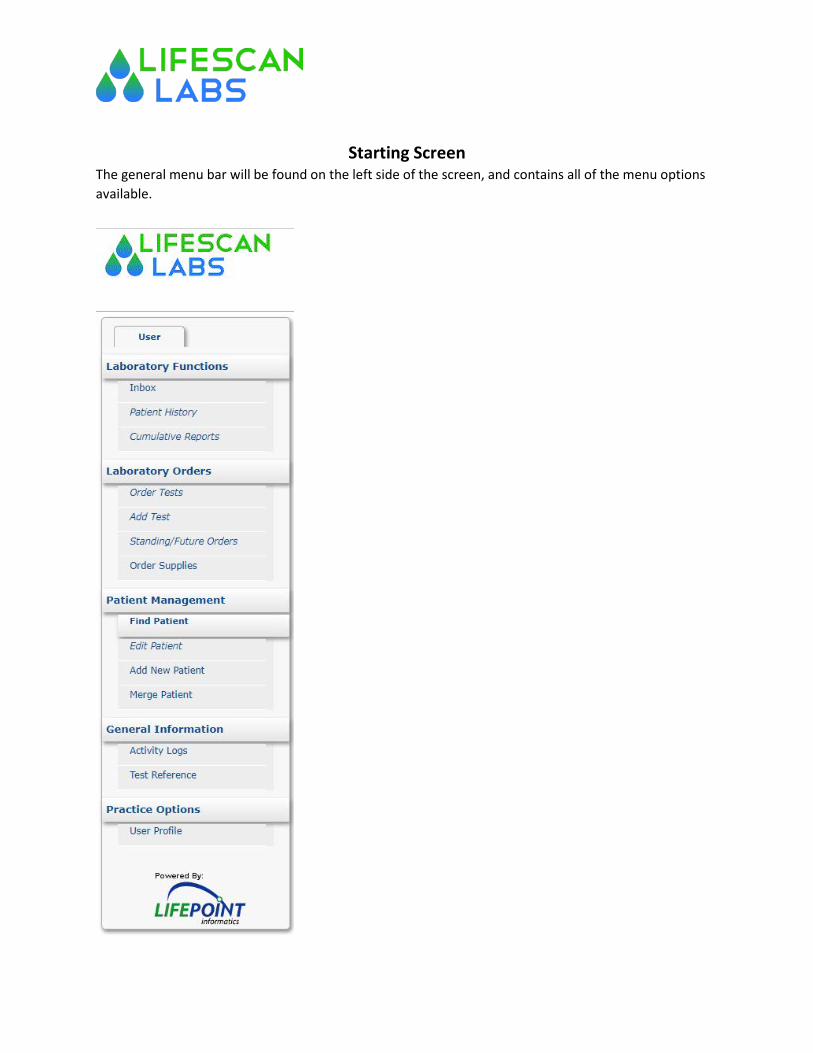
Starting Screen The general menu bar will be found on the left side of the screen, and contains all of the menu options available.
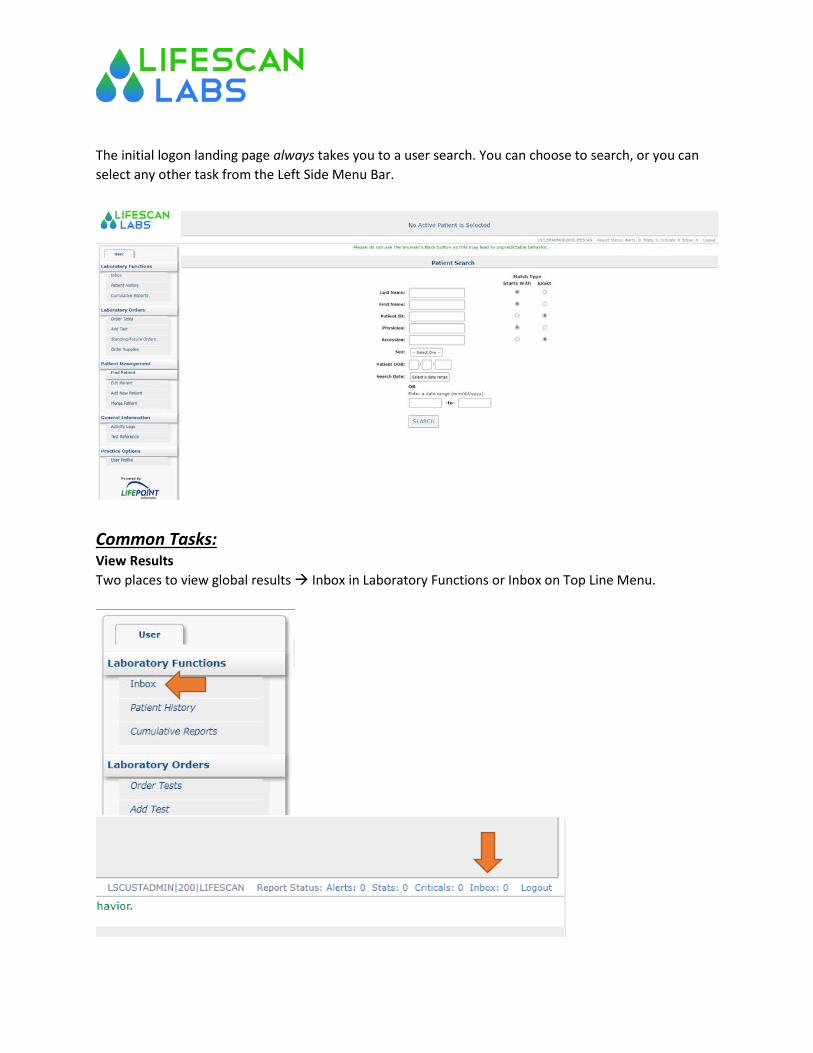
The initial logon landing page always takes you to a user search. You can choose to search, or you can select any other task from the Left Side Menu Bar.
Common Tasks: View Results Two places to view global results Inbox in Laboratory Functions or Inbox on Top Line Menu.
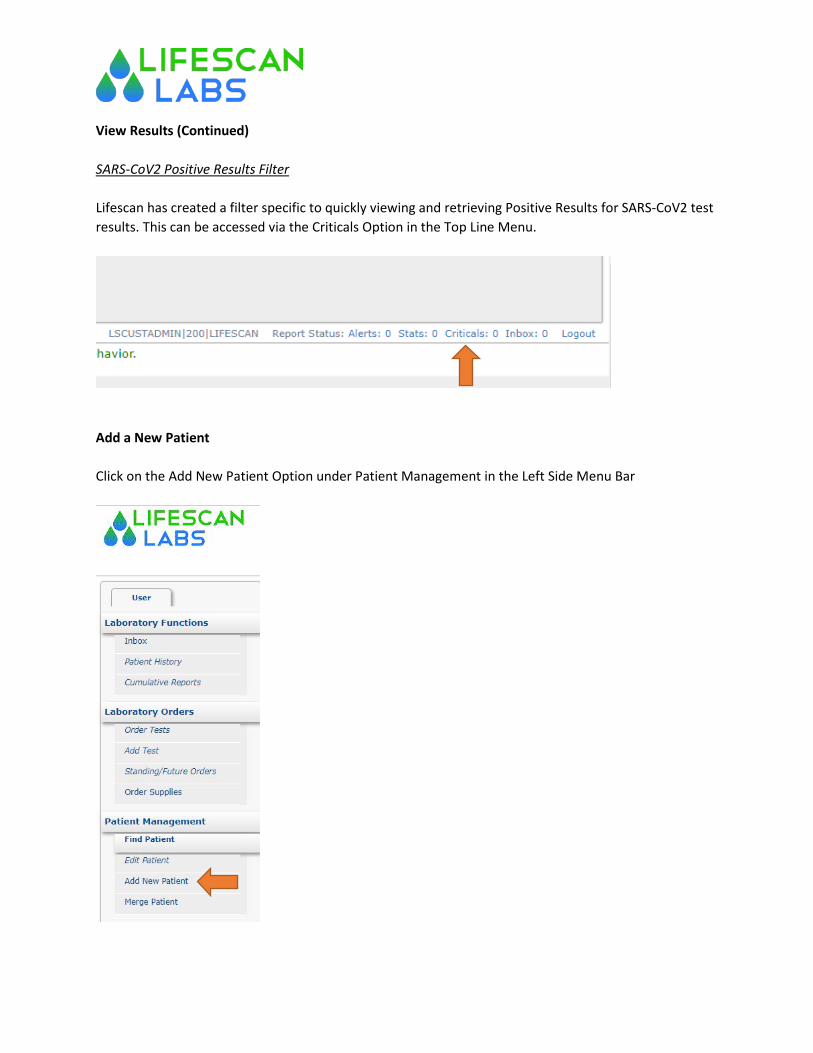
View Results (Continued) SARS-CoV2 Positive Results Filter Lifescan has created a filter specific to quickly viewing and retrieving Positive Results for SARS-CoV2 test results. This can be accessed via the Criticals Option in the Top Line Menu.
Add a New Patient Click on the Add New Patient Option under Patient Management in the Left Side Menu Bar

Add a New Patient (Continued) The Add New Patient Form will be presented. There are multiple tabs associated to the Add New Patient Form across the top; Patient Information, Responsible Party, Primary Insurance, Secondary Insurance, and Supplemental Insurance. The Form always begins with the Patient Information. Please enter the following minimum set of information; Last Name, First Name, Sex, Date of Birth, Room-Bed, Primary Phone Number, Address, City, State, and Zip. You must select the correct Relationship to Responsible Party – which defaults to Self. Please also set a Standing Diagnosis if you have that information. **Note – the PID will be prefilled, and is not editable. This is a Lifescan assigned portal Patient ID. Please also complete as many fields with the information that you have. For SARS-CoV2 tests, there are generally two Standing Diagnosis codes; Z20.822 – use this code where the patient was EXPOSED to another person either confirmed or suspected of having SARS-CoV2. U07.1 – use this diagnosis code for patients that are; experiencing symptoms of SARS-CoV2, are requesting the SARS-CoV2 test for employment, or requesting the test for any other general reason other than symptomatic or exposure.
Add a New Patient (Continued)
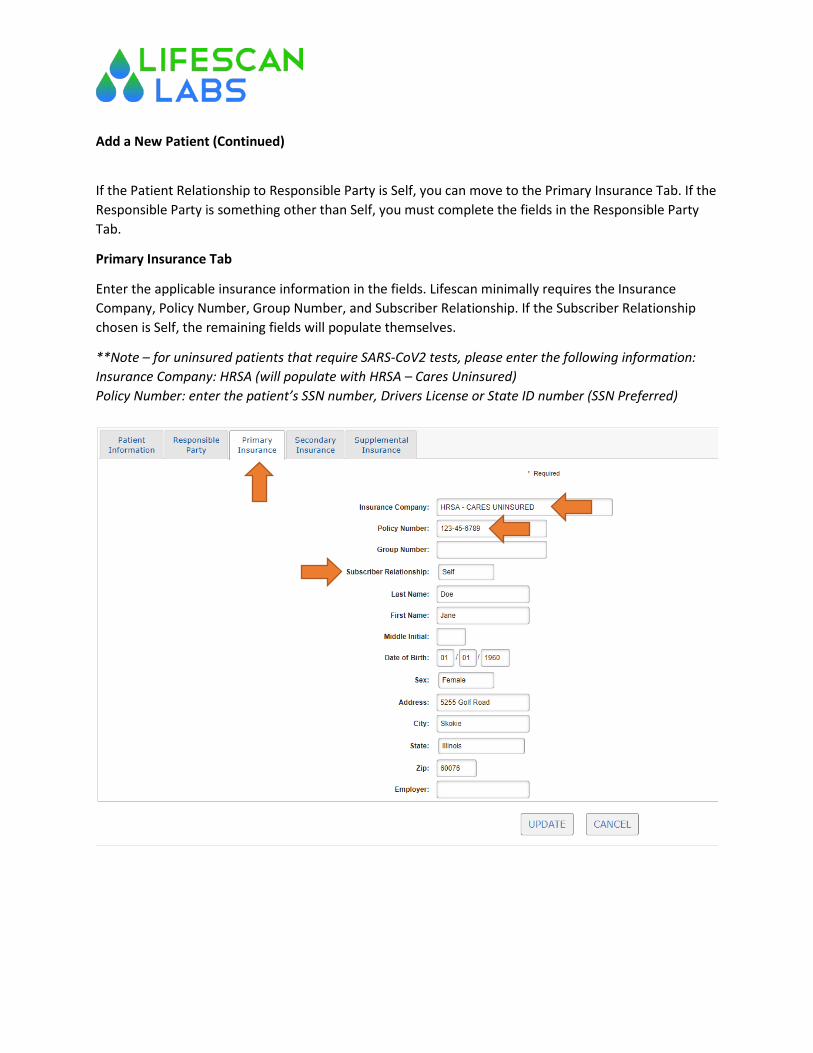
If the Patient Relationship to Responsible Party is Self, you can move to the Primary Insurance Tab. If the Responsible Party is something other than Self, you must complete the fields in the Responsible Party Tab.
Primary Insurance Tab
Enter the applicable insurance information in the fields. Lifescan minimally requires the Insurance Company, Policy Number, Group Number, and Subscriber Relationship. If the Subscriber Relationship chosen is Self, the remaining fields will populate themselves.
**Note – for uninsured patients that require SARS-CoV2 tests, please enter the following information: Insurance Company: HRSA (will populate with HRSA – Cares Uninsured) Policy Number: enter the patient’s SSN number, Drivers License or State ID number (SSN Preferred)
Add a New Patient (Continued) Additional Insurance Tabs (Secondary & Supplemental) – complete the information in these tabs as needed per patient. Once you have completed all necessary information in all tabs, please click on the UPDATE Button (found both at the top and bottom of the Add New Patient Form. Once you have clicked on the UPDATE button, the portal will automatically take you to the Order Tests Screen. This automated redirect only happens when you create a NEW Patient.
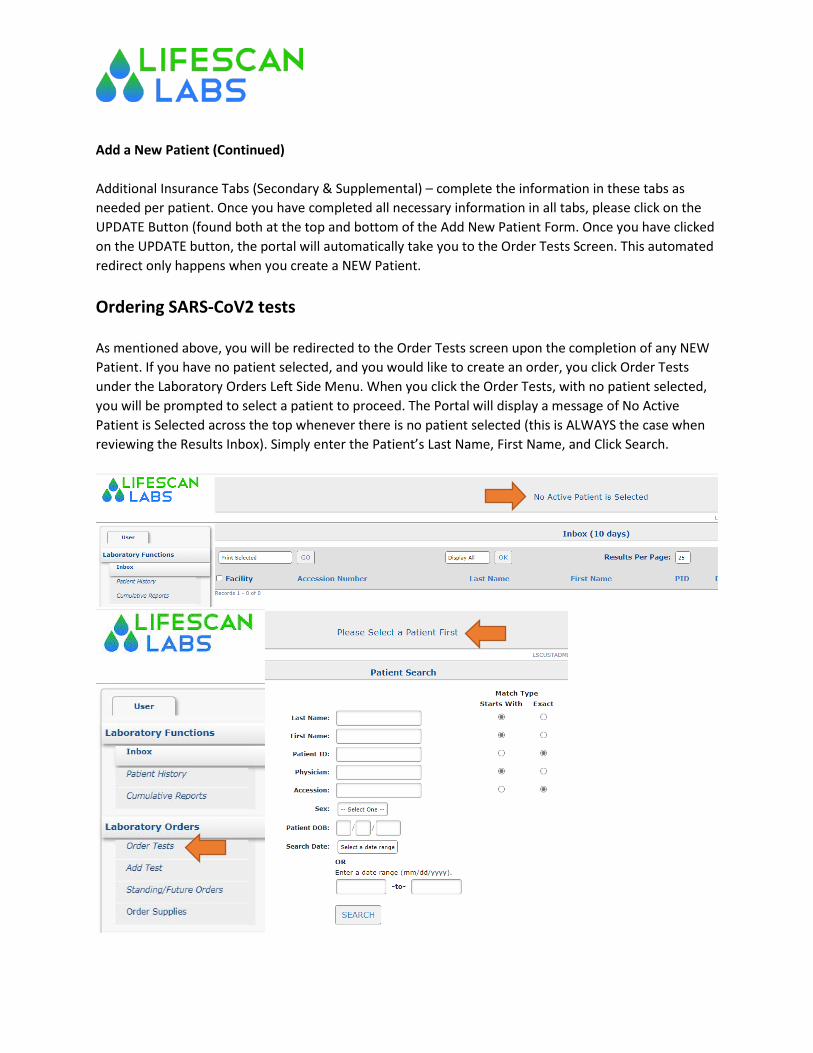
Ordering SARS-CoV2 tests As mentioned above, you will be redirected to the Order Tests screen upon the completion of any NEW Patient. If you have no patient selected, and you would like to create an order, you click Order Tests under the Laboratory Orders Left Side Menu. When you click the Order Tests, with no patient selected, you will be prompted to select a patient to proceed. The Portal will display a message of No Active Patient is Selected across the top whenever there is no patient selected (this is ALWAYS the case when reviewing the Results Inbox). Simply enter the Patient’s Last Name, First Name, and Click Search.
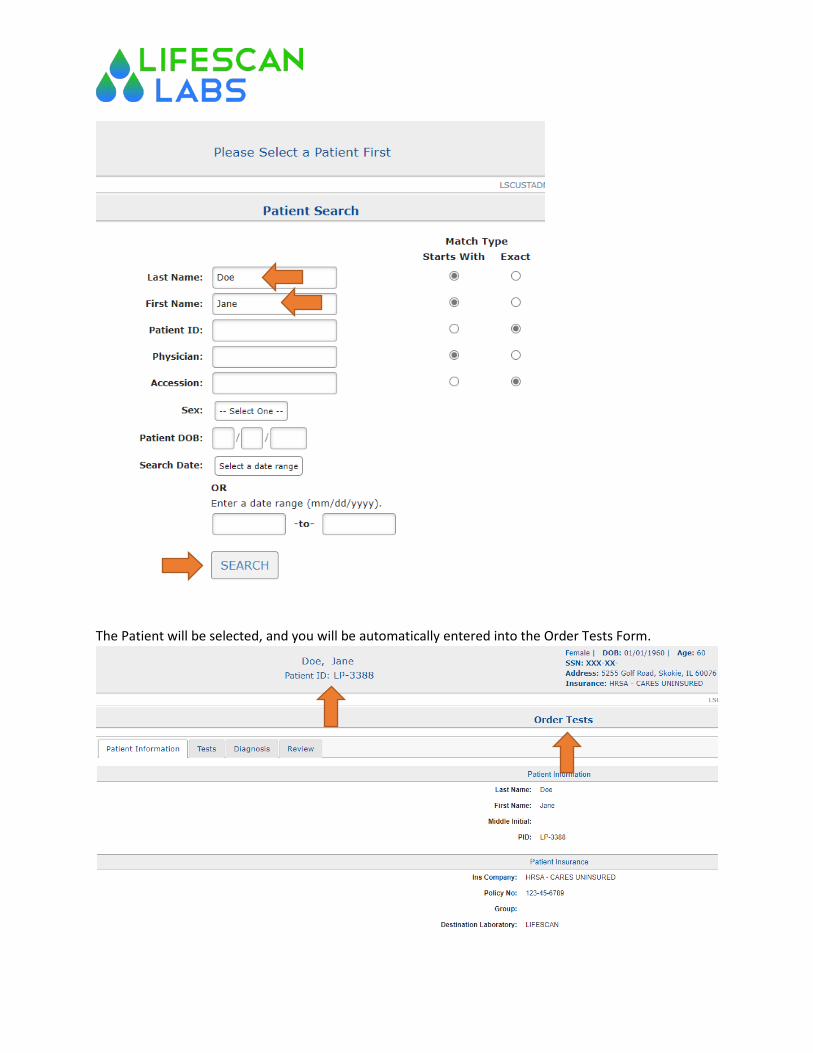
The Patient will be selected, and you will be automatically entered into the Order Tests Form.
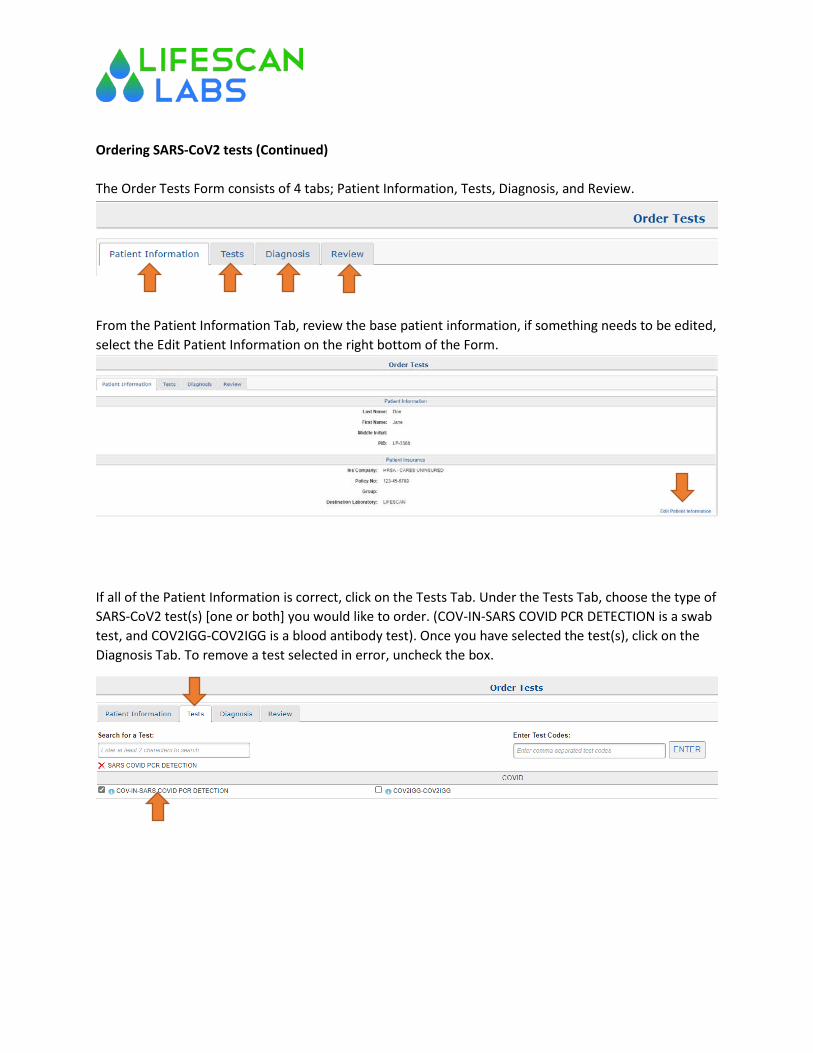
Ordering SARS-CoV2 tests (Continued) The Order Tests Form consists of 4 tabs; Patient Information, Tests, Diagnosis, and Review.
From the Patient Information Tab, review the base patient information, if something needs to be edited, select the Edit Patient Information on the right bottom of the Form.
If all of the Patient Information is correct, click on the Tests Tab. Under the Tests Tab, choose the type of SARS-CoV2 test(s) [one or both] you would like to order. (COV-IN-SARS COVID PCR DETECTION is a swab test, and COV2IGG-COV2IGG is a blood antibody test). Once you have selected the test(s), click on the Diagnosis Tab. To remove a test selected in error, uncheck the box.
Ordering SARS-CoV2 tests (Continued)
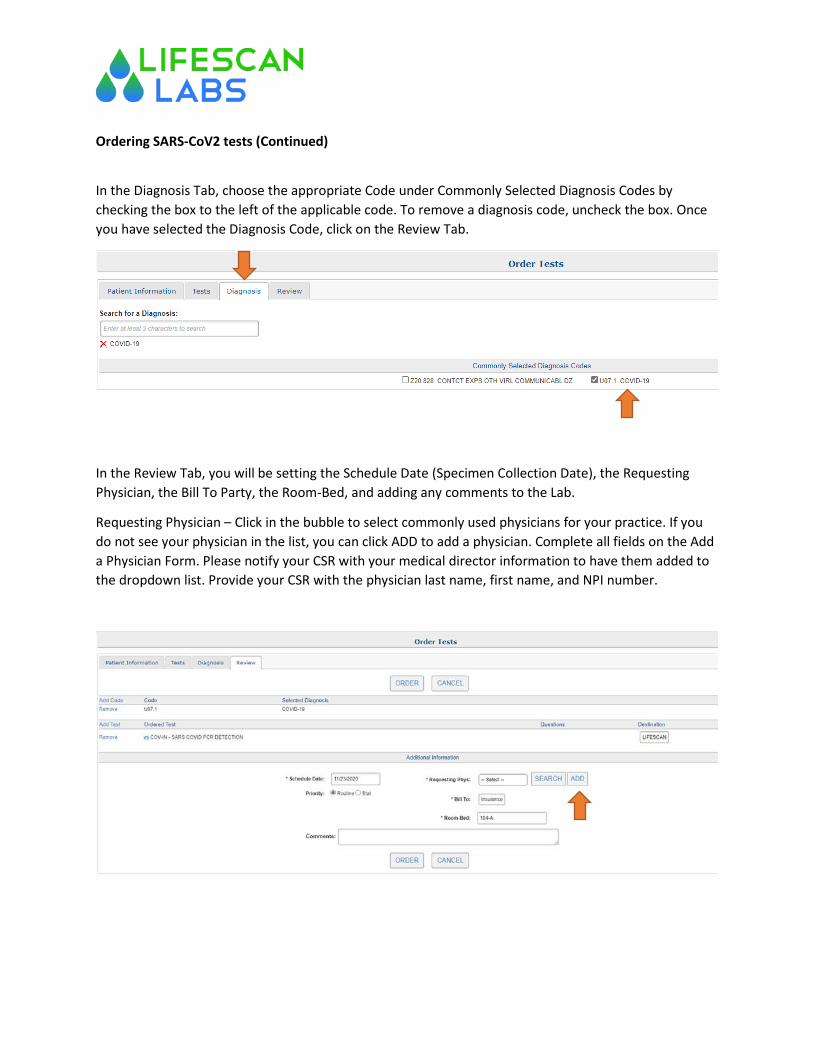
In the Diagnosis Tab, choose the appropriate Code under Commonly Selected Diagnosis Codes by checking the box to the left of the applicable code. To remove a diagnosis code, uncheck the box. Once you have selected the Diagnosis Code, click on the Review Tab.
In the Review Tab, you will be setting the Schedule Date (Specimen Collection Date), the Requesting Physician, the Bill To Party, the Room-Bed, and adding any comments to the Lab.
Requesting Physician – Click in the bubble to select commonly used physicians for your practice. If you do not see your physician in the list, you can click ADD to add a physician. Complete all fields on the Add a Physician Form. Please notify your CSR with your medical director information to have them added to the dropdown list. Provide your CSR with the physician last name, first name, and NPI number.
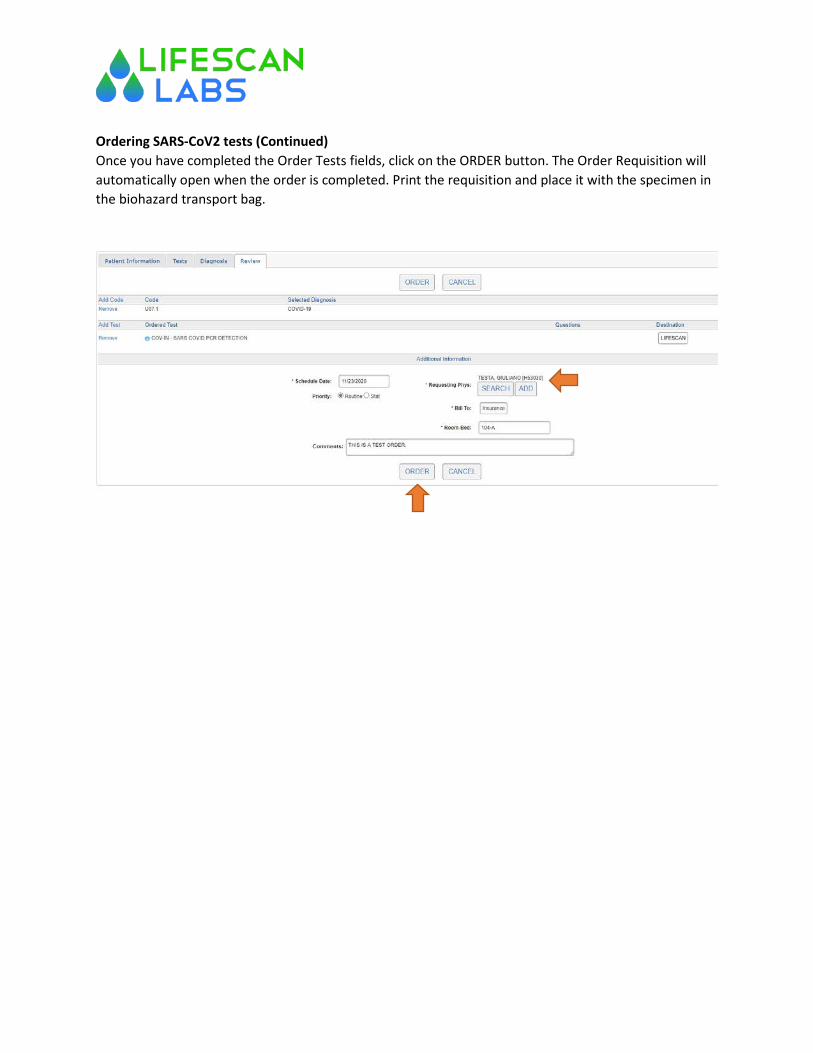
Ordering SARS-CoV2 tests (Continued) Once you have completed the Order Tests fields, click on the ORDER button. The Order Requisition will automatically open when the order is completed. Print the requisition and place it with the specimen in the biohazard transport bag.

Ordering SARS-CoV2 tests (Continued)
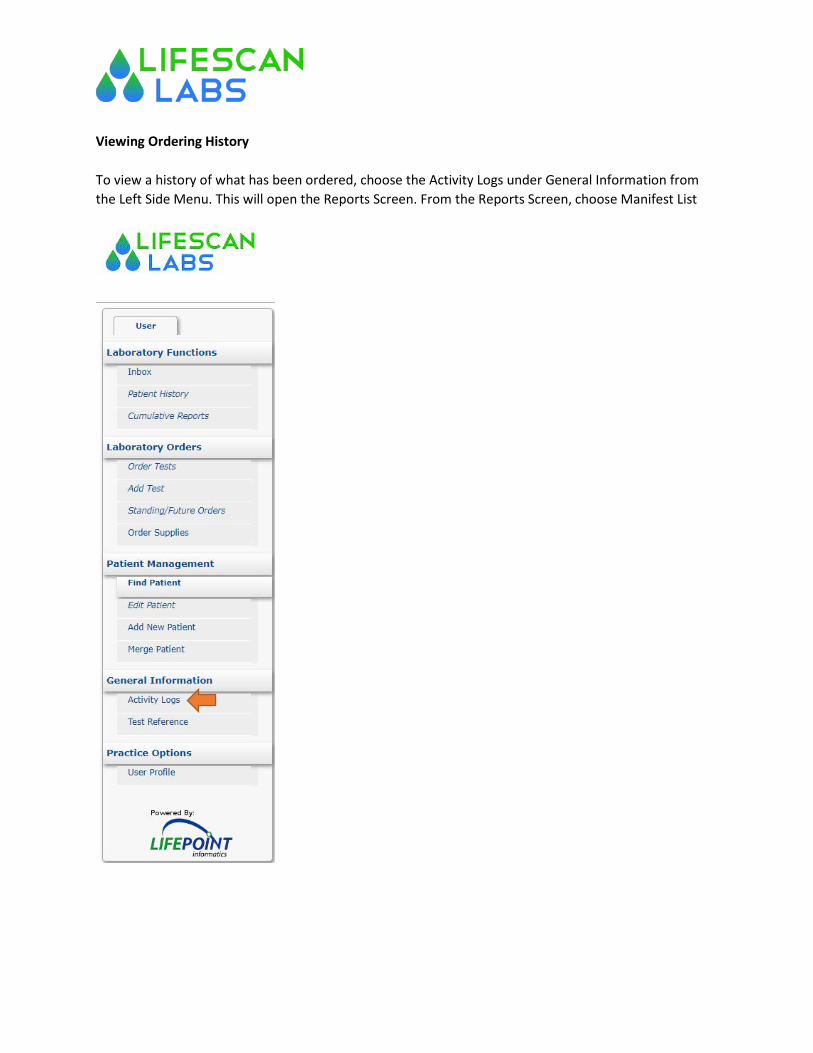
Viewing Ordering History To view a history of what has been ordered, choose the Activity Logs under General Information from the Left Side Menu. This will open the Reports Screen. From the Reports Screen, choose Manifest List
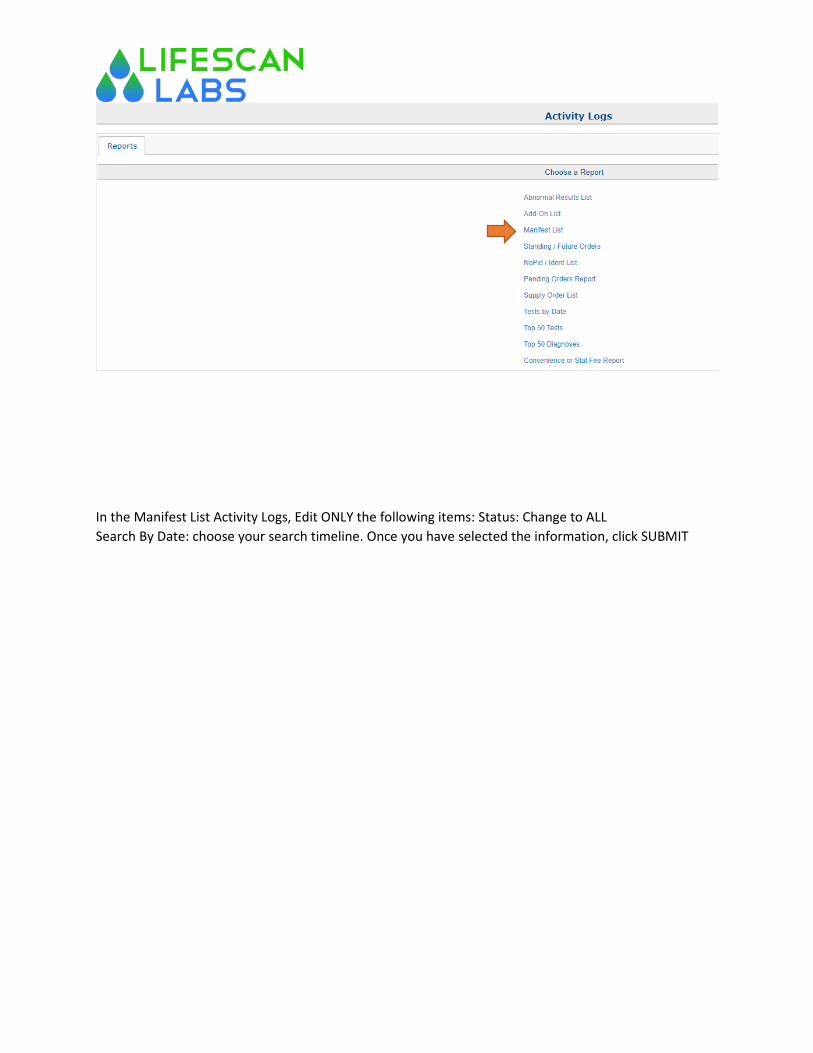
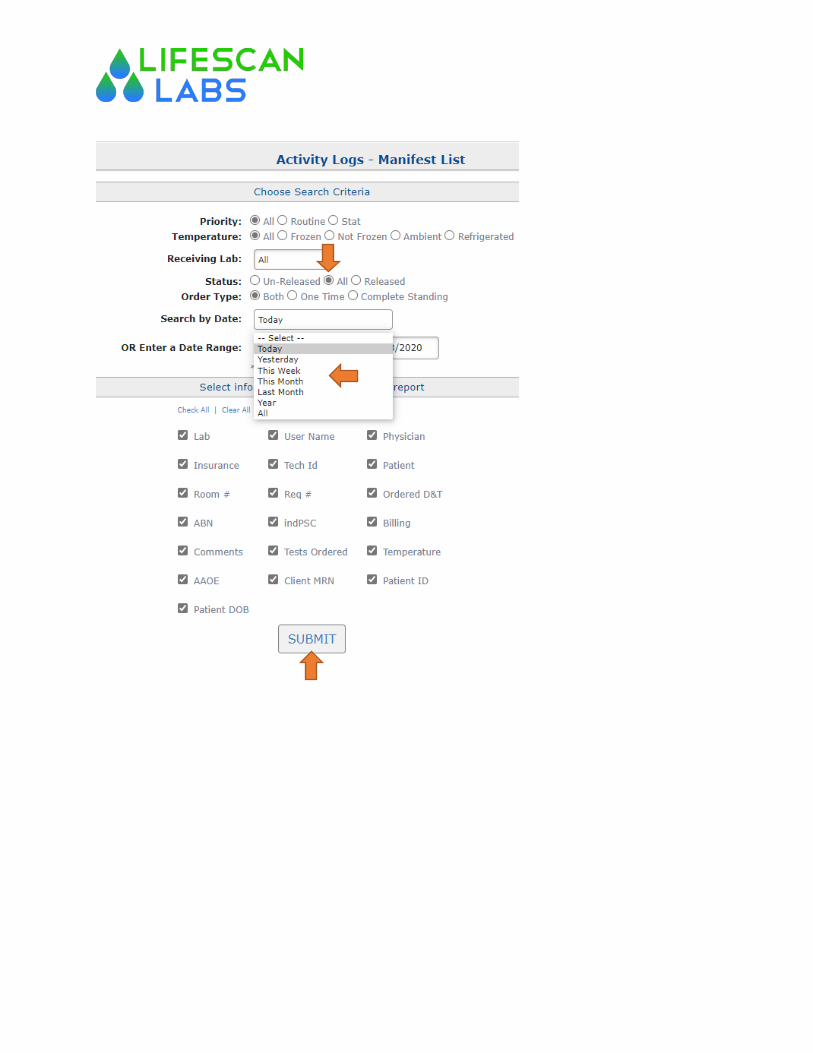
In the Manifest List Activity Logs, Edit ONLY the following items: Status: Change to ALL Search By Date: choose your search timeline. Once you have selected the information, click SUBMIT

You will be presented with a list of activities for the selected timeframe. From this list, you can perform the following tasks; print a manifest, print a requisition, or view a printable report. The most common task in this menu is to reprint a requisition. Simply check the box for the order you want to reprint, and choose Print Manifest from the Choose Action Menu. When you choose Print Requisition, a new window will open with the requisition form you can reprint.