smartboard and notebook part 2 - davidson county schools · click to watch video demo. working with...
TRANSCRIPT

SmartBoard and NotebookPart 2
The SmartBoard is an Interactive Whiteboard that allows you to touch the board and interact with the computer using your finger as the mouse.
4/2009

Floating Tools
SelectPen
HighlighterEraser
LineShapes
Right ClickOnscreen KeyboardNotebook Software
UndoCustomize Tools
When you activate a pen tool, your computer goes into an Ink Layer which will allow you to
draw over the top of what is showing on the desktop.
When you are finished with your drawing you can either Close the Ink Layer by clicking on the Red X in the Top Right Corner
or you can Capture the Ink Layer (Desktop and Drawing Overlay) by clicking on the Camera Icon in the Top Right
Corner and a snapshot will appear in the Notebook Software as a new Page.
Control any program on the computer
Write on anything you have open--creates an overlay
*Click on the pointer (select tool) to use your finger as an interactive
mouse
*Use the Floating Tools & the SMARTboard tools and eraser to
annotate over the top of the desktop or open applications
or
Red X closes the layer

Notebook Software
White Space for Working
ToolBarPop-up Tool
Settings
SideBarPage SorterGalleryFilesTool Properties
Page Navigation and Add Page
Open and Save
Paste
Undo, Redo and Delete
Screen DisplaysScreen Shade, Full Screen, Dual
Display, Screen Capture, Doc. CamText Tool
Select Tool
Pen and Eraser ToolsPen, Magic Pen,
Creative Pen, Eraser
Shapes and LinesLines, Shape, Shape
Recognition, Fill
InsertTable
Tool Properties/
Settings
Whenever you need to see what type a tool is, hold your mouse
over it and a window will appear.
All the tools are above in the toolbar and the resources and
tool properties are in the sidebar.
Toolbar

Sidebars
Page SorterOrganize Pages in a Notebook Presentation
• View• Goto• Reorder• Delete• They can also be
categorized into Groups
GalleryCollections of Resources to add to your pages. Drag and Drop from the Gallery into your page
• Personal Content Collection• Themes• Essentials for Educators -
Images, Backgrounds, Flash Interactive Tools and Pre-created pages categorized by subject
FilesFiles can be saved here for easy access. They can also be dragged from folders on your Hard Drive
• Double Click to Open them in a new Notebook Window
• Use the Buttons at the bottom to insert Hyperlinks for easy Clicking or insert files instead of dragging
PropertiesTool Properties and Settings for the currently selected tool
• Settings can be saved for that tool.
• Some tools have several buttons at the top for different settings for the tools
Window Slider for Window Size
Move Sidebar to Left Side
Navigate and Add Pages
Delete Selected Object

Using the white spaceFull Screen WhiteSpace
When you want your white space to be bigger so students can see better, you can use the Full Screen Option. Click the Full Screen Button and the White Space will Expand leaving you a Small ToolBar with Navigation and other Tool Options plus a button back to the Normal View
*Take notes*Work out problems*Create Presentations*Use images to show/demonstrate/model
Working with textAdding Text***Click the Text Tool to activate the text. Click anywhere in the whitespace and type your text. The Font Settings will be right above the text for you to change Font, Size, Style, etc.
***You can move text around the board when the Select Tool is active. When you need the settings to reappear, Double Click the Text Box. Text Boxes are just like any object; they have the rotate, resize and menu buttons.
The Onscreen Keyboard can also be activated from the Floating Tools.

Handwriting recognition
click to watch video demo

Working with objects Rotate
Menu
Resize
Press and Hold Command Key to select more that one object
*Command Key is the Apple Key on older computers
Making links
You can change the wording of the link but still preserve the link to the URL
Creating LinksYou can add links on your page that link to a website or you can make objects link to websites or other pages.
To access the Link Editor select Link from the Insert Menu or from the Object Menu. Enter the URL of the website.
There are several things you can do with objects. When you select an object you have handles for rotating, resizing and menus. The menus offer many options like duplicating and cloning, locking, grouping, flipping and so on. This give you power and efficiency in creating pages.
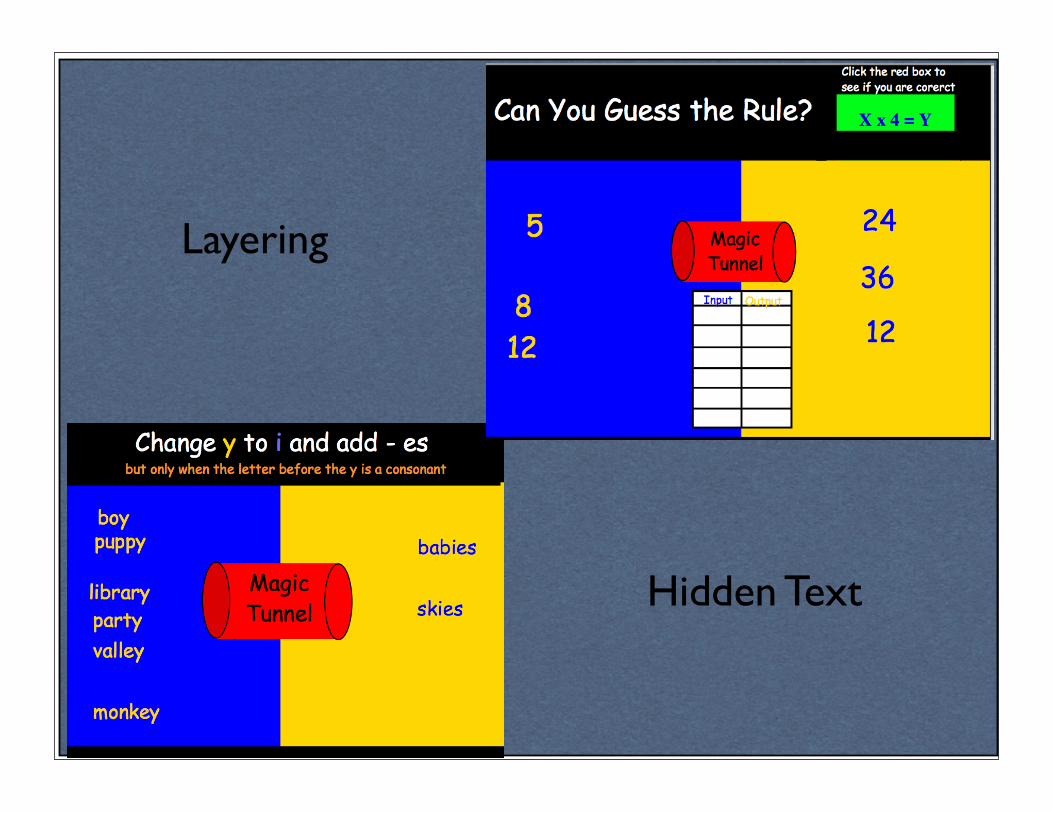
Layering
Hidden Text

Gallery Resources*Essentials for Educators
*interactive resources*backgrounds
*pictures*audio
Lesson Activity Toolkit

Help Center
The Help Center can be very useful whenever you have questions. Select Notebook Software Help from the Help Menu. There are several categories on the left side that you can look through.
There is a list of the tools and descriptions for each in the Notebook Software Help.• Select Smart Tools on the Left Hand Side then Select Smart Tools Again. Select Floating Tools in the list that
appears in the window• There are also several other Tool Tips in the same Smart Tools Area
Smart’s Educator Resources - http://www.education.smarttech.com/ste/en-US/Ed+Resource/
Full of great resources for teachers.
Lesson Activities - Enhance your lessons with hundreds of interactive lesson activities correlated to curriculum standards.
Lesson Resources - Access images, Adobe Flash content and other resources for your SMART Notebook software lessons. * Notebook lesson activities * Senteo question sets * SMART Ideas software activities * Teacher-created Lesson Activities
Online Classroom Resources - A list of websites to find free, curriculum-related resources for your classroom.
Smart Training Center - http://smarttech.com/trainingcenter/tutorials.asp#
Videos to show you how to do tasks in Smart’s Software
SMART Resources

ResourcesMore Cool Sites - http://www.eduscapes.com/sessions/smartboard/ http://exchange.smarttech.com/ (you have to create a user login)
http://technology.usd259.org/resources/whiteboards/smartlessons.htm http://www1.center.k12.mo.us/edtech/SB/SB.html
http://community.teqsmart.org/download.php (you have to create a user login) Download some great notebook templates
*who wants to be a millionaire *calendar time (everything you could think of) *graphic organizers
They also have a bunch of links to use with an interactive board http://community.teqsmart.org/e107_plugins/links_page/links.php
Smartboard Notebook files to download and usehttp://education.smarttech.com/ste/en-US/Ed+Resource/Lesson+activities/Notebook+Activities/
http://technology.usd259.org/resources/whiteboards/smartlessons.htmhttp://teach.fcps.net/trt27/smart_board_lessons.htm
http://www.curriki.org/xwiki/xwiki/view/Coll_smarttech/SMARTCreatedLessonActivities?bc=http://almarolh.googlepages.com/harvey%27shomepage
http://www.schools.bedfordshire.gov.uk/NGFL/IWB/resources.html
Gallery collections (more images, etc)http://www.curriki.org/xwiki/xwiki/view/Coll_smarttech/SMARTCreatedLessonActivities?bc=
After you download these they install in the folder called my content
Interactive websiteshttp://www.davidson.k12.nc.us/education/components/scrapbook/default.php?sectiondetailid=43535
http://www.ettcnsc.org/Instructional_resources/other/interactive_whiteboard_links.htmhttp://www.teacherled.com/category/generalmaths/
http://jc-schools.net/tutorials/interactive.htm