spaces and places: designing classrooms for literacy an interactive book study of debbie diller’s...
TRANSCRIPT

Spaces and Places: Designing Classrooms for Literacy
An Interactive Book Study of Debbie Diller’s popular book of the same title

Why look at classroom space?
• A classroom should be a place where children are valued
• Classroom space impacts instruction and behavior
• Proactive vs. Reactive• More time available to examine instruction
rather than environment• Restructuring classroom space leads to
improved instruction

Have you ever said…..................
• “What do I really need in my room? I keep everything!”• “What can I get rid off?”• “How can I set up literacy centers? I don’t think I have
enough space.”• “Could you help my teachers use their space better?
And possibly help me with my desk?”• “I could teach like that if I had all that room.”• “Those rooms in the videos are so big. No wonder they
look so good.”• “You mean six filing cabinets is too many in my room!’• “But….. I might need it some day!”

QUICK WRITE
How does classroom
environment affect instruction?(2 minutes)

This book is all about
CHANGE!!!!

Don’t be afraid of CHANGE!
• You DO NOT have to be naturally organized to teach like this!
• We can all be “recovering clutterholics”
• Change can happen gradually
• Perfect time for change

WE CAN AND MUST MAKE ROOM FOR
CHILDREN!
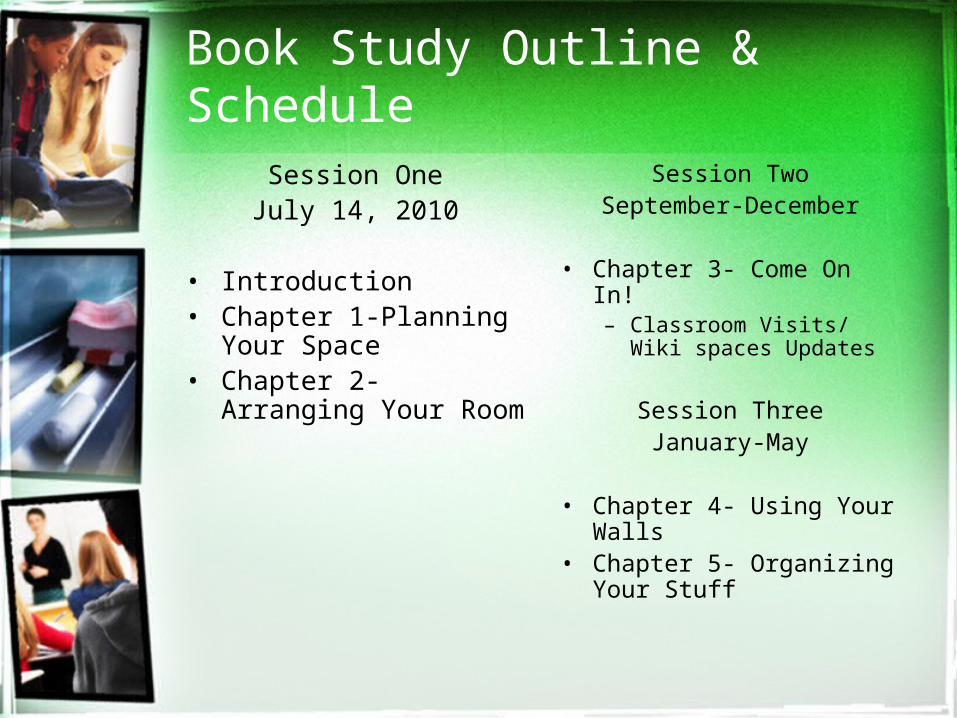
Book Study Outline & Schedule
Session OneJuly 14, 2010
• Introduction• Chapter 1-Planning Your
Space• Chapter 2- Arranging
Your Room
Session TwoSeptember-December
• Chapter 3- Come On In!– Classroom Visits/ Wiki
spaces Updates
Session ThreeJanuary-May
• Chapter 4- Using Your Walls
• Chapter 5- Organizing Your Stuff

Moving from Denial to Acceptance
• Match the true research-based thoughts about classroom space with its corresponding common misconceptions about classroom space
• Place statements in the appropriate column
• Paste statements once activity is completed

Chapter OnePlanning Your Space

Change is hard
Change isn’t easy, but it’s possible.

Step One: Find your sponsor
• Find a buddy to assist you with room setup, someone who is good with space and can look at your room in a new light.
• It’s always easier to approach a task when you have someone working with you
• Step back and let them work
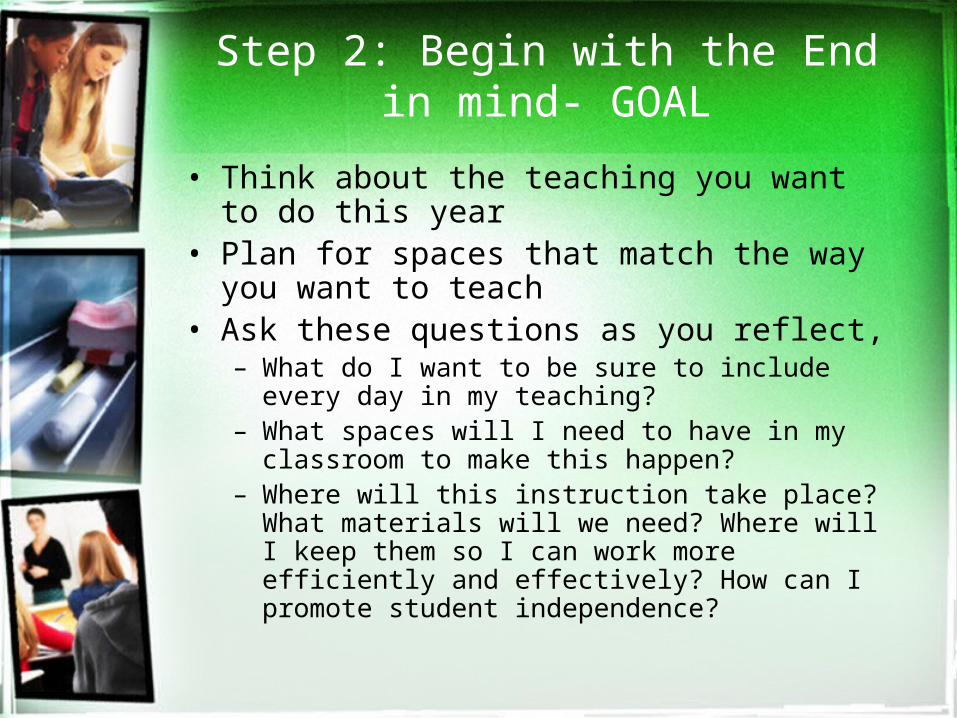
Step 2: Begin with the End in mind- GOAL
• Think about the teaching you want to do this year
• Plan for spaces that match the way you want to teach
• Ask these questions as you reflect,– What do I want to be sure to include every day in my
teaching?– What spaces will I need to have in my classroom to
make this happen?– Where will this instruction take place? What materials
will we need? Where will I keep them so I can work more efficiently and effectively? How can I promote student independence?

Spaces to consider
• Whole group teaching area• Small group teaching area• Classroom library• Word wall• Computers• Teacher desk/work area• Literacy centers/work stations• Student desks/tables• Math materials area• Storage spaces

Step 3: Think about your ideal classroom-DREAM
• Visualize the perfect classroom• Take these things into consideration
– Size of ideal classroom?– Kid’s desk or tables?– Your storage spaces?– Your teaching areas?
Brainstorm/Dream with your partners and add on to your earlier thoughts
(5 minutes)

Step 4: Field Trip
Take a trip to your room and fill out the 2 forms for Planning for
My Space & My Furniture Inventory
(15 minutes)

Let’s Recap
• Step One: Find your sponsor• Step 2: Begin with the end in mind-
GOAL• Step 3: Think about your ideal
classroom-DREAM• Step 4: Field Trip
“The difference between a goal and a dream is a plan”- Anonymous

Things to Consider for your Plan
• Decide where to put your desks last…not first!• Be sure to leave space for students to walk (not
run) from place to place in the classroom• Create space to walk between tables• Make a clear path from whole group to small
group teaching areas• Beware of “dead space”• Be careful not to create a “runway” to your
library that ends in a pile of pillows in the middle of this space

Step 5: Make a Map- Plan!
• Use a 12x18 piece of construction paper• Draw all permanent fixtures on it (windows,
doors, Smart boards, bulletin boards, outlets, etc.)
• Label sticky notes with places you would like to have (one name per sticky note)
• Place the notes on your map and think about the flow of your space (Entrance, Visibility, Dead Space)
• Don’t move ANY furniture until your map is done!
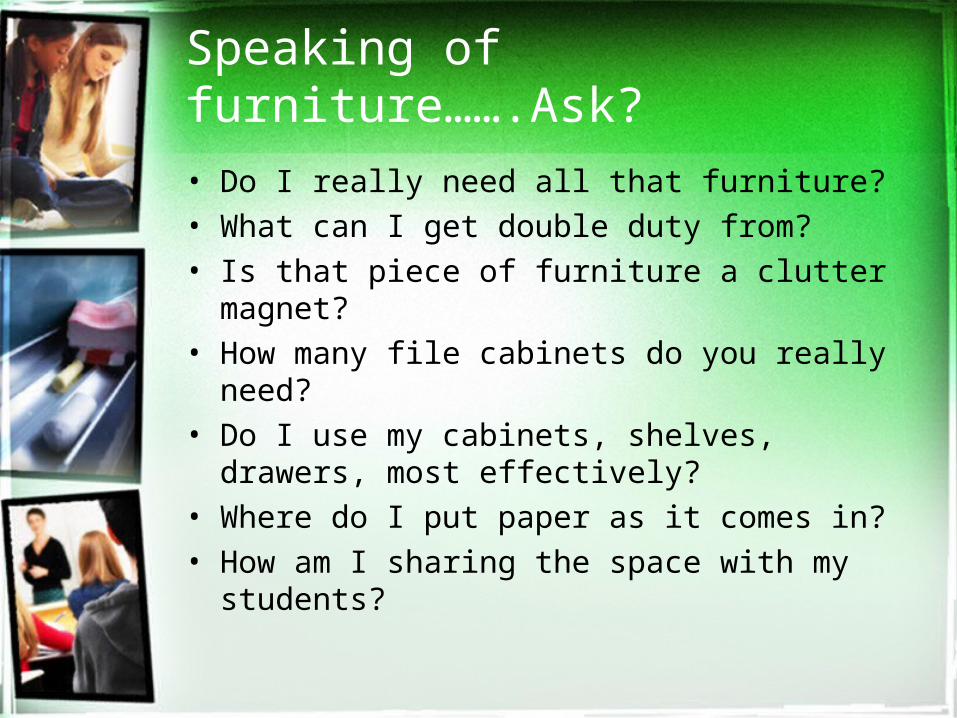
Speaking of furniture…….Ask?
• Do I really need all that furniture? • What can I get double duty from?• Is that piece of furniture a clutter magnet?• How many file cabinets do you really need?• Do I use my cabinets, shelves, drawers, most
effectively?• Where do I put paper as it comes in?• How am I sharing the space with my students?

Consider Ways to Help your Kids be Independent
• Put things where kids can reach them
• Label EVERYTHING! Use pictures and words to help all students
• Let students help you make the labels

“X” the Desk Quiz
• Number your papers 1-6• Answer YES or No to the following questions.• Exchange papers with someone in your group.• Place teacher desk away from entrance and traffic flow• Don’t use the best corner of room for your teacher space.
Share with students-library!• Plan for desk area to be near cabinets or shelves for
storing your stuff• Put a calendar/display board by teacher area for posting
notes or reminders• Provide a space for everything important that will be
handled here (Chapter 3)

Map Time!(15 minutes)

How will you be brave?
• Don’t decorate your classroom… plan for instruction instead!
• Design an attractive, inviting space for kids, but don’t overdo it.
• Choose 2-3 colors to use in your room.• If you use fabric for bulletin boards, use
the same fabric from space to space.• Don’t cover every space on the walls,
leave room for things you will create with your kids! (Under Construction: Coming Soon…Kids’ Work)

Where are you on the Continuum?
• Review the Next Steps/ Things to Try Section• Reader – Read page 35 to the group.• Discuss suggestions• Each group member commit to at least one
thing they will try to implement in their classroom plan
• Recorder- Record each group members’ “number” that they commit to trying
• Reporter – be prepared to share at least one of your group’s strategies with the whole group
• After reflecting, mark where you fall on the continuum

Chapter TwoArranging Your Room
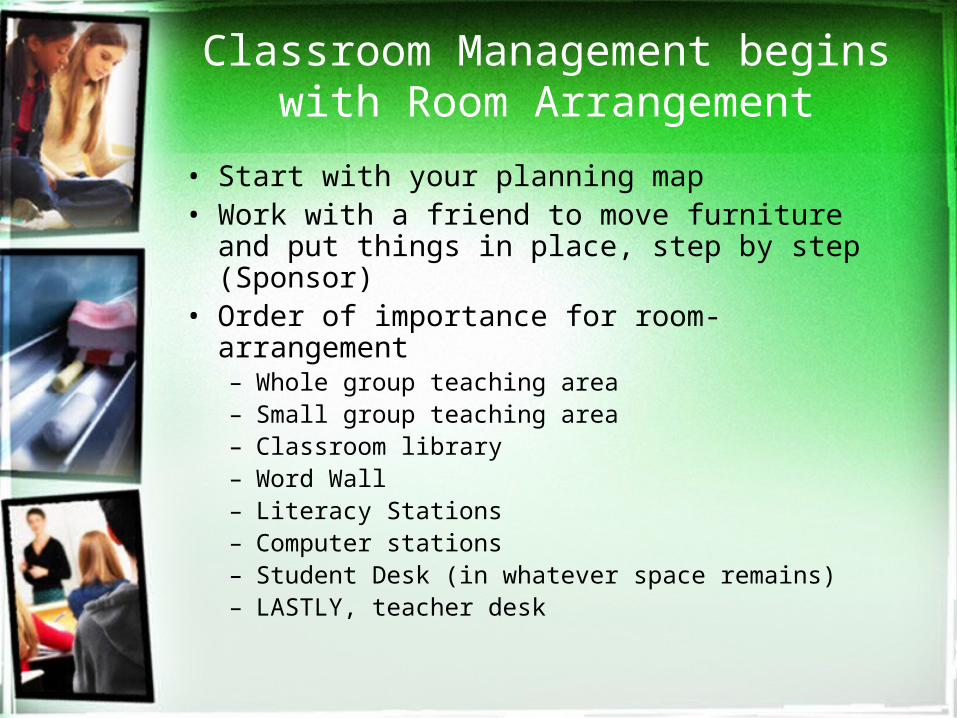
Classroom Management begins with Room Arrangement
• Start with your planning map• Work with a friend to move furniture and put
things in place, step by step (Sponsor)• Order of importance for room-arrangement
– Whole group teaching area– Small group teaching area– Classroom library– Word Wall– Literacy Stations– Computer stations– Student Desk (in whatever space remains)– LASTLY, teacher desk

Desk Arrangement = Message
Jigsaw Activity
(5 minutes)

Before & After
• Observe the pictures as a group and discuss the before and after
• Recorder- Be prepared to share the highpoints from the group’s discussion– Whole group teaching area (pg 47)– Small group teaching area (pg 48)– Classroom library (pg 49)– Word Wall & Writing Station (pg 50)– Computer Stations (pg 51)– Literacy stations (pgs 52-53)– Classroom Entry (pg 54)

DOUBLE DUTY
• File Cabinets- Storage, Magnetic Space for Stations, Letter or Word Sorting
• Teacher Desk- Pocket Chart Station, Poetry Station, Word Building w/ magnetic letters
• Backs of Shelves- Pocket Chart Station, Word Building w/ magnetic letters (after priming w/ magnetic paint, then painting w/ chalkboard paint
• Chalkboard/ Dry Erase Board-Word Wall• Bulletin Board-Displays, Pocket Chart Station
Where are you on the Continuum?
• Review the Next Steps/ Things to Try Section• Reader – Read page 64 to the group.• Discuss suggestions• Each group member commit to at least one
thing they will try to implement in their classroom plan
• Recorder- Record each group members’ “number” that they commit to trying
• Reporter – be prepared to share at least one of your group’s strategies with the whole group
• After reflecting, mark where you fall on the continuum

3-2-1 Wrap Up!
3 things I learned
2 things I still want to learn
1 thing I am going to try TODAY!

Book Study Outline & Schedule
Session OneJuly 14, 2010
• Introduction• Chapter 1-Planning Your
Space• Chapter 2- Arranging
Your Room
Session TwoSeptember-December
• Chapter 3- Come On In!– Classroom Visits/ Wiki
spaces Updates
Session ThreeJanuary-May
• Chapter 4- Using Your Walls
• Chapter 5- Organizing Your Stuff

Be sure to fill out your +/Δ
Enjoy the rest of your summer!!!