spreadsheet user guide - luminant softwareluminantsoftware.com/iphone/spreadsheet_user_guide.pdf ·...
TRANSCRIPT

Spreadsheet User Guide
This document is in now way complete, and only covers some of the questions that are asked more often. If you need to know how to do something not covered here, email [email protected]
Entering Data Page 2
Dragging Data Page 3
Entering an Equation Page 5
Dragging an Equation Page 6
Graphing Page 7
Formatting Page 9
Saving Page 10
WI-FI Sharing Page 11
iTunes Sharing Page 15
Preparing Files for Uploading Page 17

Step 1 Entering Data
Tap cell A1 in the spreadsheet. This will bring up the equation editor, illustrated below.
By default, every cell starts off with an "=". Starting with an "=" makes what you type an equation whose result is to be calculated before it's displayed. Removing the "=" will make the cells contents be treated as text.
When entering numeric data, the equal sign is optional as the value is the same whether the number is calculated or not. For this example, let's enter a 1 without the equals sign, then hit done.

Now, suppose we want to fill in the numbers 2…10 below the 1, giving us 1 to 10 in column A. We could either enter the data cell by cell, like we did with A1, or we can use one of my favorite tools: Drag Formula.
Step 2 Dragging Data
Drag formula lets you take a value or equation and spread it to the cells around it in an intelligent way. To see how it works, go to the Edit menu and scroll down to Drag Formula.

Now tap cell A1, then cell A10 to drag the formula there.
NOTE: when dealing with data - cells entered without an "=", numbers will be incremented when they're dragged. However, when dragging an equation entered with an "=", only the cell references will be dragged.To see how that works, lets enter an equation in cell B1

Step 3 Entering an Equation.
Tap cell B1, then type "2*", and hit the "Show Cells" button.
Showing the cells allows us to enter cell references by just tapping the cell. Let's tap A1, then "*" and A1 again giving us the equation "2*A1*A1".

Then, hit the Keyboard button and Done.
Step 4 Dragging an Equation
Now, let's drag the equation in B1, to fill up B1:B10, just like we did in step 2.

As you can see, each cell in B1:B10 is now twice the square of the cell to it's left. So what can we do with this data? Let's graph it.
Step 5 Graphing
Hit the "Graphs", and then "Make a New Graph"

Fill in the text fields as shown in the screenshot below, to give a nice graph of the values in column B as a function of the values in column A:
Now hit Done to see the graph.
Hitting the Edit button in the upper right lets you edit this graph, and hitting the Back button in the upper left to return to the list of graphs.

In the list of graphs, hitting Edit lets you delete graphs you've made, or Back returns you to the spreadsheet.
Step 6 Formatting
To color cells or format cells, select "Format Area" from the Edit menu.
Then select the cells you want to format, and choose a formatting.

Step 7 Saving
Your spreadsheet is automatically saved whenever you leave the App, but saving lets you create a new graph and then return to your old one. To save, go to the File menu and hit Save.

Enter a file name, we'll use "Example" for this, and the hit done.
Step 8 Sharing
Downloading over WI-FI
Now that we have a spreadsheet filled out, let's try downloading it. Go to the File menu and hit "Import/Export"
Hit "Enable Sharing" to turn on WI-FI sharing


Then go to the address shown from a computer on the same WI-FI network.

Save the file to your desktop
If the browser adds a .txt extension, delete it.
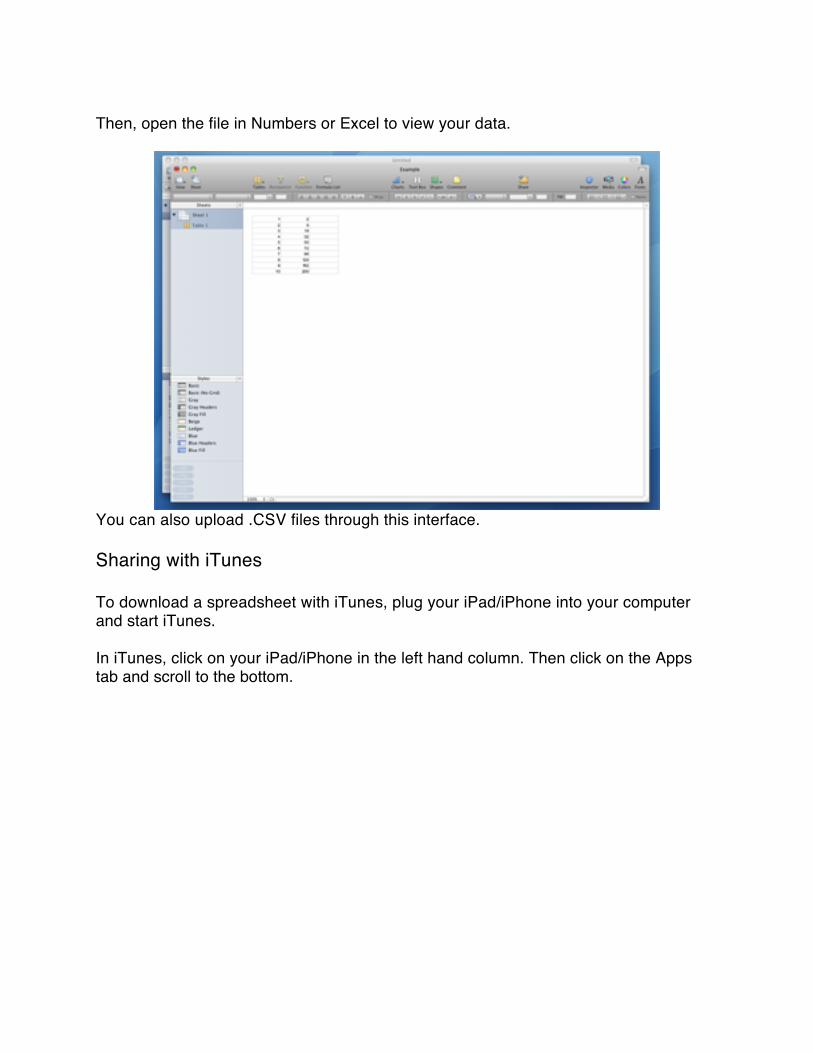
Then, open the file in Numbers or Excel to view your data.
You can also upload .CSV files through this interface.
Sharing with iTunes
To download a spreadsheet with iTunes, plug your iPad/iPhone into your computer and start iTunes.
In iTunes, click on your iPad/iPhone in the left hand column. Then click on the Apps tab and scroll to the bottom.

Hit "Save To…" to download the file, or "Add" to upload a .CSV

Uploading Files
You can upload .CSV files over WI-Fi and through iTunes, but in either case, make sure they're in CSV format first.
In Numbers, you can save a CSV file by hitting "Export" in the File menu, then selecting CSV.

In Excel, you can create a CSV file from the Save As… dialog.
I hope that helps! Thanks for using our Spreadsheet, and if you have any questions not covered here, email us at [email protected]