the estate agent’s 3-part-guide to instruction-winning photospb assets/guides... · the estate...
TRANSCRIPT

The Estate Agent’s 3-Part-Guide to Instruction-Winning Photos
What to do during the shoot
What to do before the shoot What to do during the shoot What to do after the shootGuide published 1st September 2017That’s this Guide!Download part one >>

“When the same property was listed with and without quality images, the agent who put extra care into taking
and editing his photos got 300% more leads."

“An exceptionally beautiful property listing is what your sellers value the most. When asked how they’d like
estate agents to spend their fees, vendors said 49% of the budget should go on creating a beautiful property
advert and promoting it on Rightmove."
Contents
Home staging
Lighting – make your shot bright and airy
Composition – make it look pro
All property photos used in this Guide were taken by KeyAGENT’s professional photographers; many of whom have been shooting for decades. Don’t get disheartened if your photos don’t come out like this; that’s what the pros are for.
The perfect camera settings for property photography
Exterior shots (and weather tips!)
Click on the page numbers to jump straight to the good stuff
Your step-by-step photoshoot
More free resources
PropertyBOX

Remind me what to do before the shoot >>
Now you’ve read part one of this series, which deals with what to do before the shoot, we’re ready to get to grips with the technical parts of more professional-looking property photography.
1 2 3One of the reasons we developed PropertyBOX, the world’s first floor plan and photo enhancing app, was to help you wow your vendors with beautifully edited photos. In this three-part series, we’re going to help you take better photos, so when you run them through PropertyBOX, they come out looking even better.
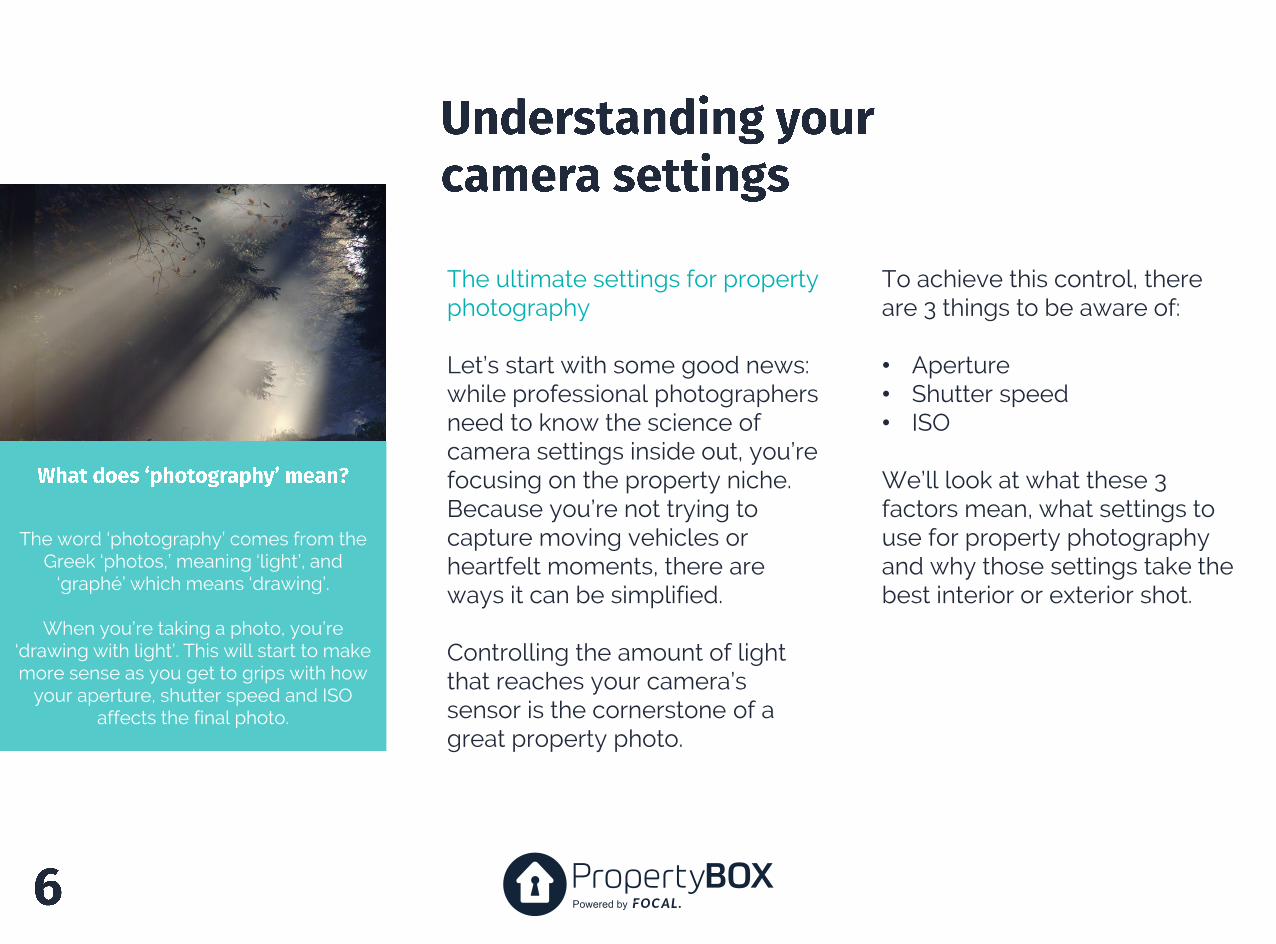
The word ‘photography’ comes from the Greek ‘photos,’ meaning ‘light’, and
‘graphé’ which means ‘drawing’.
When you’re taking a photo, you’re ‘drawing with light’. This will start to make more sense as you get to grips with how
your aperture, shutter speed and ISO affects the final photo.
The ultimate settings for property photography
Let’s start with some good news: while professional photographers need to know the science of camera settings inside out, you’re focusing on the property niche. Because you’re not trying to capture moving vehicles or heartfelt moments, there are ways it can be simplified.
Controlling the amount of light that reaches your camera’s sensor is the cornerstone of a great property photo.
To achieve this control, there are 3 things to be aware of:
• Aperture• Shutter speed• ISO
We’ll look at what these 3 factors mean, what settings to use for property photography and why those settings take the best interior or exterior shot.
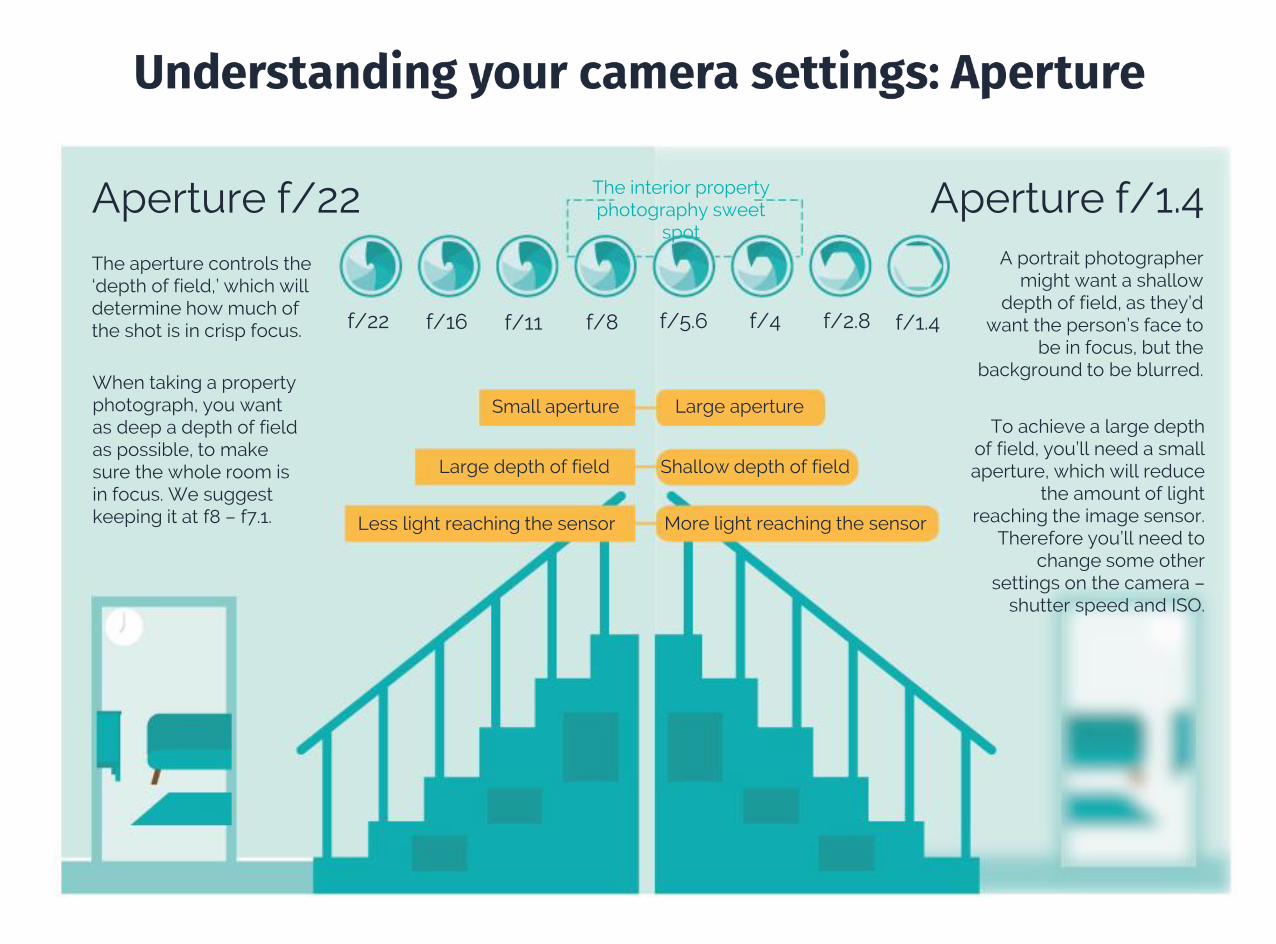
Small aperture Large aperture
Less light reaching the sensor More light reaching the sensor
Large depth of field Shallow depth of field
The interior property photography sweet
spotAperture f/22 Aperture f/1.4The aperture controls the ‘depth of field,’ which will determine how much of the shot is in crisp focus. f/22 f/16 f/11 f/8 f/5.6 f/4 f/2.8 f/1.4
A portrait photographer might want a shallow
depth of field, as they’d want the person’s face to
be in focus, but the background to be blurred.
When taking a property photograph, you want as deep a depth of field as possible, to make sure the whole room is in focus. We suggest keeping it at f8 – f7.1.
To achieve a large depth of field, you’ll need a small aperture, which will reduce
the amount of light reaching the image sensor.
Therefore you’ll need to change some other
settings on the camera –shutter speed and ISO.
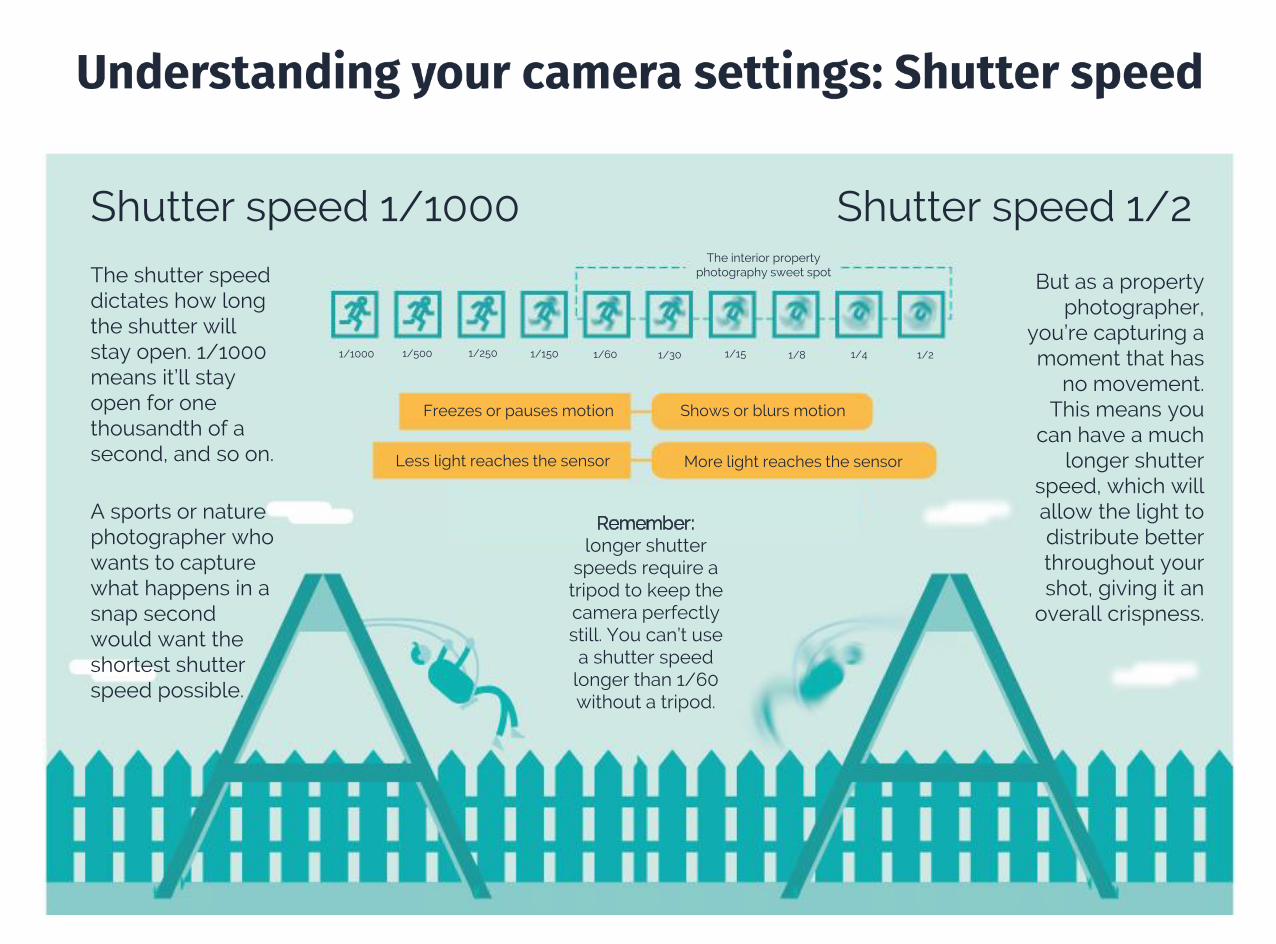
Shutter speed 1/1000 Shutter speed 1/2The shutter speed dictates how long the shutter will stay open. 1/1000 means it’ll stay open for one thousandth of a second, and so on.
A sports or nature photographer who wants to capture what happens in a snap second would want the shortest shutter speed possible.
But as a property photographer,
you’re capturing a moment that has
no movement. This means you
can have a much longer shutter
speed, which will allow the light to distribute better throughout your shot, giving it an
overall crispness.
Freezes or pauses motion Shows or blurs motion
Less light reaches the sensor More light reaches the sensor
The interior property photography sweet spot
1/1000 1/500 1/250 1/150 1/60 1/30 1/15 1/8 1/4 1/2
Remember: longer shutter
speeds require a tripod to keep the camera perfectly still. You can’t use a shutter speed
longer than 1/60 without a tripod.
If you’re wondering how your approach will
change when you’re shooting outside, we’ll cover that further on in
this Guide.
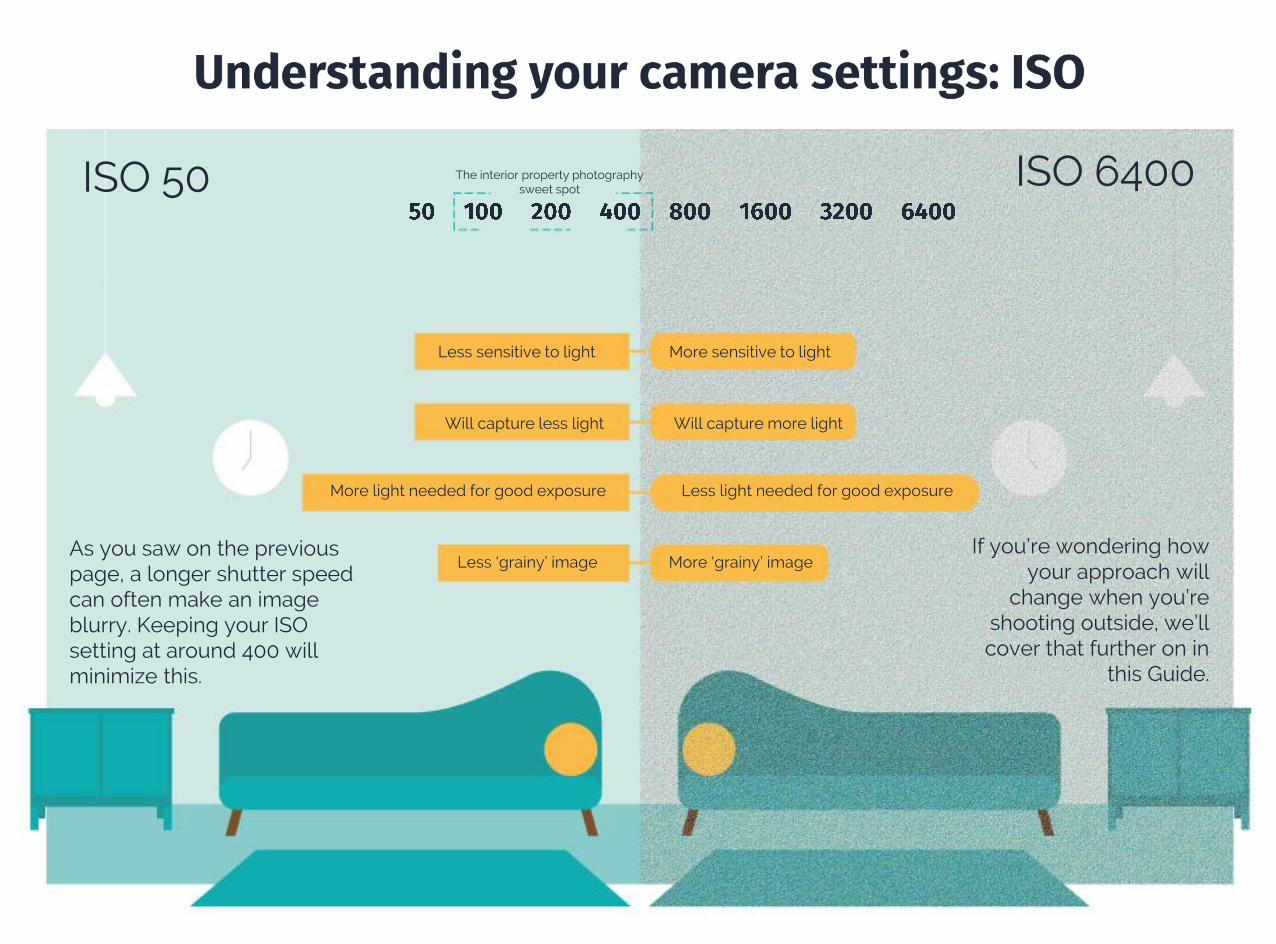
Will capture less light Will capture more light
More light needed for good exposure Less light needed for good exposure
More ‘grainy’ imageLess ‘grainy’ image
The interior property photography sweet spot
Less sensitive to light More sensitive to light
As you saw on the previous page, a longer shutter speed can often make an image blurry. Keeping your ISO setting at around 400 will minimize this.
ISO 50 ISO 6400
remote
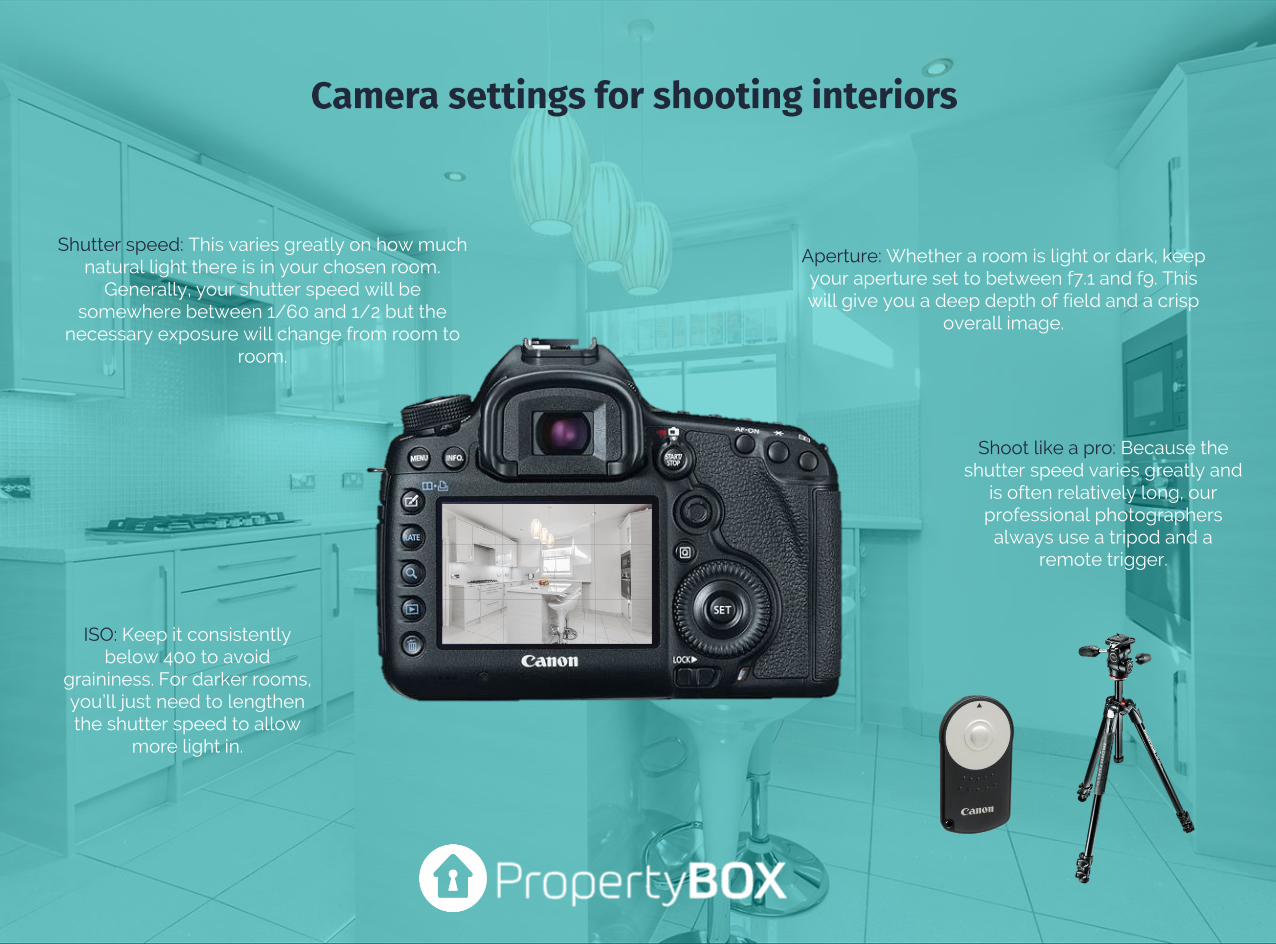
ISO: Keep it consistently below 400 to avoid
graininess. For darker rooms, you’ll just need to lengthen the shutter speed to allow
more light in.
Shutter speed: This varies greatly on how much natural light there is in your chosen room.
Generally, your shutter speed will be somewhere between 1/60 and 1/2 but the
necessary exposure will change from room to room.
Aperture: Whether a room is light or dark, keep your aperture set to between f7.1 and f9. This will give you a deep depth of field and a crisp
overall image.
Shoot like a pro: Because the shutter speed varies greatly and
is often relatively long, our professional photographers
always use a tripod and a remote trigger.
Or you could get PropertyBOX to do it for you >>
It’s better to have a dark (underexposed) photo than a light
(overexposed) one.
Why? Because you can lighten dark, shadowy photos using Photoshop.

You might remember this from part one, but it’s so important that we’re giving it another look.
During the shoot, look out for these repeat offenders:
• Washing on the draining board• Unmade beds• Hand towels left hanging in the kitchen• Random objects such as shoes, cups of tea, shopping bags, dog bowls• Cleaning objects such as mops or pans and brushes• TVs left on• Doors left open• Cars in shots (when they could have been moved)• Bins in front of the property or in the kitchen
If your vendor is home and you notice a particular room isn’t well-presented, ask them if they wouldn’t mind tidying up while you get the other rooms photographed.
Get the Guide >>
Our Estate Agent’s Guide to Home Staging
has more information on how to beautify a home (plus a handy check list).
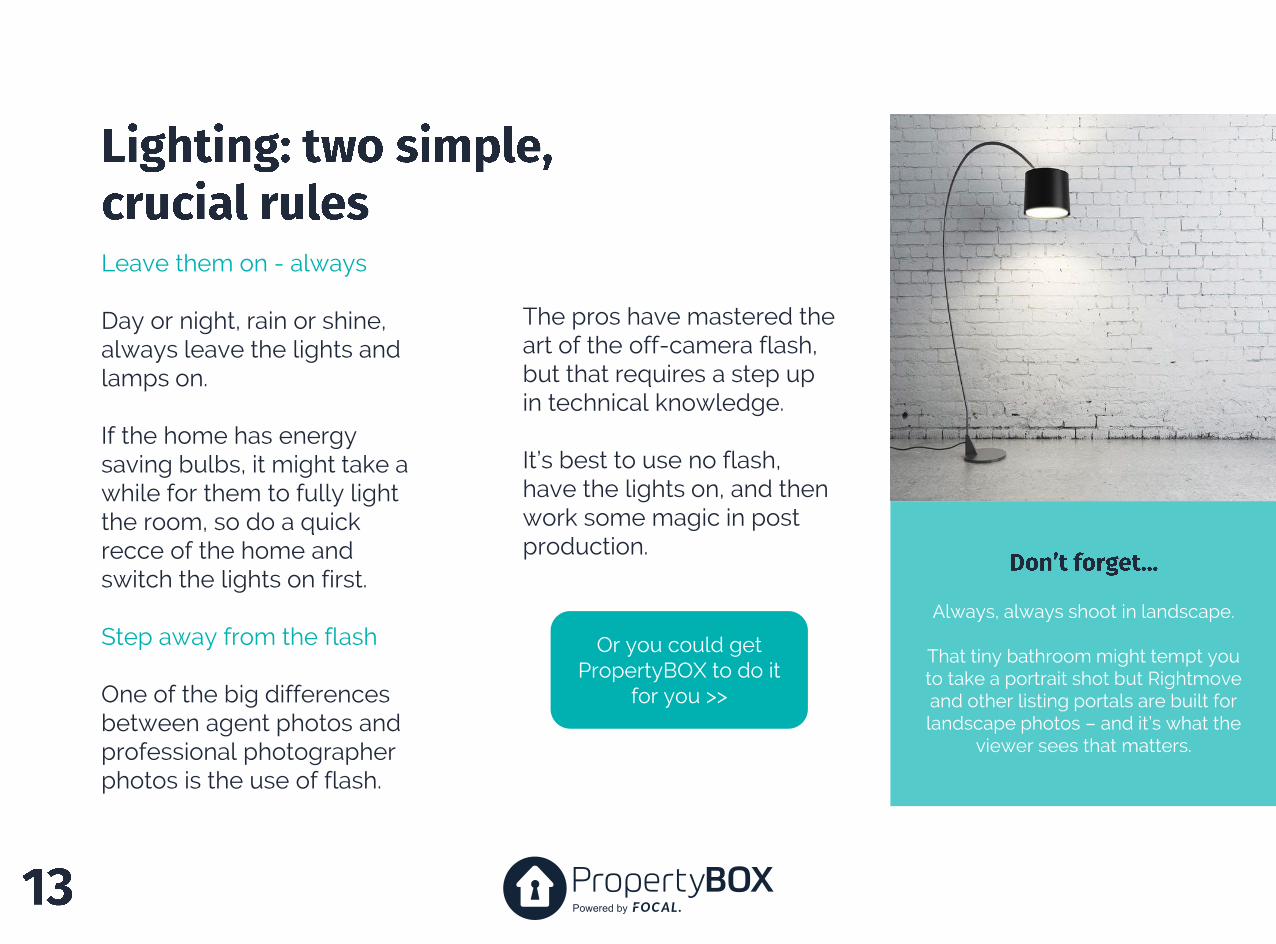
Leave them on - always
Day or night, rain or shine, always leave the lights and lamps on.
If the home has energy saving bulbs, it might take a while for them to fully light the room, so do a quick recce of the home and switch the lights on first.
Step away from the flash
One of the big differences between agent photos and professional photographer photos is the use of flash.
The pros have mastered the art of the off-camera flash, but that requires a step up in technical knowledge.
It’s best to use no flash, have the lights on, and then work some magic in post production.
Always, always shoot in landscape.
That tiny bathroom might tempt you to take a portrait shot but Rightmove and other listing portals are built for landscape photos – and it’s what the
viewer sees that matters.
Or you could get PropertyBOX to do it
for you >>

Getting your best angles
As long as you’re using a wide angle lens, it’s easy to find the perfect angle.
Try to align at least 2 corners of the room in the corners of the frame, so you’ll get three walls in the shot. If you can’t, try aligning the shot with the corner of a door or window frame.
Try and get a window in the shot. It’ll make the room feel brighter, airy and more spacious.
Keeping your camera level, and perpendicular to the floor, will get the most professional-looking shot.
Not only does that help with composition, but it helps keep the vertical lines in the image straight, minimising the amount of time you spend editing (if you’re not already getting PropertyBOX to edit the photos for you).
Shoot from the corner of a room to get more of the room in the picture. Don’t shoot face-on to a wall unless there’s a specific reason to do so; it can make the room feel cramped.
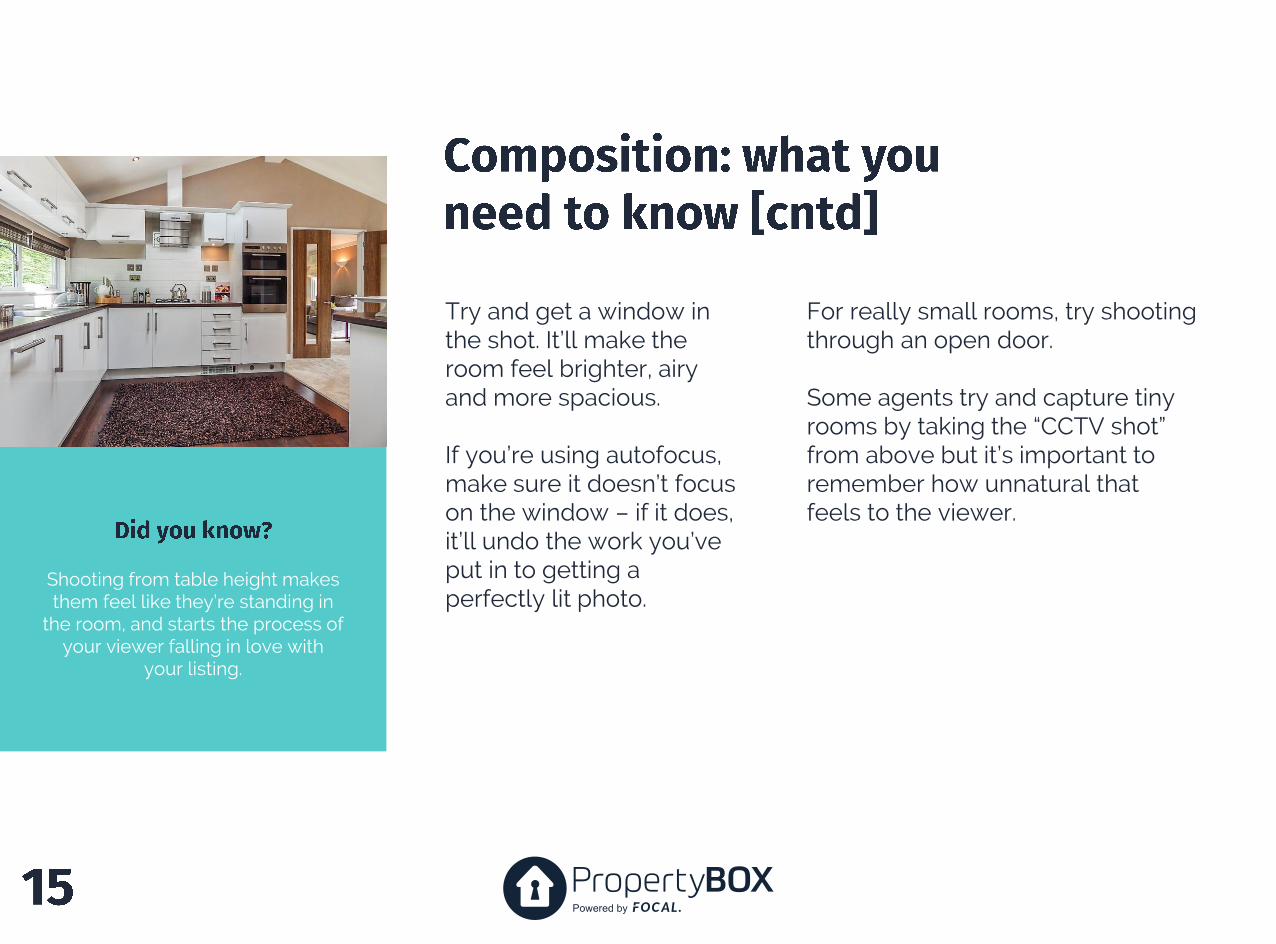
Try and get a window in the shot. It’ll make the room feel brighter, airy and more spacious.
If you’re using autofocus, make sure it doesn’t focus on the window – if it does, it’ll undo the work you’ve put in to getting a perfectly lit photo.
Shooting from table height makes them feel like they’re standing in
the room, and starts the process of your viewer falling in love with
your listing.
For really small rooms, try shooting through an open door.
Some agents try and capture tiny rooms by taking the “CCTV shot” from above but it’s important to remember how unnatural that feels to the viewer.
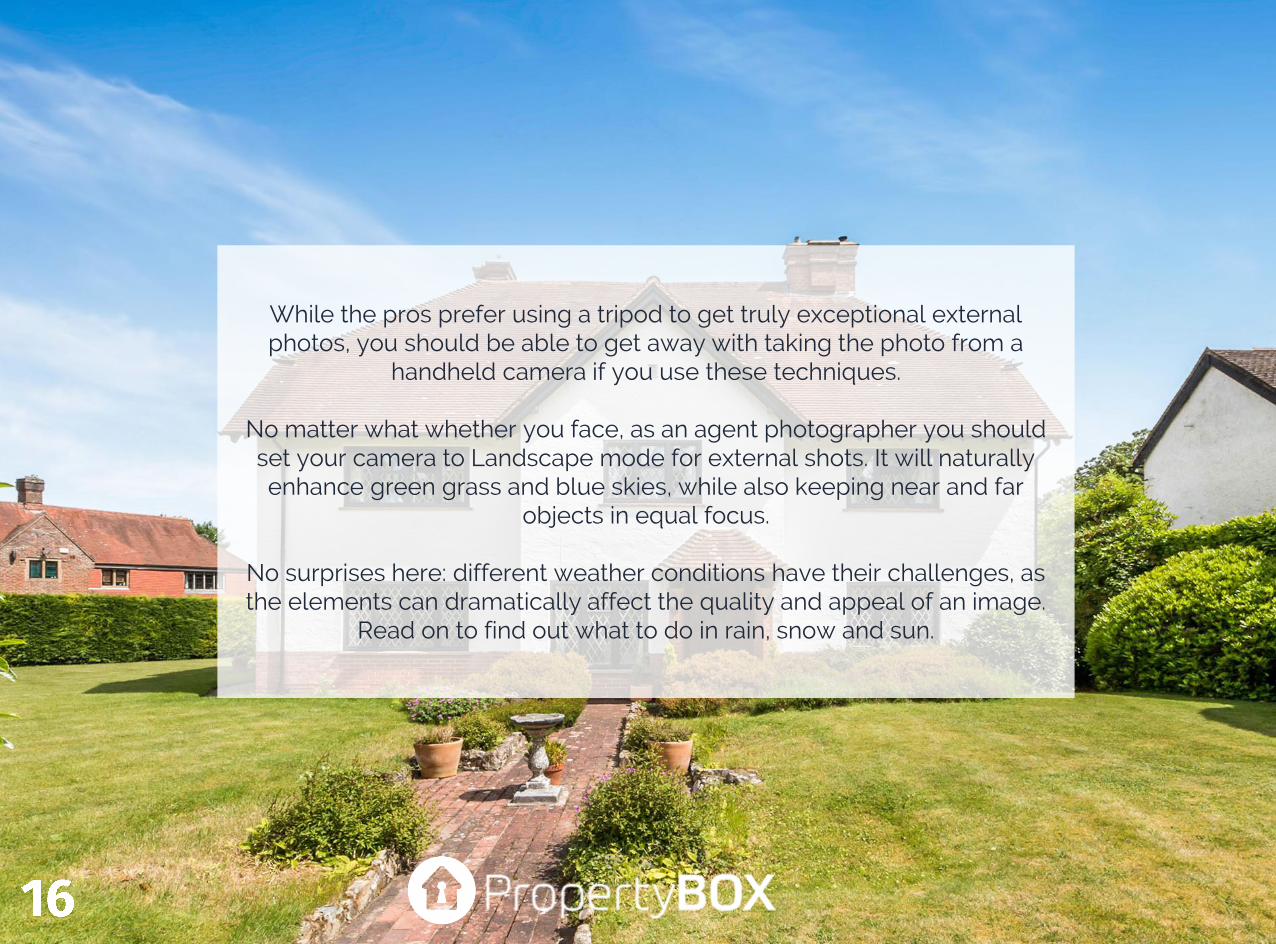
While the pros prefer using a tripod to get truly exceptional external photos, you should be able to get away with taking the photo from a
handheld camera if you use these techniques.
No matter what whether you face, as an agent photographer you should set your camera to Landscape mode for external shots. It will naturally enhance green grass and blue skies, while also keeping near and far
objects in equal focus.
No surprises here: different weather conditions have their challenges, as the elements can dramatically affect the quality and appeal of an image.
Read on to find out what to do in rain, snow and sun.

Sunny days: perfect for days in the park, but a bit of a nightmare for a property photoshoot. Direct sunlight gives extreme highlights and dark shadows, and the contrast makes editing difficult (which is particularly annoying if you’re doing your own editing).
3 tactics to try:
Your best option is to focus directly onto the house or garden. However, on really bright days, you’ll find the sky might become overexposed. You can sort that out in post production – we’ll share our tips in the next ebook in this series.
If that doesn’t work, try focusing on the sky before readjusting your aim back to the house or garden.
Another option is to focus on a dark shadow, then readjust your aim back to the house.
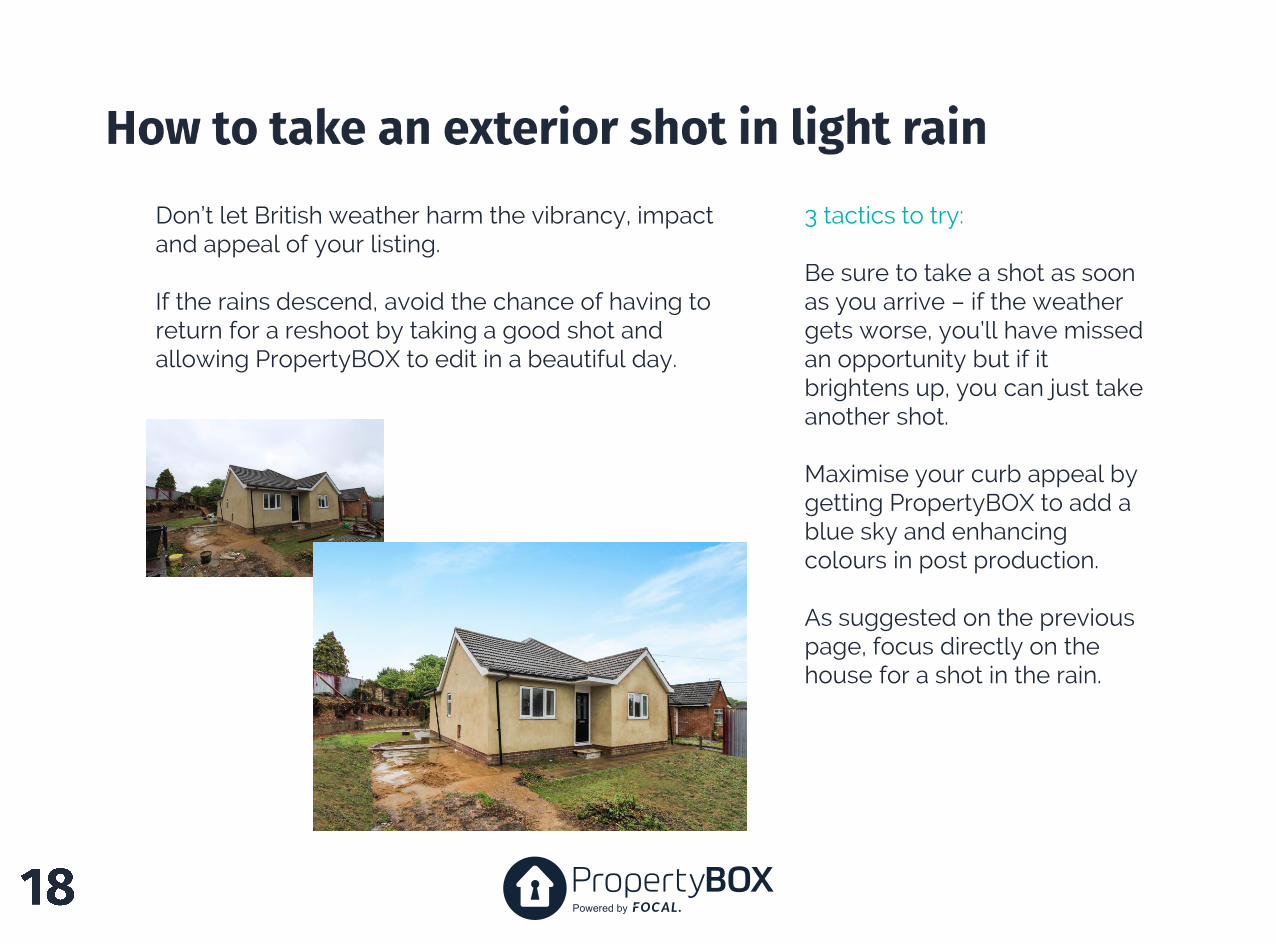
Don’t let British weather harm the vibrancy, impact and appeal of your listing.
If the rains descend, avoid the chance of having to return for a reshoot by taking a good shot and allowing PropertyBOX to edit in a beautiful day.
3 tactics to try:
Be sure to take a shot as soon as you arrive – if the weather gets worse, you’ll have missed an opportunity but if it brightens up, you can just take another shot.
Maximise your curb appeal by getting PropertyBOX to add a blue sky and enhancing colours in post production.
As suggested on the previous page, focus directly on the house for a shot in the rain.

Step oneTake the first exterior shot.
Step twoDo the final bits of home staging.
Step three Set your aperture (f7.1-f9), shutter speed (around 1/60 if you’re not using a tripod) and ISO (around 400).
Step fourStand in the corner, crouch down until the camera is at table height and align your shot.
Step fivePress the shutter!
Step sixCheck your shots, adjust your settings if you think it’s necessary.
Step sevenRepeat to cover every room in the house.
Step eightTake the final exterior photos (if the weather has improved).
Exteriors
Front, straight onFront, at an angle Rear, straight onRear, at an angle
Looking out
Interiors
KitchenBedroom(s)
Reception room(s)Bathroom(s)
….and every other feature or room that makes the property beautiful.
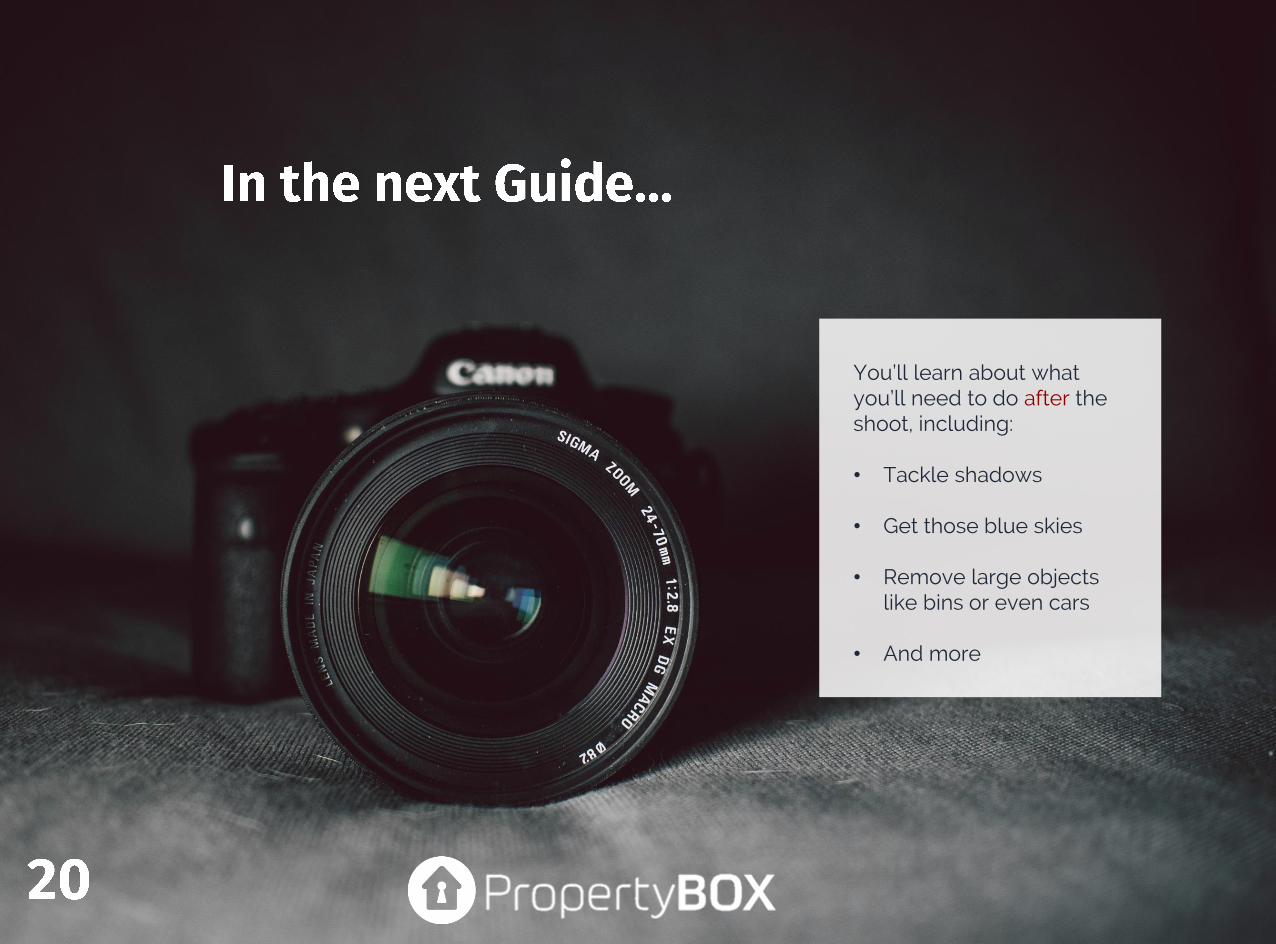
You’ll learn about what you’ll need to do after the shoot, including:
• Tackle shadows
• Get those blue skies
• Remove large objects like bins or even cars
• And more
Congrats! By reading this Guide, you've taken the first step towards
better property photography.
PropertyBOX, the world's first floor plan and photo enhancing app will help you take the
next step.
With rapid file processing, it quickly delivers digitised, enhanced and ready-to-use images.
Take the next step >>
Get the Estate Agent’s Guide to Home Staging >>
Sign up to the KeyAGENT blog [voted 17th best in the world] >>
Get access to PropertyBOX >>
Get part 1: What to do before the shoot >>
PropertyBOX