the facebow record dr. richard g. stevenson iii. the facebow record
TRANSCRIPT

The Facebow Record
Dr. Richard G. Stevenson III

THE FACEBOW THE FACEBOW RECORDRECORDTHE FACEBOW THE FACEBOW RECORDRECORD

Purpose
• To accurately mount the maxillary cast to articulator

Upper Bow
BiteforkTransfer Jig Assembly
Articulator Index
Incisal Pin
Fossa
Centric Latch
Mounting Plate (ring)

Facebow Transfer
• Establishes the relationship between the maxillary arch and the horizontal plane.
• Transfers this this relationship to the articulator.
• Provides for an accurate mounting of the maxillary cast to the articulator.


Articulator
• (ar tik ye la ter), n. 3. Dentistry. a mechanical device, representing the jaws, to which casts may be attached: used in the making of dentures. [1770-80; ARTICULATE + OR2]

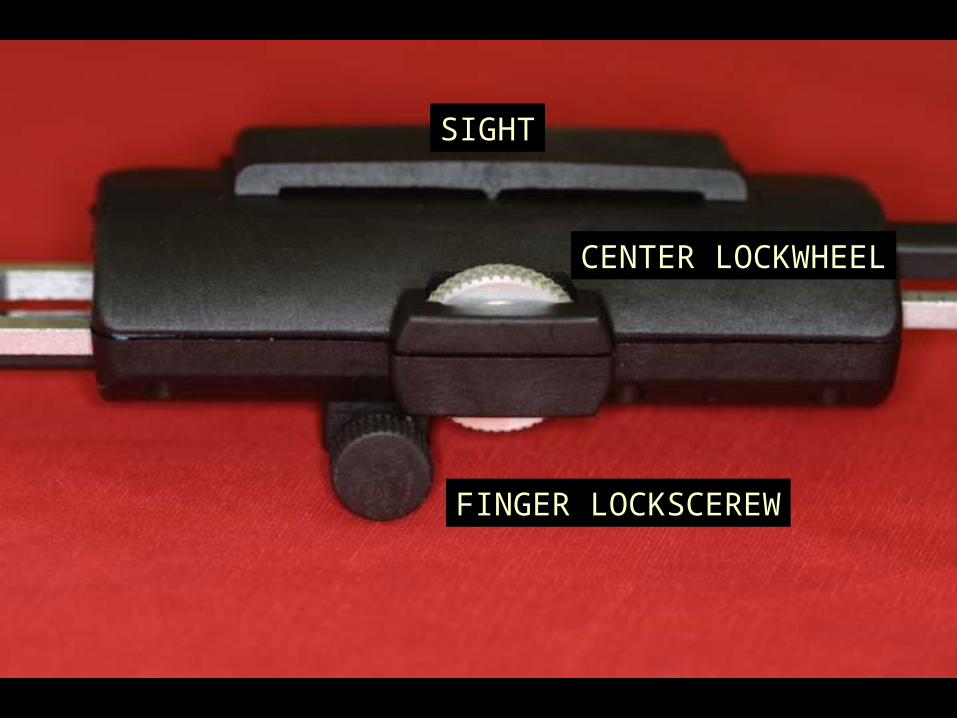
Slidematic Measuring Bowcomponents
• Earplug
• Anterior reference pointer
• Intercondylar distance scale
• Finger lockscrew
• Center lock wheel
• Sight
• Reference plane locator and marker

EAR PLUGS
ANTERIORREFERENCE POINTER
SLIDEMATIC FACEBOW
CENTER LOCKWHEEL
FINGER LOCKSCEREW
SIGHT
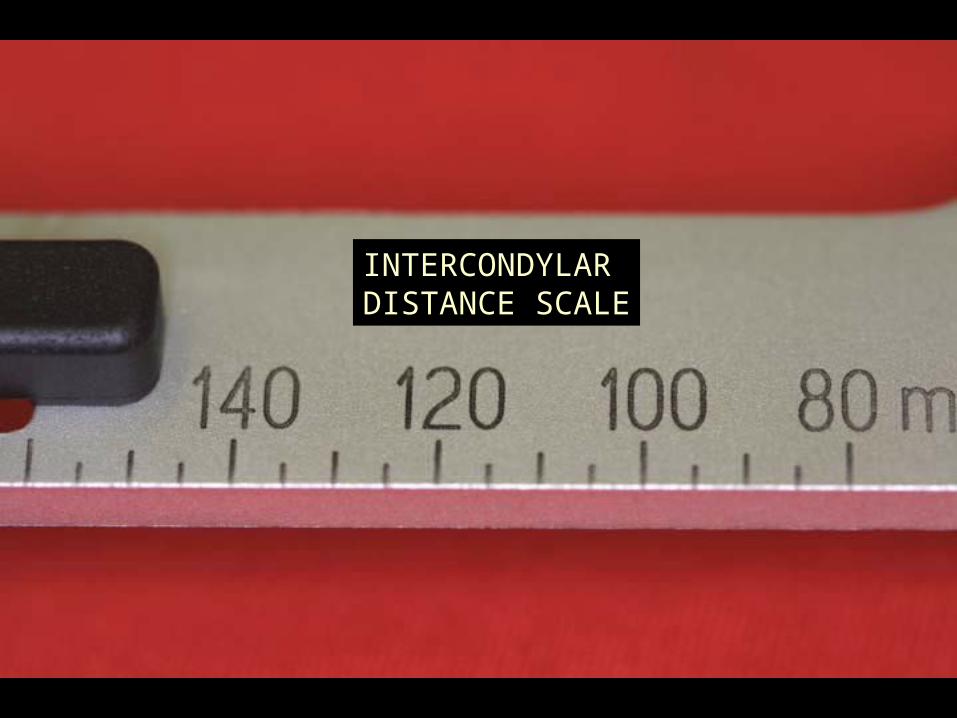
INTERCONDYLARDISTANCE SCALE
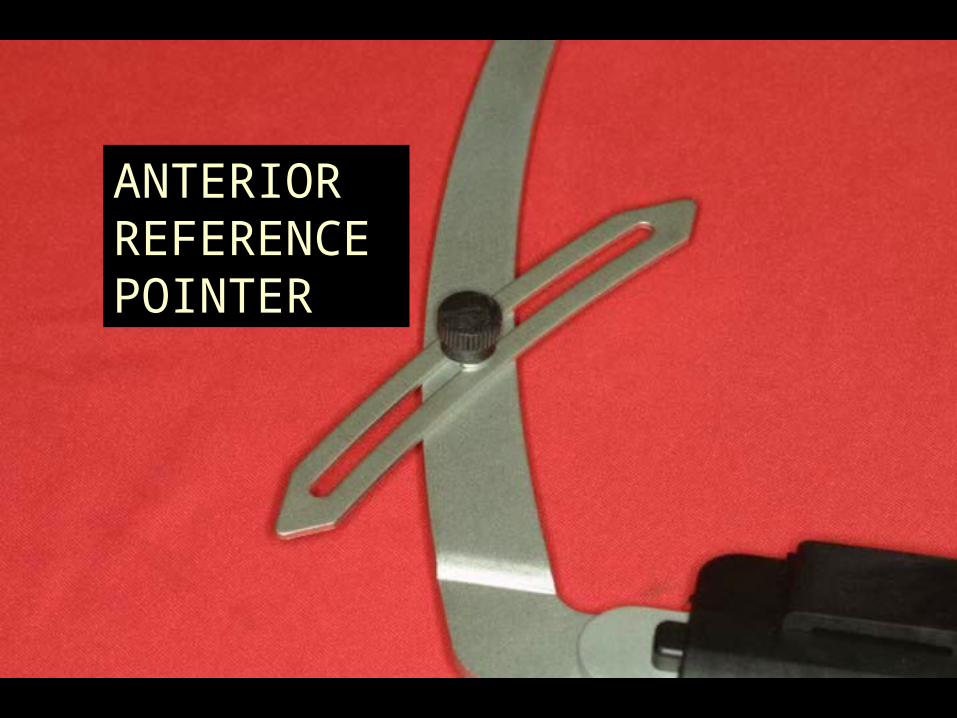
ANTERIORREFERENCE POINTER

Transfer Jig Assemblycomponents
• Bitefork
• Vertical shaft
• #1 and # 2 clamps
• Finger screws
• Articulator index

BITEFORK
ARTICULATORINDEX
VERTICALSHAFT
CLAMP #2 CLAMP #1
FINGER SCREWS
TRANSFER JIG ASSEMBLY

ProcedureProcedureProcedureProcedure

Facebow Landmarks
• External auditory meatus– Arbitrary hinge axis location
• Anterior reference point
• Maxillary arch

Procedure
• Mark anterior reference point– 43 mm above incisal edge of tooth # 7 or #8

43 mm

Procedure
• Cover bitefork with 2 layers of softened baseplate wax– Use warm water (135 degrees)


Procedure
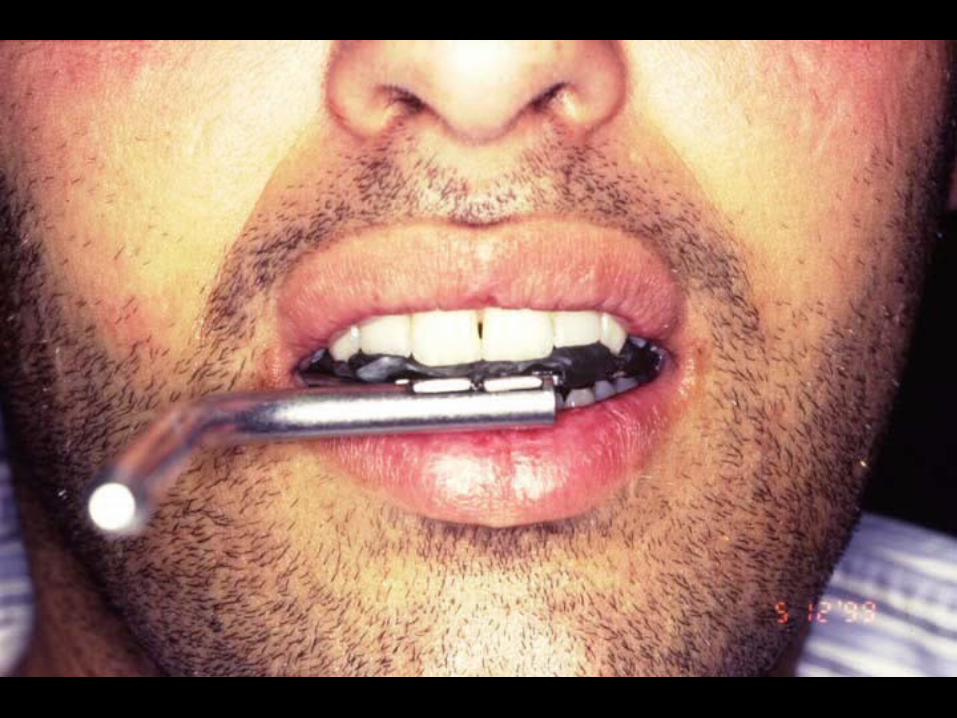
• Insert fork in mouth with the arm to the patient’s right– Align midline with index notch– Keep fork horizontal


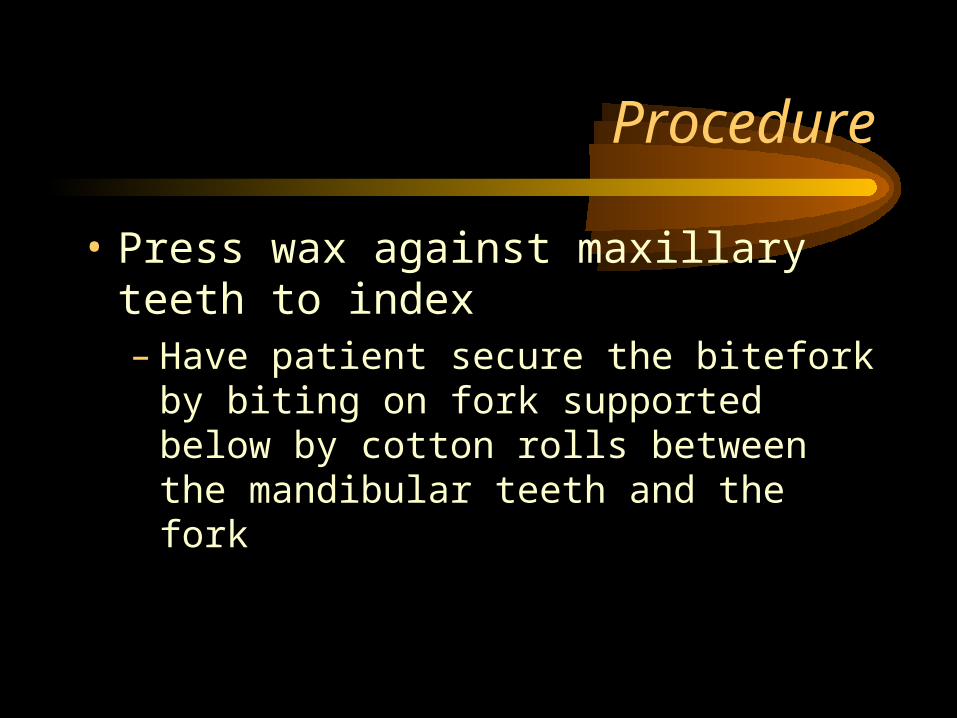
Procedure
• Press wax against maxillary teeth to index– Have patient secure the bitefork by biting on
fork supported below by cotton rolls between the mandibular teeth and the fork
Procedure
• Attach the vertical shaft to the measuring bow– #2 clamp to patient’s right– Tighten finger screw

Procedure
• Prepare bow and transfer jig – Loosen screws #1 and #2 on clamps– Loosen bow center wheel with thumb– Slide bow open


Procedure
• Assemble facebow on patient– Slide bitefork arm through hole in clamp #2– Place earpiece in ears– Tighten center wheel– Loosen anterior reference pointer screw and
points towards reference mark on face


Procedure
• Assemble facebow on patient– Raise or lower bow to align with anterior
reference mark– Tighten clamp #1– Tighten clamp #2– Record intercondylar distance
Care must be taken to support vertical arm while tightening clamps


Procedure
• Remove facebow and transfer jig assembly from patient– Loosen center wheel and open bow


Procedure
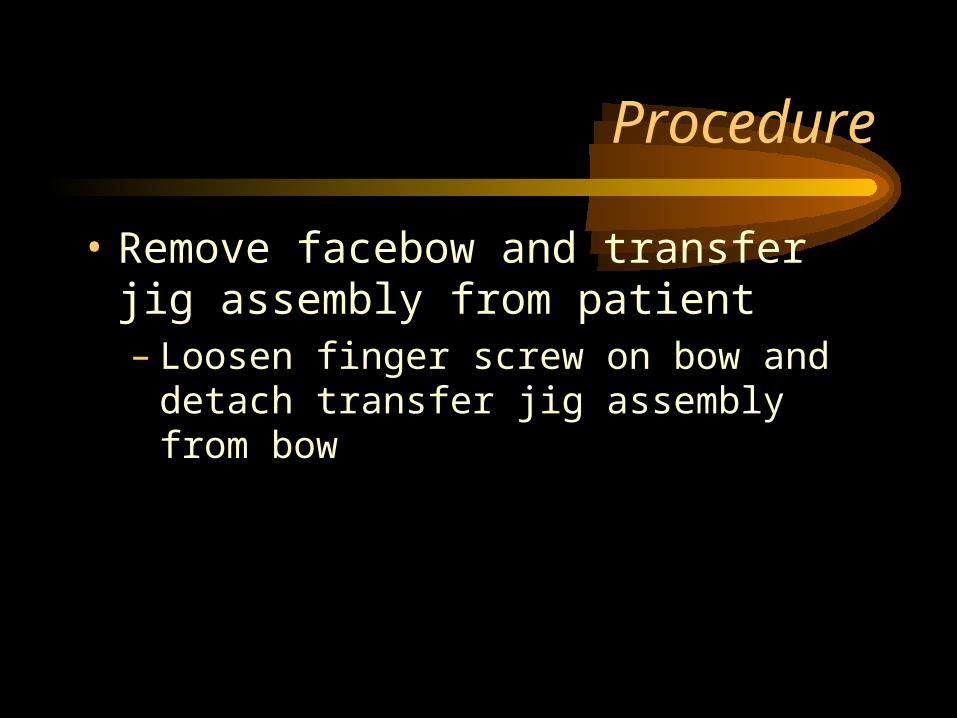
• Remove facebow and transfer jig assembly from patient– Remove from patient


Procedure
• Remove facebow and transfer jig assembly from patient– Loosen finger screw on bow and detach transfer
jig assembly from bow


Procedure
• Remove facebow and transfer jig assembly from patient– Keep in safe place for mounting cast later


