the pillowcase project - ymiclassroom.com | free lesson...
TRANSCRIPT
Presenter’s Guide
The Pillowcase ProjectLearn. Practice. Share.
2
VisionTo create a generation of children who understand the science of hazards, are empowered to take action by practicing how to prepare for emergencies, and understand that by sharing what they have learned with family and friends, they can help create a prepared community.
Project GoalsThe Pillowcase Project is a multiyear effort that aims to:
• Increase youth awareness of hazards and the importance of personal preparedness.
• Build skills in hazard-specific protective actions to reduce the impact of emergencies on youth and their families.
• Increase coping skills to manage emergencies and build resilience in youth.
• Increase household preparedness levels.
• Incorporate preparedness education into the elementary school curriculum.
Target AudienceThe Pillowcase Project is designed for use with 3rd graders, age 8-9. The program has been reviewed by 3rd grade teachers and tailored to 3rd grade reading skills and learning abilities. The program may be adapted for use with students in 2nd and 4th grade.
Learning ObjectivesStudents who participate in The Pillowcase Project will be able to:
• Use their knowledge to act as advocates/ambassadors for emergency preparedness by practicing readiness activities and sharing information, especially with their families.
• Identify which protective actions to take during an emergency that could strike their home or community and practice those skills with others.
• Describe how to use appropriate coping skills to manage stress and anxiety in emergency situations and every day.
Notes to Presenters: Understanding the Pillowcase Project
• Discover increased self-efficacy through hands-on experience with preparedness activities such as creating a plan and making a kit for themselves and with their families.
• Create an enhanced sense of community through collaborative problem-solving activities that demonstrate the benefits of working together toward emergency preparedness.
• Discuss the role science plays in emergency preparedness.
• State the work of the American Red Cross in their community.
Planning Your PresentationThe Pillowcase Project can be presented at schools and in community-based settings, such as afterschool programs and summer camps. It is recommended that you present the program to groups of 20-30 students. Guidelines for delivering the presentation to large groups will be available in early 2014.
The standard Pillowcase Project presentation requires 60 minutes. This guide contains tips for shortening or lengthening the presentation to meet special circumstances, but you should plan for a 60 minute presentation wherever possible.
The program presenter should be a trained Red Cross paid staff or volunteers. At this time, the program is not meant to be taught independently of Red Cross chapters by school teachers or other youth program personnel who are not affiliated with the Red Cross. Chapters are encouraged to involve all Red Cross volunteers, such as Disaster Assistance Teams, Disaster Mental Health volunteers, Tiffany Circle members, and corporate and non-profit partner volunteers who are in the Red Cross Volunteer Connection database. The recommended ratio is two Red Cross staff/volunteers for every 30 students.
3Presenter’s Guide
Presentation OverviewThe Pillowcase Project presentation core curriculum includes:
• Home fire preparedness.
• A large-scale emergency that you choose depending on the hazards most prominent in your region. Use the appropriate Local Hazard Supplement for this part of your presentation. (Supplements are available for download at ymiclassroom.com/the-pillowcase-project.)
Note: Your presentation on home fire preparedness and a large-scale emergency will follow three essential teaching steps:
• Learn: provide students with basic information about the emergency and instruct them in the key protective actions.
• Practice: lead students in a Practice Activity, which uses physical action to reinforce what students have learned.
• Share: engage students in a Sharing Activity, which encourages collaborative learning through small-group problem-solving and discussion.
• Basic coping skills: these coping skills activities are designed to help students be prepared for and better manage the troubling thoughts and feelings that may come up before, during, and after an emergency. The activities were developed in cooperation with Red Cross experts on disaster mental health and provide students with tools they can also use to reduce anxiety in stressful situations that arise every day.
• Introduction to standard preparedness tools: creating an emergency communications plan, individual emergency contact cards, and a home emergency supplies kit, including a demonstration of your “own” Pillowcase Preparedness Kit.
• Pre- and Post-Quizzes.
• Certificate of completion and optional group “pledge.”
• Distribution of the pillowcases and markers with time to have students write their names and work on their pillowcases.
Using the Presentation MaterialsFollowing are guidelines to help you make effective use of the program materials. Items marked with an asterisk (*) can be downloaded at ymiclassroom.com/the-pillowcase-project.
PRESENTER’S GUIDE(For Red Cross volunteers and staff)
Review the presentation outline and the script before your presentation. The script provides detailed cues intended to help you keep your presentation on pace and keep students engaged. In many places, the script also provides language that you can follow verbatim. Though you are not required to restrict your delivery of the presentation to these verbatim phrases, you should pay special attention to the wording used throughout the script as well as to key points in the volunteer training. For example, we refer to “hazards” and “emergencies” only, not “disasters,” in this presentation. Other sections of the script, such as the part on standard preparedness tools, merely provide you with key talking points to allow for more flexibility.
You will see red exclamation points next to parts of the script and the accompanying activities. Activities or points labeled with this icon are mandatory during your presentation. This ensures a standardized delivery of up-to-date information and the practice of valuable skills for students.
LOCAL HAZARD SUPPLEMENTS*(For Red Cross volunteers and staff)
Each of these downloadable Supplements is a self-contained unit on a specific large-scale emergency, which includes:
• Learning objectives.
• A summary of Key Facts about the emergency. These key facts are provided as background information for presenters. The key facts are woven into the presentation script, so there is no need for you to review them with students separately.
• Presentation script.
• Practice Activities that rehearse protective actions or reinforce learning through physical activity.
• Sharing Activities that engage students in small-group collaborative learning.
• A reproducible worksheet for students to use in their small-group Sharing Activity.
!

4
• A Word About the Hazard Supplement Worksheets These worksheets provide a focal point for students as they share ideas in their small groups. Distribute a photocopy of the worksheet to each student (not one per group), and explain that the blank lines on the sheet are a space where they can take notes, not an answer space they must fill in. To set the stage for the activity, read aloud from the sheet the scenario that students will be discussing.
Note that you will appoint one student in each group the spokesperson for that group. This does not mean that this student must lead the group. The spokesperson’s role is to follow the group discussion and report on what the group thinks or has decided. Having a spokesperson allows the group to speak with one voice and helps you avoid having all the members of the group compete to be heard.
Because home fire preparedness is part of the core curriculum, the reproducible worksheet for that Sharing Activity is included at the end of this guide.
MY PREPAREDNESS WORKBOOK(For distribution to students)
This 28-page booklet serves a dual purpose. It is both a presentation tool and a resource for students to learn from after the presentation.
As a presentation tool, the workbook can be regarded as a visual aid. Having students refer to pages in the workbook serves to keep them engaged and provides a preview of what they will find in the workbook when they take it home after your presentation. Do not take time to have students complete any of the workbook activities during your presentation.
The workbook can also help you manage time during your presentation. An obvious example: rather than recite all the items that go into an Emergency Supplies Kit, you can refer students to the list on page 11 of the workbook and spend a minute or so instead emphasizing the purpose of an Emergency Supplies Kit and how to use it in an emergency. Looked at from this angle, you may find many pages of the workbook useful for covering points in the presentation quickly.
POSTERS(For display and to leave behind with teachers/program leaders)
Three posters are provided for use during the presentation. The content of all three posters is covered in the student workbook and in the presentation script. Coordinate with the teacher/program leader ahead of time to ask if you can display the posters. If not, you can show them to the students and leave them with the teacher/program leader after your presentation.
For reference, the three posters are:
• The Pillowcase Project Poster
Illustrates the program’s Learn-Practice-Share framework and includes space for students to sign a roster to show that they have participated in the program. Give this poster to the teacher/program leader to be used as follow-up — for example, students sign the poster in class after telling how they shared what they have learned with their family, or teachers use the poster for a show-and-tell at parent/teacher night, school assemblies, etc.
• Coping Skills Poster
Summarizes some of the stressful thoughts and feelings that may come up for students before, during, and after an emergency, and lists some of the coping skills they can use to manage or reduce this stress and build up resilience, not only in emergency situations but every day.
• Hazards Map Poster
Shows where five primarily regional emergencies — earthquakes, hurricanes, tornadoes, volcanoes, and wildfires — are more likely to occur across the United States, and includes a call-out reminder that flooding, thunderstorms, winter storms, and home fires can occur almost anywhere.
PRE/POST QUIZ SHEETS*(For Red Cross volunteers and staff)
There are nine different quizzes; select the one that corresponds to the local hazard you choose to teach. All quizzes include 3-4 general questions that apply to the core curriculum and 1-2 questions that address the specific hazard.
You will administer this brief quiz twice during your presentation, just after your introduction and just before you distribute the pledge certificates and pillowcases at the end. The quiz is designed to provide measurement of the program’s educational effectiveness and its impact on student attitudes about emergency preparedness. We have integrated the quiz
5Presenter’s Guide
as a “teachable moment” within the presentation to help you make this testing a positive, constructive part of the students’ overall learning experience.
Distribute a photocopy of the quiz sheet to every student. Note that one version of the quiz is marked “Pre-Quiz” and that the other is marked “Post-Quiz.” It is critical to our evaluation effort that you always use the correct version. Please be sure also that you collect a completed quiz sheet from every student.
PLEDGE CERTIFICATE(For distribution to students)
Distribute a certificate to each student after they complete the Post-Quiz at the end of the presentation, along with a pillowcase and set of markers. Be sure that you sign and date each certificate beforehand. If you wish and time permits, you can have students take The Pillowcase Project Pledge by repeating after you as you read the pledge from the certificate.
TEACHER SUPPLEMENT(To leave behind with teachers/program leaders)
This classroom lesson plan, The Science of Safety, includes a one-page teacher’s guide and three reproducible student activity sheets, which complement the third grade curriculum and align with Next Generation Science Standards. Be sure that you have enough copies of the Teacher Supplement for all the teachers/group leaders whose students attend your presentation.
Tips for Presenting to Third GradersExperienced third grade teachers who have reviewed The Pillowcase Project offer these suggestions for a successful presentation:
• Establish from the start that you will be calling on students individually rather than opening the floor to general comments and questions. Third graders can have lots of questions and lots of stories they want to share. To avoid getting sidetracked, develop a knack for deflecting these kinds of contributions by saying, for example, “We’ll be getting to that” or “Remind me to talk about that later” or “I’d like to hear about that later.”
• Some of the concepts and vocabulary used in the coping skills parts of the program will be unfamiliar to third graders. We have worked with Red Cross experts in this area and with teachers to help you introduce these concepts in a way that
third graders can grasp, and we have deliberately repeated certain vocabulary words — coping skills, inner strength, and resilience — to help students become familiar with them through use. Still, you should be aware that some students, particularly those for whom English is a second language, may need extra time to feel comfortable with these terms and concepts.
• Several of the Practice Activities included in the program involve considerable physical activity, and teachers advise that these activities might cause students to become unmanageable. On the other hand, Red Cross volunteers who have pioneered The Pillowcase Project have used these kinds of physical activities very successfully. As a compromise, instead of having the whole group participate in these activities, you can choose a few students whom you designate as representing teams whose other members remain in their seats to cheer on their champions.
• Note that throughout the program we have deliberately avoided the word “family” where you might have expected to see it. For example, the usual “family meeting place” is called “an outside meeting place” and the usual “family fire drill” is called a “home fire drill.” The intention is to recognize that not all students live in a family situation and to make the program more inclusive with these minor verbal adjustments.
A Special Note Red Cross experts in disaster mental health advise that this curriculum has the potential to bring about reactions from children who have been impacted by trauma in their lives. This trauma may be emergency event-related or it may relate to something more personal that happened. It is not appropriate to ask children to share their personal feelings about past or future emergencies or traumas during this group activity. If a child brings up personal feelings, validate their feelings and then quickly redirect them back to the curriculum discussion or activity. In addition, you should ask teachers to do an individual “check in” afterward with any child who appears to have had a reaction during the presentation. Such reactions can include sadness, excessive quietness or withdrawal, acting out, or any other behavior that is not typical of the child.
6
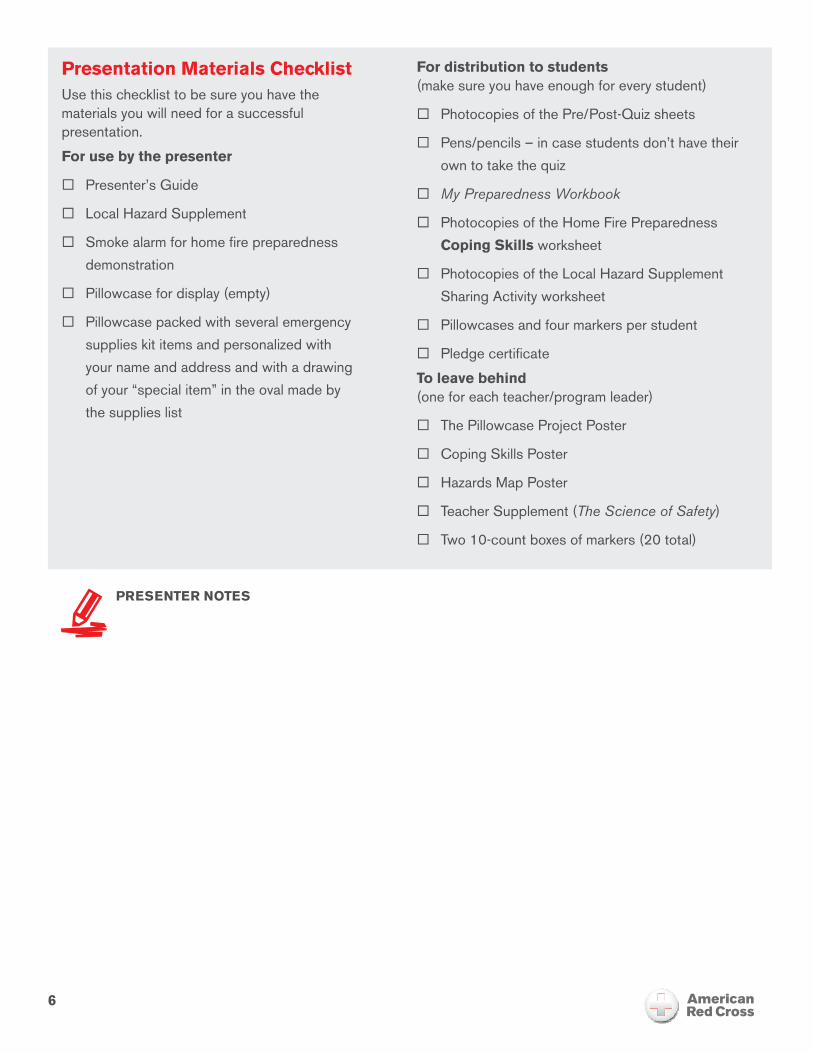
Presentation Materials ChecklistUse this checklist to be sure you have the materials you will need for a successful presentation.
For use by the presenter
� Presenter’s Guide
� Local Hazard Supplement
� Smoke alarm for home fire preparedness
demonstration
� Pillowcase for display (empty)
� Pillowcase packed with several emergency
supplies kit items and personalized with
your name and address and with a drawing
of your “special item” in the oval made by
the supplies list
For distribution to students (make sure you have enough for every student)
� Photocopies of the Pre/Post-Quiz sheets
� Pens/pencils – in case students don’t have their
own to take the quiz
� My Preparedness Workbook
� Photocopies of the Home Fire Preparedness
Coping Skills worksheet
� Photocopies of the Local Hazard Supplement
Sharing Activity worksheet
� Pillowcases and four markers per student
� Pledge certificate
To leave behind (one for each teacher/program leader)
� The Pillowcase Project Poster
� Coping Skills Poster
� Hazards Map Poster
� Teacher Supplement (The Science of Safety)
� Two 10-count boxes of markers (20 total)
PRESENTER NOTES
7Presenter’s Guide
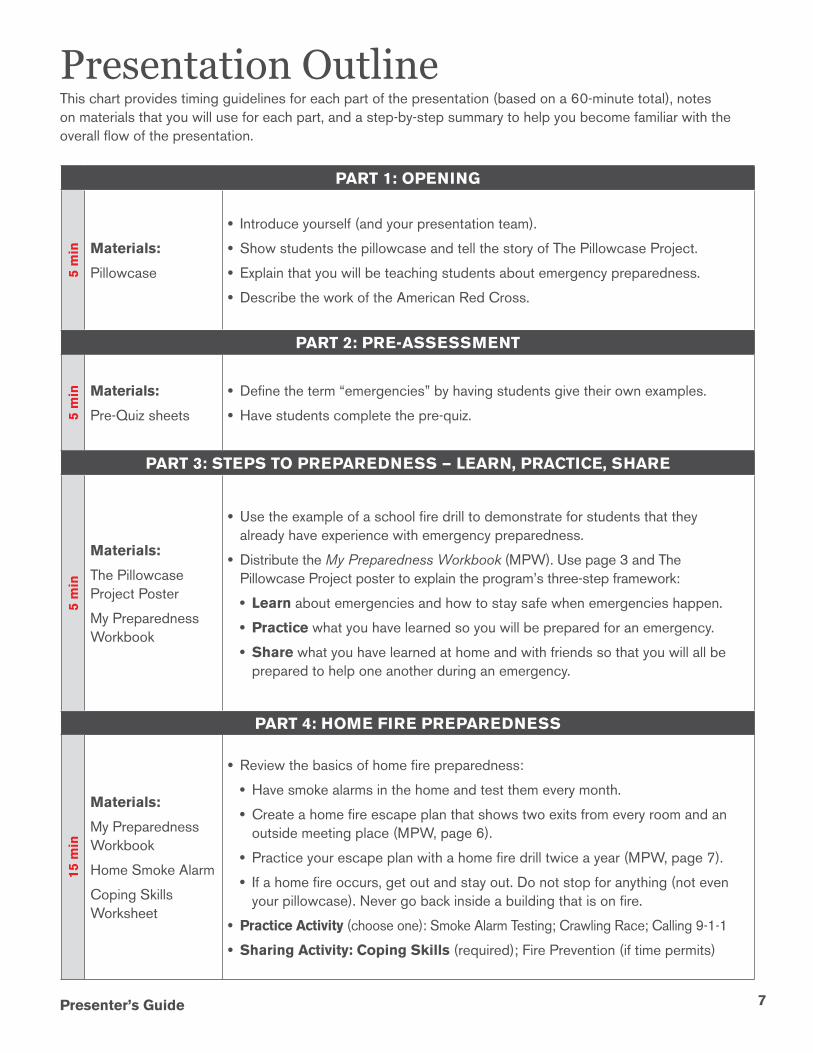
Presentation OutlineThis chart provides timing guidelines for each part of the presentation (based on a 60-minute total), notes on materials that you will use for each part, and a step-by-step summary to help you become familiar with the overall flow of the presentation.
PART 1: OPENING
5 m
in Materials:
Pillowcase
• Introduce yourself (and your presentation team).
• Show students the pillowcase and tell the story of The Pillowcase Project.
• Explain that you will be teaching students about emergency preparedness.
• Describe the work of the American Red Cross.
PART 2: PRE-ASSESSMENT
5 m
in Materials:
Pre-Quiz sheets
• Define the term “emergencies” by having students give their own examples.
• Have students complete the pre-quiz.
PART 3: STEPS TO PREPAREDNESS — LEARN, PRACTICE, SHARE
5 m
in
Materials:
The Pillowcase Project Poster
My Preparedness Workbook
• Use the example of a school fire drill to demonstrate for students that they already have experience with emergency preparedness.
• Distribute the My Preparedness Workbook (MPW). Use page 3 and The Pillowcase Project poster to explain the program’s three-step framework:
• Learn about emergencies and how to stay safe when emergencies happen.
• Practice what you have learned so you will be prepared for an emergency.
• Share what you have learned at home and with friends so that you will all be prepared to help one another during an emergency.
PART 4: HOME FIRE PREPAREDNESS
15 m
in
Materials:
My Preparedness Workbook
Home Smoke Alarm
Coping Skills Worksheet
• Review the basics of home fire preparedness:
• Have smoke alarms in the home and test them every month.
• Create a home fire escape plan that shows two exits from every room and an outside meeting place (MPW, page 6).
• Practice your escape plan with a home fire drill twice a year (MPW, page 7).
• If a home fire occurs, get out and stay out. Do not stop for anything (not even your pillowcase). Never go back inside a building that is on fire.
• Practice Activity (choose one): Smoke Alarm Testing; Crawling Race; Calling 9-1-1
• Sharing Activity: Coping Skills (required); Fire Prevention (if time permits)
8
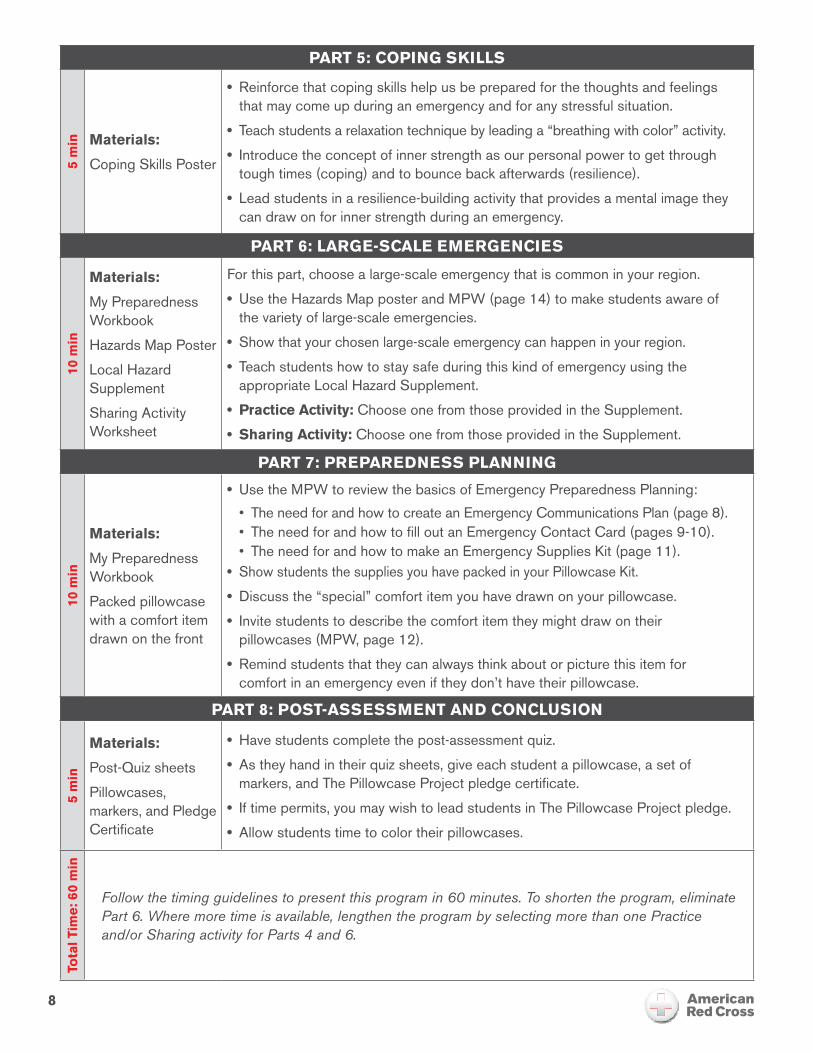
PART 5: COPING SKILLS5
min Materials:
Coping Skills Poster
• Reinforce that coping skills help us be prepared for the thoughts and feelings that may come up during an emergency and for any stressful situation.
• Teach students a relaxation technique by leading a “breathing with color” activity.
• Introduce the concept of inner strength as our personal power to get through tough times (coping) and to bounce back afterwards (resilience).
• Lead students in a resilience-building activity that provides a mental image they can draw on for inner strength during an emergency.
PART 6: LARGE-SCALE EMERGENCIES
10 m
in
Materials:
My Preparedness Workbook
Hazards Map Poster
Local Hazard Supplement
Sharing Activity Worksheet
For this part, choose a large-scale emergency that is common in your region.
• Use the Hazards Map poster and MPW (page 14) to make students aware of the variety of large-scale emergencies.
• Show that your chosen large-scale emergency can happen in your region.
• Teach students how to stay safe during this kind of emergency using the appropriate Local Hazard Supplement.
• Practice Activity: Choose one from those provided in the Supplement.
• Sharing Activity: Choose one from those provided in the Supplement.
PART 7: PREPAREDNESS PLANNING
10 m
in
Materials:
My Preparedness Workbook
Packed pillowcase with a comfort item drawn on the front
• Use the MPW to review the basics of Emergency Preparedness Planning:
• The need for and how to create an Emergency Communications Plan (page 8).• The need for and how to fill out an Emergency Contact Card (pages 9-10).• The need for and how to make an Emergency Supplies Kit (page 11).
• Show students the supplies you have packed in your Pillowcase Kit.
• Discuss the “special” comfort item you have drawn on your pillowcase.
• Invite students to describe the comfort item they might draw on their pillowcases (MPW, page 12).
• Remind students that they can always think about or picture this item for comfort in an emergency even if they don’t have their pillowcase.
PART 8: POST-ASSESSMENT AND CONCLUSION
5 m
in
Materials:
Post-Quiz sheets
Pillowcases, markers, and Pledge Certificate
• Have students complete the post-assessment quiz.
• As they hand in their quiz sheets, give each student a pillowcase, a set of markers, and The Pillowcase Project pledge certificate.
• If time permits, you may wish to lead students in The Pillowcase Project pledge.
• Allow students time to color their pillowcases.
Tota
l Tim
e: 6
0 m
in
Follow the timing guidelines to present this program in 60 minutes. To shorten the program, eliminate Part 6. Where more time is available, lengthen the program by selecting more than one Practice and/or Sharing activity for Parts 4 and 6.
9Presenter’s Guide
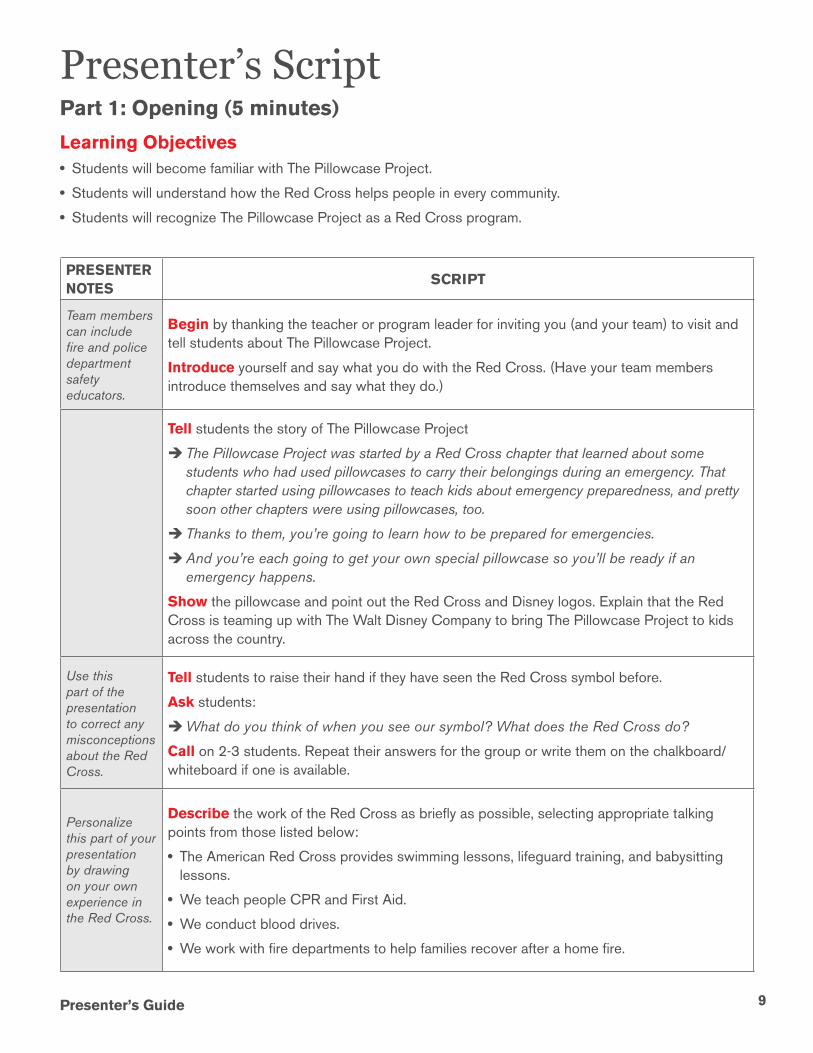
Presenter’s ScriptPart 1: Opening (5 minutes)
Learning Objectives• Students will become familiar with The Pillowcase Project.
• Students will understand how the Red Cross helps people in every community.
• Students will recognize The Pillowcase Project as a Red Cross program.
PRESENTER NOTES
SCRIPT
Team members can include fire and police department safety educators.
Begin by thanking the teacher or program leader for inviting you (and your team) to visit and tell students about The Pillowcase Project.
Introduce yourself and say what you do with the Red Cross. (Have your team members introduce themselves and say what they do.)
Tell students the story of The Pillowcase Project
ÎThe Pillowcase Project was started by a Red Cross chapter that learned about some students who had used pillowcases to carry their belongings during an emergency. That chapter started using pillowcases to teach kids about emergency preparedness, and pretty soon other chapters were using pillowcases, too.
ÎThanks to them, you’re going to learn how to be prepared for emergencies.
ÎAnd you’re each going to get your own special pillowcase so you’ll be ready if an emergency happens.
Show the pillowcase and point out the Red Cross and Disney logos. Explain that the Red Cross is teaming up with The Walt Disney Company to bring The Pillowcase Project to kids across the country.
Use this part of the presentation to correct any misconceptions about the Red Cross.
Tell students to raise their hand if they have seen the Red Cross symbol before.
Ask students:
ÎWhat do you think of when you see our symbol? What does the Red Cross do?
Call on 2-3 students. Repeat their answers for the group or write them on the chalkboard/whiteboard if one is available.
Personalize this part of your presentation by drawing on your own experience in the Red Cross.
Describe the work of the Red Cross as briefly as possible, selecting appropriate talking points from those listed below:
• The American Red Cross provides swimming lessons, lifeguard training, and babysitting lessons.
• We teach people CPR and First Aid.
• We conduct blood drives.
• We work with fire departments to help families recover after a home fire.
PRESENTER NOTES
SCRIPT
10
If you or a member of your team is a volunteer, be sure to mention it!
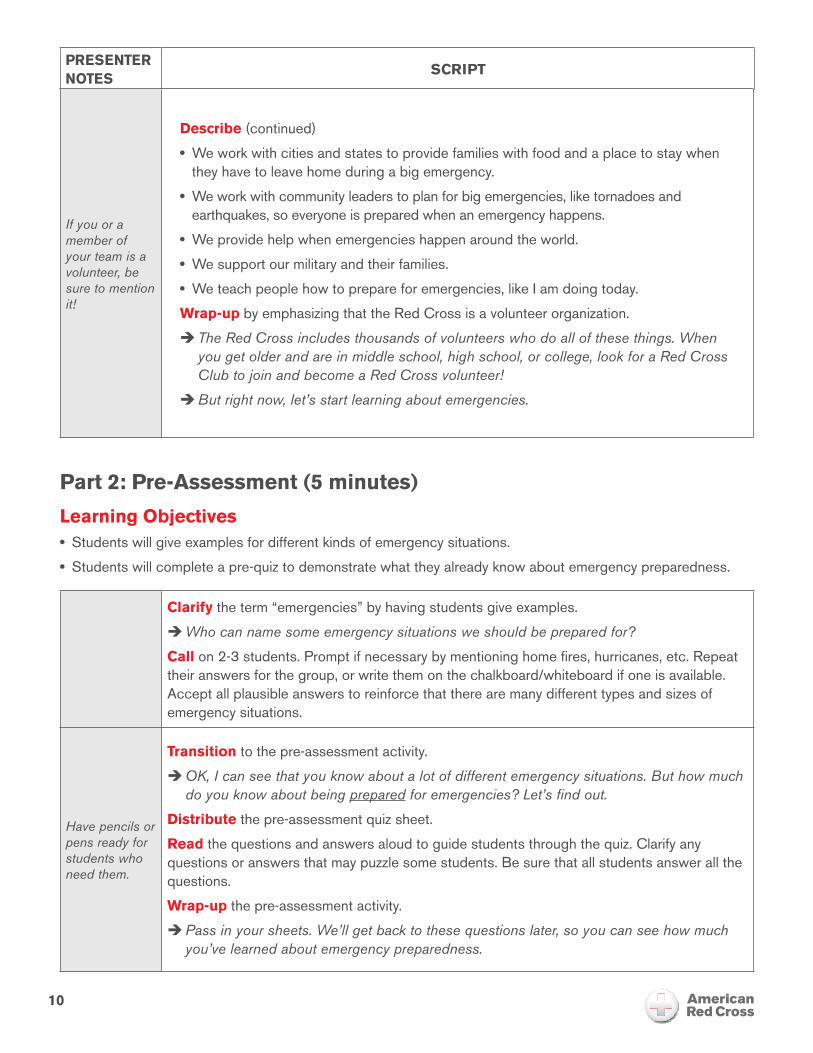
Describe (continued)
• We work with cities and states to provide families with food and a place to stay when they have to leave home during a big emergency.
• We work with community leaders to plan for big emergencies, like tornadoes and earthquakes, so everyone is prepared when an emergency happens.
• We provide help when emergencies happen around the world.
• We support our military and their families.
• We teach people how to prepare for emergencies, like I am doing today.
Wrap-up by emphasizing that the Red Cross is a volunteer organization.
ÎThe Red Cross includes thousands of volunteers who do all of these things. When you get older and are in middle school, high school, or college, look for a Red Cross Club to join and become a Red Cross volunteer!
ÎBut right now, let’s start learning about emergencies.
Part 2: Pre-Assessment (5 minutes)
Learning Objectives• Students will give examples for different kinds of emergency situations.
• Students will complete a pre-quiz to demonstrate what they already know about emergency preparedness.
Clarify the term “emergencies” by having students give examples.
ÎWho can name some emergency situations we should be prepared for?
Call on 2-3 students. Prompt if necessary by mentioning home fires, hurricanes, etc. Repeat their answers for the group, or write them on the chalkboard/whiteboard if one is available. Accept all plausible answers to reinforce that there are many different types and sizes of emergency situations.
Have pencils or pens ready for students who need them.
Transition to the pre-assessment activity.
ÎOK, I can see that you know about a lot of different emergency situations. But how much do you know about being prepared for emergencies? Let’s find out.
Distribute the pre-assessment quiz sheet.
Read the questions and answers aloud to guide students through the quiz. Clarify any questions or answers that may puzzle some students. Be sure that all students answer all the questions.
Wrap-up the pre-assessment activity.
ÎPass in your sheets. We’ll get back to these questions later, so you can see how much you’ve learned about emergency preparedness.
11Presenter’s Guide
PRESENTER NOTES
SCRIPT
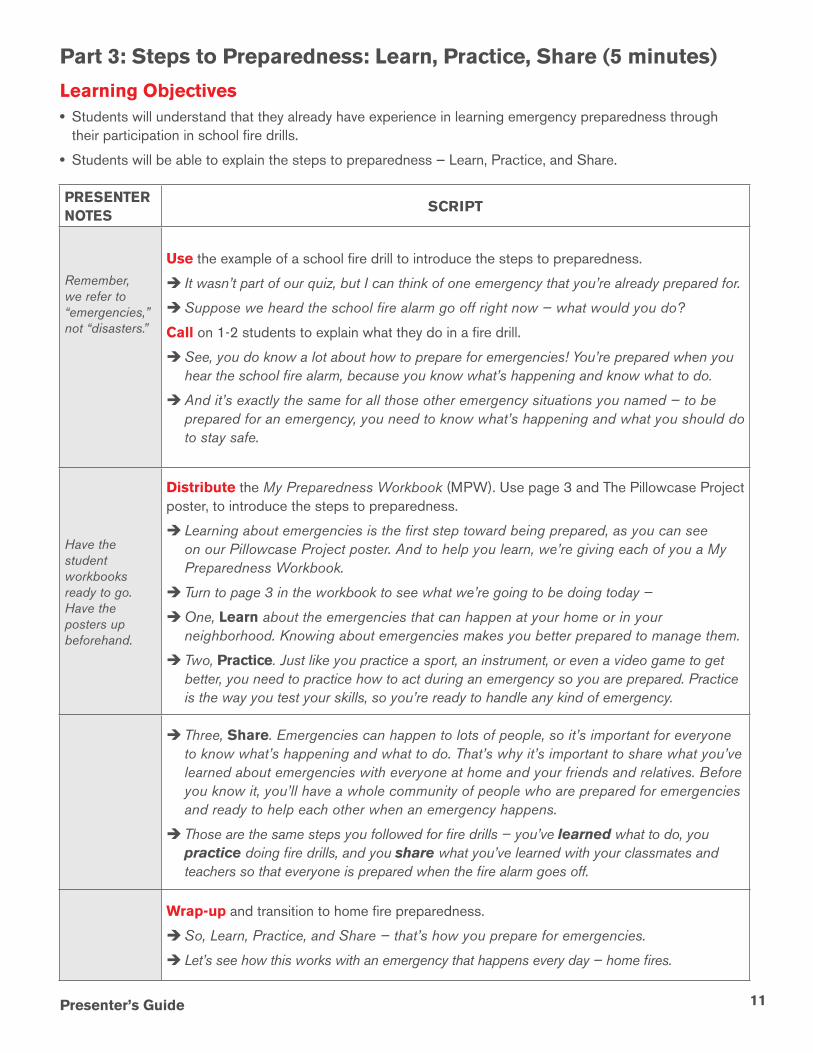
Remember, we refer to “emergencies,” not “disasters.”
Use the example of a school fire drill to introduce the steps to preparedness.
Î It wasn’t part of our quiz, but I can think of one emergency that you’re already prepared for.
ÎSuppose we heard the school fire alarm go off right now — what would you do?
Call on 1-2 students to explain what they do in a fire drill.
ÎSee, you do know a lot about how to prepare for emergencies! You’re prepared when you hear the school fire alarm, because you know what’s happening and know what to do.
ÎAnd it’s exactly the same for all those other emergency situations you named — to be prepared for an emergency, you need to know what’s happening and what you should do to stay safe.
Have the student workbooks ready to go. Have the posters up beforehand.
Distribute the My Preparedness Workbook (MPW). Use page 3 and The Pillowcase Project poster, to introduce the steps to preparedness.
ÎLearning about emergencies is the first step toward being prepared, as you can see on our Pillowcase Project poster. And to help you learn, we’re giving each of you a My Preparedness Workbook.
ÎTurn to page 3 in the workbook to see what we’re going to be doing today —
ÎOne, Learn about the emergencies that can happen at your home or in your neighborhood. Knowing about emergencies makes you better prepared to manage them.
ÎTwo, Practice. Just like you practice a sport, an instrument, or even a video game to get better, you need to practice how to act during an emergency so you are prepared. Practice is the way you test your skills, so you’re ready to handle any kind of emergency.
ÎThree, Share. Emergencies can happen to lots of people, so it’s important for everyone to know what’s happening and what to do. That’s why it’s important to share what you’ve learned about emergencies with everyone at home and your friends and relatives. Before you know it, you’ll have a whole community of people who are prepared for emergencies and ready to help each other when an emergency happens.
ÎThose are the same steps you followed for fire drills — you’ve learned what to do, you practice doing fire drills, and you share what you’ve learned with your classmates and teachers so that everyone is prepared when the fire alarm goes off.
Wrap-up and transition to home fire preparedness.
ÎSo, Learn, Practice, and Share — that’s how you prepare for emergencies.
Î Let’s see how this works with an emergency that happens every day — home fires.
Part 3: Steps to Preparedness: Learn, Practice, Share (5 minutes)
Learning Objectives• Students will understand that they already have experience in learning emergency preparedness through
their participation in school fire drills.
• Students will be able to explain the steps to preparedness — Learn, Practice, and Share.
12
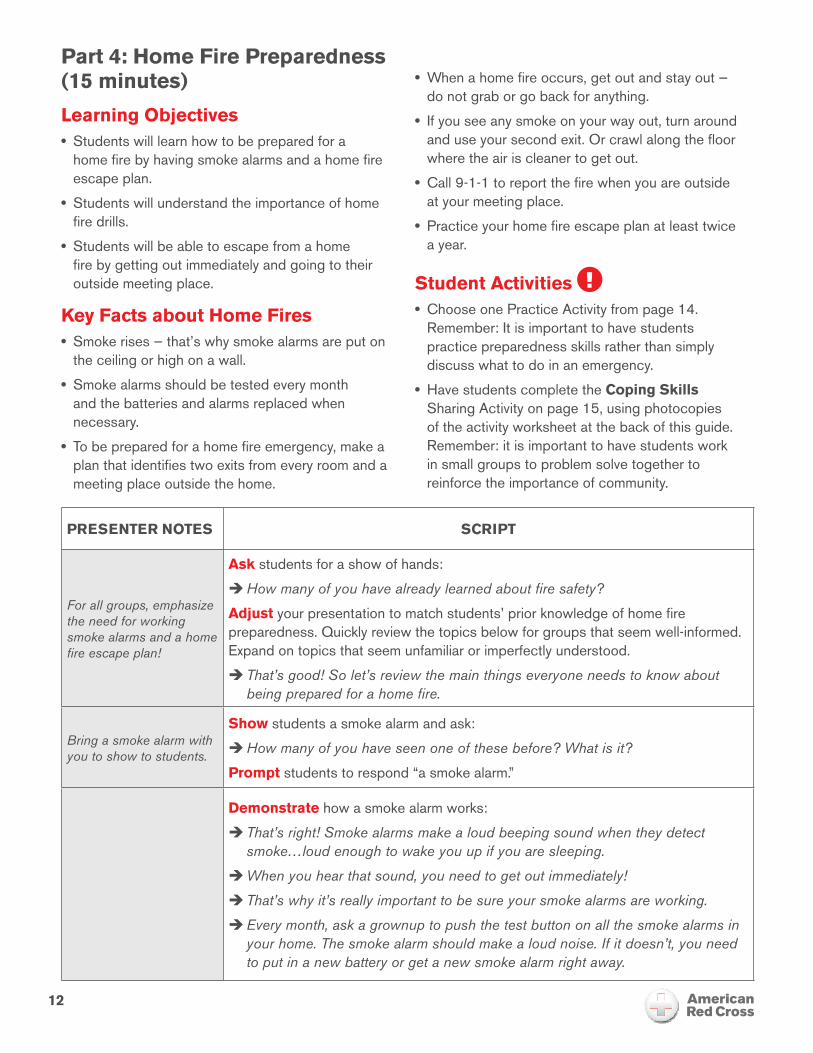
Part 4: Home Fire Preparedness (15 minutes)
Learning Objectives• Students will learn how to be prepared for a
home fire by having smoke alarms and a home fire escape plan.
• Students will understand the importance of home fire drills.
• Students will be able to escape from a home fire by getting out immediately and going to their outside meeting place.
Key Facts about Home Fires• Smoke rises — that’s why smoke alarms are put on
the ceiling or high on a wall.
• Smoke alarms should be tested every month and the batteries and alarms replaced when necessary.
• To be prepared for a home fire emergency, make a plan that identifies two exits from every room and a meeting place outside the home.
PRESENTER NOTES SCRIPT
For all groups, emphasize the need for working smoke alarms and a home fire escape plan!
Ask students for a show of hands:
ÎHow many of you have already learned about fire safety?
Adjust your presentation to match students’ prior knowledge of home fire preparedness. Quickly review the topics below for groups that seem well-informed. Expand on topics that seem unfamiliar or imperfectly understood.
ÎThat’s good! So let’s review the main things everyone needs to know about being prepared for a home fire.
Bring a smoke alarm with you to show to students.
Show students a smoke alarm and ask:
ÎHow many of you have seen one of these before? What is it?
Prompt students to respond “a smoke alarm.”
Demonstrate how a smoke alarm works:
ÎThat’s right! Smoke alarms make a loud beeping sound when they detect smoke…loud enough to wake you up if you are sleeping.
ÎWhen you hear that sound, you need to get out immediately!
ÎThat’s why it’s really important to be sure your smoke alarms are working.
ÎEvery month, ask a grownup to push the test button on all the smoke alarms in your home. The smoke alarm should make a loud noise. If it doesn’t, you need to put in a new battery or get a new smoke alarm right away.
• When a home fire occurs, get out and stay out — do not grab or go back for anything.
• If you see any smoke on your way out, turn around and use your second exit. Or crawl along the floor where the air is cleaner to get out.
• Call 9-1-1 to report the fire when you are outside at your meeting place.
• Practice your home fire escape plan at least twice a year.
Student Activities !• Choose one Practice Activity from page 14.
Remember: It is important to have students practice preparedness skills rather than simply discuss what to do in an emergency.
• Have students complete the Coping Skills Sharing Activity on page 15, using photocopies of the activity worksheet at the back of this guide. Remember: it is important to have students work in small groups to problem solve together to reinforce the importance of community.
PRESENTER NOTES
SCRIPT
13Presenter’s Guide
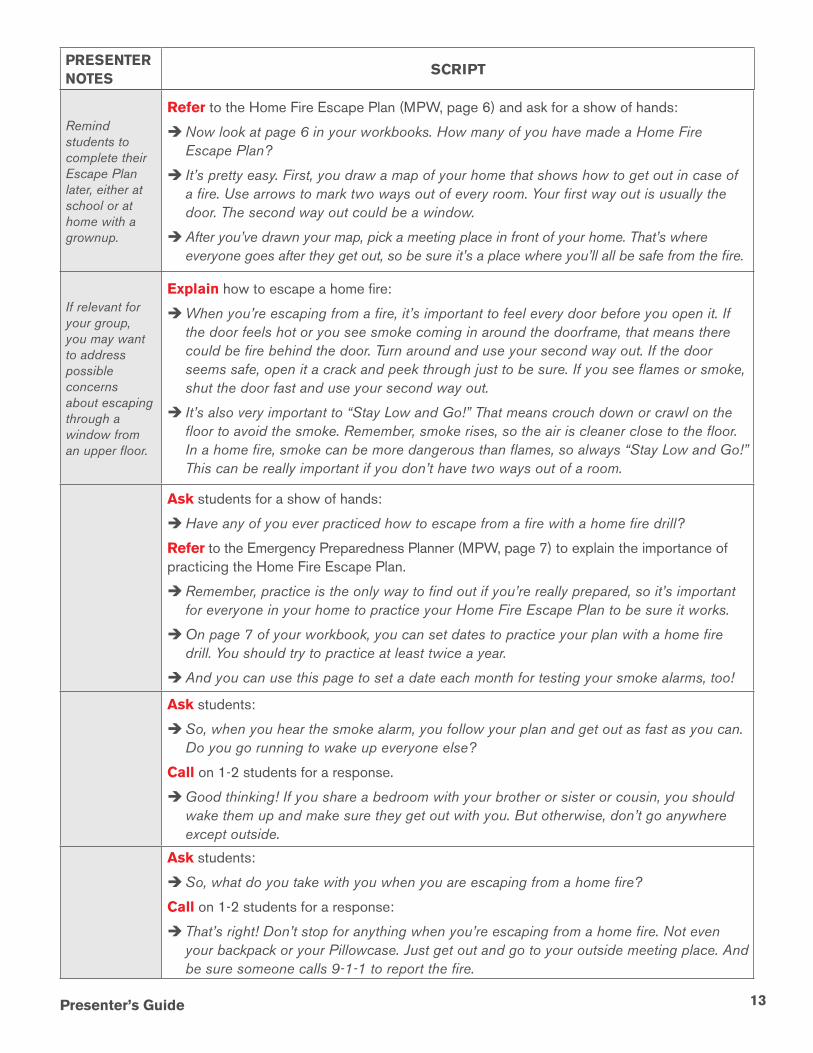
Remind students to complete their Escape Plan later, either at school or at home with a grownup.
Refer to the Home Fire Escape Plan (MPW, page 6) and ask for a show of hands:
ÎNow look at page 6 in your workbooks. How many of you have made a Home Fire Escape Plan?
Î It’s pretty easy. First, you draw a map of your home that shows how to get out in case of a fire. Use arrows to mark two ways out of every room. Your first way out is usually the door. The second way out could be a window.
ÎAfter you’ve drawn your map, pick a meeting place in front of your home. That’s where everyone goes after they get out, so be sure it’s a place where you’ll all be safe from the fire.
If relevant for your group, you may want to address possible concerns about escaping through a window from an upper floor.
Explain how to escape a home fire:
ÎWhen you’re escaping from a fire, it’s important to feel every door before you open it. If the door feels hot or you see smoke coming in around the doorframe, that means there could be fire behind the door. Turn around and use your second way out. If the door seems safe, open it a crack and peek through just to be sure. If you see flames or smoke, shut the door fast and use your second way out.
Î It’s also very important to “Stay Low and Go!” That means crouch down or crawl on the floor to avoid the smoke. Remember, smoke rises, so the air is cleaner close to the floor. In a home fire, smoke can be more dangerous than flames, so always “Stay Low and Go!” This can be really important if you don’t have two ways out of a room.
Ask students for a show of hands:
ÎHave any of you ever practiced how to escape from a fire with a home fire drill?
Refer to the Emergency Preparedness Planner (MPW, page 7) to explain the importance of practicing the Home Fire Escape Plan.
ÎRemember, practice is the only way to find out if you’re really prepared, so it’s important for everyone in your home to practice your Home Fire Escape Plan to be sure it works.
ÎOn page 7 of your workbook, you can set dates to practice your plan with a home fire drill. You should try to practice at least twice a year.
ÎAnd you can use this page to set a date each month for testing your smoke alarms, too!
Ask students:
ÎSo, when you hear the smoke alarm, you follow your plan and get out as fast as you can. Do you go running to wake up everyone else?
Call on 1-2 students for a response.
ÎGood thinking! If you share a bedroom with your brother or sister or cousin, you should wake them up and make sure they get out with you. But otherwise, don’t go anywhere except outside.
Ask students:
ÎSo, what do you take with you when you are escaping from a home fire?
Call on 1-2 students for a response:
ÎThat’s right! Don’t stop for anything when you’re escaping from a home fire. Not even your backpack or your Pillowcase. Just get out and go to your outside meeting place. And be sure someone calls 9-1-1 to report the fire.
PRESENTER NOTES
SCRIPT
14
Home Fire Preparedness Activities
Practice ActivitiesChoose one, or make it a game by inviting students to help select an activity, depending on time.
• Smoke Alarm Testing
Use the smoke alarm that you brought with you to show students how to test it by pushing the test button. Explain what the different sounds mean: the loud beep means GET OUT, and the “chirp” means, I NEED A NEW BATTERY. Remind students that any beeping should be taken seriously — whenever they hear that sound, they should get out and go to their outside meeting place. Ask a few volunteers to practice testing the smoke alarm in front of the class.
• Crawling Race
Use this activity to teach students how to “Get Low and Go” when escaping a home fire. Students form several lines at one end of the room, opposite the door. One at a time, a student from each line crawls on hands and knees to the door as if there’s a fire. Students should first touch the metal doorknob and the spaces around the door. Explain that, in a
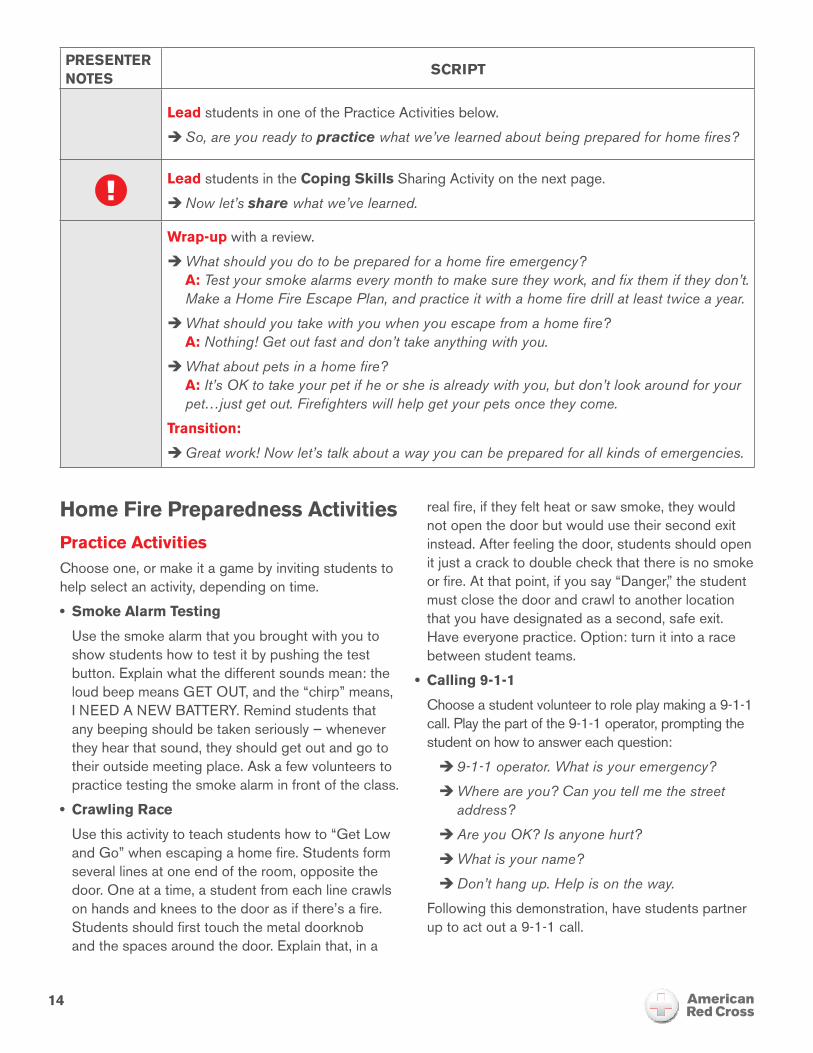
Lead students in one of the Practice Activities below.
ÎSo, are you ready to practice what we’ve learned about being prepared for home fires?
!Lead students in the Coping Skills Sharing Activity on the next page.
ÎNow let’s share what we’ve learned.
Wrap-up with a review.
ÎWhat should you do to be prepared for a home fire emergency? A: Test your smoke alarms every month to make sure they work, and fix them if they don’t. Make a Home Fire Escape Plan, and practice it with a home fire drill at least twice a year.
ÎWhat should you take with you when you escape from a home fire? A: Nothing! Get out fast and don’t take anything with you.
ÎWhat about pets in a home fire? A: It’s OK to take your pet if he or she is already with you, but don’t look around for your pet…just get out. Firefighters will help get your pets once they come.
Transition:
ÎGreat work! Now let’s talk about a way you can be prepared for all kinds of emergencies.
real fire, if they felt heat or saw smoke, they would not open the door but would use their second exit instead. After feeling the door, students should open it just a crack to double check that there is no smoke or fire. At that point, if you say “Danger,” the student must close the door and crawl to another location that you have designated as a second, safe exit. Have everyone practice. Option: turn it into a race between student teams.
• Calling 9-1-1
Choose a student volunteer to role play making a 9-1-1 call. Play the part of the 9-1-1 operator, prompting the student on how to answer each question:
Î9-1-1 operator. What is your emergency?
ÎWhere are you? Can you tell me the street address?
ÎAre you OK? Is anyone hurt?
ÎWhat is your name?
ÎDon’t hang up. Help is on the way.
Following this demonstration, have students partner up to act out a 9-1-1 call.
15Presenter’s Guide
Sharing ActivitiesNote: A reproducible worksheet for these activities is included at the end of this Presenter’s Guide.
Divide students into small groups of 5-6 each, and appoint a spokesperson for each group. Give each student a photocopy of the worksheet, and have all groups discuss the scenario described on the sheet. Give students time to come up with ideas for what to do in that situation. Then have the spokespersons report on each group’s ideas, and lead a whole group discussion to decide on the best way to handle the situation.
• Coping Skills (Required) !Angela’s friend Carlos was scared. There had been a fire at a home on his block two weeks ago, with lots of fire trucks and firefighters and smoke. No one in that family had been hurt in the fire, but Carlos couldn’t stop thinking about what might happen if a fire started in his home. He told Angela about it, and found out that she had learned all about home fire preparedness from a Red Cross volunteer. “We even talked about feeling scared,” she told Carlos. “Lots of people feel scared when they think about what might happen in an emergency, even grownups. But there are ways to handle those feelings — they’re called coping skills — and you can figure out good coping skills BEFORE an emergency happens!”
Angela told Carlos about —
• Taking slow breaths to calm down when you feel worried or scared.
• Remembering that you have a plan to get out safely if a fire happens, and that your home has smoke alarms to wake you up if a fire starts while you’re asleep.
• Sticking with a buddy after you get out, so you don’t feel alone.
• Singing a favorite song together or telling each other favorite stories so you don’t think so much about feeling scared.
• Reminding each other how working together helps everyone get through a tough situation.
• Reminding yourself of what you have done to get through tough situations in the past.
• Picturing your inner strength to help you stay strong.
• Listening to grownups for other ways to help each other feel safe.
What are your ideas for helping Carlos handle his feelings about what might happen in a home fire? What coping skills can you think of?
Answer: Encourage students to rephrase and expand on the listed coping skills as a way to generate their own ideas for managing the uncomfortable thoughts and feelings that may come up during an emergency.
Note: Some students may suggest giving thanks as a coping skill (e.g., Be thankful that you survived), but this reaction can sometimes inhibit successful coping by implicitly masking the real impact of a disaster. Acknowledge this suggestion, but do not push students in this direction.
• Fire Prevention
Omar and his mom were testing the smoke alarms in their home. When they got to the kitchen, Omar’s mom noticed a dish towel lying on the counter next to the stove. “That shouldn’t be there,” she said. “When someone turns on the burner, that could catch on fire!” She explained that anything that might catch on fire should be kept at least three feet away from anything that gets hot, like a stove. “See, now it’s three feet from the heat,” she said. “That’s the rule for fire safety!”
Think about your home. What are some hot things you should check to make sure there’s nothing close by that might catch on fire? Measure three feet with your hands to see how far away from hot things you should move anything that could catch on fire.
Answers:Candles, space heater, fireplace, toaster, iron, curling iron, outside grill. Remind students to blow out, turn off, and unplug things that get hot when there isn’t a grownup in the room to make sure they are safe.
16
PRESENTER NOTES
SCRIPT
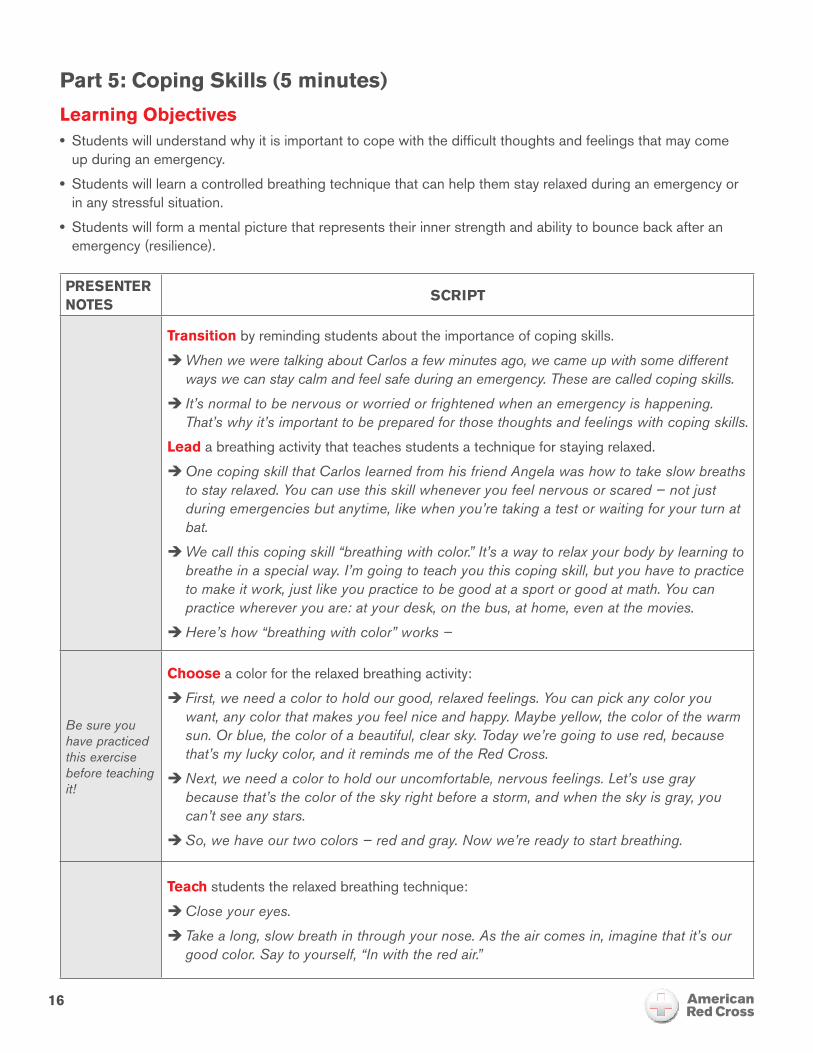
Transition by reminding students about the importance of coping skills.
ÎWhen we were talking about Carlos a few minutes ago, we came up with some different ways we can stay calm and feel safe during an emergency. These are called coping skills.
Î It’s normal to be nervous or worried or frightened when an emergency is happening. That’s why it’s important to be prepared for those thoughts and feelings with coping skills.
Lead a breathing activity that teaches students a technique for staying relaxed.
ÎOne coping skill that Carlos learned from his friend Angela was how to take slow breaths to stay relaxed. You can use this skill whenever you feel nervous or scared — not just during emergencies but anytime, like when you’re taking a test or waiting for your turn at bat.
ÎWe call this coping skill “breathing with color.” It’s a way to relax your body by learning to breathe in a special way. I’m going to teach you this coping skill, but you have to practice to make it work, just like you practice to be good at a sport or good at math. You can practice wherever you are: at your desk, on the bus, at home, even at the movies.
ÎHere’s how “breathing with color” works —
Be sure you have practiced this exercise before teaching it!
Choose a color for the relaxed breathing activity:
ÎFirst, we need a color to hold our good, relaxed feelings. You can pick any color you want, any color that makes you feel nice and happy. Maybe yellow, the color of the warm sun. Or blue, the color of a beautiful, clear sky. Today we’re going to use red, because that’s my lucky color, and it reminds me of the Red Cross.
ÎNext, we need a color to hold our uncomfortable, nervous feelings. Let’s use gray because that’s the color of the sky right before a storm, and when the sky is gray, you can’t see any stars.
ÎSo, we have our two colors — red and gray. Now we’re ready to start breathing.
Teach students the relaxed breathing technique:
ÎClose your eyes.
ÎTake a long, slow breath in through your nose. As the air comes in, imagine that it’s our good color. Say to yourself, “In with the red air.”
Part 5: Coping Skills (5 minutes)
Learning Objectives• Students will understand why it is important to cope with the difficult thoughts and feelings that may come
up during an emergency.
• Students will learn a controlled breathing technique that can help them stay relaxed during an emergency or in any stressful situation.
• Students will form a mental picture that represents their inner strength and ability to bounce back after an emergency (resilience).
PRESENTER NOTES
SCRIPT
17Presenter’s Guide
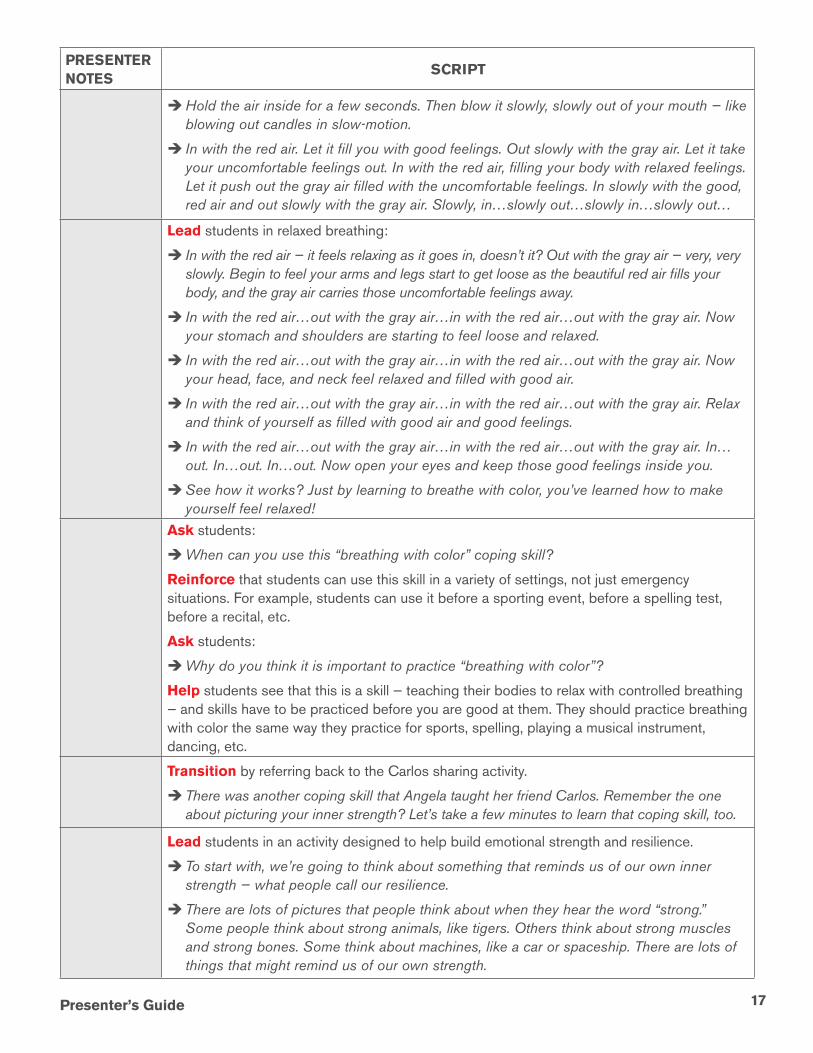
ÎHold the air inside for a few seconds. Then blow it slowly, slowly out of your mouth — like blowing out candles in slow-motion.
Î In with the red air. Let it fill you with good feelings. Out slowly with the gray air. Let it take your uncomfortable feelings out. In with the red air, filling your body with relaxed feelings. Let it push out the gray air filled with the uncomfortable feelings. In slowly with the good, red air and out slowly with the gray air. Slowly, in…slowly out…slowly in…slowly out…
Lead students in relaxed breathing:
Î In with the red air — it feels relaxing as it goes in, doesn’t it? Out with the gray air — very, very slowly. Begin to feel your arms and legs start to get loose as the beautiful red air fills your body, and the gray air carries those uncomfortable feelings away.
Î In with the red air…out with the gray air…in with the red air…out with the gray air. Now your stomach and shoulders are starting to feel loose and relaxed.
Î In with the red air…out with the gray air…in with the red air…out with the gray air. Now your head, face, and neck feel relaxed and filled with good air.
Î In with the red air…out with the gray air…in with the red air…out with the gray air. Relax and think of yourself as filled with good air and good feelings.
Î In with the red air…out with the gray air…in with the red air…out with the gray air. In…out. In…out. In…out. Now open your eyes and keep those good feelings inside you.
ÎSee how it works? Just by learning to breathe with color, you’ve learned how to make yourself feel relaxed!
Ask students:
ÎWhen can you use this “breathing with color” coping skill?
Reinforce that students can use this skill in a variety of settings, not just emergency situations. For example, students can use it before a sporting event, before a spelling test, before a recital, etc.
Ask students:
ÎWhy do you think it is important to practice “breathing with color”?
Help students see that this is a skill — teaching their bodies to relax with controlled breathing — and skills have to be practiced before you are good at them. They should practice breathing with color the same way they practice for sports, spelling, playing a musical instrument, dancing, etc.
Transition by referring back to the Carlos sharing activity.
ÎThere was another coping skill that Angela taught her friend Carlos. Remember the one about picturing your inner strength? Let’s take a few minutes to learn that coping skill, too.
Lead students in an activity designed to help build emotional strength and resilience.
ÎTo start with, we’re going to think about something that reminds us of our own inner strength — what people call our resilience.
ÎThere are lots of pictures that people think about when they hear the word “strong.” Some people think about strong animals, like tigers. Others think about strong muscles and strong bones. Some think about machines, like a car or spaceship. There are lots of things that might remind us of our own strength.
PRESENTER NOTES
SCRIPT
18
Ask students:
ÎWhat picture do you get in your head when you hear the word “strong”?
Call on 1-2 students for a response.
Explain:
ÎDuring emergencies, being strong helps us cope with difficult times, but we are not all strong in the same way.
Ask students:
ÎWhat picture do you get in your head when you think about YOUR own personal strength?
Call on 2-3 students for a response (which could be the same picture/image as previous or something entirely new).
Explain:
ÎThis picture or symbol of your own personal strength is something you might put on a pretend shield that you would always have with you, especially during difficult times. Or it could be the symbol on the chest of the superhero outfit you pretend to wear when you are facing tough times.
ÎEven better…once you have thought up a picture or symbol of your own personal strength — a picture of what your “superpower” looks like — you will also have that picture in your head. That means that you will ALWAYS have a picture and reminder of your own personal strength with you. Thinking about your picture or symbol can help you cope with any kind of emergency situation, and help you handle other tough situations, too!
ÎLet’s take a minute to make sure we have a mental picture of what that being strong picture or symbol looks like.
Ask students:
ÎWhat does a camera sound like when it takes a picture?
Call on 1-2 students for a response.
Explain:
ÎToday, cell phones and cameras make different sounds when they take a picture. But not so long ago, all cameras made a “click” sound when they took a picture. We’ll use that sound right now.
Î I want everyone to think about their picture or symbol of being strong, and we’ll take a mental picture of that symbol. Everybody ready? OK, hold up your hands like you’re taking a picture. When we count to 3 and say “Click”, we’ll all take a mental picture at the same time. Ready? 1…2…3…Click!
ÎExcellent! You have one more thing to help you be prepared for emergencies. Remember — your strength is always inside you, like that picture in your mind. Being strong helps us cope with emergencies and bounce back after they are over.
19Presenter’s Guide
PRESENTER NOTES
SCRIPT
Transition:
ÎSo, now that we’re all feeling extra strong, let’s learn how to be prepared for another emergency situation. There are a lot to choose from.
Refer students to the Hazards Map in their workbook (page 14) and/or the Hazards Map poster. Show them where some of the emergency situations they named earlier are more likely to occur in the United States — hurricanes, tornadoes, earthquakes, wildfires, and volcanoes.
Î Remember, you can learn more about all these different kinds of emergencies by doing the activities in your workbook.
Point to your region to show students why it is important for them to learn about the large large-scale emergency you have chosen.
Explain that even though this kind of emergency is much bigger than a home fire, they can follow the same three steps to be prepared if it happens — learn about the emergency, practice how to stay safe, and share what they learn with their families and friends.
Transition:
Î So let’s start learning about ____________ [the large-scale emergency you have chosen].
Part 6: Being Prepared for Large-Scale Emergencies (10 minutes)Learning Objectives• Students will learn about a large-scale emergency that is common in your region.
• Students will know how to stay safe when this kind of emergency happens.
Choose a large-scale emergency situation that is common to your region and use the appropriate Local Hazards Supplement available at ymiclassroom.com/the-pillowcase-project to teach students how to be prepared for this kind of emergency.
Part 7: Preparedness Planning (10 minutes)Learning Objectives• Students will learn how to create an Emergency Communications Plan.
• Students will learn why it is important to carry an Emergency Contact Card.
• Students will learn the purpose of an Emergency Supplies Kit.
• Students will learn how to pack a Pillowcase Preparedness Kit.
• Students will understand how a “special item” can provide comfort during an emergency.
Plan to “review” the preparedness tools by covering key points rather than walking students through every blank line on these forms.
Transition to preparedness planning:
ÎSo, we’ve talked about what to do in case of a home fire and a [your large-scale emergency], and we’ve practiced coping skills we can use when emergencies happen. But we still need some tools to help us be prepared.
Tell students to turn to page 8 in their workbooks:
ÎYou’ll find these tools in your workbooks, starting on page 8.
PRESENTER NOTES
SCRIPT
20
Review the Emergency Communications Plan on page 8 of the workbook.
• Explain why staying in contact with everyone in your household is important during an emergency.
• Explain why having an out-of-state contact person is important during an emergency.
• Explain why having an out-of-neighborhood meeting place is important during an emergency
Teachers/group leaders can have students “show and tell” when they bring back their ECC. If possible, find out how many students take action in this way.
Review the Emergency Contact Cards (ECC) on pages 9-10 of the workbook.
• Explain that the ECC is designed to carry with you at all times — in your backpack, back pocket, wallet — so that everyone has all the information they need to stay in contact no matter where they are when an emergency happens.
• Tell students to cut out the cards, keep one for themselves, and give the others to everyone else in their household.
• [If teacher/group leader approves:] Ask students to fill out their card and bring it back so that their class/group can be 100% ready to stay in contact during an emergency.
If students have pets, remind them to include emergency supplies for their pet too.
Review the Emergency Supplies Kit checklist on page 11 of the workbook.
• Explain when a family would need an Emergency Supplies Kit.
• Explain why an Emergency Supplies Kit should have enough water, food, and other supplies to keep everyone in the family safe and comfortable for three days.
Be sure to include items listed on the pillowcase in your sample kit.
Transition:
ÎNow here’s the part I know you’ve all been waiting for — your own personal Pillowcase Preparedness Kit. Let me show you what I’ve got in my Pillowcase Kit.
Show students items packed in your own Pillowcase Kit.
• Point out how you have personalized the kit with your name and address.
• Show and talk about items you would need in an emergency (e.g., water, flashlight, portable radio, batteries).
• Point out that some of these items are listed on the Pillowcase.
• Show and talk about items that you want to have with you in case of an emergency (e.g., family photos, a notebook and pen, a deck of cards).
• Point out that personal items like these are listed on the Pillowcase, too.
Point out the “special item” on the Pillowcase Kit list and show students the special item you have drawn on your pillowcase.
• Explain why you chose this special item and how it would comfort you during an emergency.
• Tell students that a “special item” doesn’t have to be something you put into your pillowcase. It can be something you draw on your pillowcase, like the words to a special song, or the picture of a special memory.
• Have students turn to page 12 in the workbook and show them where they can practice choosing a “special item” by drawing it on this page.
PRESENTER NOTES
SCRIPT
21Presenter’s Guide
Ask students:
ÎDoes anyone have ideas for a special item?
Call on 2-3 students for a response. Have them describe their special item and say why it would help comfort them during an emergency.
Remind students that once they have drawn a picture of their “special item,” they can always remember it even if they can’t take their pillowcase with them in an emergency.
Î It’s like that mental snapshot of your inner strength. No matter what, you can always remember your “special item” or draw it again when you need something to comfort you during an emergency.
Wrap-up with a review that reinforces the steps to preparedness.
ÎWe’ve learned how to pack our Pillowcase Kits. We’ve practiced picking a special item. And we just shared why our special items will comfort us during an emergency.
ÎLearn, Practice, and Share — I’d say we’re prepared!
Transition:
ÎBut before I hand out your Pillowcases, let’s find out if you are really prepared. Remember those questions I asked at the start? Let’s try those questions again..
Have pencils or pens ready for students who need them.
Distribute the post-assessment quiz sheet.
Tell students:
ÎWhen you have finished the quiz, bring your sheet to me and I will give you your pillowcase and markers that you can use to start drawing your “special item.” I also have a Pillowcase Project pledge certificate for you to sign and display at home.
Remember to sign and date a pledge certificate for each student beforehand.
Collect the post-assessment quiz sheets as students bring them to you. Be sure that students have answered the questions and that you collect a sheet from each student.
Give each student a pillowcase, a set of markers, and a pledge certificate that you have signed and dated already.
Allow students to color their pillowcases for the remainder of your time together. Before you leave, ask:
ÎDo any of you have any questions for me?
Respond to any questions students might ask.
Wrap-up by thanking the students and their teacher/program leader for being a great audience.
NOTE: If time permits, you may wish to close the presentation by leading students in The Pillowcase Project pledge.
Part 8: Post-Assessment and Conclusion (5 minutes)
Learning Objectives• Students will demonstrate what they have learned about emergency preparedness.
The Pillowcase Project Learn. Practice. Share.
Sharing ActivitiesRead the story assigned to your group. Then talk with the members of your group to come up with ideas for that situation. Help the spokesperson for your group take notes on the group’s ideas. After your spokesperson shares your group’s ideas with the class, join in the discussion to decide on the best ideas for the situation.
•Coping SkillsAngela’s friend Carlos was scared. There had been a fire at a home on his block two weeks ago, with lots of fire trucks and firefighters and smoke. No one in that family had been hurt in the fire, but Carlos couldn’t stop thinking about what might happen if a fire started in his home. He told Angela about it, and found out that she had learned all about home fire preparedness from a Red Cross volunteer. “We even talked about feeling scared,” she told Carlos. “Lots of people feel scared when they think about what might happen in an emergency, even grownups. But there are ways to handle those feelings — they’re called coping skills — and you can figure out good coping skills BEFORE an emergency happens!”
Angela told Carlos about —
• Taking slow breaths to calm down when you feel worried or scared.
• Remembering that you have a plan to get out safely if a fire happens, and that your home has smoke alarms to wake you up if a fire starts while you’re asleep.
• Sticking with a buddy after you get out, so you don’t feel alone.
• Singing a favorite song together or telling stories so you don’t think so much about feeling scared.
• Reminding each other how working together helps everyone get through a tough situation.
• Reminding yourself of what you have done to get through tough situations in the past.
• Picturing your inner strength to help you stay strong.
• Listening to grownups for other ways to help each other feel safe.
What are your ideas for helping Carlos handle his feelings about what might happen in a home fire? What coping skills can you think of?
•Fire PreventionOmar and his mom were testing the smoke alarms in their home. When they got to the kitchen, Omar’s mom noticed a dish towel lying next to the stove. “That shouldn’t be there,” she said. “When the burner is on, that could catch on fire!” She explained that anything that might catch on fire should be kept at least three feet away from anything that gets hot, like a stove. “See, now it’s three feet from the heat,” she said. “That’s the fire safety rule!”
Think about your home. What are some hot things you should check to make sure there’s nothing too close by that might catch on fire? Measure three feet with your hands to see how far away from hot things you should move anything that could catch on fire.
REPRODUCIBLE MASTER
Home Fire Preparedness

PRESENTER NOTES

PILOT EDITION 2013© Copyright 2013 The American Red Cross