time to tackle something a bit easier build wise · time to tackle something a bit easier build...
TRANSCRIPT


Time to tackle something a bit easier build wise and concentrate on the paint finish. I’ve
therefore chosen Hasegawa’s excellent 1/48 F-104G. Having built this kit before I know that it is really an awesome kit. It’s easy to build and there’s no fit issues. It also comes with a nice level of surface detail. The only criticism I’ve seen on this kit is regarding the rivet detail on
the wings. Hasegawa include rivets but the real aircraft didn’t have any. More on that later. I have some objectives in mind for this kit.
There’s couple of areas where I still struggle with from time to time. Specifically decals and applying gloss finishes. The two are actually related. I always worry about silvering on my decals and consequently I put too much gloss over the paint. Then I’ll add even more gloss
once the decals are finished. Good decals help the cause as well and I was able to get some
aftermarket decals from Paul M. He only used the US markings so he kindly donated the left
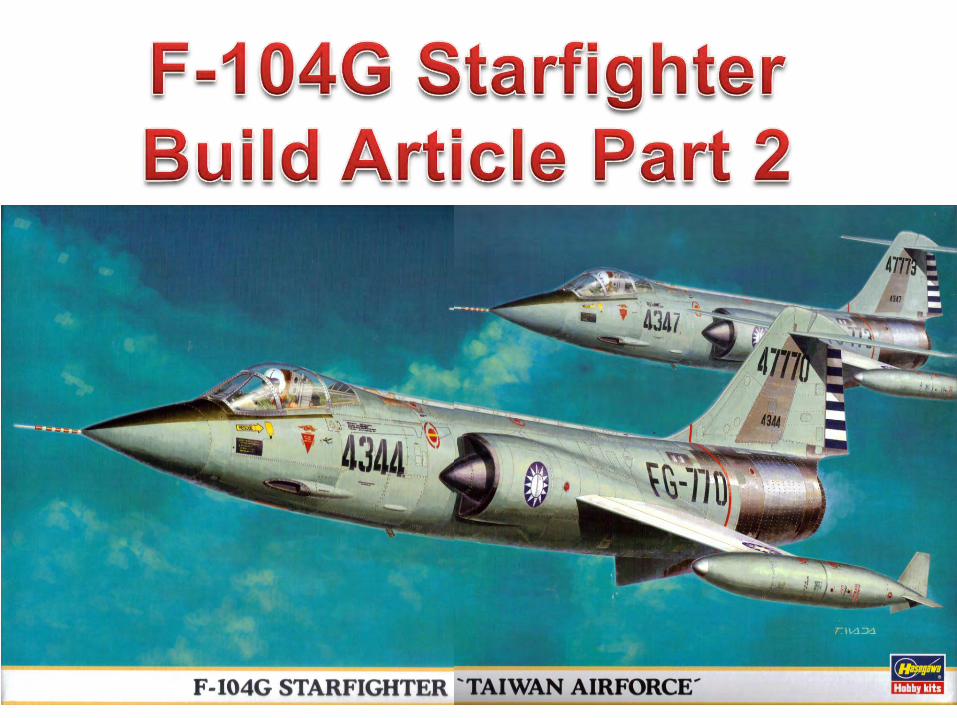
over marking to me. I’m planning on doing the bottom scheme which is very close to the box
art markings.

So as I alluded to before I’ll be trying to focus very hard on the painting process and keep the paint coats very thin. AA has a 12 step program but I’ll be utilizing a 3 step program for the painting. I didn’t follow that process on my last build and was a bit disappointed with
the outcome as a result.I really love this kit and plane as you can see from the number of un-built kits in my
inventory. (Read: SABLE – Stock Acquirement Beyond Life Expectancy)

I started the build with the cockpit. I had a Black Box C2 ejection seat in my stash and it
looked better than the kit supplied seat. Don’t let that stop you from ever using the kit seat
as it’s still decent. I did however find a couple of problems with the resin seat. It was too
wide to fit into the tub. You’d think they would have tested that...I shaved some detail off which is covered anyway. A previous Black Box cockpit detail set was too big when I used it so I won’t be buying any Black Box resin in
the future.
The seat was also 2 mm taller as compared to the kit item and also compared to an Aires seat. To address this I removed the raised
section in the cockpit tub which the kit seat fits over. Otherwise the resin seat would have
sat too high and would have really looked weird once installed.

I put a scrap piece of styrene into the front section to eliminate any unsightly holes once
the seat is installed.
I primed the pieces with a flat black and almost immediately followed it with a coat of Gunze H 317. Once that was dry I had a go at brush painting the panels on the instrument
panel and the side consoles. Maybe it was the paint brush, my degrading eye sight or shaky
hands but I wasn’t happy with the result. One thing that threw me off was the Life Color
paint. I think it was too thin and that caused the paint to run.

I therefore cut out the kit decals and used multiple applications of decal solvent to get
everything to settle. I used Solva Set and soaked the decals time and time again.
Occasionally I used the tip of a knife blade to allow the decal solvent to get underneath the
decal and help it draw itself into the nooks and crannies. The decal is much more
detailed than anything I could have produced by hand. I didn’t flat coat the panels yet. I
installed the tub into the fuselage and will put the matt finish on it later.
Before gluing the fuselage together I scraped off some ejector pin marks from the inside
surfaces of the tail plane. I took this extra step just to ensure that everything would be nice
and tight when mating the surfaces.

I had tried to put a lot of effort into dry fitting the parts before applying glue. I must have
been in a rush and didn’t do that on the fuselage halves. As a result I had a gap behind the main gear bay. I don’t think it’s a kit fault, best not to glue the gear bay into the one half
of the fuselage. Best to put the gear bay in unglued. The fit of the gear bay is really good
and really doesn’t need any glue.
I jammed in some plastic stock, trimmed it and sanded everything smooth. No big thing but if
I had done the test fitting ahead of time and not glued the gear bay into one side of the
fuselage this work wouldn’t have been required. Note for next time!

In no time the kit starts to come together. I barely used any putty. I mostly used Mr.
Surfacer that I smoother out with Mr. Color Thinner. I did use putty on all the wings. I
covered the rivets I talked about in the introduction and sanded everything smooth. Time will tell if this extra work was worth it.
Using some 14 gauge copper wire I fashioned a simple stand to aid when painting the
model. All the gear bays will be painted silver and I’ll do that painting after all the
camouflage has been applied. It’s the easiest way to mask this.

I am going to prime the wing tanks before I glue in the fuel caps. I’m doing this to prevent sanding away any detail on the caps in case I
have to do any touch ups on the seams.
I’ll probably be using the Aires exhaust on this kit. It has more detail than the kit part but I don’t think the kit part is all that bad. I’ll be painting it as well to compare the two. One thing I did on the kit part was to cut off the
locating tabs on the tube. The kit intends you to glue it into the fuselage before joining the two fuselage haves. Cutting the tabs allows
you to carefully fit it into the outlet once everything is painted.
Aires Kit

At this point I’m almost ready to start painting. I’ve already dipped the canopy clear parts in Future. I’ll be spending a little bit more time preparing some small parts for painting, then
washing everything. So the next build article will start dealing with painting. I’ll have to tell myself over and over again not to rush that bit. Hang on to see how things turn out.

Here is where I left off last time. Everything was glued together and it almost looks like it’s ready for painting. Let’s see how I make out with things in this instalment.

Great thing about the design of the kit parts is that a number of them can be left on the
sprues for painting. Another great thing is there’s not a lot of extra parts that need
adding on after the main fuselage is painted.
More easy stuff to talk about here. The cockpit is easily protected by putting a piece of foam into the opening. The foam came
from the Aires resin engine exhaust, so that ended up being handy.

Now that everything was masked I sprayed Mr. Surfacer 1200 over the entire aircraft. I
sprayed it right out of the spray can. Once everything was dry some flaws showed up. In this case most of the flaws appeared from the
rivet holes that had been puttied over. I puttied over these areas again, sanded them and then sprayed Mr. Surfacer 1200 over it
again. Not sure if I would putty the wing rivets again. If I do get another dose of Advanced
Modellers Syndrome I might try the liquid Mr. Surfacer for this task.
One more thing that came up that I should mention. This is one of the few weak areas on the Hasegawa kit. The engine exhaust area on
the fuselage can have the seam easily come apart, especially when fitting the engine
nozzle. I therefore glued some strip styrene to help strengthen this area.

You’d think the last thing one would do is to start masking after the primer coat. I’m doing
this because I’ll be utilizing the Mr. Surfacer primer as a base coat for the metallic coats
that will go in this area. It’s a lot of work, and I’ll have to mask around the painted sections
once those coats are on. Didn’t I say I wanted a relatively simple build?
It’s finally time to start a bit of painting. For the first bit I’m using my old Badger 150 with
the pressure set a little below 20 psi.

The paint technique I seem to have the best luck with is a multiple coat layering technique. I’m starting with XF-23. Normally I would have
primed the plane in black, but with the final coat being a light to medium grey the Mr.
Surfacer grey primer should work better than a black under coat.
The light blue was airbrushed on several panels along the fuselage. This was all done
free hand, no need to mask anything. Remember I’ll be doing a lot of blending so there shouldn’t be any problems with this
approach. Normally I don’t take the extra step to paint individual panels like this so it will be
interesting to see how things turn out.

I then put XF-21 into the airbrush paint cup. I didn’t bother cleaning out the previous paint since I’m just adding base colours that will be
covered by additional paint layers. I made sure all the paint was thinned well.
The sky colour was painted on a few other panels. Both paint colours that I just applied
didn’t take long to apply. That’s a nice part of this painting process.

It might be a little hard to see in this picture but I discovered a seam on the nose cone that wasn’t properly filled. As a result all painting stops and I need to fix it before proceeding
further.
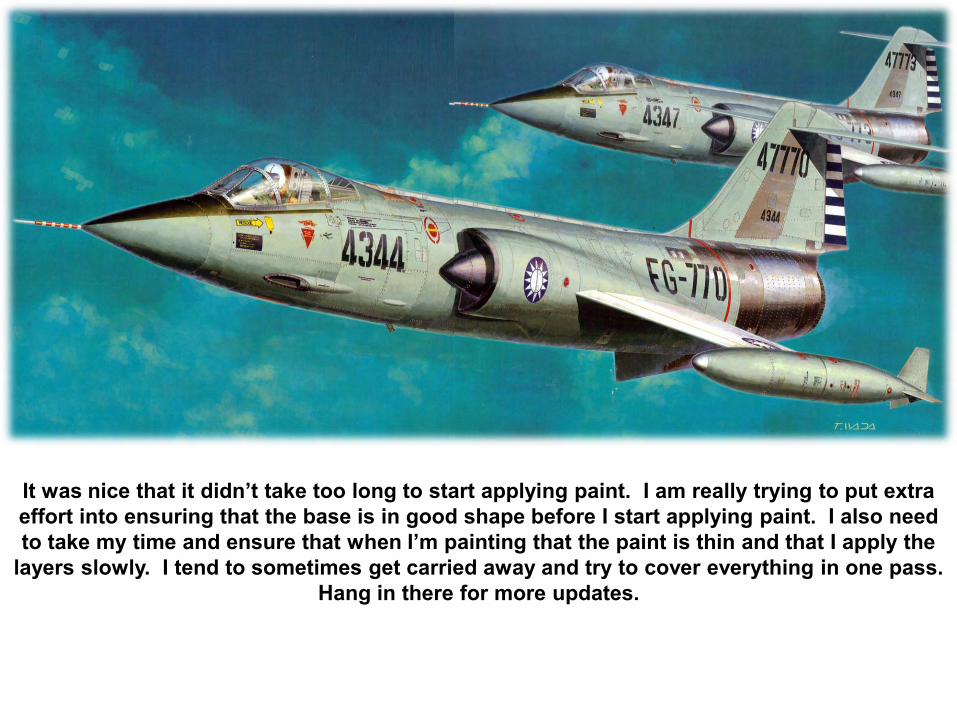
It was nice that it didn’t take too long to start applying paint. I am really trying to put extra effort into ensuring that the base is in good shape before I start applying paint. I also need to take my time and ensure that when I’m painting that the paint is thin and that I apply the
layers slowly. I tend to sometimes get carried away and try to cover everything in one pass. Hang in there for more updates.


Here is where I left off last time. After painting some panels in light blue and sky I discovered a flaw on the nose cone seam. I applied some putty, sanded it and re-scribed the
panel lines. With all that done I was ready to continue the painting process.

Once the base colour is on the plane (Mr. Surfacer 1200 in this case) the next step is to spray all the panel and rivet lines. I typically would use a colour similar to the final colour
but darker. Instead of using a dark grey I used black. I thinned the paint well. 2/3 thinner to 1/3 paint. The compressor was set at 40 psi.
And this is what the bottom of the plane looks like. Given the size of the plane I think it took
under an hour to complete this painting process. I used an Iwata TR-1 for all the panel line spraying as it’s easier on the hands than a
traditional airbrush.

As you can see there’s a few spots that I got some blotching. Although I try to
avoid these I also don’t worry about them too much. Subsequent blending
coats should cover these spots.

The next step was to paint the intakes in flat black. I did this free hand with my Iwata HP-B set a little below 20 psi. Before I start painting
the main colour on the fuselage I need to mask this area.
I’m almost ready for painting. I used more of the foam from the Aires resin exhaust along with the usual masking tape. Just to make
sure there was no overspray I also put liquid mask on just to cover everything.

I taped off around the fuselage to wing joint to start the major colour painting. I used Tamiya flat white for the wing colour. I thinned it so the consistency was like milk. I also added some clear and the usual drop of Flow Aid. I was careful to apply the white in thin layers. It’s hard to see but trust me that the
wings are indeed white.

After the wings were dry I taped them off for protection. I also tried something new that I
saw somewhere by using aluminum foil to cover the larger areas. This went pretty quick to cover the larger areas and cuts down on the
expensive Tamiya tape use.
There’s a conflict between what Hasegawa calls out for the fuselage colour compared to the decal instructions. I ended up using what the decal instructions called for (FS36622). It
was the lighter colour and looked closer to what is actually on the kit box art. In the end
either colour would work. The blending process being used doesn’t seem to care too much for exact FS colour matches. This is a
good countermeasure to AMS.

And here’s what the final colour of the blending process looks like. I did follow
up some of the panels with another shade of grey, but I’m not sure if that will show through. As well the panels I had
previously painted don’t stand out much either. This may yet change once a coat
of Future gets applied. Time will tell. Although the photos might not show it fully, I didn’t blend the underlying panel
lines in as much as I usually do. The contrast is actually fairly stark. I have
found that when I apply Future the effect becomes muted so I’m trying the bigger
contrast this time around. I’ll have to wait how that turns out.

I had trouble getting some of the liquid mask off. I ended up digging into the paint a little.
I’ll touch this up later with a paint brush.
Everyone is likely aware of my great like for Mr. Hobby products. Let the god who doesn’t
exist forgive me for speaking badly (only for the second time) of a Mr. Hobby product. Mr. Hobby has 2 masking liquids. The one on the
left sucks. I’ve already throw it into the garbage. Stick with the one on the right.

Gunze paints seem to take a long time to dry so use some foam packing material to avoid leaving finger print impressions in the paint
finish. I also masked the nose cone section for some black paint.
The nose cone turned out well and while I was at it I also painted the gear bays, although it’s
hard to see in this picture.

Well I’m making some progress. I’m going to let the kit sit for about a week to allow the Gunze paint to dry. To many times have I left my finger prints in paint finishes. The next
step will be to mask the rear exhaust area and apply some Alclad to it. At least that’s what I’m thinking of using at this point. No major screw ups so far which is a nice change.


Last article I left off with the major colour applied. I had set the kit aside to dry for a while as I was trying to avoid leaving my finger prints in the finish. Time to also share a new product. It’s a thin UHMW roll with a sticky back on one side. I’ve been putting it on my cutting mat. It’s a nice cutting surface. It’s available from McMaster Carr in the US. See if you can order
it at work without your employer knowing what it’s for.

If I could I’d buy stock in Tamiya tape. I started by removing the tape that had covered the primed area. The outside borders of these areas was then masked off. If you don’t use
the high shine Alclad aluminum you can spray the colour directly onto the primer. If you do
use the high shine or chrome colours then you would have had to paint a gloss black under
coat.
With the compressor set at about 12 psi I misted on Alclad aluminum. With all the tape
on it does look a bit dull and makes you wonder about it’s effectiveness/realism. A
couple of light coats is enough to cover everything.

More masking tape. Some other panels were now covered to protect them from the next coat of Alclad. Once they were taped off I
sprayed Alclad dark aluminum.
Time to finally remove all the masking tape and see what the result is. It turned out
pretty good in my opinion and it was easy to apply. It definitely looks metallic once the
tape is removed. Whew! This is the reason I wanted to build this paint scheme. I need some practice with metallic finishes and instead of trying it on an entire fuselage I
figured it made sense to do it only on part of it.

The next step is where things usually go south for me, glossing. Although I had used Gunze
paint on the fuselage and had even added gloss, the wings were still a little dull for
decals. I mixed up Future and acrylic thinner, using about 60% to 70% thinner and carefully
misted on thin layers over the wings. The whole plane was then put into Mr. Dry Booth
for everything to cure.
In between painting sessions I also decided to paint the rudder instead of using the decals.
As you can see I ran into some perception/alignment issues. I’ll have to paint the rudder white again and have another go at
masking for the blue bars.

Time to start put decals on. It’s hard to tell in this picture but the kit national markings are yellowish instead of a nicer white. I used the aftermarket decals on the kit. For the rest of
the plane markings I decided to use the kit decals.
Decaling is one area I still struggle with. Good decals help so using the Hasegawa decals was a bit of a risk. This time around I tried to really slow down every process of the decaling. I let them soak longer, and also let them sit when using the 2 step Micro Sol/Set process. This
time around I think everything went well. Not sure if the change in the process had
something to do with it. I’ll need to build more kits and keep an eye on the outcome.

The decals went on well over the metallic sections as well. As you can see I corrected
the stripes on the rudder. Much better and I thought that painting the stripes would look
better than using decals. It wasn’t hard to do either. After all the decals were on I coated them with a highly thinned coat of Future.
About 60% to 70% thinner to Future.
While the Future was drying I prepared all the smaller parts that are best kept until the end of the build. Most of the parts were for the landing gear. This step is surprisingly time
consuming.

Here is a good comparison between the kit engine nozzle and the Aires one. The Aires
item is on the right. The kit part would still be nice enough to use, but the aftermarket item
really does take it up a notch.
You would still likely not have to shave a bit off the outside of the can to fit it into the
fuselage, but it wouldn’t be too hard to do. Hasegawa should have designed it this way in
the first place. The end inside part of the nozzle is obviously much nicer than the kit
item.

Time for a screw up. The Hasegawa instructions have you put the instrument
panel in after the cockpit tub is in. Problem is that if you have installed the control column you won’t be able to fit the panel in. I broke
off the top of the stick and it fell into the floor slot that I never bothered to fill since the seat
would cover that.
And as things go the broken part could not be coaxed out. I raided another one of my F-104 kits to replace the top of the control column. The single seater kit has 2 of these columns
luckily as Hasegawa designed the kit so a dual seater could be built as well. Still a bit of a
pain however. Coaxing the instrument panel in was also a bit tricky.
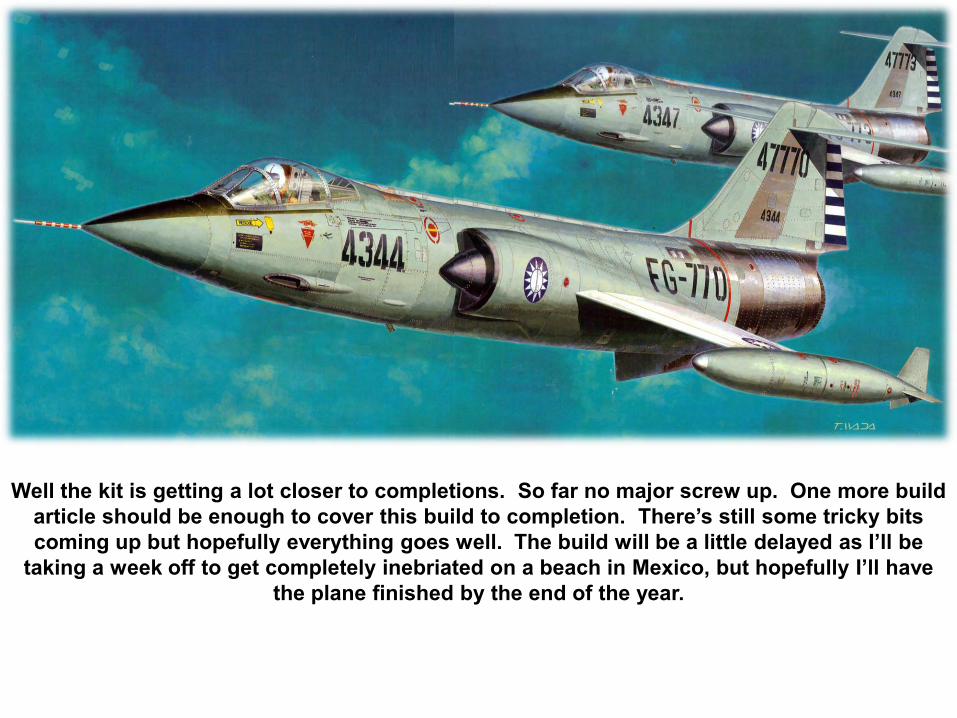
Well the kit is getting a lot closer to completions. So far no major screw up. One more build article should be enough to cover this build to completion. There’s still some tricky bits coming up but hopefully everything goes well. The build will be a little delayed as I’ll be
taking a week off to get completely inebriated on a beach in Mexico, but hopefully I’ll have the plane finished by the end of the year.

Last article I left off with the decals applied to the kit. Next step was to
take a one week break down in Mexico where I was conducting an
intense research project on the beach along with testing the limits of my liver. Fully refreshed it’s time to
get back to the F-104.

With all the decals on I decided to attach all the landing gear and the appropriate doors. No real problems here. The poly cap system
makes it easy to push the gear into place. The only slightly tricky part is attaching and
aligning the connecting rods for the main gear to the main gear smaller doors. I think there’s a better way to tackle this than just gluing the
kit parts in place and I’ll cover that idea approach on the next F-104 that I build. I imagine I’ll do a build article for it as well.
I then airbrushed a highly thinned coat of Tamiya flat finish over the kit. I wasn’t quite
happy with the sheen (still somewhat egg shell finish) so I followed it with my favourite Gunze flat. That also left the same egg shell
sheen on it. I was looking for something even flatter and I’ll explain what I did in the coming
slides.

I used MIG Production neutral wash for the panel lines. Any excess was wiped away with
a Q-Tip soaked in Abteilung 502 odourless thinner. The excess was wiped away in the
direction of airflow.
There were a few flaws in the paint finish so I wanted to polish the paint surface to smooth
out any perfections. Someone answer me how a hair challenged person gets tiny hairs
into the paint finish. It’s beyond me. I used a Scotch Brite type pad to polish the paint. This stuff is 2500 grit that I bought from Woodcraft
in the US.
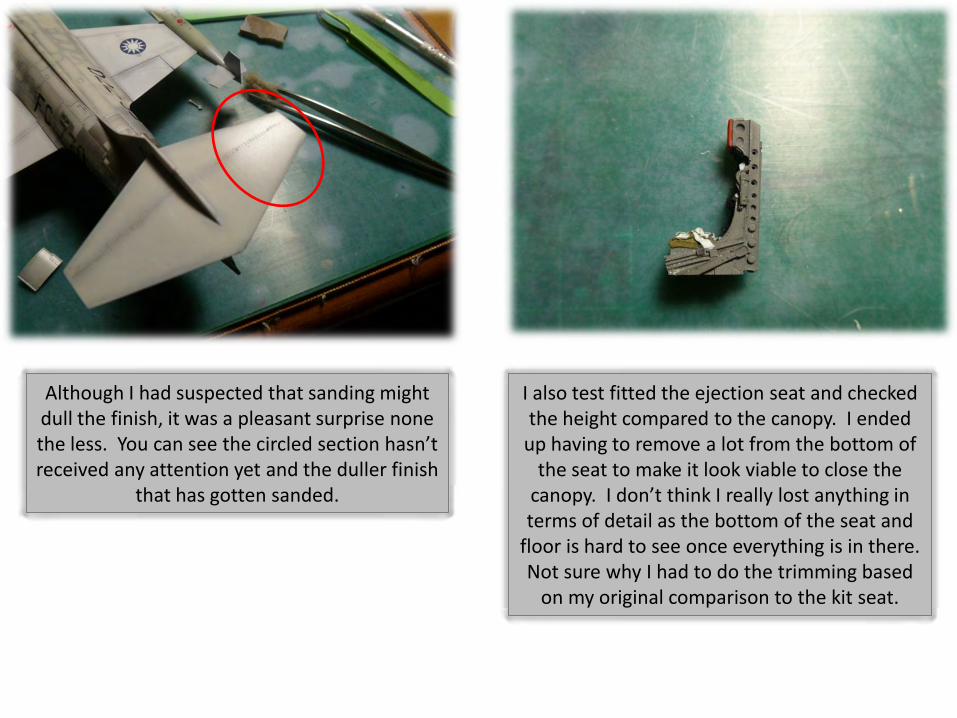
Although I had suspected that sanding might dull the finish, it was a pleasant surprise none the less. You can see the circled section hasn’t received any attention yet and the duller finish
that has gotten sanded.
I also test fitted the ejection seat and checked the height compared to the canopy. I ended
up having to remove a lot from the bottom of the seat to make it look viable to close the
canopy. I don’t think I really lost anything in terms of detail as the bottom of the seat and
floor is hard to see once everything is in there. Not sure why I had to do the trimming based
on my original comparison to the kit seat.

I originally dipped the canopies in Future but then had to strip them by dipping them in
alcohol. They still had imperfections in them so I polished them and dipped them again. I had to dip them multiple times to get a finish without any drips. A slight weakness on the
clear parts are some of the raised lines aren’t very pronounced which can make masking a little tricky. I also masked the inside of the main canopy to paint the inside. I find this
looks better than viewing the black undercoat through the shiny clear plastic.
I painted the exhaust with several shades of metallic paint, dark iron being the final one. I
still wasn’t happy so I applied a semi gloss black wash which did the trick. In real life I
find the exhaust to look like a very dirty black, but just painting them black doesn’t do a good
job of recreating the look. Metallic undercoats are required. I like the
aftermarket burner can, but the kit item is also still something that could be used.

I painted the wing tanks in a couple of different shades and then airbrushed a dirty
brown mix along the fuel filler points. Unfortunately the decal edges are a little bit visible. They were the only decals that were like this, the rest were pretty good. Maybe
there wasn’t enough gloss on?
Although a decal is provided for the red and white stripes I still masked and painted mine. I used the kit pitot tube which hasn’t broken yet! Resin pitot tubes are still on a slow boat
from China and will be used on my next F-104.

One more minor addition was for the navigation lights. Using duct sealing tape I
punched out disks and glued them onto the designated fuselage positions. The foil is sticky enough where no additional glue is
required.
Then using a toothpick I applied the appropriate clear colours. The result is very nice. It looks very realistic in my opinion and
best of all it was quick and easy to do.
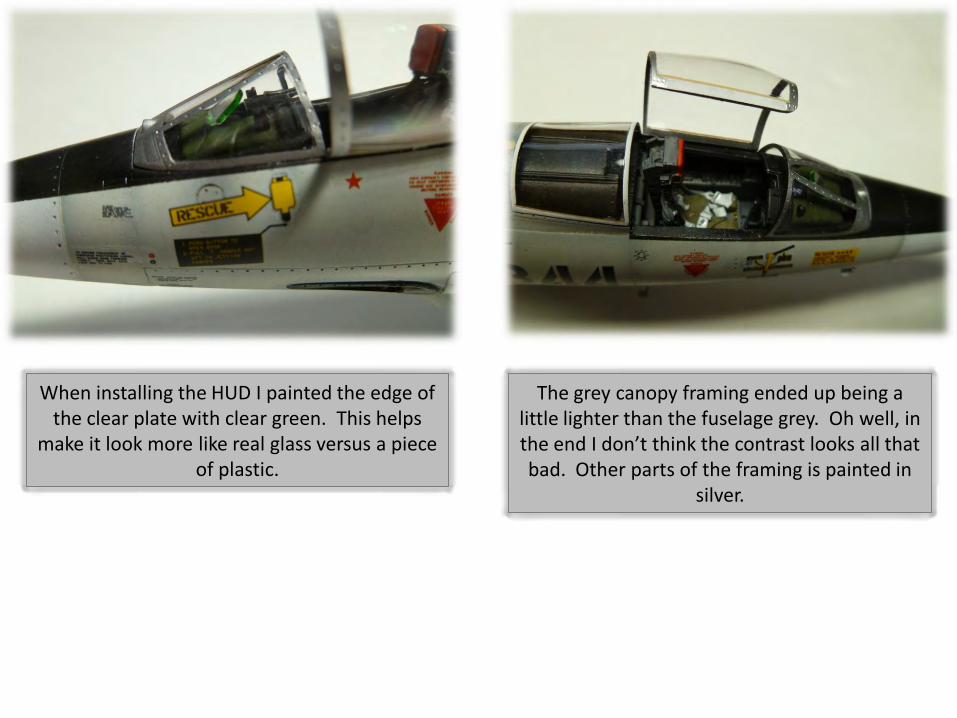
When installing the HUD I painted the edge of the clear plate with clear green. This helps
make it look more like real glass versus a piece of plastic.
The grey canopy framing ended up being a little lighter than the fuselage grey. Oh well, in the end I don’t think the contrast looks all that bad. Other parts of the framing is painted in
silver.

Although it required a lot of filing to get it to fit into the cockpit, the Black Box ejection seat
does make for a nice addition.
The seatbelts is one of the things that help the seat stand out. Now that everything is pretty much attached, it’s time to reveal the finished
product.


There you go, another one for the display cabinet. Couple of small errors on the plane. I had mentioned the main landing gear bay before. The small alignment issue I had resulted
in the plane not sitting quite level. I hope it isn’t too noticeable. The other thing I’m running into are some small paint cracks. I tried to take a photo of it but my basic camera can’t get that close. You really have to look hard to see it anyway. I’ve had this on a few other builds
as well and think it might be the Gunze paint, or the Future shrinking too much during drying. If anyone has any insights I’d appreciate some feedback. Overall I’m pretty happy with the outcome. I’m happy with the metallic rear fuselage. I didn’t end up with much if any panel colour modulation. I’ll have to go for more colour contrast if I want this effect
utilizing the paint process I use. Next time maybe. The Hasegawa kit is great. Do yourself a favour and pick one up.