trs-80 model iii/4 video mixer - blue-print
TRANSCRIPT
BLUE-PRINT.BE
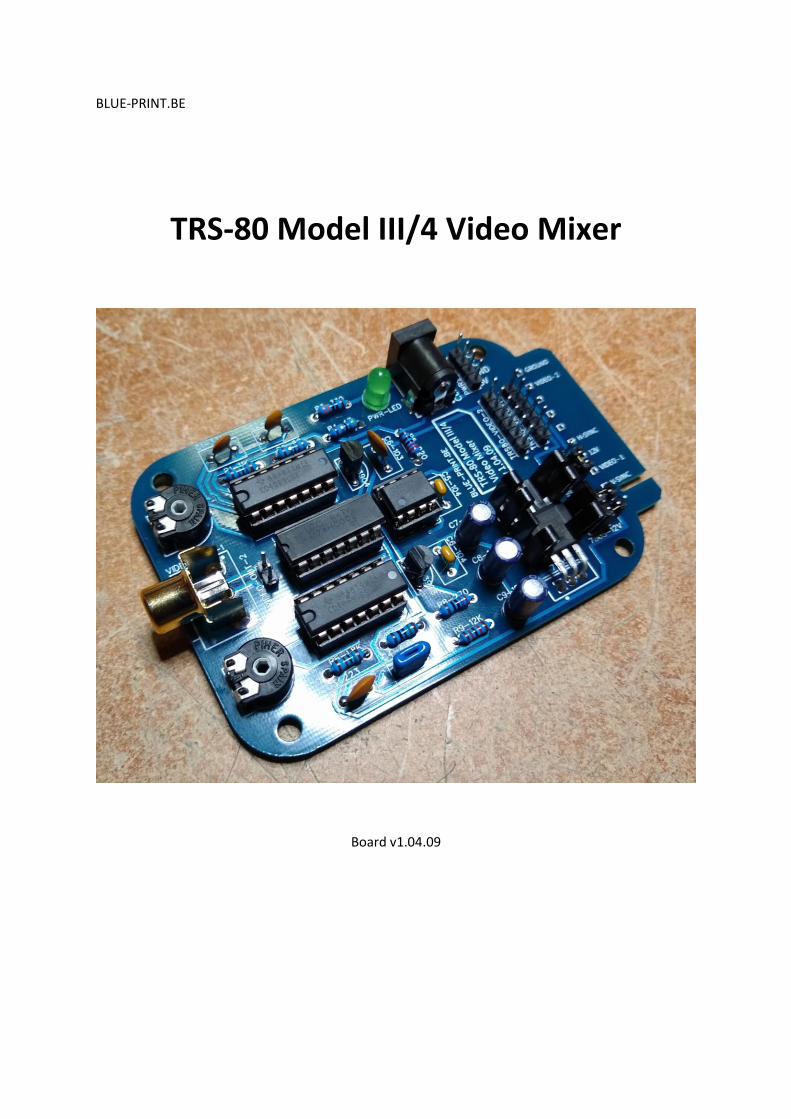
TRS-80 Model III/4 Video Mixer
Board v1.04.09
Changes since v1.02.03
The v1.04.09 board has a couple of changes since v1.02.03.
The provided functionality remains completely the same. Everything you can do with the v1.04.09
boards you can also do with a v1.02.03 board.
So what has changed?
• The position of the 5V voltage regulator has been changed to allow more room for the heat
sink. • The erroneous indications on the silk screen of v1.02.03 have been corrected (see the
v1.02.03 manual errata section). • A 3-pin header with jumper was added to easily switch between the video signal sources “3”
and “9”. These video signal sources are indicated by “VIDEO-1” (pin 3) and “VIDEO-2” (pin 9)
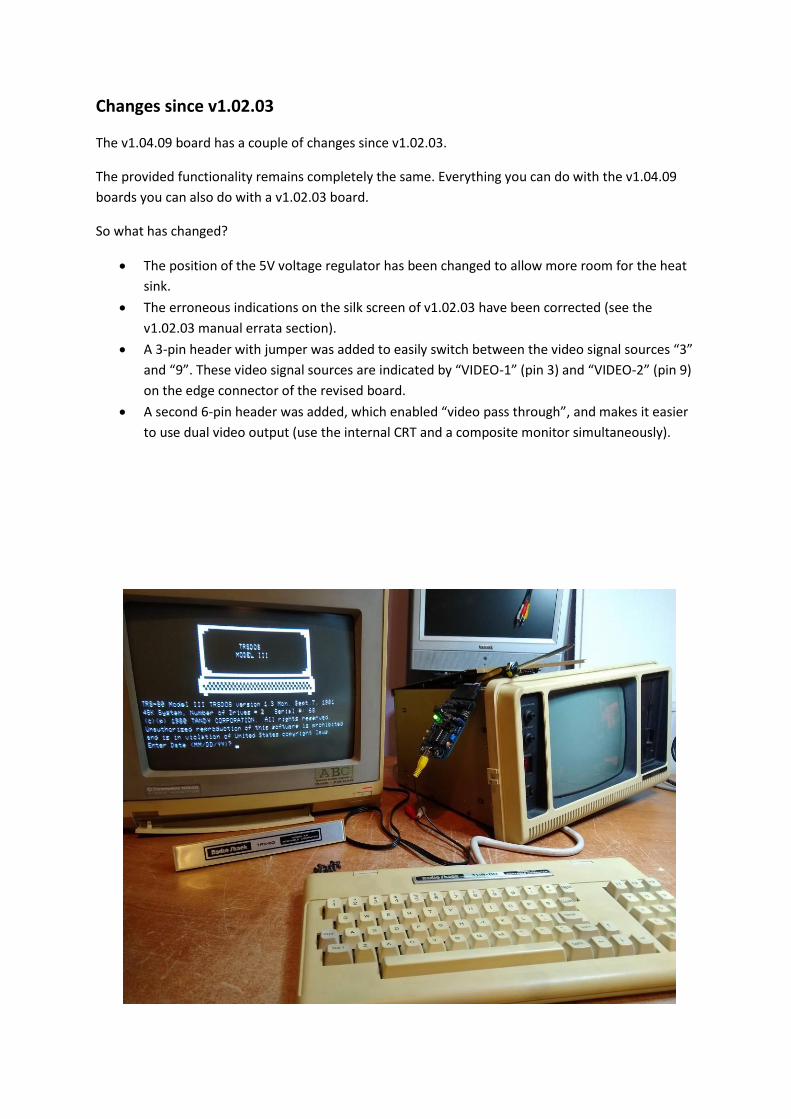
on the edge connector of the revised board. • A second 6-pin header was added, which enabled “video pass through”, and makes it easier
to use dual video output (use the internal CRT and a composite monitor simultaneously).

Supported TRS-80 computers
Model II, III, 4 and 4P computers have been tested and are working
The v1.04.09 boards are designed for all Model II, III, 4 and 4P
computers with a 6- or 10-wire CRT edge connector.
Since TRS-80 Model 12, 16 and 6000 computers also use a similar edge
connector, the Video Mixer board should also be usable on those. But
this has not been confirmed yet.
The type of edge connector/wire used must be configured by setting the
“VIDEO SOURCE” jumper in the correct position.
By default the “VIDEO SOURCE” jumper is set to the “3” side, which is
the correct setting for a 6-wire edge connector cable.
If you wish to use the video mixer board with a TRS-80 computer which
has a 10-wire edge connector, the jumper “VIDEO SOURCE” has to be
switched position to the “9” side. The indicated “9” stands for the
“VIDEO-2” signal from pin 9 of the edge connector.
All of my personal Model III and 4 computers have the 6-wire edge connector, but my luggable
Model 4P’s have the 10-wire edge connector.
6-wire edge connector (set “VIDEO SOURCE” jumper to the “3” side):
10-wire connector (set “VIDEO SOURCE” jumper to the “9” side):
Supported displays
The Video Mixer board v1.04.09 is not 100% compatible with all monitors.
As a general rule, monitors that have the option to horizontally position the displayed video will
work fine. You can use the video positioning knobs of your monitor to position the displayed video.
With other monitors (usually ones without a horizontal positioning knob) the video may be displayed
too far to the left (overscan) and thus only be partially readable. This might suffice for testing
purposes, but not for replacement of the original CRT.
The same goes for modern TV’s with composite and/or SCART input (with a SCART to RCA adapter).
If the TV has the option to horizontally position the displayed video there is a good chance you will
get a good video display.
Bas Gialopsos from BetaGamma computing has confirmed the boards work great with a HDMI
upscaler (RetroTINK-2X) on a modern TV. When using an upscaler, it might not be required to have
horizontal positioning controls on your TV.
Following list will be further expanded to include more user tested monitors when I receive them:
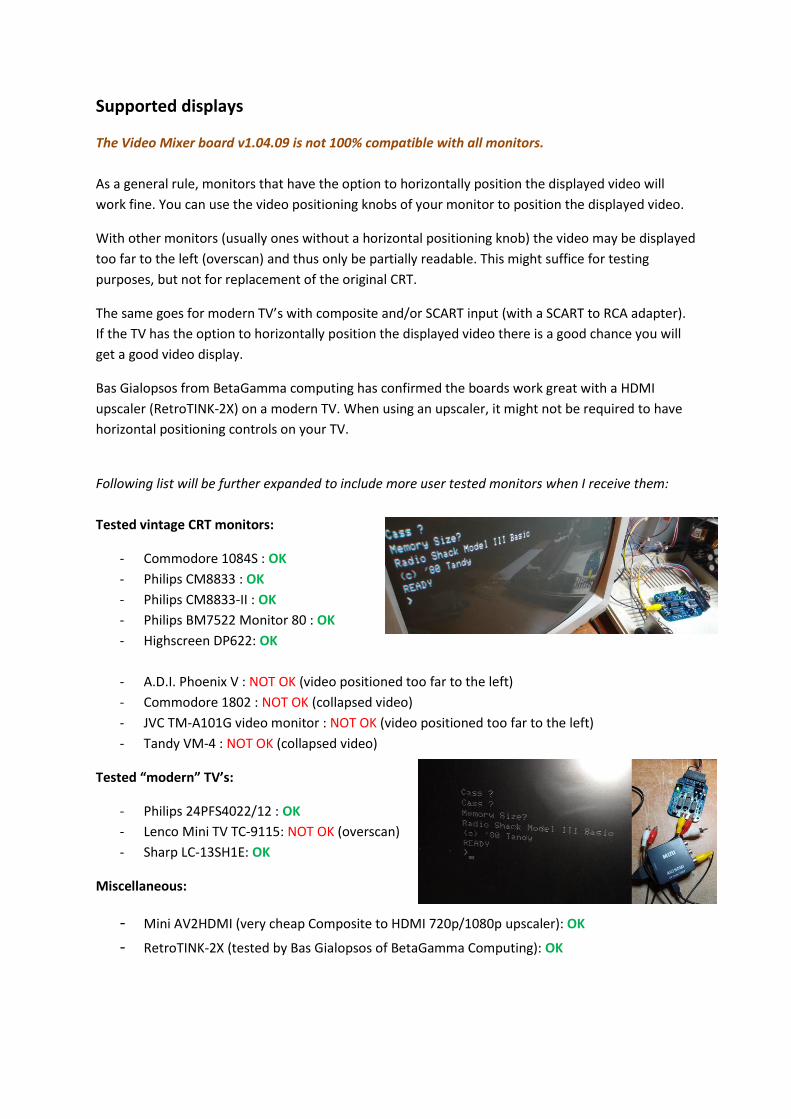
Tested vintage CRT monitors:
- Commodore 1084S : OK
- Philips CM8833 : OK
- Philips CM8833-II : OK
- Philips BM7522 Monitor 80 : OK
- Highscreen DP622: OK
- A.D.I. Phoenix V : NOT OK (video positioned too far to the left)
- Commodore 1802 : NOT OK (collapsed video)
- JVC TM-A101G video monitor : NOT OK (video positioned too far to the left)
- Tandy VM-4 : NOT OK (collapsed video)
Tested “modern” TV’s:
- Philips 24PFS4022/12 : OK
- Lenco Mini TV TC-9115: NOT OK (overscan)
- Sharp LC-13SH1E: OK
Miscellaneous:
- Mini AV2HDMI (very cheap Composite to HDMI 720p/1080p upscaler): OK
- RetroTINK-2X (tested by Bas Gialopsos of BetaGamma Computing): OK
Powering the board
The Model III/4/4P Video Mixer board has 3 powering options available: an edge connector (12V
regulated to 5V), a 5V power jack and a 4 pin connector.
➢ CAUTION!
Never apply power to multiple power inputs at the same time; this could destroy the Video
Mixer board and possibly your computer!!! Always apply the correct voltages as indicated on
the board and as described below.
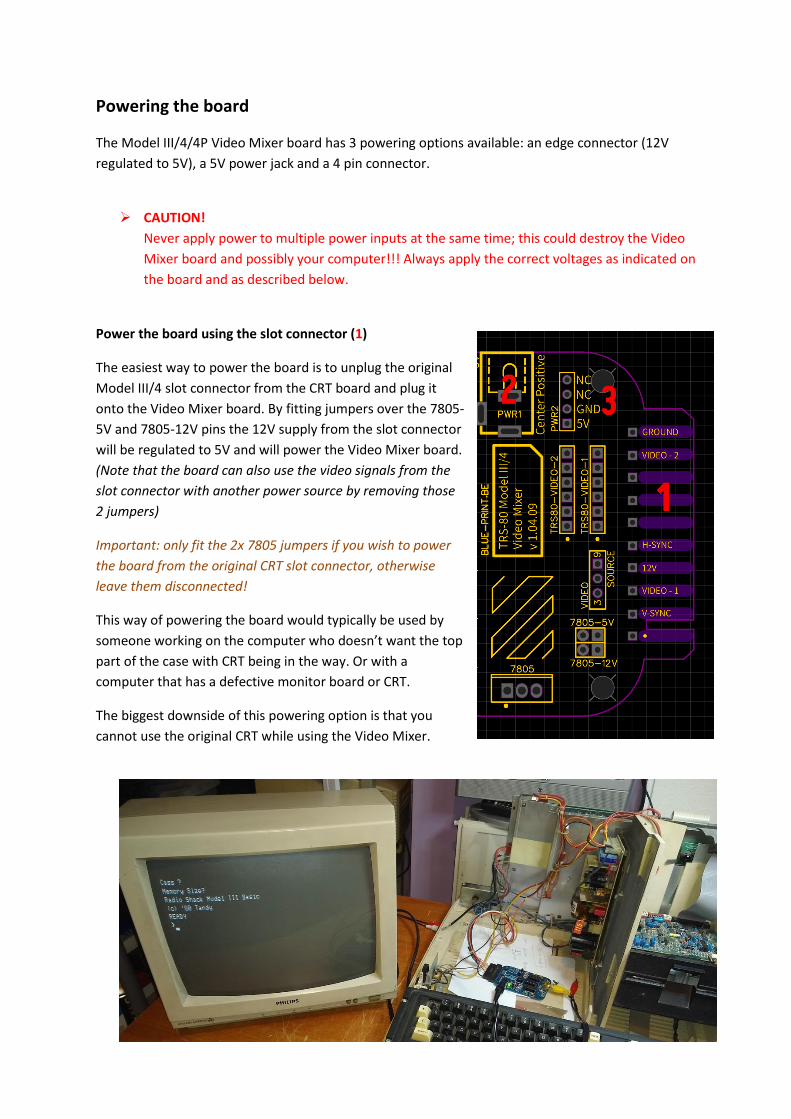
Power the board using the slot connector (1)
The easiest way to power the board is to unplug the original
Model III/4 slot connector from the CRT board and plug it
onto the Video Mixer board. By fitting jumpers over the 7805-
5V and 7805-12V pins the 12V supply from the slot connector
will be regulated to 5V and will power the Video Mixer board.
(Note that the board can also use the video signals from the
slot connector with another power source by removing those
2 jumpers)
Important: only fit the 2x 7805 jumpers if you wish to power
the board from the original CRT slot connector, otherwise
leave them disconnected!
This way of powering the board would typically be used by
someone working on the computer who doesn’t want the top
part of the case with CRT being in the way. Or with a
computer that has a defective monitor board or CRT.
The biggest downside of this powering option is that you
cannot use the original CRT while using the Video Mixer.

Using an external power supply with the jack connector (2)
It is possible to use an external power supply to power the board by applying 5V (center positive)
through the power jack connector.
Important: please make sure you apply 5V center positive, applying a too high voltage could destroy
the Video Mixer board and possibly your computer!
This way of powering the board is interesting for someone who wants to use the Video Mixer
externally. A cable which connects to the “TRS80-VIDEO-IN-1/2” pins could be passed through one of
the case vents, or you could for example fit a socket of your own design on the back of the case.
Applying power through the 4 pin connector (3)
The internal power supplies of the TRS-80 Model III/4/4P computers have a couple of 4-pin power
cables available. These are usually used for powering the mainboard, floppy controller board and the
floppy drives. Often there is a spare cable that is not connected. You can use it on the “PWR2” pins
to power the Video Mixer.
The power connectors from the internal Model III/4 power supply typically have 4 coloured wires:
1. red = 5V
2. brown = ground
3. orange = 12V
4. yellow = -12V
Make sure you connect the 4-pin power connector in the correct way!
There is an indication below the PWR2 connector which pins are ground and 5V.
In those early computing days there was no standard for which wire colour indicates which voltage,
be sure to measure the voltages with a multimeter and fit the connector the correct way before
applying power to the Video Mixer.
This way of powering the board is the most interesting option for people who which to use the Video
Mixer board internally inside the computer. They could pass a video cable through one of the case
vents, or for example drill a hole in the back of the case and fit an RCA connector and enjoy dual
video output (1x on the original CRT and 1x via the Video Mixer output).

Video input options
You can obviously just use the edge connector and the input video signals will be correct.
(Remember, for the 10-wire edge connectors you need the switch the jumper position to “9” on the
video mixer board)
If you wish to use the 6 pin header labelled with “TRS80-VIDEO-IN-1/2”, a ground connection is also
required for the video mixer to work. You can apply the ground connection to any grounded pin
available on the board. For example on pins 1, 3 or 5 of the “TRS80-VIDEO-IN-1/2” pin header.
Video output options
The Video Mixer board combines the video signals from the
Model III/4 computer into a monochrome composite signal.
The Video Mixer board has 2 options for video output:
- “VIDEO-OUT-1” RCA jack: this is your typical composite video
output connector.
- “VIDEO-OUT-2” pins: these pins provide the same ground and
composite signal as the RCA jack. The pin with the small dot
next to it is the composite video signal (bottom pin on the
picture)
Dual video output (CRT + composite)
It is possible to use the TRS-80 Composite Video Mixer board concurrently with the internal CRT
monitor on a TRS-80 computer with the 6-wire edge connector. Disconnect the 6-pin connector from
the monitor and plug it on 6-pin header “TRS80-VIDEO-2”. Use a 6-wire dual 6-pin connector to
connect the motherboard to the “TRS80-VIDEO-1” pin header.
Please be careful to install the cables in the correct orientation, pin 1 is indicated by a dot next to the
pin headers.
This has not been tested with a 10-wire edge connector! Those might require a custom cable.
Proceed at your own risk ;-)
P1 and P2 potentiometers
With these adjustable resistors you can adjust the video output vertical and horizontal positions.
Just setting them both to 0 ohm is generally the best setting for most monitors.