understanding commands for the naturalization interview · 2013-08-23 · understanding commands...
TRANSCRIPT

Understanding Commands for the Naturalization InterviewClassroom Materials 8 ½" x 11" Visuals and Flash Cards The following materials have illustrations representing
commands that an applicant may hear during the
naturalization interview at USCIS. To help your students
learn and practice these commands, you can print out these
8 ½" x 11" visuals of each illustration to use with the entire
class. You can also print out and create sets of flash cards for
games and small-group activities. There are suggested ideas
for classroom use along with each set of illustrations. Also
included is the list of commands from the audio script for
the USCIS Practice Test—Understanding Commands for the Naturalization
Interview.
Classroom Ideas for the 8 ½" x 11" Visuals
Introduce the Commands
Option 1: Teach the Commands Orally• Hold up one 8 ½" x 11" visual and model the command for the students.
• Demonstrate the action while saying the command again.
• Have the students repeat each command after you.
• Say each command and have the students act out the behavior.
• Model the pronunciation for the command several times and have the students repeat after you.
• Go through all the visuals in the same manner.
• Practice the commands by holding up the visuals in random order.
Variations: Have one student say a command for the rest of the class to act out. In small groups or pairs, have the students give the commands to each other and act them out together.
Note: It is important for students to be able to identify the illustrations in any order. Be sure to practice the commands in random order.
Option 2: Write Out the Commands• Tape each visual on the board and write the corresponding command
on the board for the students to copy. (Refer to the list of commands provided for the exact wording.)
• Give the students time to copy the commands.
• Read each command aloud again for the students to read along and repeat after you.
Note: For students at a low beginning level, you may need to spend several class periods to introduce and review these commands using various methods. It may be helpful to do a quick warm-up with the 8 ½" x 11" visuals to practice the commands before having the students do the activities using the Understanding Commands Flash Cards.
Follow-up Activities
Option 1: Give a Dictation Quiz• Give the students a dictation using the commands they have studied.
• Choose 5 or 6 commands and have the students number their paper accordingly.
• Read each sentence at a normal pace, two or three times.
• Give the students time to write down the sentence.
• When finished, go over the sentences together on the board.
Option 2: View the Video, The USCIS Naturalization Interview and Test• Have the students view the 16-minute video, “The USCIS Naturalization
Interview and Test.”
• Show the students the portion of the video that focuses on an applicant at a naturalization interview. Cue the video at minute 4:35, where the applicant arrives at the USCIS office and interacts with the officer.
• Help the students listen for key words from the commands in the video, pausing and replaying sections that contain the commands they have studied.
Note: It would be beneficial for you to preview this portion of the video prior to class. Note that some commands in the video are spoken exactly the same as the ones in this exercise, while others may be worded somewhat differently.

Below is the audio script of the commands in the USCIS Practice Test—Understanding Commands for the Naturalization Interview:
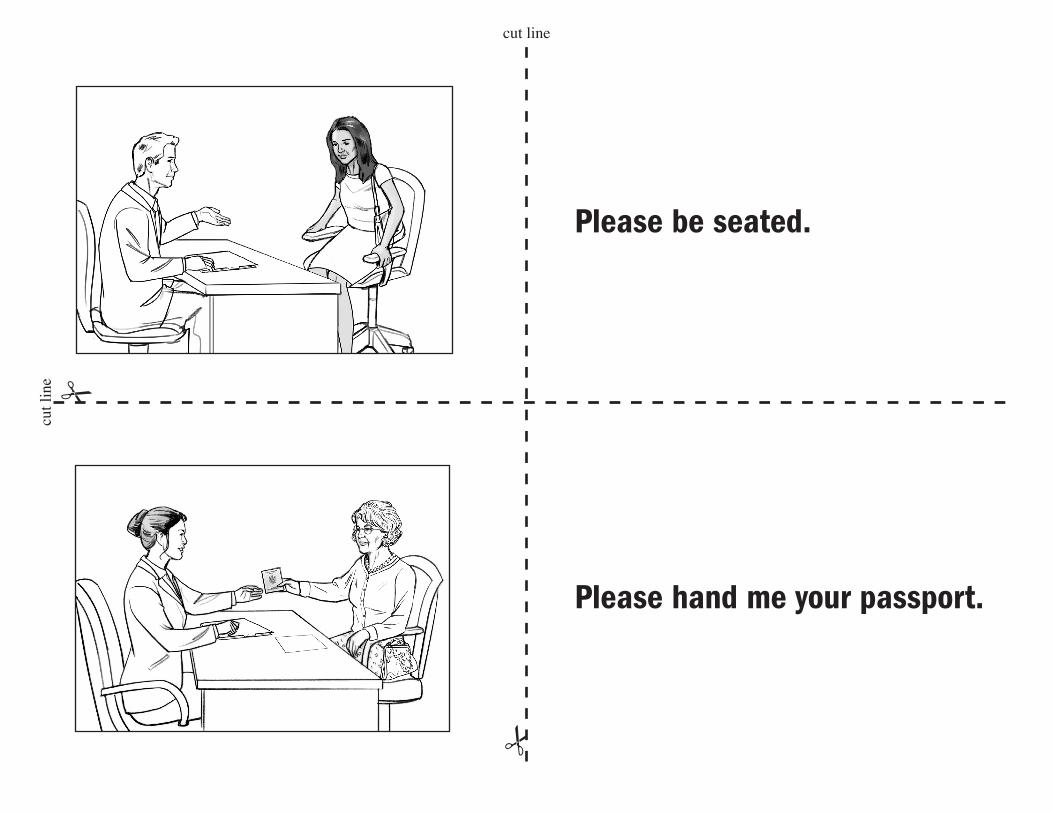
1. Please be seated.
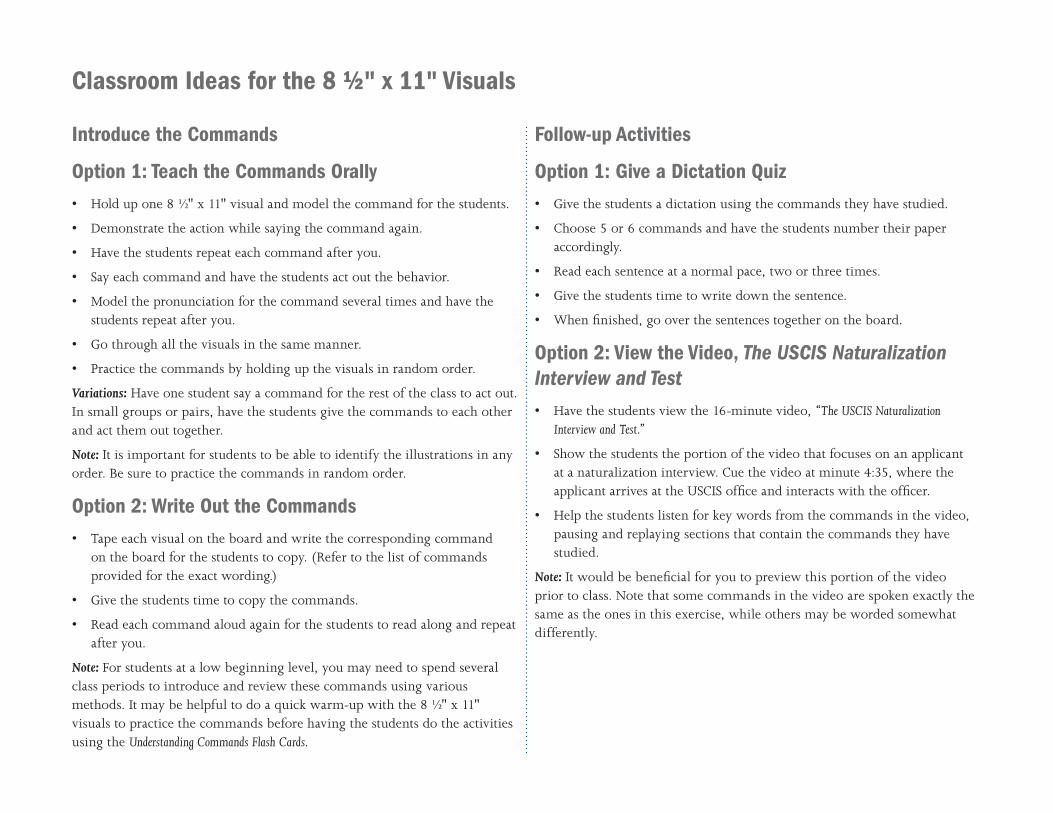
2. Please hand me your passport.
3. Read this sentence.
4. Please follow me.
5. Please print your name.
6. Write this sentence here.
7. Raise your right hand.
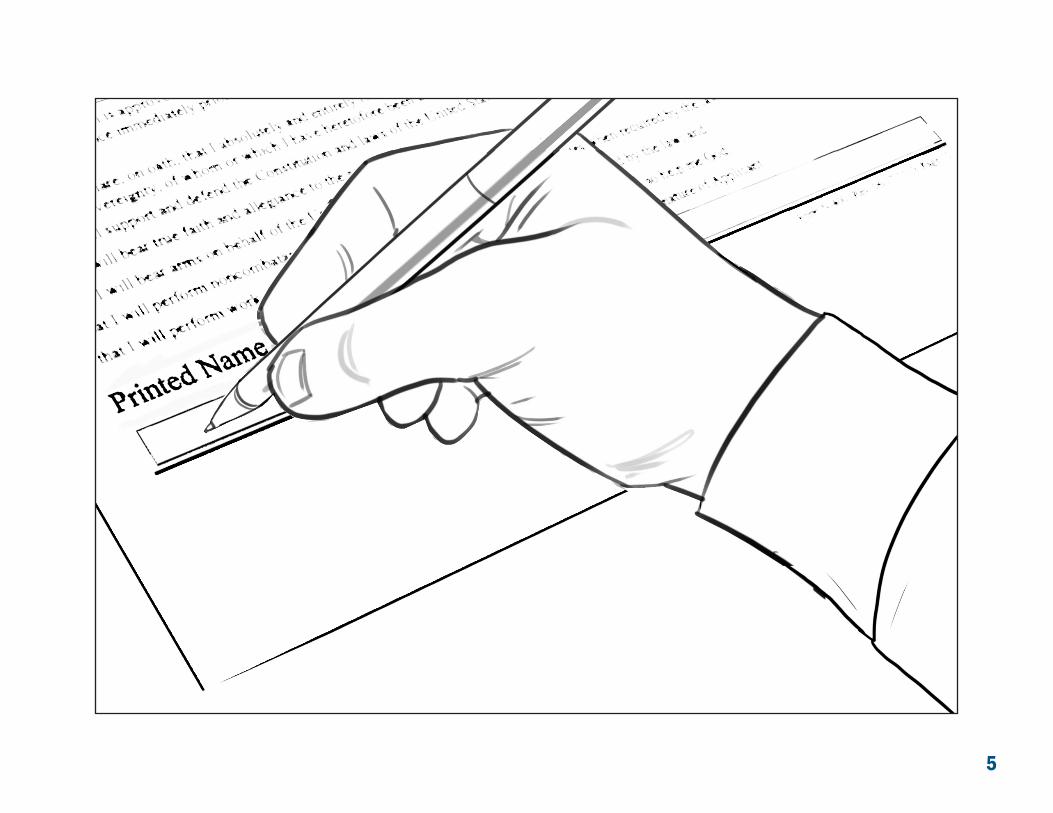
8. Please remain standing.
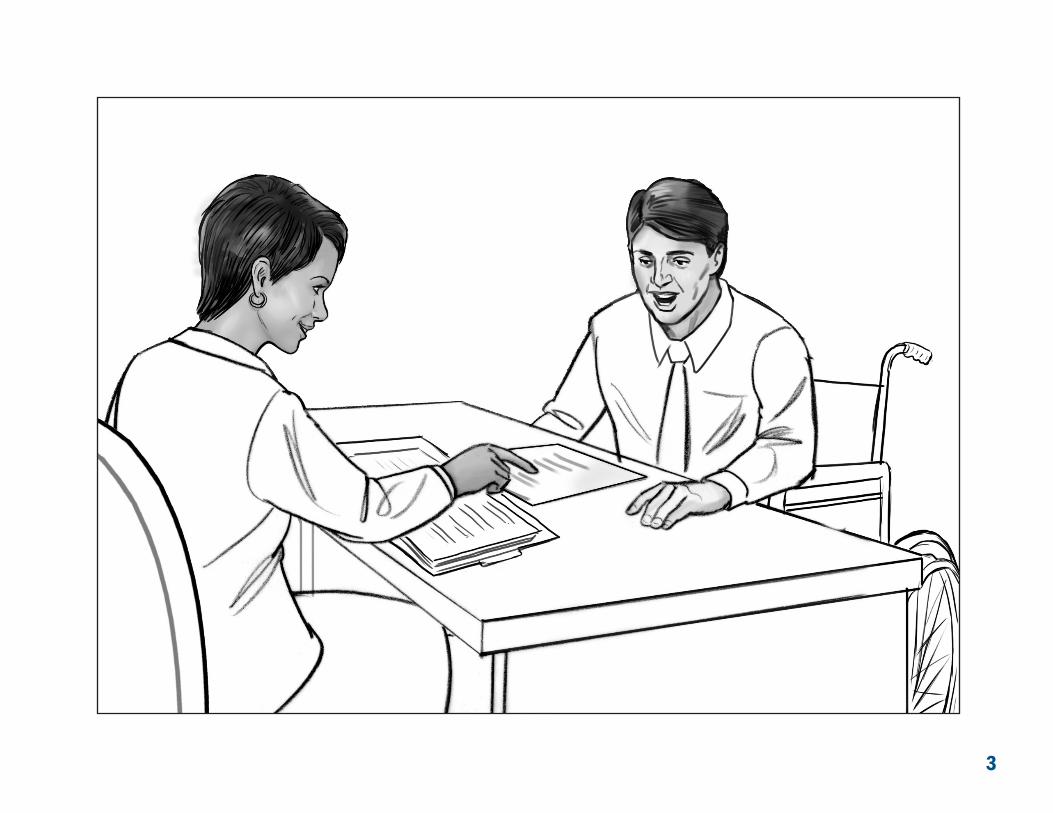
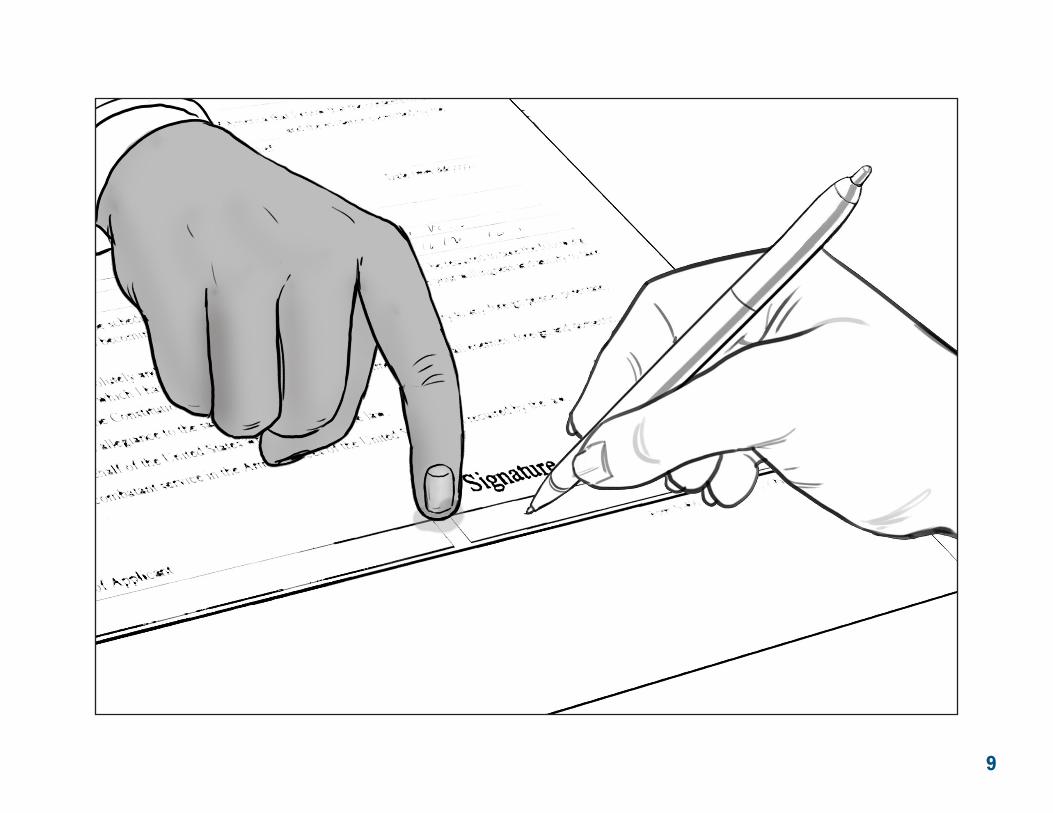
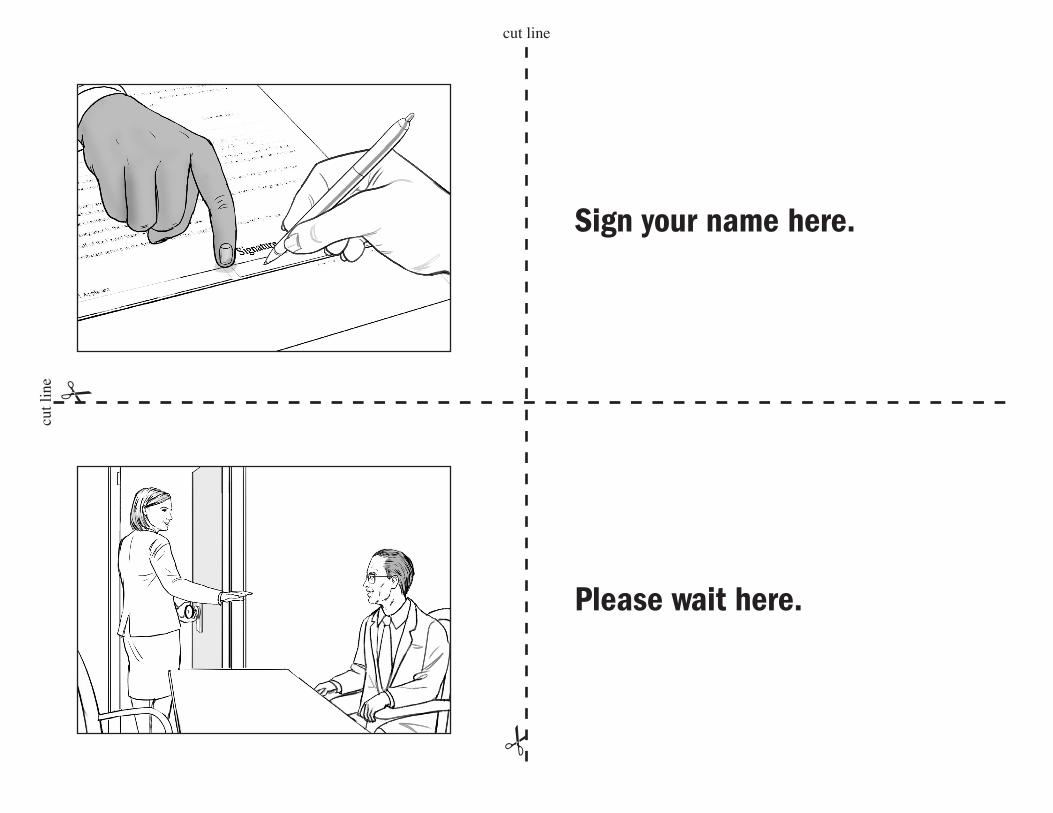
9. Sign your name here.
10. Please wait here.
Note: There are various ways of phrasing common commands in real-life situations. For example, “Please be seated” could also be “Please sit down” or “Have a seat.” For the purposes of preparing low beginning students for the material here, we recommend teaching the exact wording as used in the USCIS Practice Test—Understanding Commands for the Naturalization Interview. As your students become more familiar with the commands, you can introduce variations that they might encounter in everyday conversation.

1

2
3

4
5

6

7
8
9

10

Please be seated.
Instructions for preparing flash cards for the classroom
Cut the cards on the dashed line.
Glue or tape the illustrations and sentences to index cards.
Print multiple copies of the Understanding Commands Flash
Cards. Cut the illustrations and sentences apart, creating
20 separate cards with 10 illustrations and 10 sentences
in each set of cards. Glue or tape the illustrations and
sentences to index cards so that one side is blank and the
cards are opaque. Create several sets of flash cards so that
the students can work in small groups.
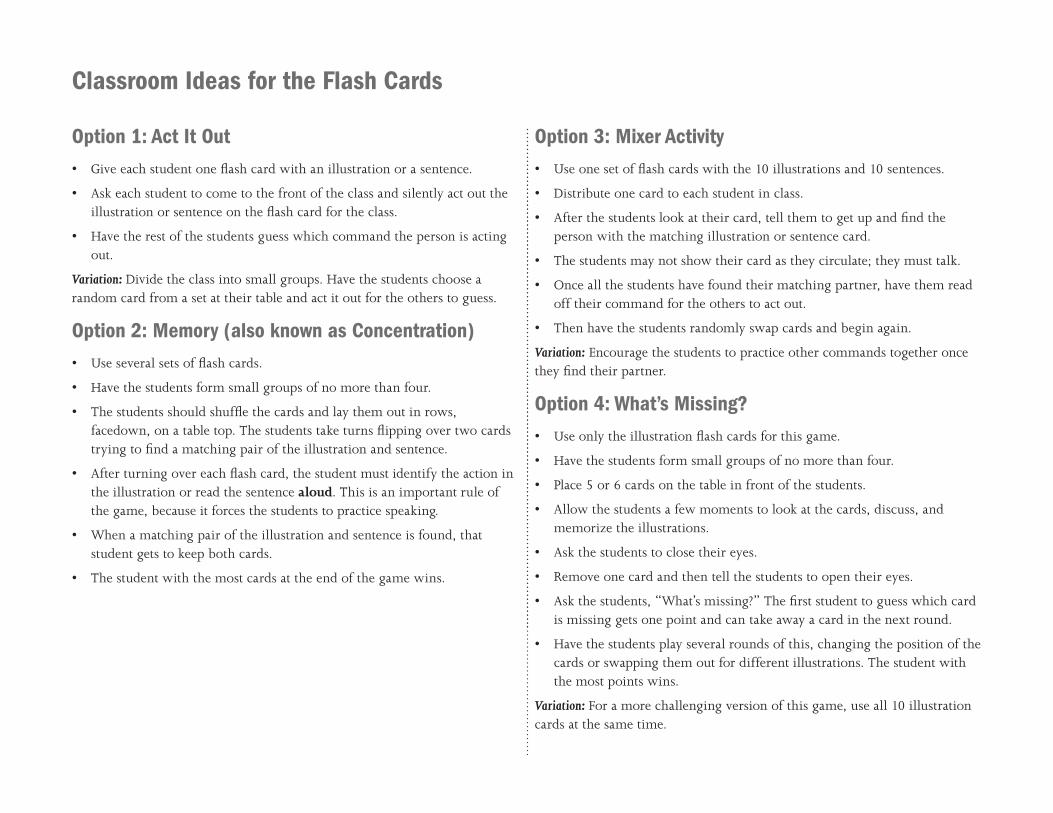
Classroom Ideas for the Flash Cards
Option 3: Mixer Activity• Use one set of flash cards with the 10 illustrations and 10 sentences.
• Distribute one card to each student in class.
• After the students look at their card, tell them to get up and find the person with the matching illustration or sentence card.
• The students may not show their card as they circulate; they must talk.
• Once all the students have found their matching partner, have them read off their command for the others to act out.
• Then have the students randomly swap cards and begin again.
Variation: Encourage the students to practice other commands together once they find their partner.
Option 4: What’s Missing?• Use only the illustration flash cards for this game.
• Have the students form small groups of no more than four.
• Place 5 or 6 cards on the table in front of the students.
• Allow the students a few moments to look at the cards, discuss, and memorize the illustrations.
• Ask the students to close their eyes.
• Remove one card and then tell the students to open their eyes.
• Ask the students, “What’s missing?” The first student to guess which card is missing gets one point and can take away a card in the next round.
• Have the students play several rounds of this, changing the position of the cards or swapping them out for different illustrations. The student with the most points wins.
Variation: For a more challenging version of this game, use all 10 illustration cards at the same time.
Option 1: Act It Out• Give each student one flash card with an illustration or a sentence.
• Ask each student to come to the front of the class and silently act out the illustration or sentence on the flash card for the class.
• Have the rest of the students guess which command the person is acting out.
Variation: Divide the class into small groups. Have the students choose a random card from a set at their table and act it out for the others to guess.
Option 2: Memory (also known as Concentration)• Use several sets of flash cards.
• Have the students form small groups of no more than four.
• The students should shuffle the cards and lay them out in rows, facedown, on a table top. The students take turns flipping over two cards trying to find a matching pair of the illustration and sentence.
• After turning over each flash card, the student must identify the action in the illustration or read the sentence aloud. This is an important rule of the game, because it forces the students to practice speaking.
• When a matching pair of the illustration and sentence is found, that student gets to keep both cards.
• The student with the most cards at the end of the game wins.
#
cut linecu
t lin
e
#
Please be seated.
Please hand me your passport.

#
cut linecu
t lin
e
#
Read this sentence.
Please follow me.

#
cut linecu
t lin
e
#
Please print your name.
Write this sentence here.

#
cut linecu
t lin
e
#
Raise your right hand.
Please remain standing.
#
cut linecu
t lin
e
#
Sign your name here.
Please wait here.