using the microscope
DESCRIPTION
Using the Microscope. Laboratory 1 Biology 171. What did the invention of the microscope enable?. DUH…. to look at tiny stuff Individual cells could be observed Allowed scientists to see that all cells are very similar, but often take on different functions - PowerPoint PPT PresentationTRANSCRIPT
Using the Microscope
Laboratory 1Biology 171

What did the invention of the microscope enable?
• DUH…. to look at tiny stuff• Individual cells could be observed
– Allowed scientists to see that all cells are very similar, but often take on different functions
• Allowed us to see very small things– Typical cell = 0.02 mm– Our eyes can only see 0.2 mm
• Invented around 1675; telescopes around 1605.
• Fundamentally changed how we saw ourselves and nature.
Dutch Inventor: Antoni van Leeuwennhoek
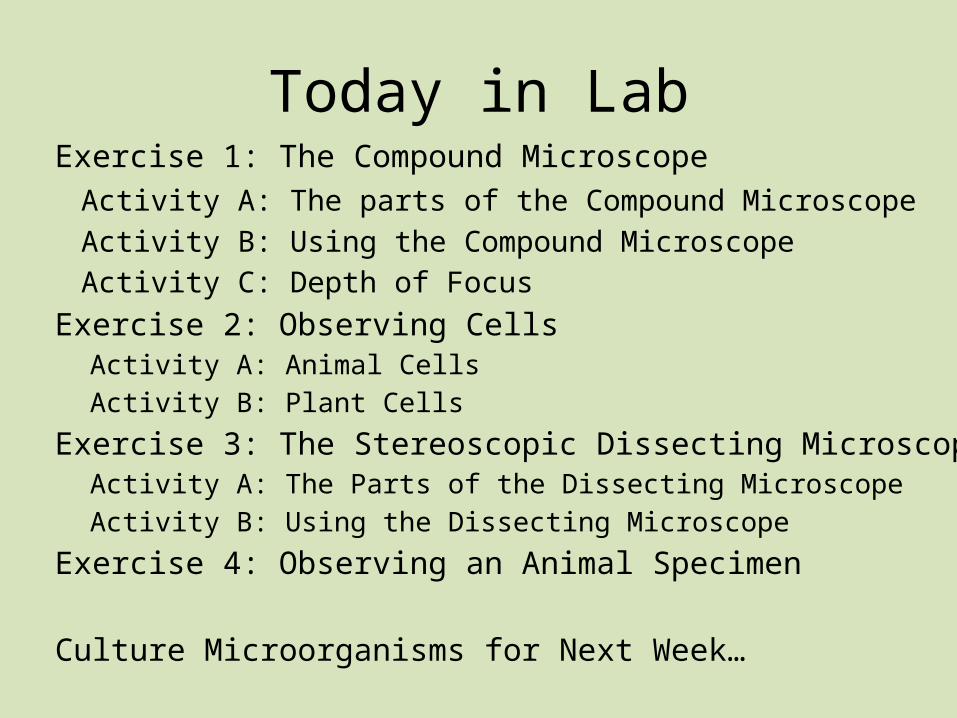
Today in LabExercise 1: The Compound Microscope
Activity A: The parts of the Compound MicroscopeActivity B: Using the Compound MicroscopeActivity C: Depth of Focus
Exercise 2: Observing CellsActivity A: Animal CellsActivity B: Plant Cells
Exercise 3: The Stereoscopic Dissecting MicroscopeActivity A: The Parts of the Dissecting MicroscopeActivity B: Using the Dissecting Microscope
Exercise 4: Observing an Animal Specimen
Culture Microorganisms for Next Week…

Determining Total MagnificationMultiply the magnification of each set of lenses:
Total magnification = magnification of objective
X magnification of eyepiece
Scanning power: eyepiece ______x times objective _____x = _____x
Low power: eyepiece ______x times objective _____x = _____x
High power: eyepiece ______x times objective _____x = _____x
Oil immersion power: eyepiece ______x times objective _____x = _____x
10 4 40
Page 4, lab manual

Magnification vs. Resolving Power• Magnification
Def: ratio of image size to actual size; an apparent enlargement of an object.
• Resolving Power - resolutionDef: a microscope’s ability to
distinguish between two objects that are very close together as separate; what allows us to see detail.
Why don’t our microscopes have more and/or higher powered
objectives?

Activity A: Parts of the Compound Microscope

Activity B: Using the MicroscopeATTENTION! Important to follow these steps:1. Plug in and turn on the light source. Adjust light source as needed.2. Move the stage to its lowest position.3. Make sure the lowest objective is in place (4x).4. Place the slide on the stage and secure it with the slide clips/holder.5. Use the stage controls to center the slide over the light source. Look at the slide from
the side of the microscope, not through the eyepieces.6. Looking through the eyepieces, use the coarse adjustment knob to bring the slide
toward the objective. Soon you will see the image come into view.7. After you get the image as clear as possible with the coarse adjustment, use the fine
adjustment knob to further focus the image.8. You may now go to a higher objective if you want, but be sure to ONLY use the fine
adjustment knob to focus. (Also, be sure you are going to the next highest objective and NOT the oil immersion). The microscope objectives should be parfocal, as an image is focused with one objective, it will also be in focus in the other objectives.

Field of View
We will be using a ruler to measure the field of view.
What is the field of view in this image?
7 mm

Micrometer
The images we will be looking at under the microscope are often too small to be measured in millimeters.
Thus, we use the micrometer…
1 mm = 1000 µm1 µm = 0.001 mm

7 mm = ? µm
Remember our conversions:1 mm = 1000 µm1 µm = 0.001 mm
1 µm = 1 x 10⁻³ mm
7 mm (1000 µm/1 mm) = 7000 µm7 mm (1 x 10⁻³ µm/mm)= 7000 µm

Activity C: Depth of Focus
Def: the thickness of the specimen that can be seen in focus at any time
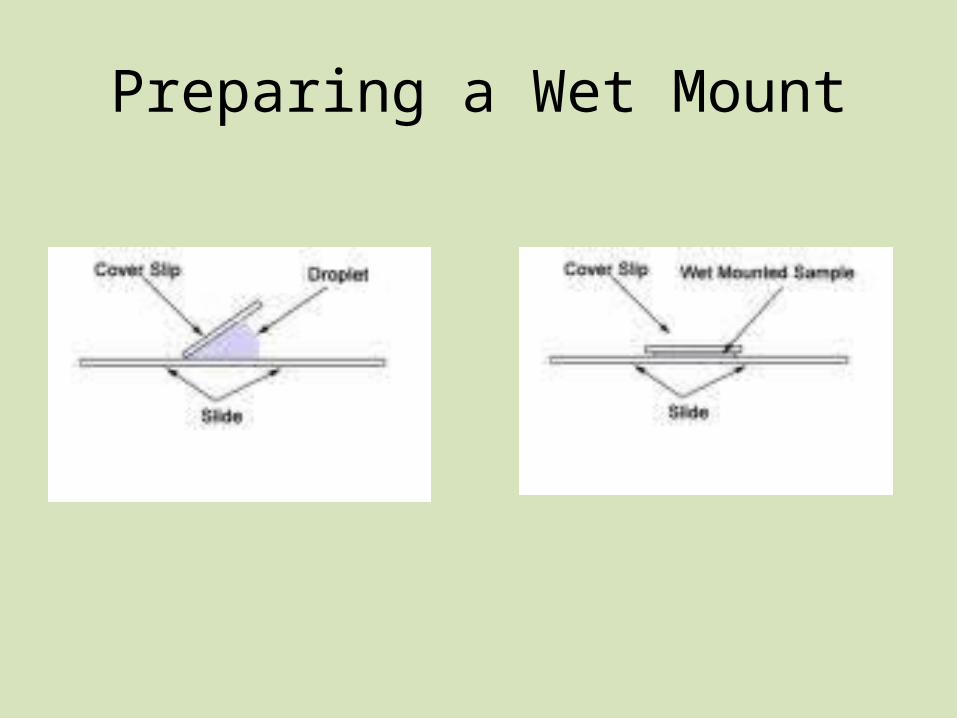
Preparing a Wet Mount

Today in LabExercise 1: The Compound Microscope
Activity A: The parts of the Compound MicroscopeActivity B: Using the Compound MicroscopeActivity C: Depth of Focus
Exercise 2: Observing CellsActivity A: Animal CellsActivity B: Plant Cells
Exercise 3: The Stereoscopic Dissecting MicroscopeActivity A: The Parts of the Dissecting MicroscopeActivity B: Using the Dissecting Microscope
Exercise 4: Observing an Animal Specimen
Culture Microorganisms for Next Week…
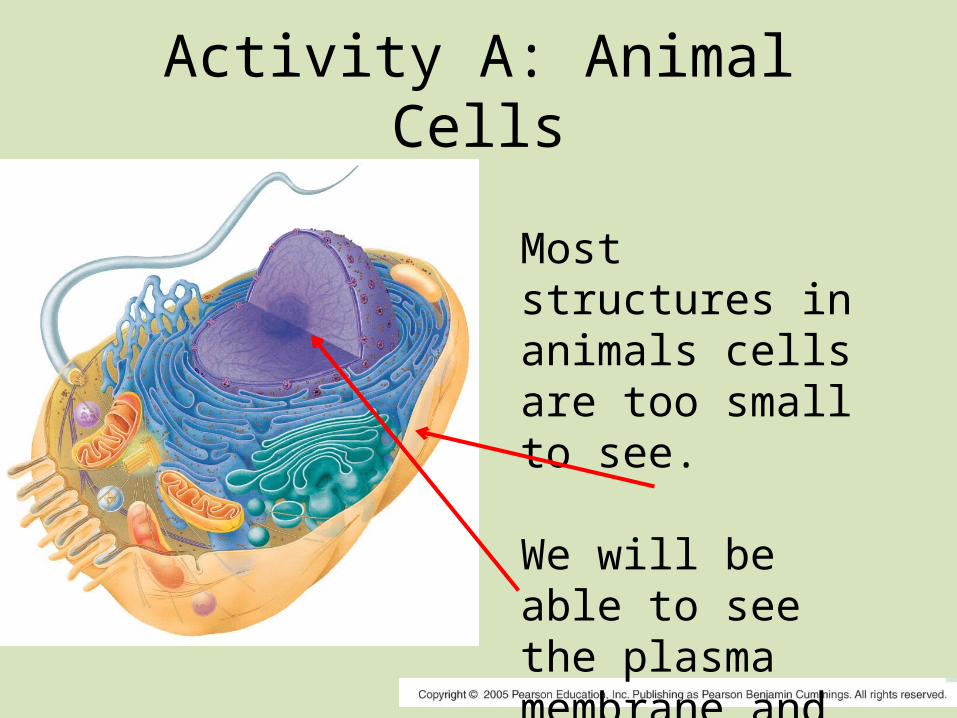
Activity A: Animal Cells
Most structures in animals cells are too small to see.
We will be able to see the plasma membrane and the nucleus today.

Oil Immersion
• PLEASE be very careful!!
Procedure:1. After focusing in the high power objective, move
the nosepiece half way between this and the oil immersion objective.
2. Place a small drop of oil on the coverslip.3. Move the oil immersion objective into and
through the oil and secure in position.4. ONLY use the fine adjustment (and only a little
bit) to focus
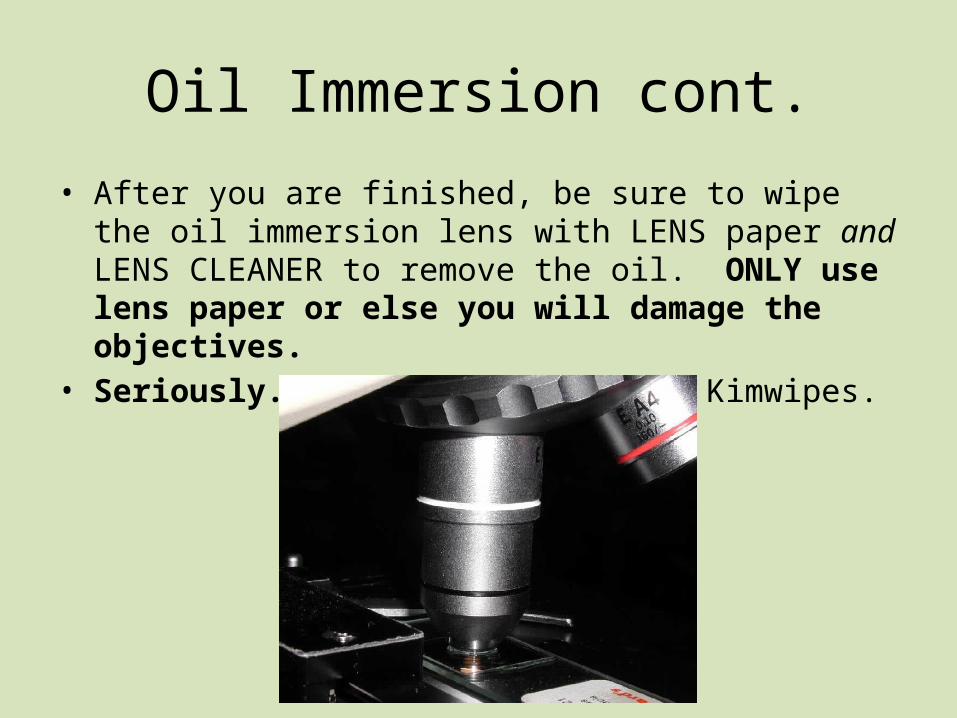
Oil Immersion cont.
• After you are finished, be sure to wipe the oil immersion lens with LENS paper and LENS CLEANER to remove the oil. ONLY use lens paper or else you will damage the objectives.
• Seriously. Use lens paper, not Kimwipes.

Cheek Cells• Stained with methylene
blue• Only attaches to DNA, so
only see nucleus
• Fun fact: methylene blue may be a treatment for malaria, cancer, alzheimer’s and cyanide poisoning.
http://waynesword.palomar.edu/lmexer1.htm#cheek

Activity B: Plant Cells
In addition to the nucleus, we will also be able to see the cell wall and chloroplasts.

Elodea Leaf
http://waynesword.palomar.edu/lmexer1.htm#elodea

Elodea cytoplasmic streaming
http://www.youtube.com/watch?v=8edk6nGMwMs
• Moves nutrients, genetic info, raw material throughout the cell.

Today in LabExercise 1: The Compound Microscope
Activity A: The parts of the Compound MicroscopeActivity B: Using the Compound MicroscopeActivity C: Depth of Focus
Exercise 2: Observing CellsActivity A: Animal CellsActivity B: Plant Cells
Exercise 3: The Stereoscopic Dissecting MicroscopeActivity A: The Parts of the Dissecting MicroscopeActivity B: Using the Dissecting Microscope
Exercise 4: Observing an Animal Specimen
Culture Microorganisms for Next Week…

Exercise 3: Stereoscopic Dissecting Microscope
Use when your specimen is too large or thick to see using a compound microscope.
Activity A: Identify the parts of the dissecting microscope
Activity B: Using the dissecting microscope

Exercise 4: Observing an Animal Specimen
• Observe a hydra on a depression slide (that you will prepare)
• You will be feeding the hydra liver juice and Daphnia.

Today in LabExercise 1: The Compound Microscope
Activity A: The parts of the Compound MicroscopeActivity B: Using the Compound MicroscopeActivity C: Depth of Focus
Exercise 2: Observing CellsActivity A: Animal CellsActivity B: Plant Cells
Exercise 3: The Stereoscopic Dissecting MicroscopeActivity A: The Parts of the Dissecting MicroscopeActivity B: Using the Dissecting Microscope
Exercise 4: Observing an Animal Specimen
Culture Microorganisms for Next Week…

Culturing Microorganisms for next week…
Purpose: We will be sampling microorganisms in from our environment and observing the effectiveness of antimicrobial agents.– Be creative! – The UC! Outside! Between your toes! – Find a unique area to sample– Or a few groups could sample the same surface and test
the effectiveness of different antimicrobial agentsWork in pairs
(not enough agar plates)

Using Antimicrobial Agents• Divide your plate in half – put an
antimicrobial agent on half of the plate– Examples: listerine, vinegar, pine sol, mikro-
quat disinfectant
• Only need a little bit so it doesn’t diffuse over to other half of plate
• Write on the BOTTOM of the plate (not on lid) and indicate what half has the antimicrobial agent

Antimicrobial agent
NO antimicrobial agent
NamesLab Section
Surface SampledDate
What to include on BOTTOM of plate

Culturing MicroorganismsProcedure: 1. Wet a cotton swab with sterile water and swab the environmental
surface2. Inoculate an agar plate on both halves of the plate – do the side
WITHOUT the antimicrobial agent FIRST3. After innoculation…• Put the lid on the petri dish• Flip the whole dish upside down• Make sure your name and lab section (day) are on the bottom• Make a pile on the front desk
REMINDERS:• Work productively and efficiently• Think creatively, critically, and freely. ASK QUESTIONS!• Return materials in the same condition you found them• Take thorough notes, draw pictures, answer all questions in your lab
notebook, and come up with two possible research questions on microorganisms or something you saw today.
• Before you leave make sure your work station is in the same condition as you found it.
• Also: be sure you have gotten an email from me, know how to access the website, and have spoken with me personally if you are concerned about your writing ability and the research paper.