whatsconnectedmigrationguide cover 2.1 gold v14.3...introducing whatsconnected whatsconnected is a...
TRANSCRIPT

WhatsUpGoldv2.1.1
WhatsConnected Migration Guide

i
Contents C
Contents
CHAPTER 1 Introducing WhatsConnected
CHAPTER 2 System Requirements
CHAPTER 3 Migrating WhatsConnected to a standalone machine
Understanding how to migrate WhatsConnected .......................................................................................4 Backing up your WhatsConnected configuration.........................................................................................5 Deactivating your WhatsConnected license ..................................................................................................5 Installing WhatsConnected on the target machine .....................................................................................6 Activating WhatsConnected on the target machine ...................................................................................7 Restoring your WhatsConnected settings to the target machine ............................................................8

1
CHAPTER 1
Introducing WhatsConnected WhatsConnected is a layer 2 and layer 3 network discovery and visualization application that equips network managers with a comprehensive tool set to accurately discover, inventory, configure and visualize their device connectivity, including VLAN overlays, down to the individual port. Layer 2 discovery and mapping accesses the physical infrastructure information embedded in devices to provide significantly more detailed topology information than Layer 3 discovery mechanisms. In addition to widely used IP discovery protocols, such as ICMP, ARP, and SNMP, Layer 2 discovery leverages a number of other mechanisms to discover devices including industry standard Link Layer Discovery Protocol or LLDP, as well as equipment manufacturer proprietary discovery protocols.
With Layer 2 information available about how devices in your network are connected, their interdependencies, and their locations, you can locate problems and resolve them more easily. WhatsConnected helps you understand your network from top to bottom and focus on keeping it running securely and at peak performance.
WhatsConnected provides the key functions network professionals need to be able to discover, map, search, and document their networks.

2
CHAPTER 2
System Requirements
Software requirements WhatsConnected runs on several 32-bit and 64-bit Windows operating systems. The following is a list of the Windows operating system and release requirements for WhatsConnected.
§ Windows 7 Ultimate
§ Windows Vista Ultimate (SP2 recommended)
§ Windows Vista Business (SP2 recommended)
§ Windows XP Professional SP3 (32-bit only)
§ Windows Server 2003 SP2
§ Windows Server 2003 R2 SP2
§ Windows Server 2008 SP2
§ Windows Server 2008 R2 SP2
WhatsConnected can also run on 32-bit and 64-bit virtual machine environments.
Important: If WhatsConnected is hosted on VMWare ESXi or Microsoft Hyper-V Server 2008, to avoid licensing issues, make sure that you assign a static MAC address to the virtual machine that WhatsConnected is operating on.
Microsoft .NET Framework 3.5 is also required, Microsoft .NET Framework 3.5 SP1 is included in the install.
Important: Microsoft .NET Framework 3.5 SP1 is not compatible with Windows SharePoint Services 2.0. If you are running SharePoint Services 2.0, you should not upgrade or install WhatsConnected. WhatsConnected requires Microsoft .NET Framework 3.5 SP1 and automatically installs this package if not present on the system. For more information about the issue, see the Microsoft Knowledge Base article.

WhatsConnected Migration Guide
3
Hardware requirements Recommended Required
Processor(s) Dual-core
Single-core
Processor speed 2 GHz or more 2 GHz
RAM 4 GB
2 GB
Hard drive space for application
3 GB 2 GB
Network interface card 1 Gbps 100 Mbps
CD-ROM or DVD-ROM Required if installing from CD-ROM. Not required for download installations.
Required if installing from CD-ROM. Not required for download installations.
Video display resolution 1280 x 1024 or higher 1024 x 768
4
CHAPTER 3
Migrating WhatsConnected to a standalone machine
In This Chapter
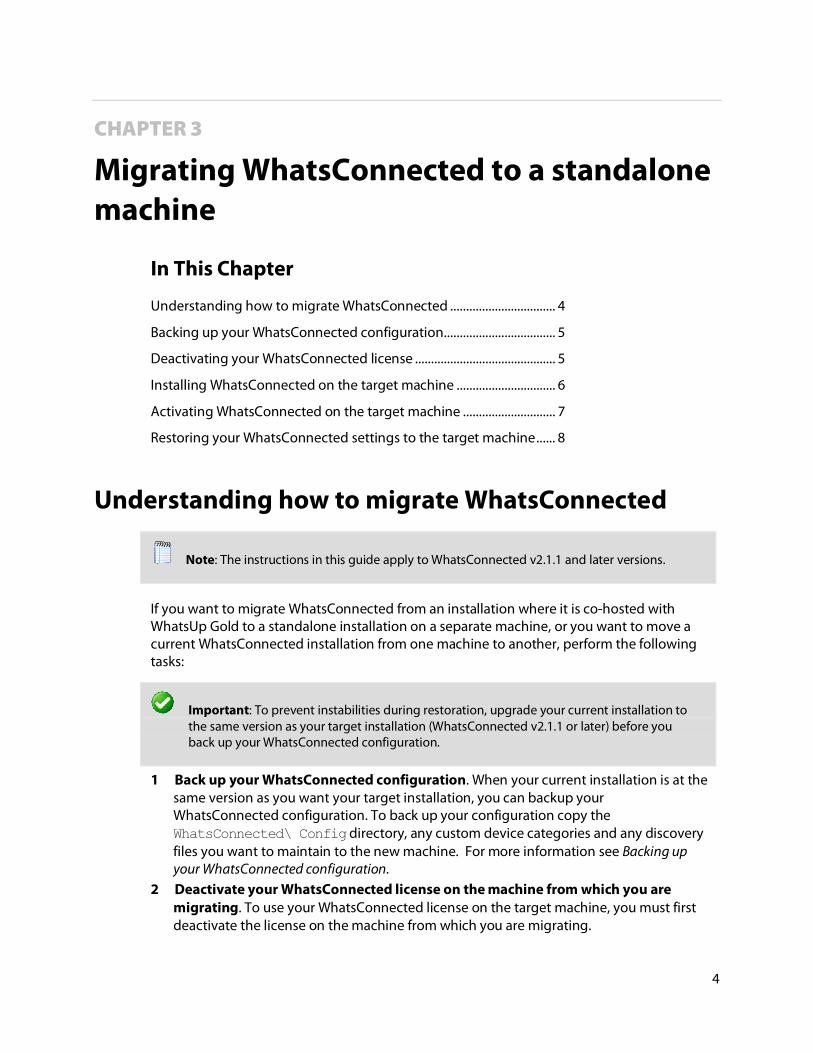
Understanding how to migrate WhatsConnected ................................. 4
Backing up your WhatsConnected configuration ................................... 5
Deactivating your WhatsConnected license ............................................ 5
Installing WhatsConnected on the target machine ............................... 6
Activating WhatsConnected on the target machine ............................. 7
Restoring your WhatsConnected settings to the target machine ...... 8
Understanding how to migrate WhatsConnected
Note: The instructions in this guide apply to WhatsConnected v2.1.1 and later versions.
If you want to migrate WhatsConnected from an installation where it is co-hosted with WhatsUp Gold to a standalone installation on a separate machine, or you want to move a current WhatsConnected installation from one machine to another, perform the following tasks:
Important: To prevent instabilities during restoration, upgrade your current installation to the same version as your target installation (WhatsConnected v2.1.1 or later) before you back up your WhatsConnected configuration.
1 Back up your WhatsConnected configuration. When your current installation is at the same version as you want your target installation, you can backup your WhatsConnected configuration. To back up your configuration copy the WhatsConnected\ Config directory, any custom device categories and any discovery files you want to maintain to the new machine. For more information see Backing up your WhatsConnected configuration.
2 Deactivate your WhatsConnected license on the machine from which you are migrating. To use your WhatsConnected license on the target machine, you must first deactivate the license on the machine from which you are migrating.

WhatsConnected Migration Guide
5
3 Install WhatsConnected on the target machine. To ensure a clean restoration of your WhatsConnected settings, you must install the version of WhatsConnected from which you backed up your configuration.
4 Activating your WhatsConnected installation. When you have obtained your WhatsConnected license or have downloaded the installation program, activate WhatsConnected on the target machine. For more information see, Activating WhatsConnected on the target machine.
5 Restore your WhatsConnected configuration. After you have installed WhatsConnected on your target machine, you can restore your WhatsConnected configuration. For more information on restoring your WhatsConnected configuration, see Restoring your WhatsConnected settings on the target machine.
Backing up your WhatsConnected configuration
Backing up the WhatsConnected Configuration
Important: To prevent instabilities during restoration, you must upgrade your current installation to the same version as your target installation (WhatsConnected v2.1.1 or later) prior to backing up your WhatsConnected configuration.
To backup your current WhatsConnected configuration: 1 Log in to the machine where WhatsConnected is installed and navigate to the
C:\Program Files\Ipswitch\ directory. 2 Copy the C:\Program Files\Ipswitch\WhatsConnected\Config directory to a
temporary location on the machine on which WhatsConnected is to be installed. 3 If you wish to maintain your discovery information, save a copy of your discovery files to
the machine on which WhatsConnected is to be installed. 4 If you have associated any images with custom device categories, copy these images to
a temporary location on the machine on which WhatsConnected is to be installed.
Deactivating your WhatsConnected license
To deactivate your WhatsConnected license: 1 Start the WhatsConnected License Manager (Start > Programs > Ipswitch
WhatsConnected > Manage WhatsConnected License). The WhatsConnected Activation dialog appears.
2 Select Deactivate this license on this computer. Click Next. The license will be deactivated and a success message appears.
3 Click Finish. The WhatsConnected License Manager closes.

WhatsConnected Migration Guide
6
Installing WhatsConnected on the target machine
Installing WhatsConnected
Important: As of WhatsUp Gold version 14.3, WhatsConnected is no longer installed using the WhatsUp Gold installation program. A separate installation program is used to install WhatsConnected.
To install WhatsConnected: 1 Log in directly to Microsoft Windows using the Administrator account (if you do not
have an account called Administrator, use an account that has full administrative privileges to the computer).
2 Navigate to the directory where you downloaded the electronic version of WhatsConnected and double-click on the iwcvx.y.exe file icon, where x.y is the version of WhatsConnected you want to install. The WhatsConnected Setup dialog appears.
Note: The install file may include the product serial number at the end of the file name. If it is included, the serial number will automatically activate the application at the end of the install process. If the serial number is not included, you can manually activate the application. For more information, see Activating WhatsConnected.
3 Read the welcome screen. Click Next. The License Agreement dialog appears. If you accept the terms of the license agreement, select I accept the terms of the license agreement.
§ To print a copy of the license agreement, click Print. The license agreement is sent to the default printer.
§ If you do not accept the terms of the license agreement, click Cancel to exit the installation program.
Tip: To view the WhatsConnected User Guide, click View User Guide. To view the WhatsConnected Release Notes, click View Release Notes.
4 Select the installation directory for the WhatsConnected application files.
The default path is C:\Program Files\Ipswitch\WhatsConnected. We recommend that you use the default path.
Tip: The Program Files directory name may vary if on a 64-bit system (for example, Program Files (x86)). You can install WhatsConnected to a different location. To select a different location, click Change.

WhatsConnected Migration Guide
7
After you select the installation directory, click Next. The Ready to Install the Program dialog appears.
5 Click Install. The setup program installs and configures WhatsConnected. 6 When the installation completes, the InstallShield Wizard Complete dialog appears.
Click Finish. The setup program closes.
Activating WhatsConnected on the target machine
Note: Beginning with WhatsUp Gold 14.3, WhatsConnected is not included in WhatsUp Gold licensing, and therefore requires a separate license.
If WhatsConnected is installed using the installation application downloaded from the web link provided in the purchase confirmation email, the program is fully functional immediately after installation.
If the WhatsConnected license is not automatically activated during installation, you can manually activate WhatsConfigured using the activation program in the WhatsUp Gold group on the Windows Start menu.
To activate WhatsConnected manually:
Note: Before you start the manual activation process, make sure that you have your product serial number available to use in the activation program.
1 Click Start > Programs > Ipswitch WhatsUp Gold > Manage WhatsConnected License. The activation program appears. - or - If you run the WhatsConnected console at the end of the installation, it displays an Invalid License dialog. Click the Purchase/Unlock to start the license activation process.
2 Follow the on-screen instructions to complete the product activation.
Note: When the activation is complete, a confirmation page indicates the license has been activated. If the activation does not complete successfully, you may be behind a proxy or firewall that is blocking the activation request. In this case, click the Offline button, then follow the onscreen instructions.
For more help and information about licensing, go to the MyIpswitch licensing portal (http://www.myipswitch.com/).

WhatsConnected Migration Guide
8
Restoring your WhatsConnected settings to the target machine
To restore the WhatsConnected configuration: 1 Restore your configuration.
a) Log in directly to Microsoft Windows using the Administrator account on the server you want to upgrade to WhatsConnected.
Note: If you do not have an account called Administrator, use an account that has full administrative privileges to the computer.
b) Navigate to the location where you stored the backup of the \Config directory.
c) Copy the backup copy of the \Config directory to the C:\Program Files\Ipswitch\WhatsConnected\ directory.
Note: This will overwrite the current \Config directory with the backup copy of the \Config directory. When prompted by the operating system, accept this overwrite.
2 Restore any custom device category images.
a) Navigate to the Device Category Configuration dialog (Configure > Device Category...). The Device Category Configuration list appears.
b) Select the Device Category to which you want to restore the image, and click Edit. The Device Category edit dialog will open.
c) Click the Browse button and browse to the location of the image, then click Open. The image appears in the Device Category Configuration dialog.
d) Click OK. The Device Category Configuration dialog closes.
e) Click OK. The Device Category list closes.
3 If you want to connect to a remote WhatsUp Gold server, update the WUG Server Endpoint Library to ensure connectivity between WhatsConnected and WhatsUp Gold.
Note: When you restore your WhatsConnected configuration, you may need to modify your network to allow for connection between WhatsConnected and the WUG Server Endpoint.
a) Navigate to the WhatsUp Gold Remote Servers list (Configure > WUG Server Endpoint Library).
b) Click Add to create a new WUG Server Endpoint, or Select a WUG Server from the list and click Edit to edit an existing WUG Server connection. The New / Edit WhatsUp Gold Remote Server dialog opens.
WhatsConnected Migration Guide
9
c) Make the necessary changes to the Remote Server.
§ Name. Enter the name you want to associate with the remote WhatsUp Gold server.
§ Description. Enter a description of the remote WhatsUp Gold server.
§ Host Name / IP Address. Enter the hostname or IP address of the remote WhatsUp Gold server.
§ Port. Enter the port which the remote WhatsUp Gold server will listen for connections from WhatsConnected.
d) Click OK. The New/Edit WhatsUp Gold Remote Server dialog closes. The new or edited WhatsUp Gold server appears in the WhatsUp Gold Remote Servers List.
4 Click Close. The WhatsUp Gold Remote Servers list closes.

WhatsConnected Migration Guide
10
Copyright notice ' 1991-2010 Ipswitch, Inc. All rights reserved.
This document, as well as the software described in it, is furnished under license and may be used or copied only in accordance with the terms of such license. Except as permitted by such license, no part of this publication may be reproduced, photocopied, stored on a retrieval system, or transmitted, in any form or by any means, electronic, mechanical, recording, or otherwise, without the expressed prior written consent of Ipswitch, Inc.
The content of this document is furnished for informational use only, is subject to change without notice, and should not be construed as a commitment by Ipswitch, Inc. While every effort has been made to assure the accuracy of the information contained herein, Ipswitch, Inc. assumes no responsibility for errors or omissions. Ipswitch, Inc., also assumes no liability for damages resulting from the use of the information contained in this document.
IMail, the IMail logo, WhatsUp, the WhatsUp Gold logo, WS_FTP, the WS_FTP logos, Ipswitch, and the Ipswitch logo are trademarks of Ipswitch, Inc. Other products and their brands or company names, are or may be trademarks or registered trademarks, and are the property of their respective companies.
This document was published on Thursday, September 23, 2010 at 16:55.