windows 7 inside out ch 17: ch 17: setting up a small office or home network
TRANSCRIPT
Windows 7Windows 7Inside OutInside Out
Ch 17: Ch 17: Setting Up a Small Office or Home Network
WorkgroupWorkgroup
This chapter is discussing a workgroup, This chapter is discussing a workgroup, not a domainnot a domain
Recommended for 10 or fewer computersRecommended for 10 or fewer computers No domain controller requiredNo domain controller required

EditionsEditions
Everything in this chapter is the same in all Everything in this chapter is the same in all editions excepteditions except
Computers running Windows 7 Starter Computers running Windows 7 Starter Edition cannot create a HomeGroup, Edition cannot create a HomeGroup, although they can join one that already although they can join one that already existsexists
Capabilities of a Small Network
Shared storage Shared printers Shared media Shared internet connection
Not often used, it's usually better to use a hardware router
What’s New in Windows 7
HomeGroups Easy sharing on Home Networks Password-protected
Wi-Fi Protected Setup (WPS) Simple and secure configuration of wireless
devices Mobile broadband support
For connections to 3G networks
What’s New in Windows 7
DirectAccess Connects to an enterprise server remotely,
like a Virtual Private Network (VPN) Requires a Windows Server 2008 R2 domain
controller Requires Windows 7 Enterprise or Ultimate
• Link Ch 17a
BranchCache Local copies of network files in branch offices
What’s New in Windows 7
Next Generation TCP/IP stack Improvements in security, performance, and
convenience that are largely invisible to ordinary users
Windows Filtering Platform can filter at all levels of the TCP/IP protocol stack
Receive Window Auto-Tuning improves performance
IPv4 and IPv6 are incorporated in a single Windows driver and both enabled by default
This was new in Vista
Using Network And Sharing Center
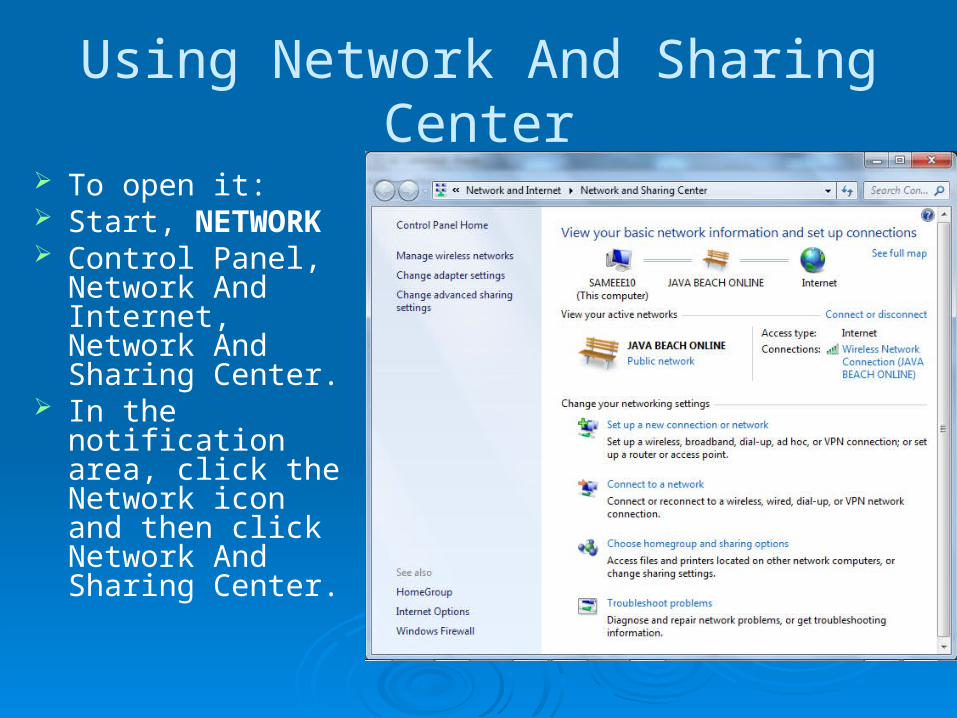
To open it: Start, NETWORK Control Panel,
Network And Internet, Network And Sharing Center.
In the notification area, click the Network icon and then click Network And Sharing Center.
Understanding Location Types
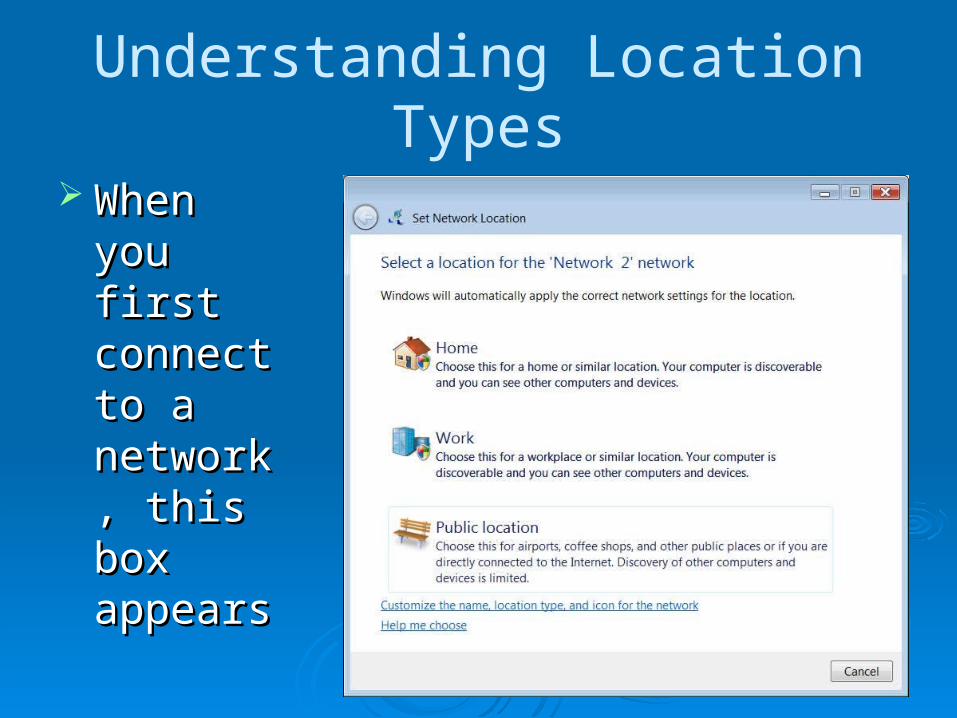
When you When you first first connect connect to a to a network, network, this box this box appearsappears
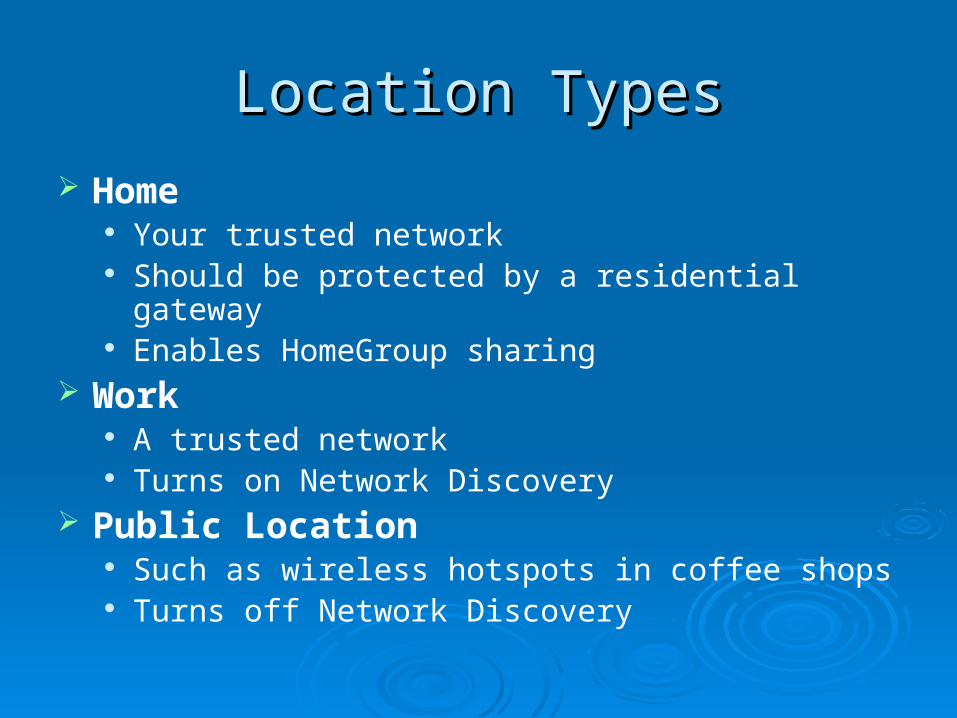
Location TypesLocation Types
Home Your trusted network Should be protected by a residential gateway Enables HomeGroup sharing
Work A trusted network Turns on Network Discovery
Public Location Such as wireless hotspots in coffee shops Turns off Network Discovery
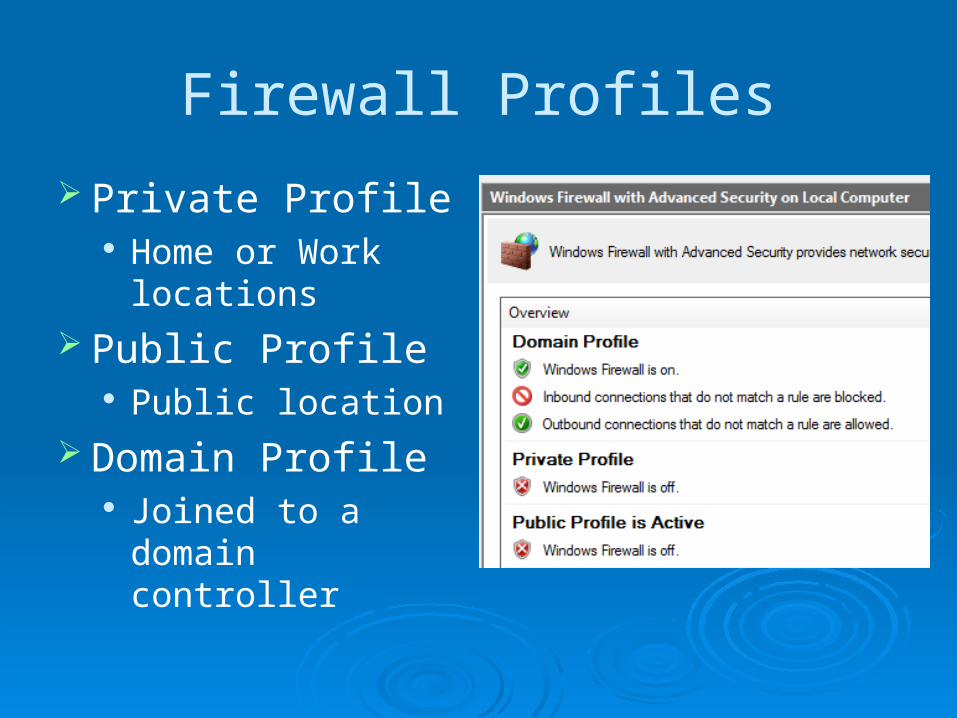
Firewall Profiles
Private Profile Home or Work
locations Public Profile
Public location Domain Profile
Joined to a domain controller
Configuring Your Network Hardware
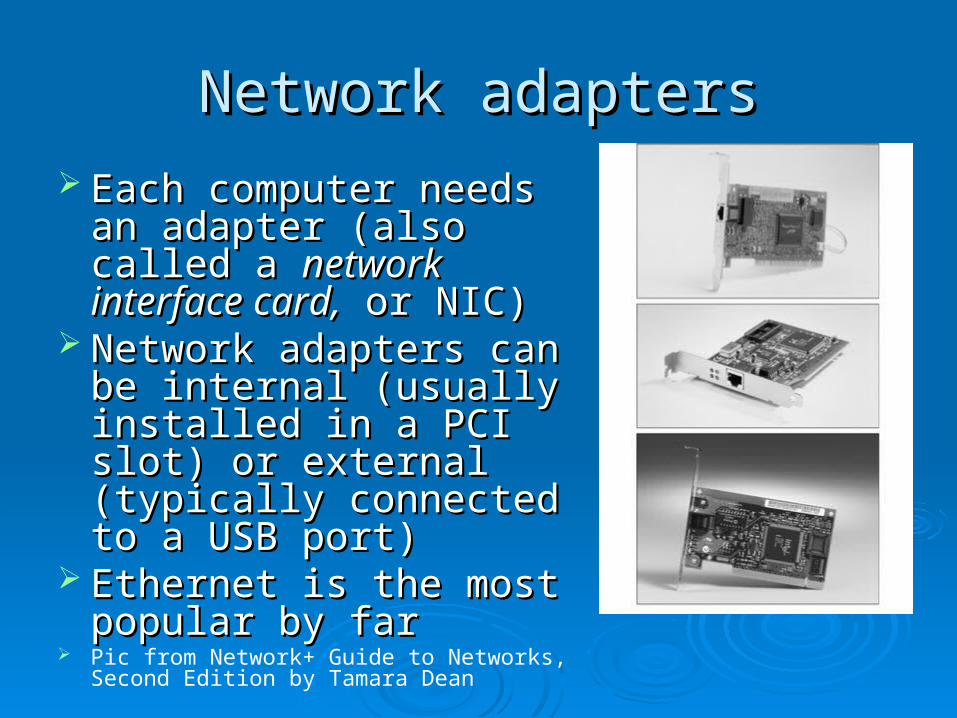
Network adaptersNetwork adapters
Each computer needs an Each computer needs an adapter (also called a adapter (also called a network interface card,network interface card, or NIC)or NIC)
Network adapters can be Network adapters can be internal (usually installed internal (usually installed in a PCI slot) or external in a PCI slot) or external (typically connected to a (typically connected to a USB port)USB port)
Ethernet is the most Ethernet is the most popular by far popular by far
Pic from Network+ Guide to Networks, Second Edition by Tamara Dean
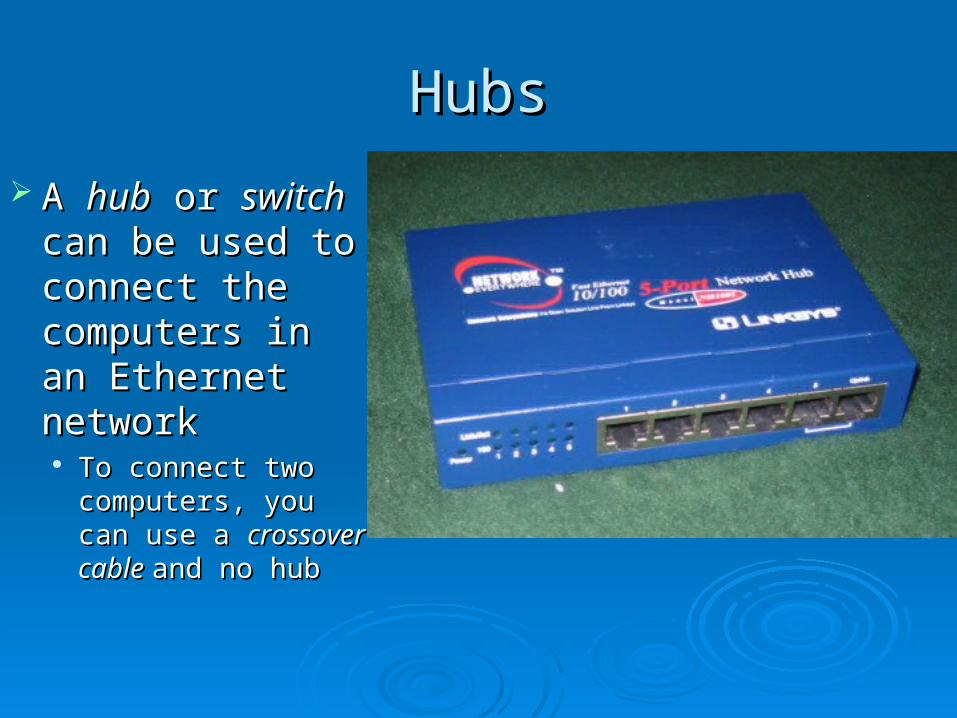
HubsHubs
A A hubhub or or switchswitch can be used to can be used to connect the connect the computers in an computers in an Ethernet networkEthernet network To connect two To connect two
computers, you can computers, you can use a use a crossover crossover cable cable and no huband no hub
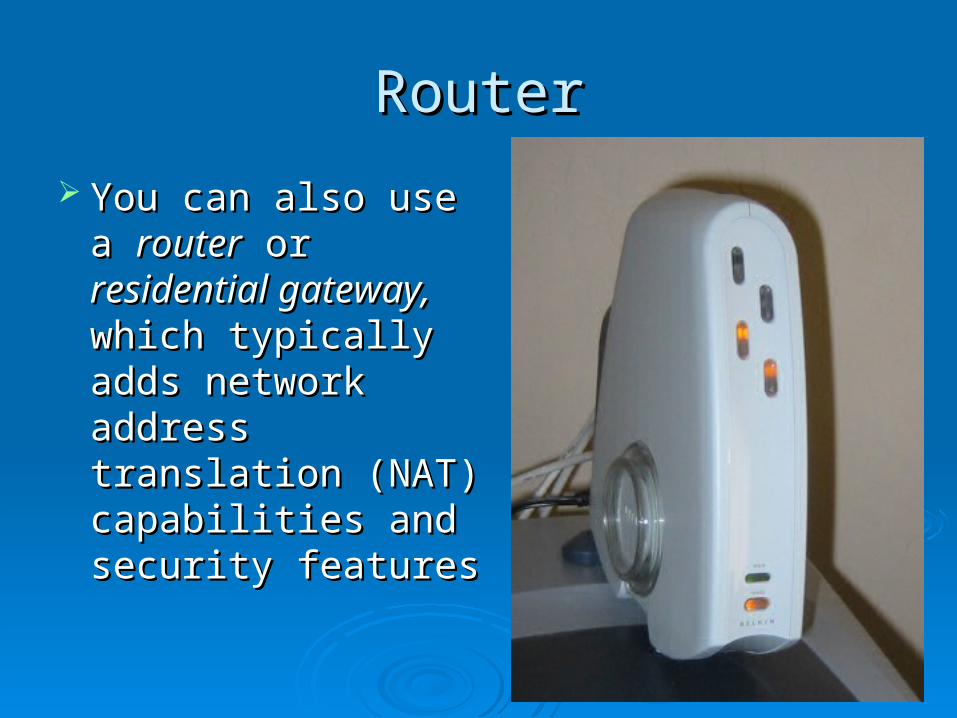
RouterRouter
You can also use a You can also use a routerrouter or or residential residential gateway,gateway, which which typically adds typically adds network address network address translation (NAT) translation (NAT) capabilities and capabilities and security featuressecurity features
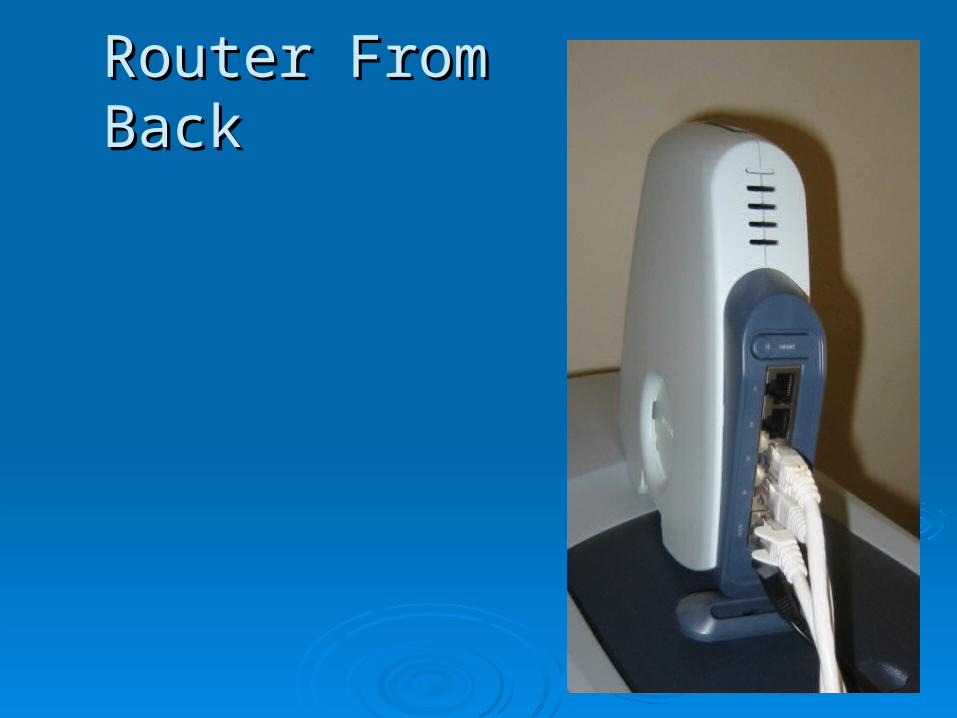
Router From BackRouter From Back
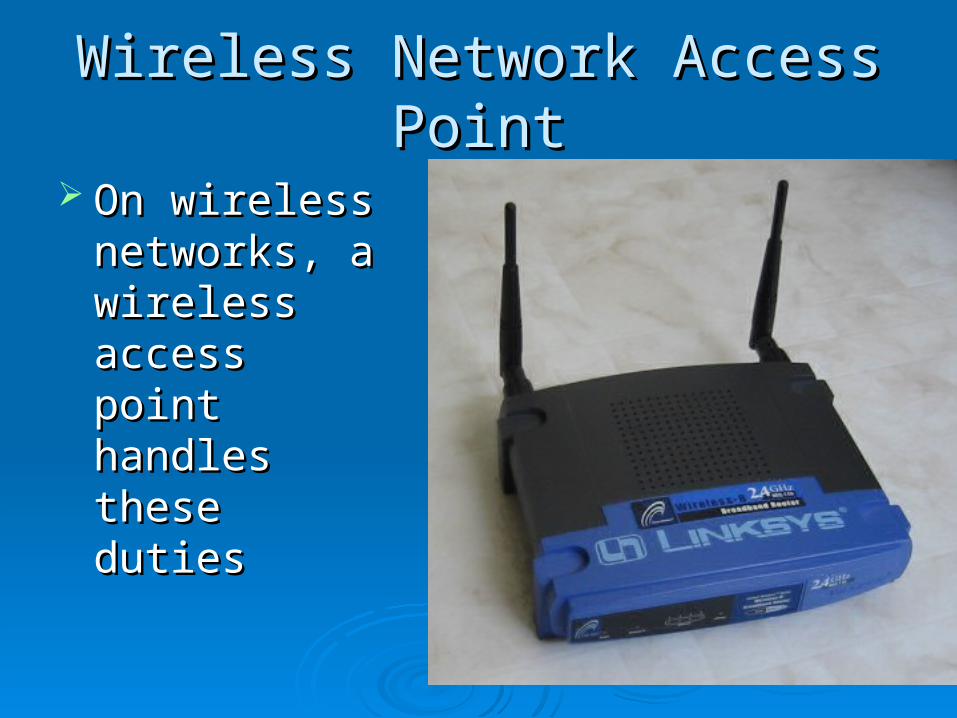
Wireless Network Access PointWireless Network Access Point
On wireless On wireless networks, a networks, a wireless wireless access point access point handles these handles these dutiesduties
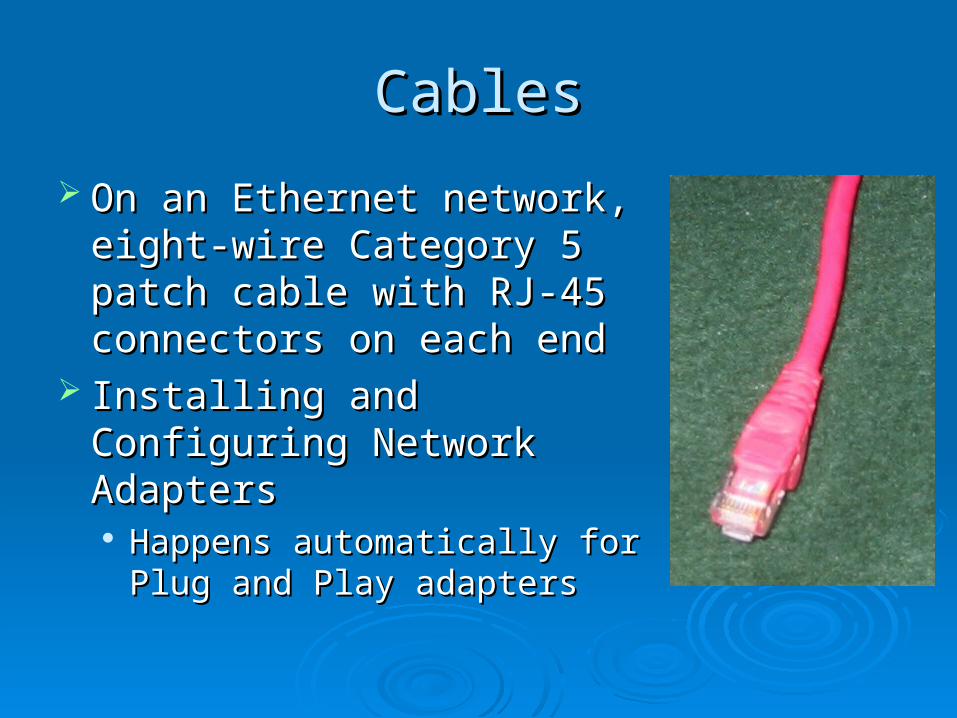
CablesCables
On an Ethernet network, On an Ethernet network, eight-wire Category 5 patch eight-wire Category 5 patch cable with RJ-45 connectors cable with RJ-45 connectors on each endon each end
Installing and Configuring Installing and Configuring Network Adapters Network Adapters Happens automatically for Plug Happens automatically for Plug
and Play adaptersand Play adapters
Ethernet and WirelessEthernet and Wireless Three popular technologies, all supported by Windows 7Three popular technologies, all supported by Windows 7
Ethernet/Fast Ethernet/Gigabit EthernetEthernet/Fast Ethernet/Gigabit Ethernet• 10, 100 or 1000 Megabits per second10, 100 or 1000 Megabits per second
WirelessWireless• IEEE 802.11b, also known as Wi-Fi -- 11 megabits IEEE 802.11b, also known as Wi-Fi -- 11 megabits
per second per second • IEEE 802.11g or 802.1a -- 54 MbpsIEEE 802.11g or 802.1a -- 54 Mbps• IEEE 802.11n – 300 Mbps claimedIEEE 802.11n – 300 Mbps claimed
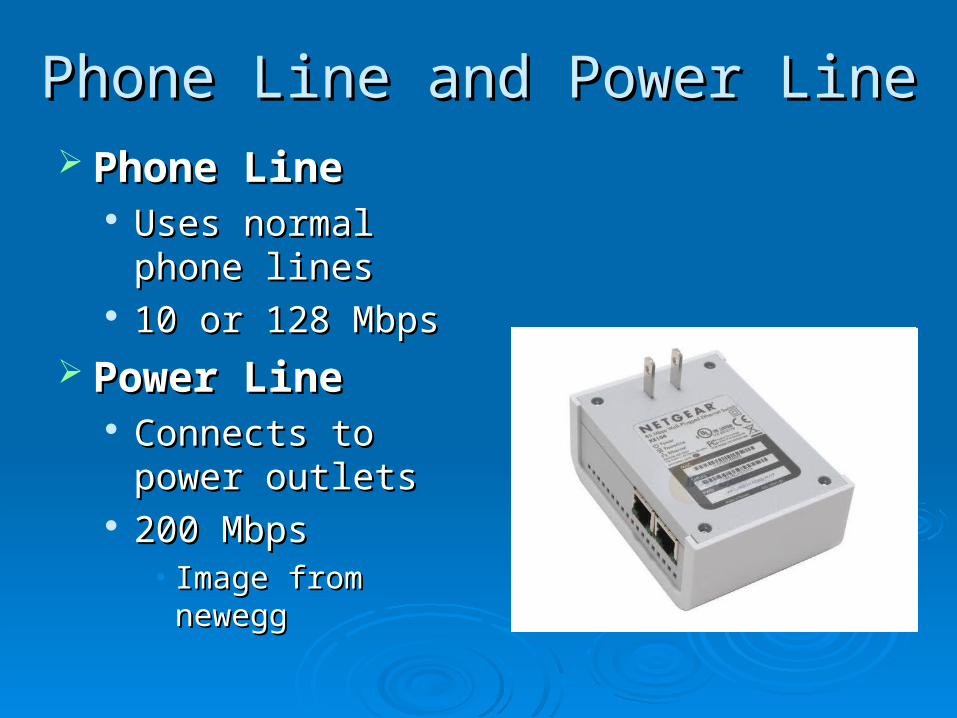
Phone Line and Power LinePhone Line and Power Line Phone LinePhone Line
Uses normal phone Uses normal phone lineslines
10 or 128 Mbps10 or 128 Mbps Power LinePower Line
Connects to power Connects to power outletsoutlets
200 Mbps200 Mbps• Image from neweggImage from newegg
Making ConnectionsMaking Connections
Place the router in a central locationPlace the router in a central location If you plan to use Internet Connection If you plan to use Internet Connection
Sharing and you have an external DSL or Sharing and you have an external DSL or cable modem, you’ll need to install two cable modem, you’ll need to install two network adapters in the computer with the network adapters in the computer with the shared Internet connectionshared Internet connection
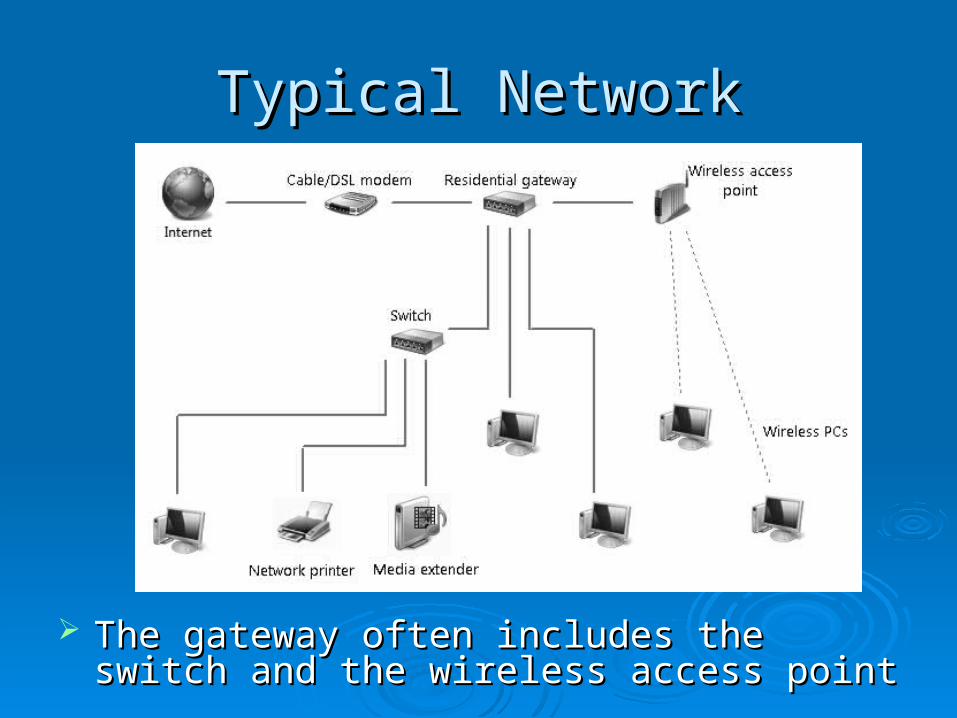
Typical NetworkTypical Network
The gateway often includes the switch and the The gateway often includes the switch and the wireless access pointwireless access point
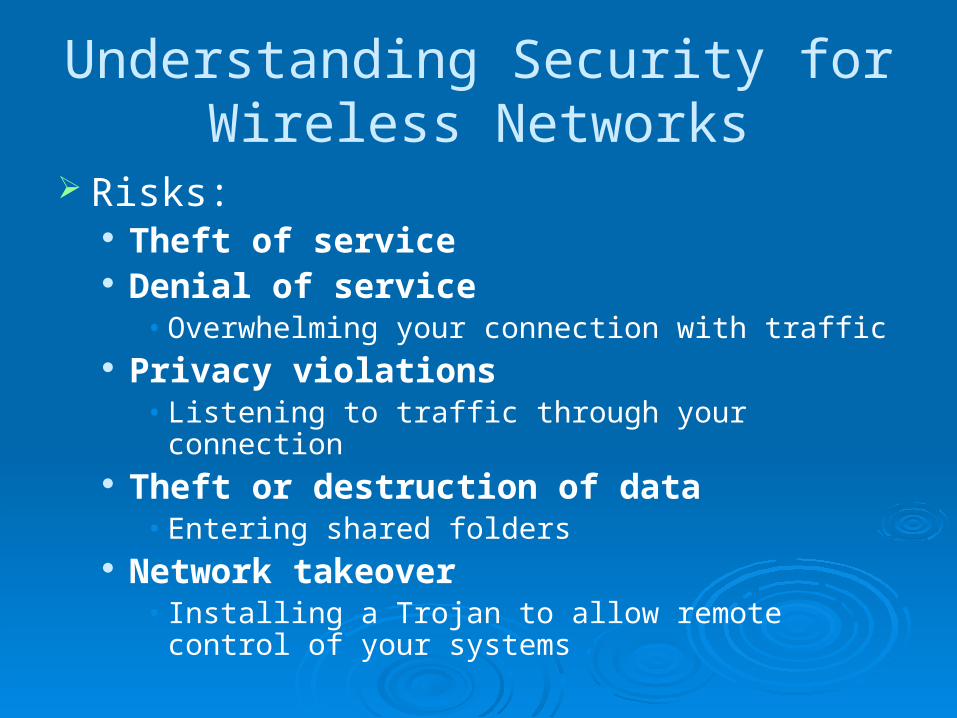
Understanding Security for Wireless Networks
Risks: Theft of service Denial of service
• Overwhelming your connection with traffic Privacy violations
• Listening to traffic through your connection Theft or destruction of data
• Entering shared folders Network takeover
• Installing a Trojan to allow remote control of your systems
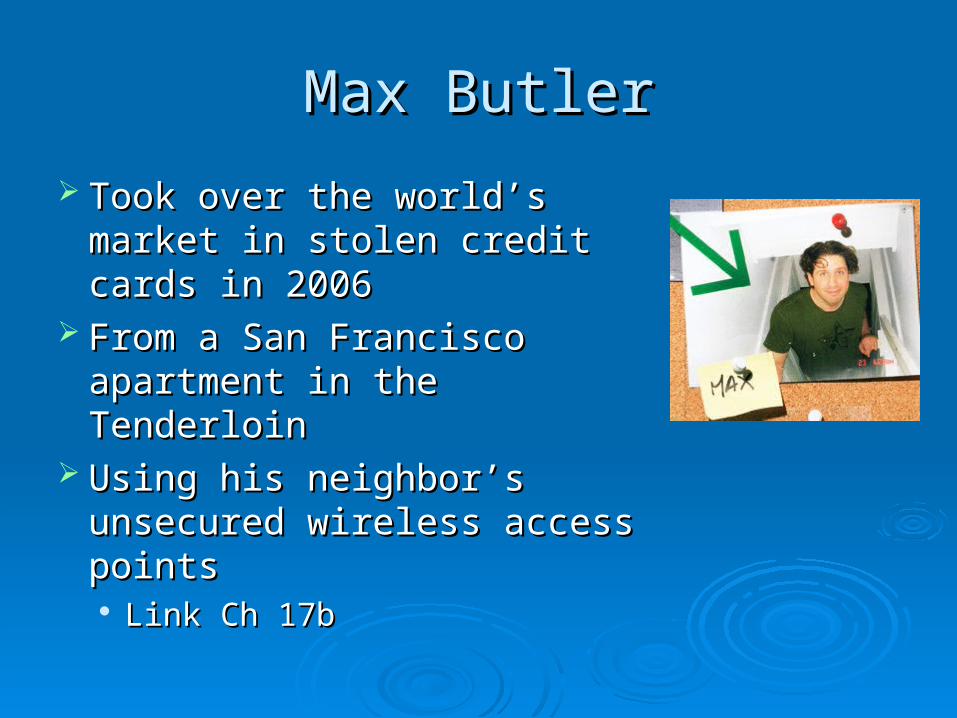
Max ButlerMax Butler
Took over the world’s market Took over the world’s market in stolen credit cards in 2006in stolen credit cards in 2006
From a San Francisco From a San Francisco apartment in the Tenderloinapartment in the Tenderloin
Using his neighbor’s Using his neighbor’s unsecured wireless access unsecured wireless access pointspoints Link Ch 17bLink Ch 17b
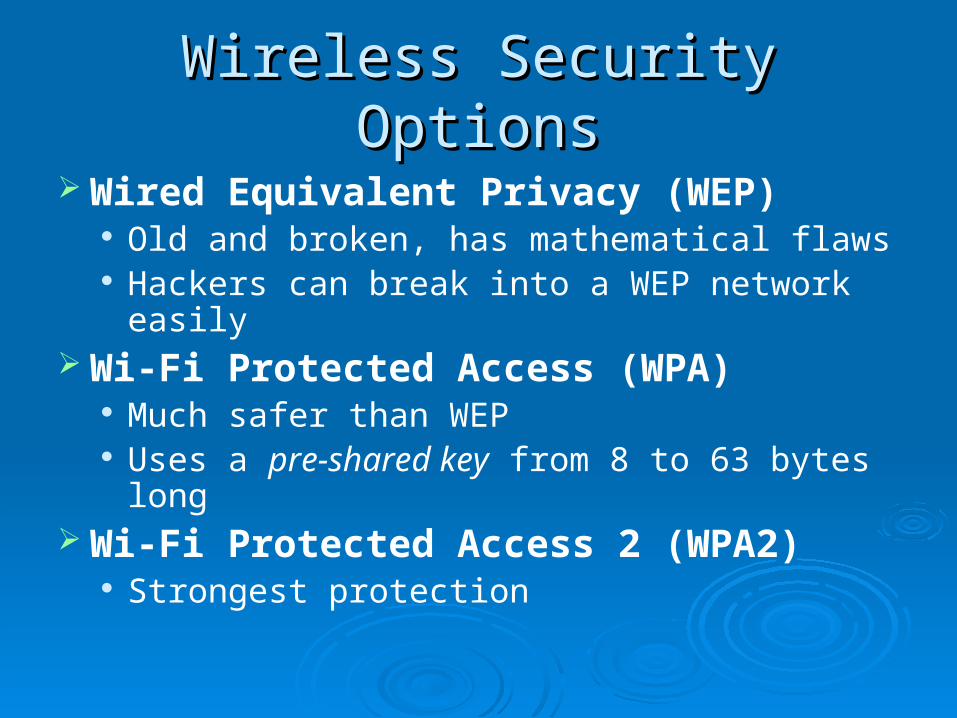
Wireless Security OptionsWireless Security Options
Wired Equivalent Privacy (WEP) Old and broken, has mathematical flaws Hackers can break into a WEP network easily
Wi-Fi Protected Access (WPA) Much safer than WEP Uses a pre-shared key from 8 to 63 bytes
long Wi-Fi Protected Access 2 (WPA2)
Strongest protection
Open Wi-Fi NetworkOpen Wi-Fi Network
If you just buy Wi-Fi devices and turn them If you just buy Wi-Fi devices and turn them on, you usually get an "open" networkon, you usually get an "open" network
Completely insecureCompletely insecure Anyone nearby can use itAnyone nearby can use it Convenient, but riskyConvenient, but risky
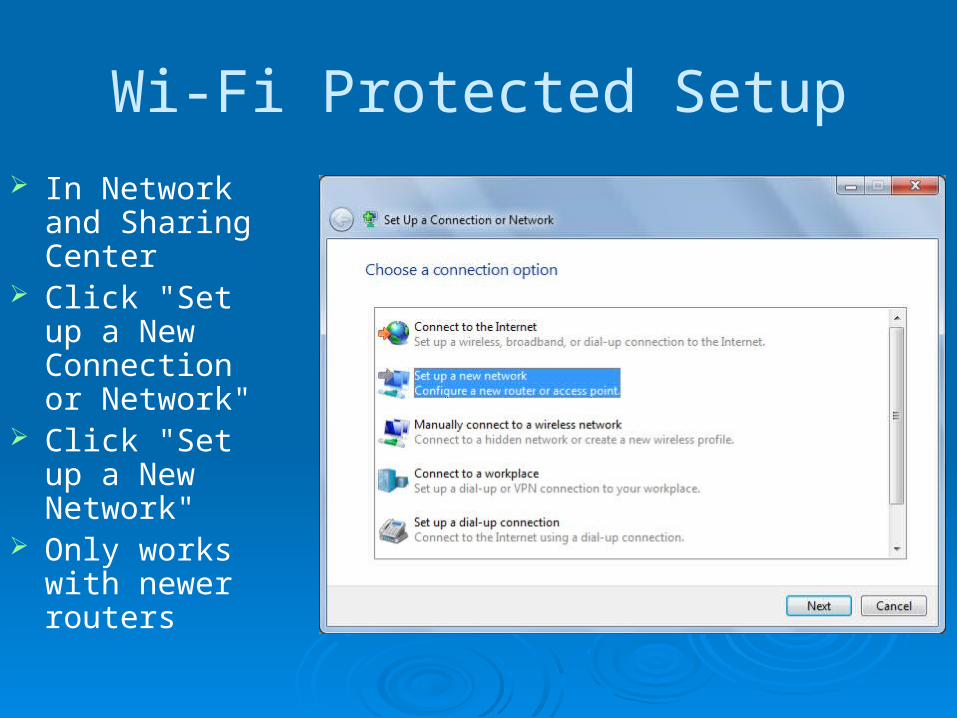
Wi-Fi Protected Setup
In Network and Sharing Center
Click "Set up a New Connection or Network"
Click "Set up a New Network"
Only works with newer routers
Security at the Wi-Fi Access PointSecurity at the Wi-Fi Access Point
Change the administrator password to a non-default value
Use a non-default network name (SSID) Disable remote administration Upgrade the firmware Use virtual private networks for wireless
connections
RADIUSRADIUS
On larger networks with one or more domain servers available
Set up a Remote Authentication Dial-In User Service (RADIUS) server
This allows the most secure option of all: 802 1x authentication
In addition, consider enabling Internet Protocol Security (IPsec)
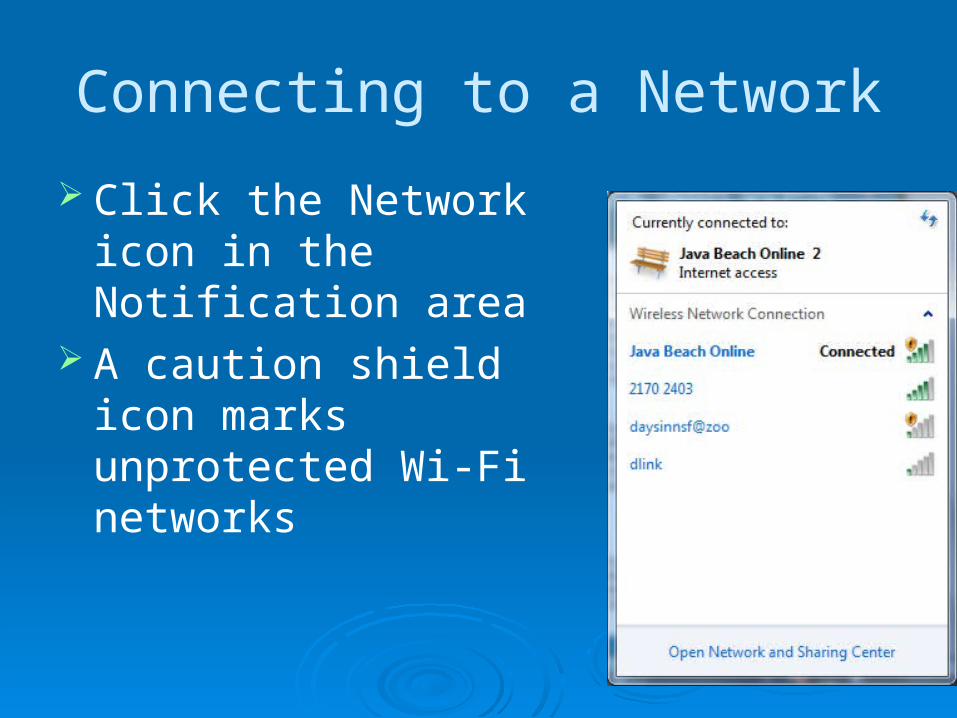
Connecting to a Network
Click the Network icon in the Notification area
A caution shield icon marks unprotected Wi-Fi networks
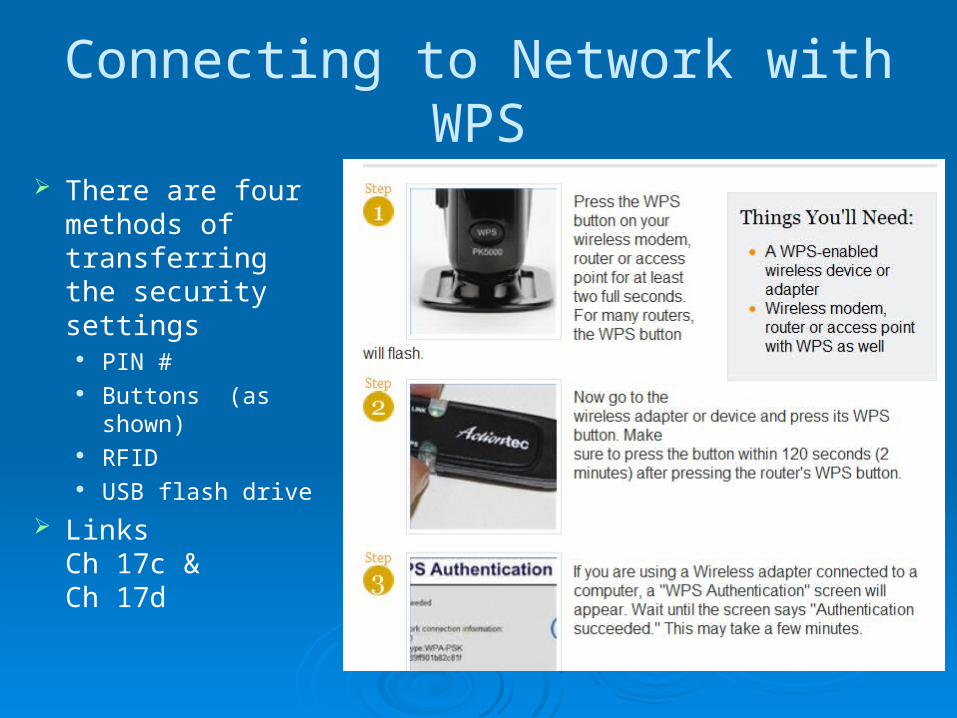
Connecting to Network with WPS
There are four methods of transferring the security settings
PIN # Buttons (as
shown) RFID USB flash drive
LinksCh 17c &Ch 17d
HomeGroups
Only available in Windows 7 Cannot be used with Vista or XP
Windows 7Windows 7Inside OutInside Out
Ch 18: Ch 18: Sharing and Managing Network Resources
EditionsEditions
Sharing is the same in all editions exceptSharing is the same in all editions except Computers running Windows 7 Starter Edition Computers running Windows 7 Starter Edition
cannot create a HomeGroup, although they cannot create a HomeGroup, although they can join one that already existscan join one that already exists
The computer hosting Remote Desktop The computer hosting Remote Desktop connections must have Win 7 Pro, connections must have Win 7 Pro, Enterprise, or UltimateEnterprise, or Ultimate The client machine can use any version of The client machine can use any version of
Windows 7, or even earlier Windows versionsWindows 7, or even earlier Windows versions
HomeGroupsHomeGroups
Intended for home users on a trusted Intended for home users on a trusted networknetwork
Can be used on machines with no logon Can be used on machines with no logon passwordpassword
HomeGroup BenefitsHomeGroup Benefits
Easy sharing of libraries and filesEasy sharing of libraries and files Easy access to shared media librariesEasy access to shared media libraries Can stream media to other devicesCan stream media to other devices Easy sharing of USB-connected printersEasy sharing of USB-connected printers
HomeGroup RequirementsHomeGroup Requirements
At least one computer on the network At least one computer on the network must use Windows 7 Home Premium or must use Windows 7 Home Premium or better, to create the HomeGroupbetter, to create the HomeGroup
All computers must use Windows 7All computers must use Windows 7 The network location must be Home on all The network location must be Home on all
computerscomputers
HomeGroup in a DomainHomeGroup in a Domain
A domain-joined computer can see and A domain-joined computer can see and access shared resources on other access shared resources on other machines in its HomeGroupmachines in its HomeGroup
But other machines cannot see anything But other machines cannot see anything on the domain-joined computeron the domain-joined computer This protects corporate documents from other This protects corporate documents from other
computers at your homecomputers at your home
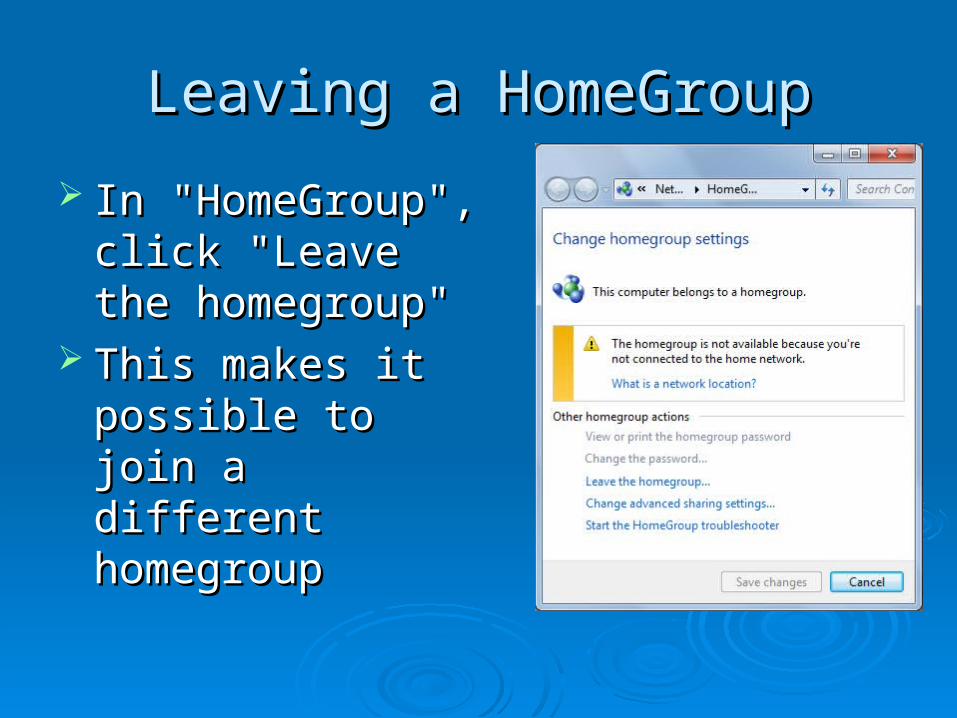
Leaving a HomeGroupLeaving a HomeGroup
In "HomeGroup", In "HomeGroup", click "Leave the click "Leave the homegroup"homegroup"
This makes it This makes it possible to join a possible to join a different homegroupdifferent homegroup
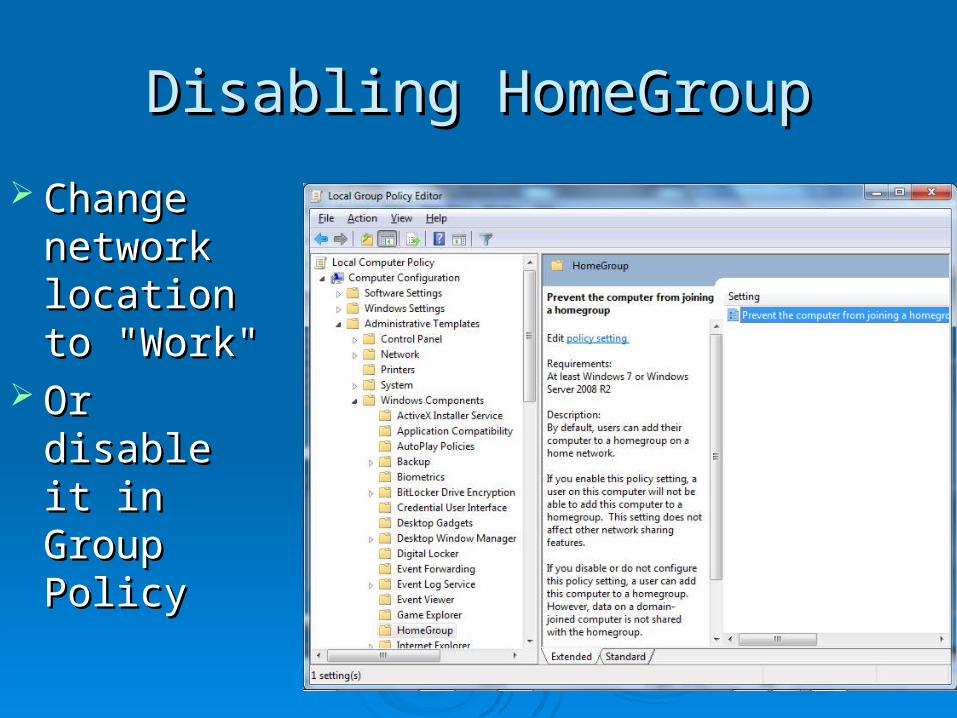
Disabling HomeGroupDisabling HomeGroup
Change Change network network location to location to "Work""Work"
Or disable Or disable it in Group it in Group PolicyPolicy
Sharing Resources with Older Sharing Resources with Older Windows VersionsWindows Versions
Public folder sharingPublic folder sharing Configurable in Network and Sharing CenterConfigurable in Network and Sharing Center
"Any folder" sharing"Any folder" sharing Share any folder you choose, with any Share any folder you choose, with any
permissions you likepermissions you like
Configuring Your Network for Sharing
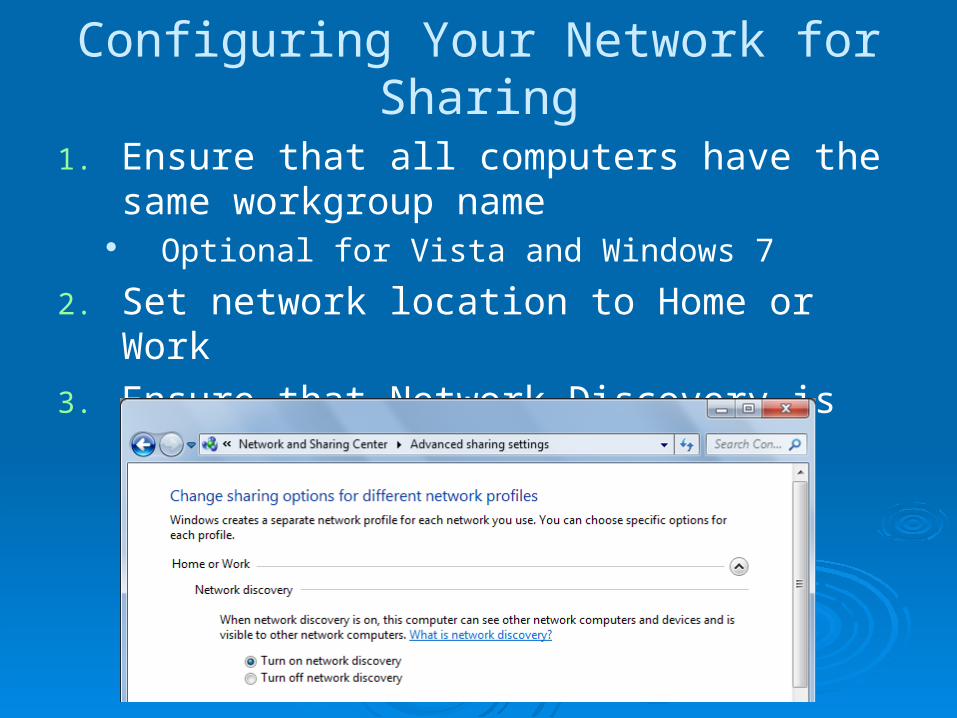
1. Ensure that all computers have the same workgroup name
Optional for Vista and Windows 7
2. Set network location to Home or Work
3. Ensure that Network Discovery is turned on
Configuring Your Network for Sharing
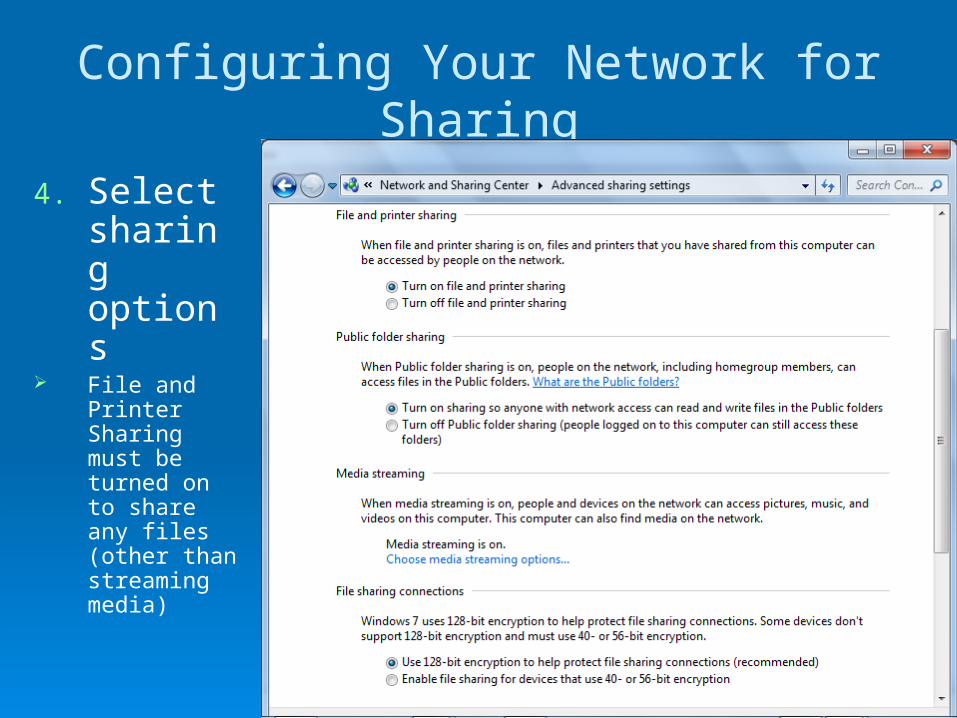
4. Select sharing options
File and Printer Sharing must be turned on to share any files (other than streaming media)
Configuring Your Network for Sharing
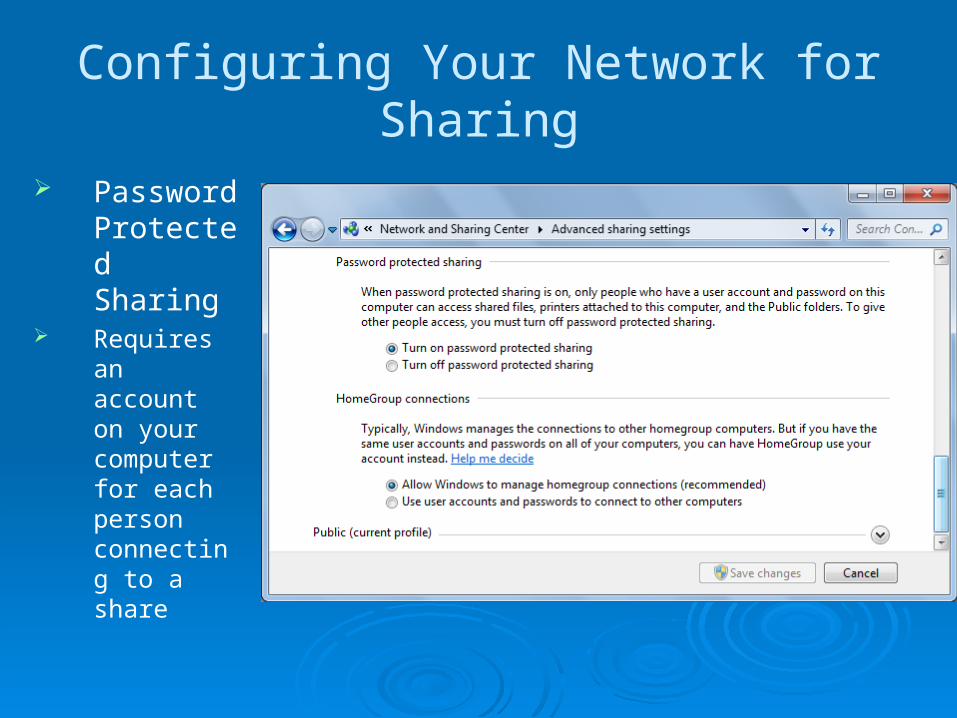
Password Protected Sharing
Requires an account on your computer for each person connecting to a share
Configuring Your Network for Sharing
5. Set up user accounts If you are using password protected
sharing One easier way is to make a single
account named "Share" that they all use
You could also share with Everybody and no password, for maximum convenience, minimum security
A third-party utility: DropBox
Sharing from Any Folder
Make sure the Sharing Wizard is enabled in Folder Options
In Windows Explorer, select the folder(s) you want to share
From the menu bar, click Share With, Specific People
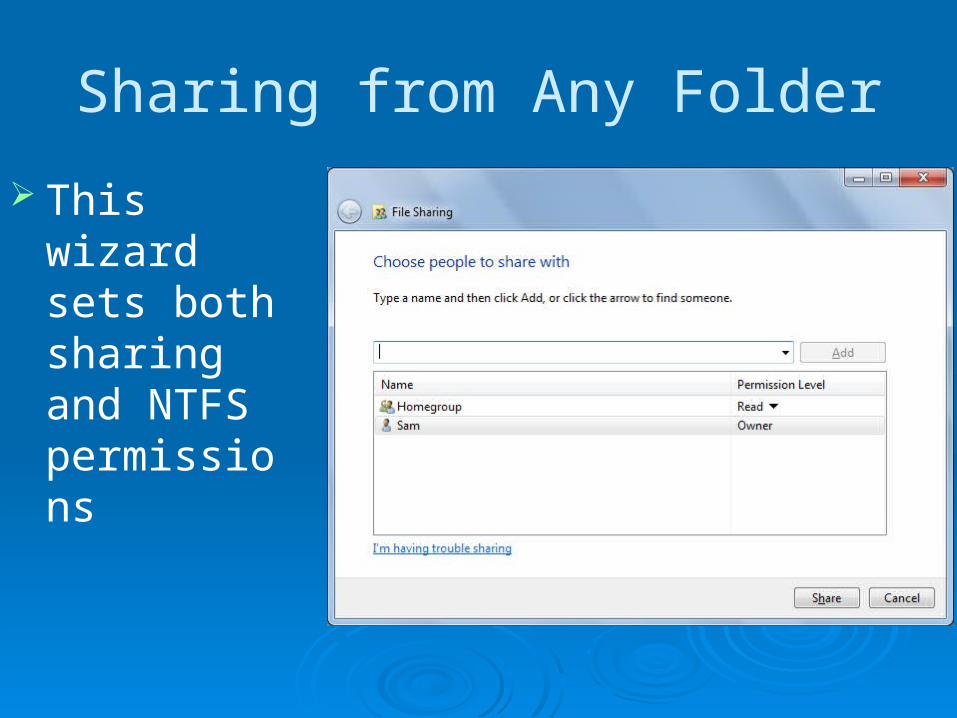
Sharing from Any Folder
This wizard sets both sharing and NTFS permissions
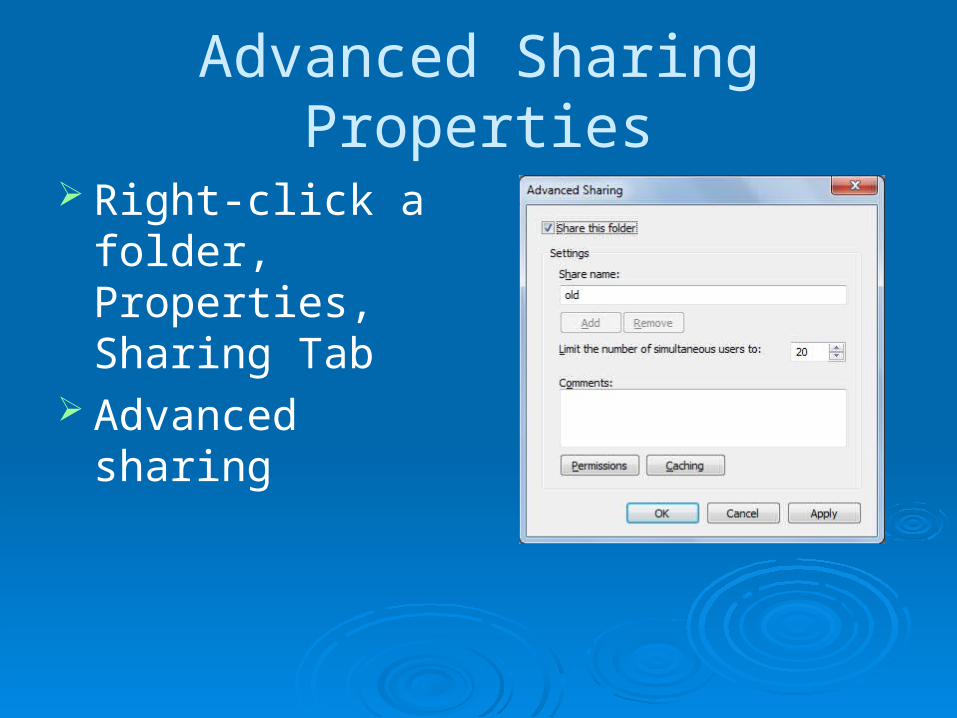
Advanced Sharing Properties
Right-click a folder, Properties, Sharing Tab
Advanced sharing

Share Permissions
Click "Permissions"
Share Permissions and NTFS Permissions
Share permissions allow network access to a resource
NTFS permissions limit all access to the resource, networked or local
Network sharing requires both share and NTFS permissions If either access is blocked, network users
can't use the resource
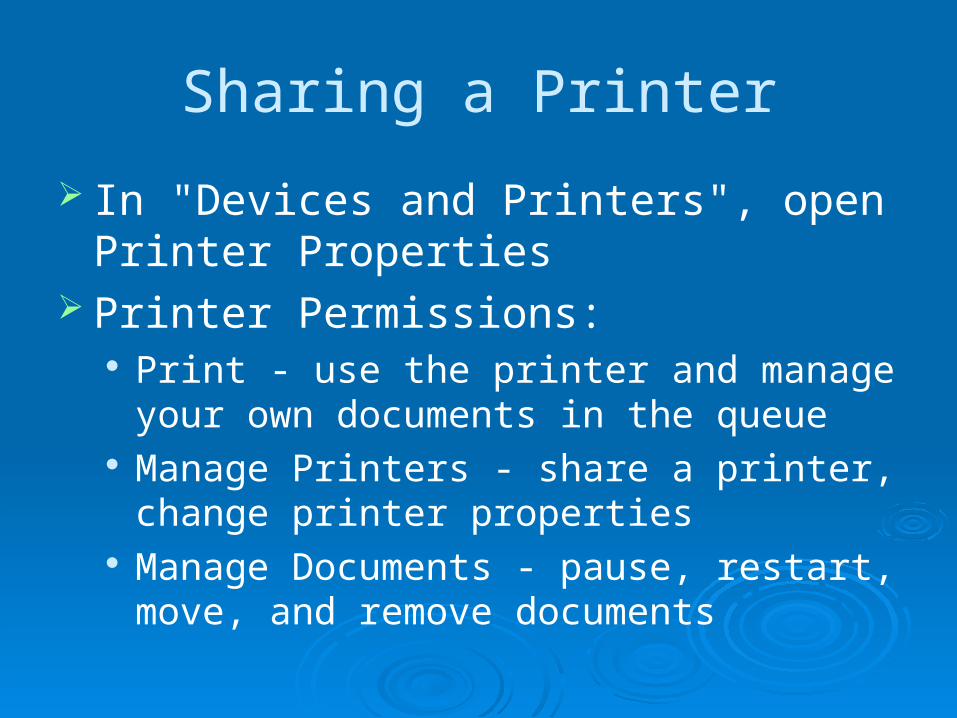
Sharing a Printer
In "Devices and Printers", open Printer Properties
Printer Permissions: Print - use the printer and manage your own
documents in the queue Manage Printers - share a printer, change
printer properties Manage Documents - pause, restart, move,
and remove documents
Default Permissions
Everyone - Print Administrators - Print, Manage Printers,
and Manage Documents
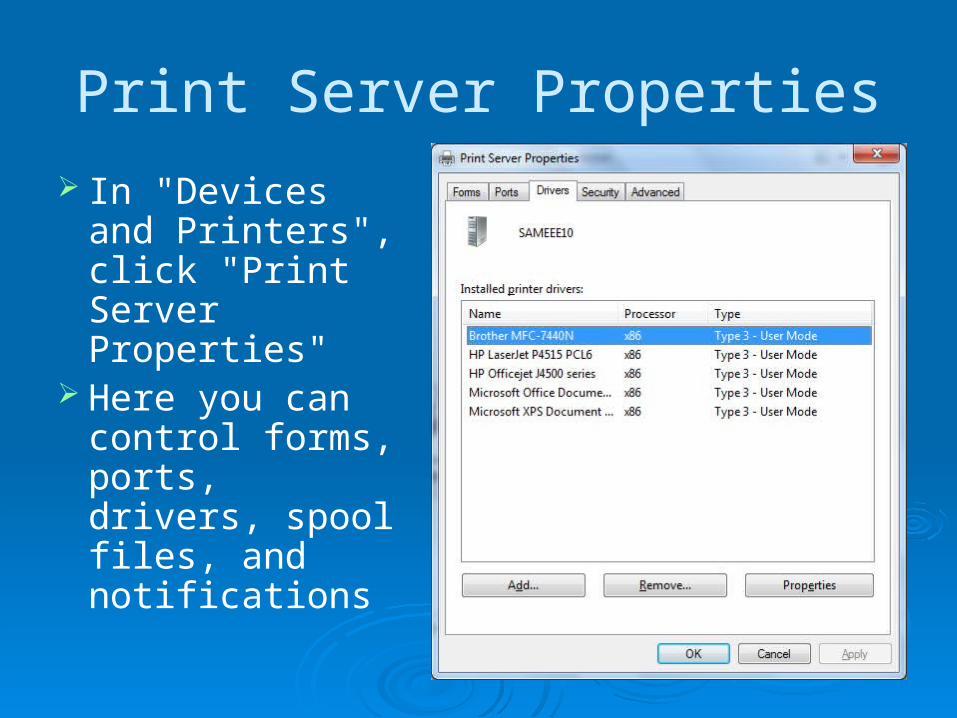
Print Server Properties
In "Devices and Printers", click "Print Server Properties"
Here you can control forms, ports, drivers, spool files, and notifications

Print Management
Only available in Professional, Enterprise, and Ultimate editions
Manages printers, drivers, queues, and shares
Finding and Using Shared Resources on a Windows
Network
Network
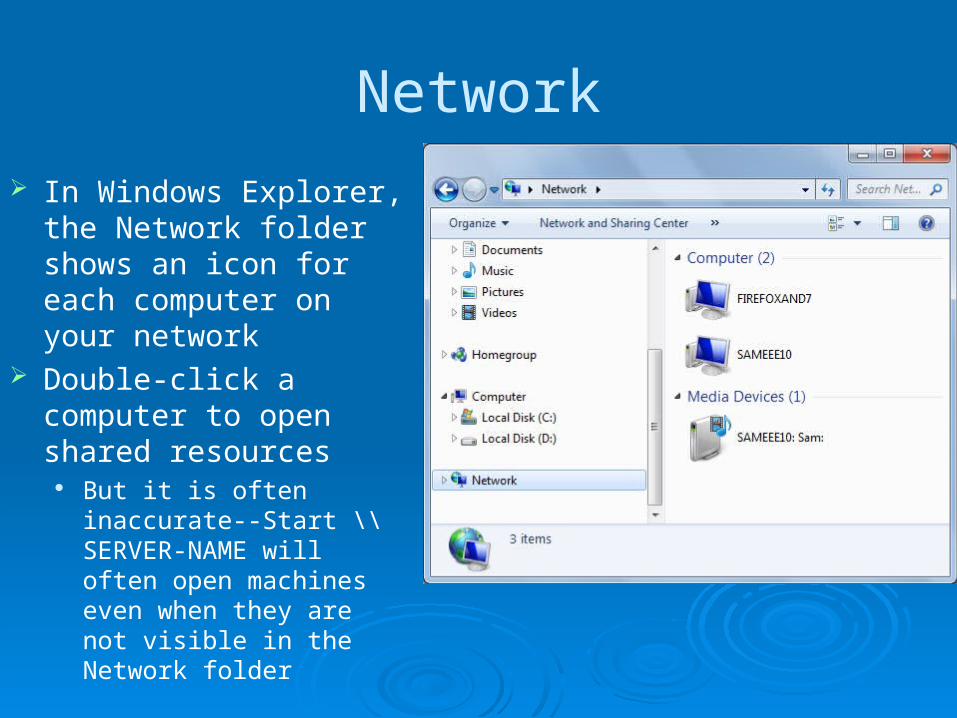
In Windows Explorer, the Network folder shows an icon for each computer on your network
Double-click a computer to open shared resources
But it is often inaccurate--Start \\SERVER-NAME will often open machines even when they are not visible in the Network folder
Mapped Folders
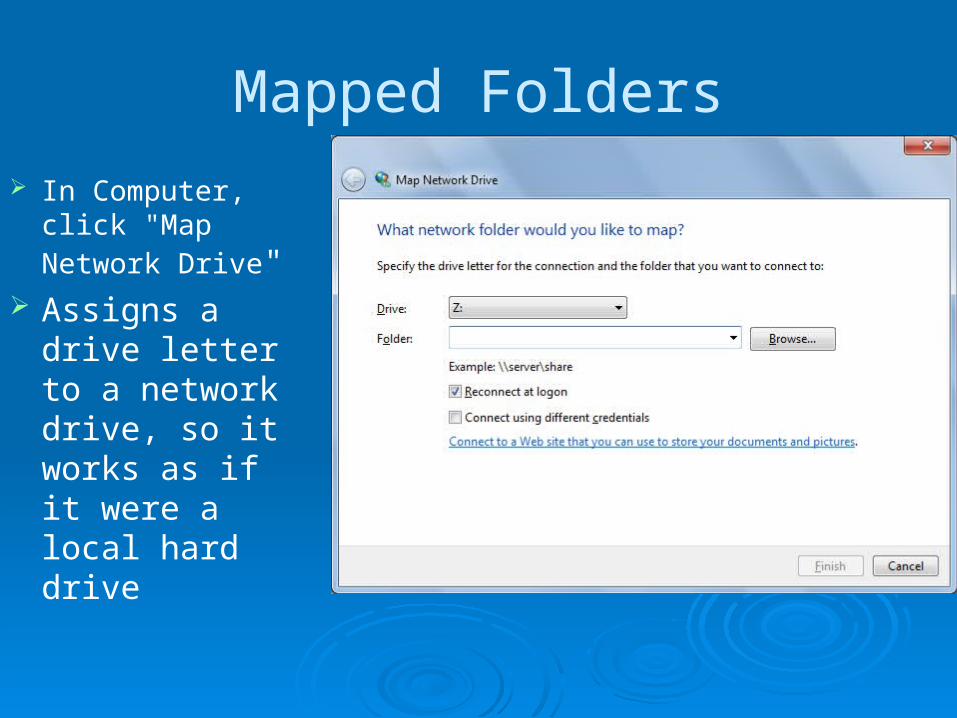
In Computer, click "Map Network Drive"
Assigns a drive letter to a network drive, so it works as if it were a local hard drive
Remote Desktop
Remote Desktop Features
Control a computer remotely, as if you were at its keyboard
Bidirectional audio support--play videos and other media remotely
Perform remote management, such as installing updates
Use a low-powered computer to control a more powerful one--a "thin client"
Traffic is encrypted for security
Remote and Client Computers
The computer being controlled is the remote computer
The computer being used to control the remote computer is the client computer
Remote Computer Requirements
Windows 7 Professional, Enterprise, or Ultimate Or Vista Business or better Or Win XP Pro or better
A network connection that can reach the client computer (via LAN or the Internet)

Client Computer Requirements
Windows 7 (any version), Vista SP1, or Xp SP3 Or any older version of Windows, back to Win
95, if you download the Remote Desktop Client
Or a Mac with the appropriate client software Or Linux with the appropriate client software
Third-Party Alternatives
Laplink Gold UltraVNC TeamViewer LogMeIn GoToMyPC Laplink Everywhere
Remote Desktop Networking
The remote computer listens on port TCP 3389, and Windows Firewall automatically opens that port The port can be changed (link Ch 18a)
Configuring a Router for Remote Desktop
If the remote computer is behind a router with Network Address Translation, you will need to configure "port forwarding" on the router
Or use a Windows Home Server Or use a Windows Server 2008 Terminal
Services Gateway Or use a VPN

Enabling Inbound Remote Desktop Connections
Logo+Break, "Advanced System Settings"
On the Remote tab, in the "Remote Desktop" section, click one of the "Allow connections…" buttons
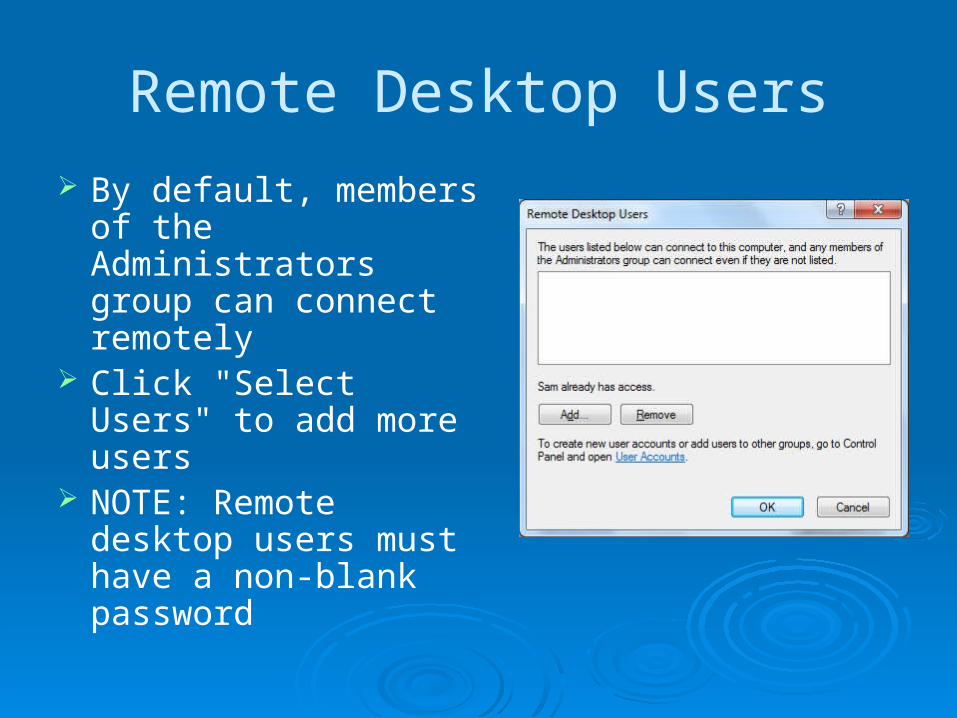
Remote Desktop Users
By default, members of the Administrators group can connect remotely
Click "Select Users" to add more users
NOTE: Remote desktop users must have a non-blank password
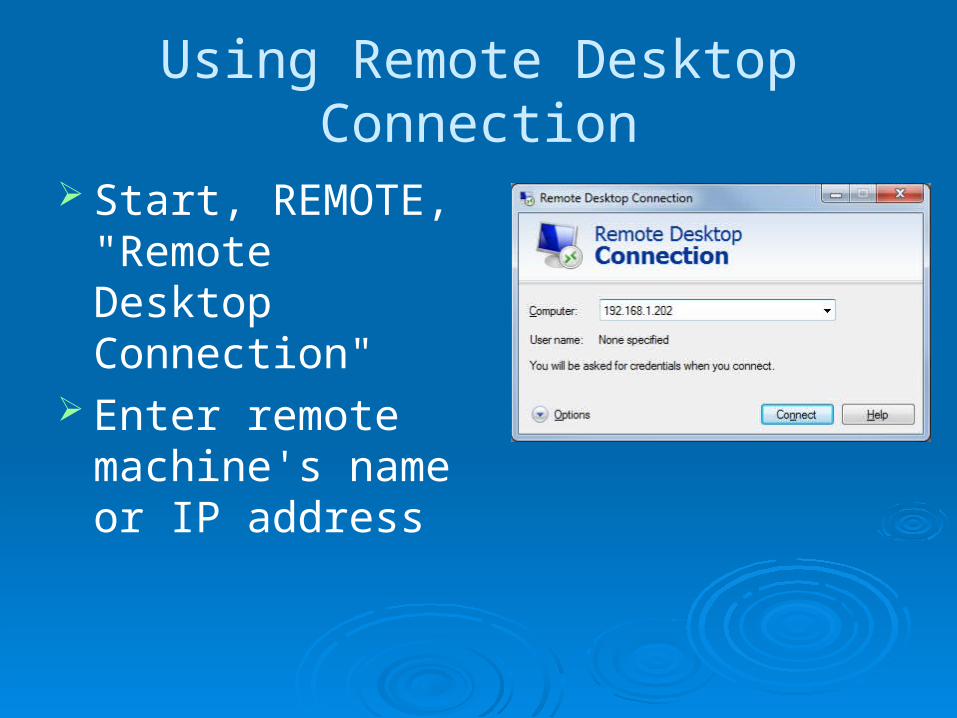
Using Remote Desktop Connection
Start, REMOTE, "Remote Desktop Connection"
Enter remote machine's name or IP address
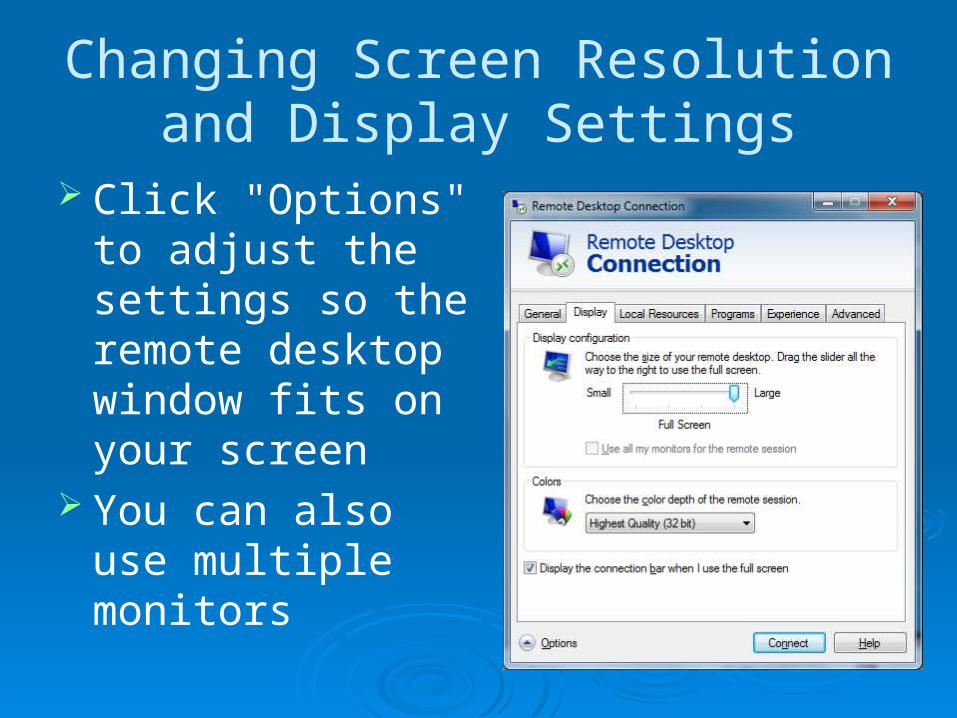
Changing Screen Resolution and Display Settings
Click "Options" to adjust the settings so the remote desktop window fits on your screen
You can also use multiple monitors
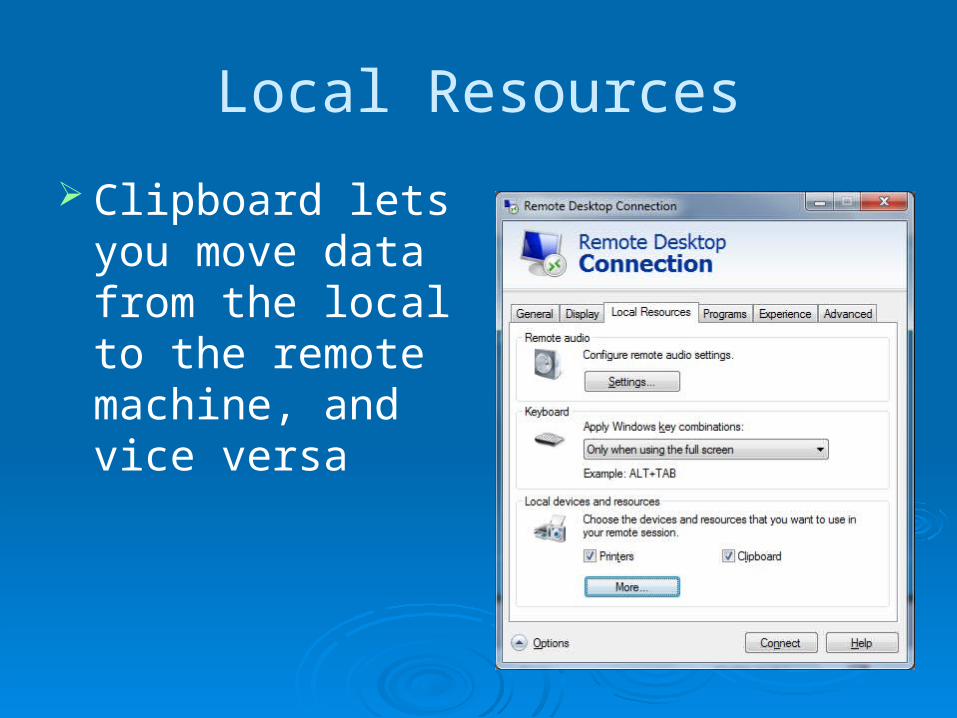
Local Resources
Clipboard lets you move data from the local to the remote machine, and vice versa
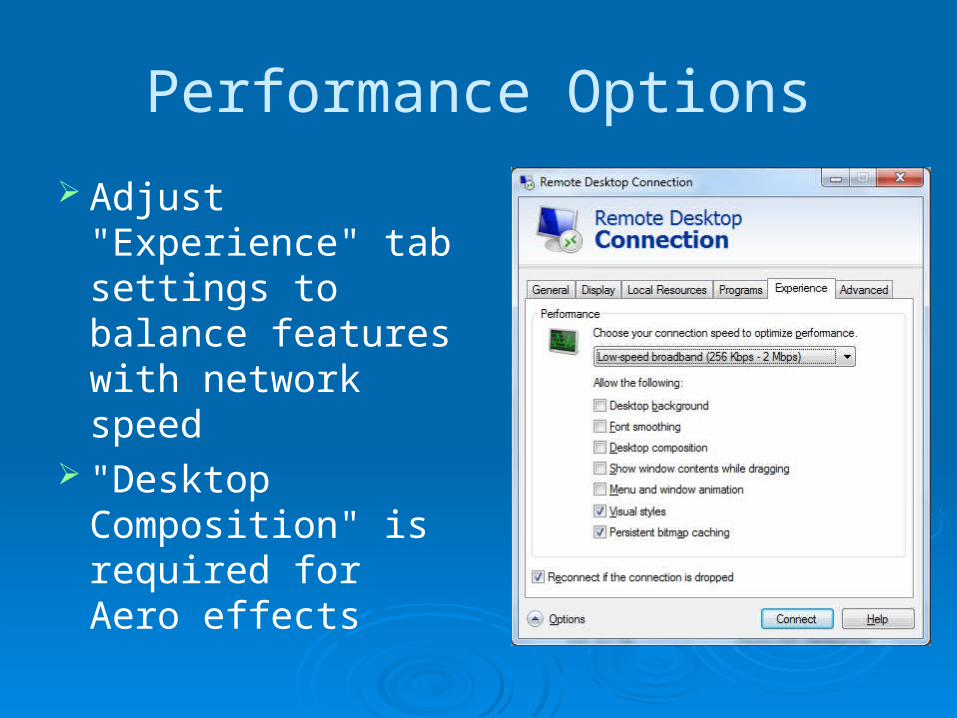
Performance Options
Adjust "Experience" tab settings to balance features with network speed
"Desktop Composition" is required for Aero effects
Ending a Remote Session
In the remote session, click Start and click the arrow to see three options Lock - locks the screen Disconnect - ends remote session but leaves
your programs running Log off - closes your programs and
disconnects