written by: tim · hp ipaq hw6515 keyboard replacement follow the instructions to install access...
TRANSCRIPT
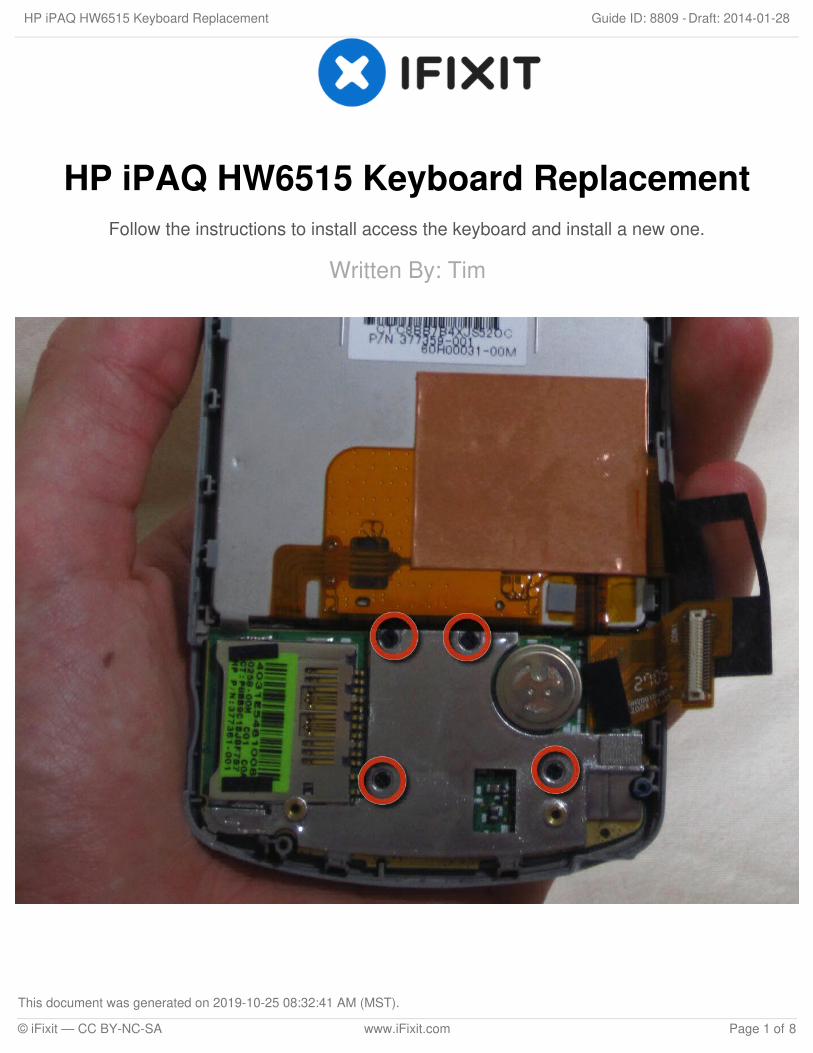
HP iPAQ HW6515 Keyboard ReplacementFollow the instructions to install access the keyboard and install a new one.
Written By: Tim
HP iPAQ HW6515 Keyboard Replacement Draft: 2014-01-28Guide ID: 8809 -
This document was generated on 2019-10-25 08:32:41 AM (MST).
© iFixit — CC BY-NC-SA www.iFixit.com Page 1 of 8

INTRODUCTION
Following these instructions will allow you to install a new keyboard.
TOOLS:Phillips #00 Screwdriver (1)T6 Torx Screwdriver (1)
HP iPAQ HW6515 Keyboard Replacement Draft: 2014-01-28Guide ID: 8809 -
This document was generated on 2019-10-25 08:32:41 AM (MST).
© iFixit — CC BY-NC-SA www.iFixit.com Page 2 of 8
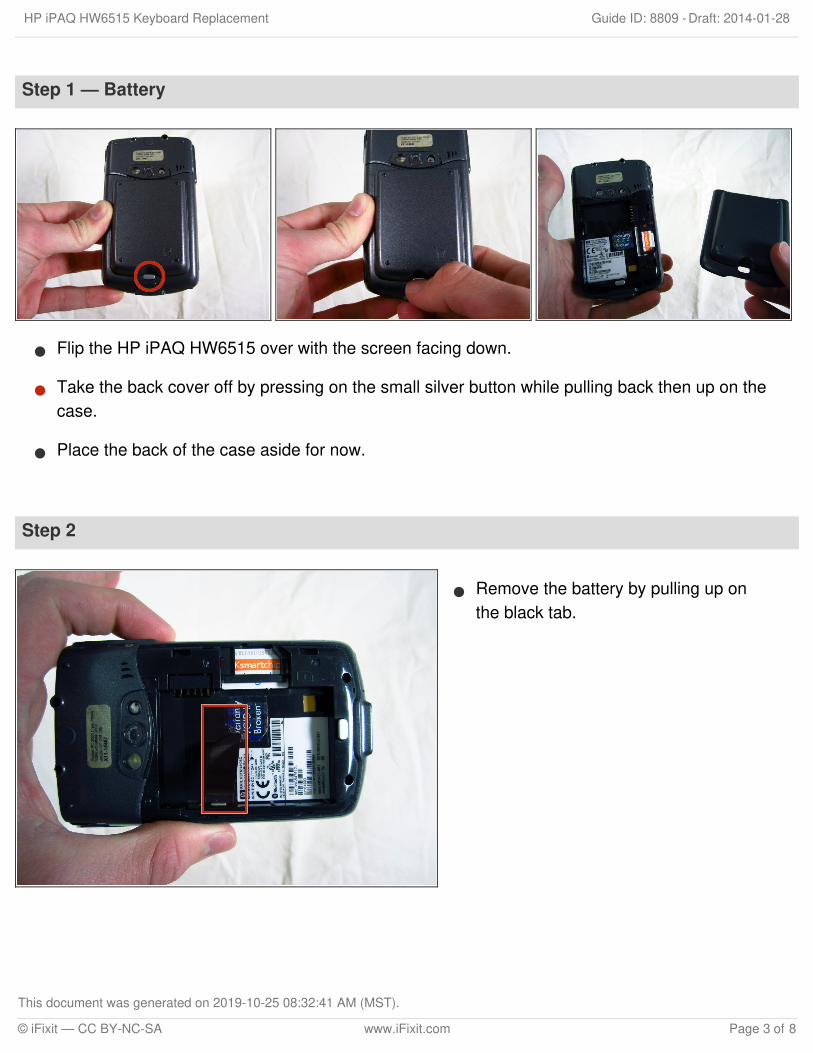
Step 1 — Battery
Flip the HP iPAQ HW6515 over with the screen facing down.
Take the back cover off by pressing on the small silver button while pulling back then up on thecase.
Place the back of the case aside for now.
Step 2
Remove the battery by pulling up onthe black tab.
HP iPAQ HW6515 Keyboard Replacement Draft: 2014-01-28Guide ID: 8809 -
This document was generated on 2019-10-25 08:32:41 AM (MST).
© iFixit — CC BY-NC-SA www.iFixit.com Page 3 of 8
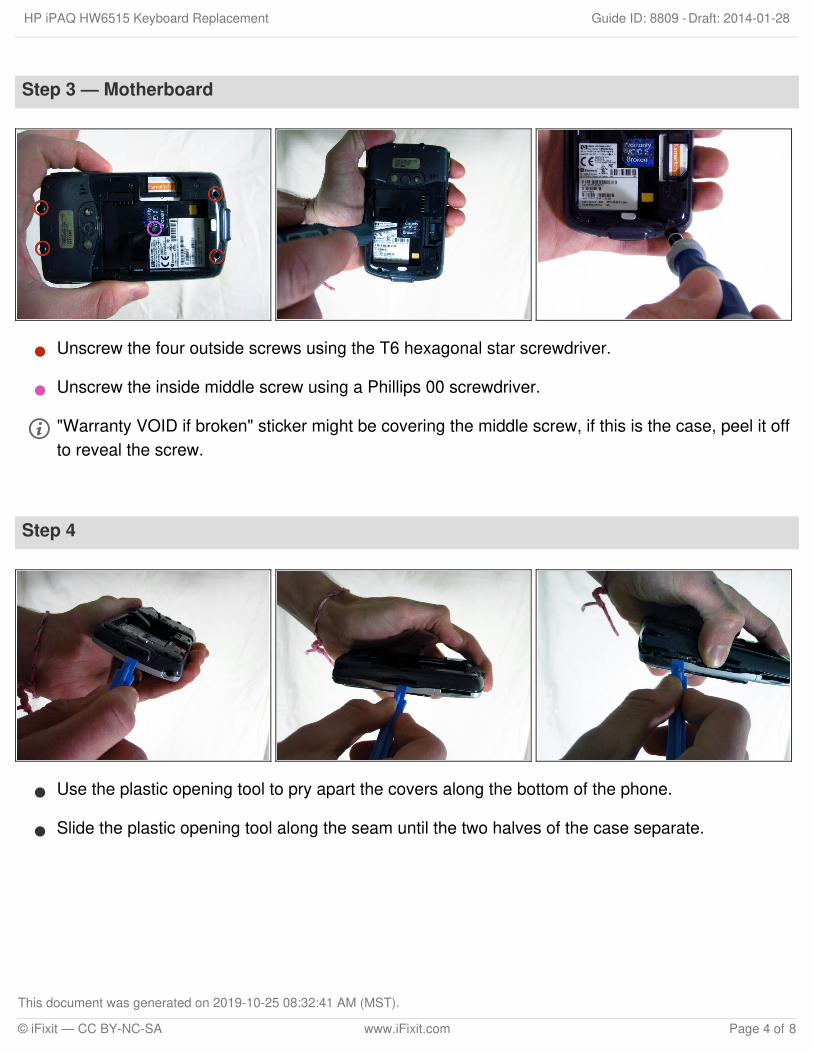
Step 3 — Motherboard
Unscrew the four outside screws using the T6 hexagonal star screwdriver.
Unscrew the inside middle screw using a Phillips 00 screwdriver.
"Warranty VOID if broken" sticker might be covering the middle screw, if this is the case, peel it offto reveal the screw.
Step 4
Use the plastic opening tool to pry apart the covers along the bottom of the phone.
Slide the plastic opening tool along the seam until the two halves of the case separate.
HP iPAQ HW6515 Keyboard Replacement Draft: 2014-01-28Guide ID: 8809 -
This document was generated on 2019-10-25 08:32:41 AM (MST).
© iFixit — CC BY-NC-SA www.iFixit.com Page 4 of 8

Step 5
Unplug the sensor wire that connects the two halves of the case before pulling the two halvesapart. Not doing so will damage the sensor wire.
Step 6
Use a 00 Phillips screwdriver toremove the three small screwsholding down the motherboard.
HP iPAQ HW6515 Keyboard Replacement Draft: 2014-01-28Guide ID: 8809 -
This document was generated on 2019-10-25 08:32:41 AM (MST).
© iFixit — CC BY-NC-SA www.iFixit.com Page 5 of 8
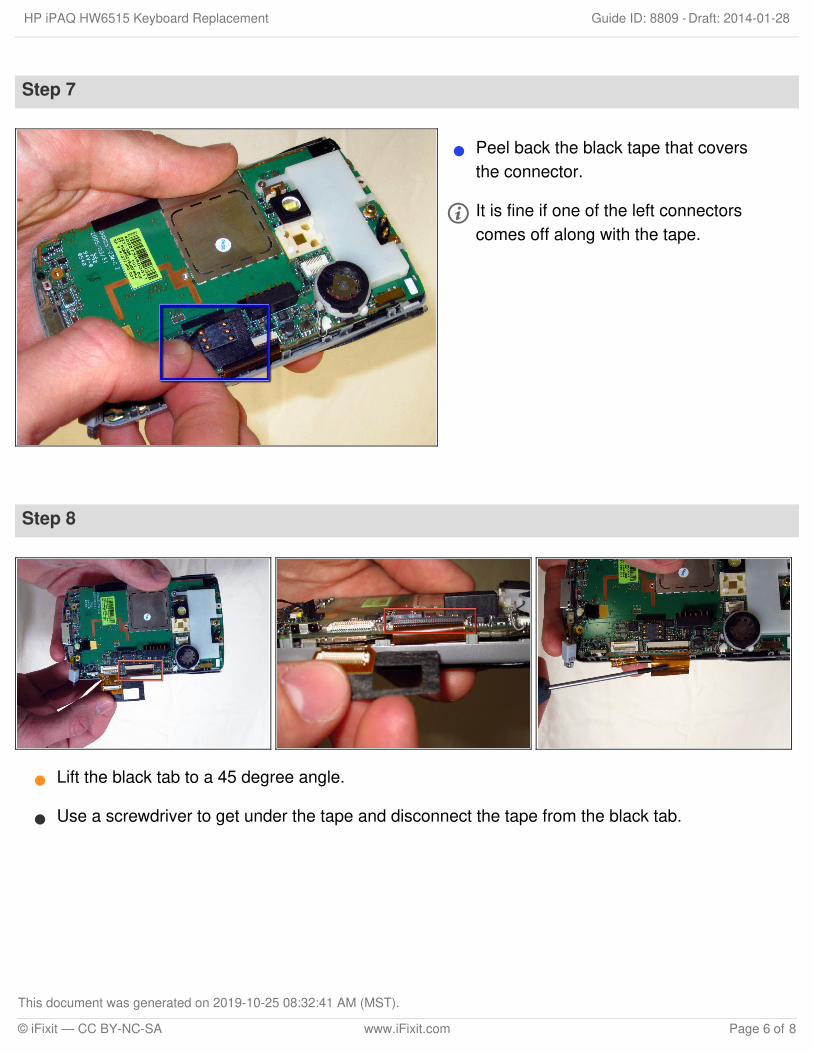
Step 7
Peel back the black tape that coversthe connector.
It is fine if one of the left connectorscomes off along with the tape.
Step 8
Lift the black tab to a 45 degree angle.
Use a screwdriver to get under the tape and disconnect the tape from the black tab.
HP iPAQ HW6515 Keyboard Replacement Draft: 2014-01-28Guide ID: 8809 -
This document was generated on 2019-10-25 08:32:41 AM (MST).
© iFixit — CC BY-NC-SA www.iFixit.com Page 6 of 8
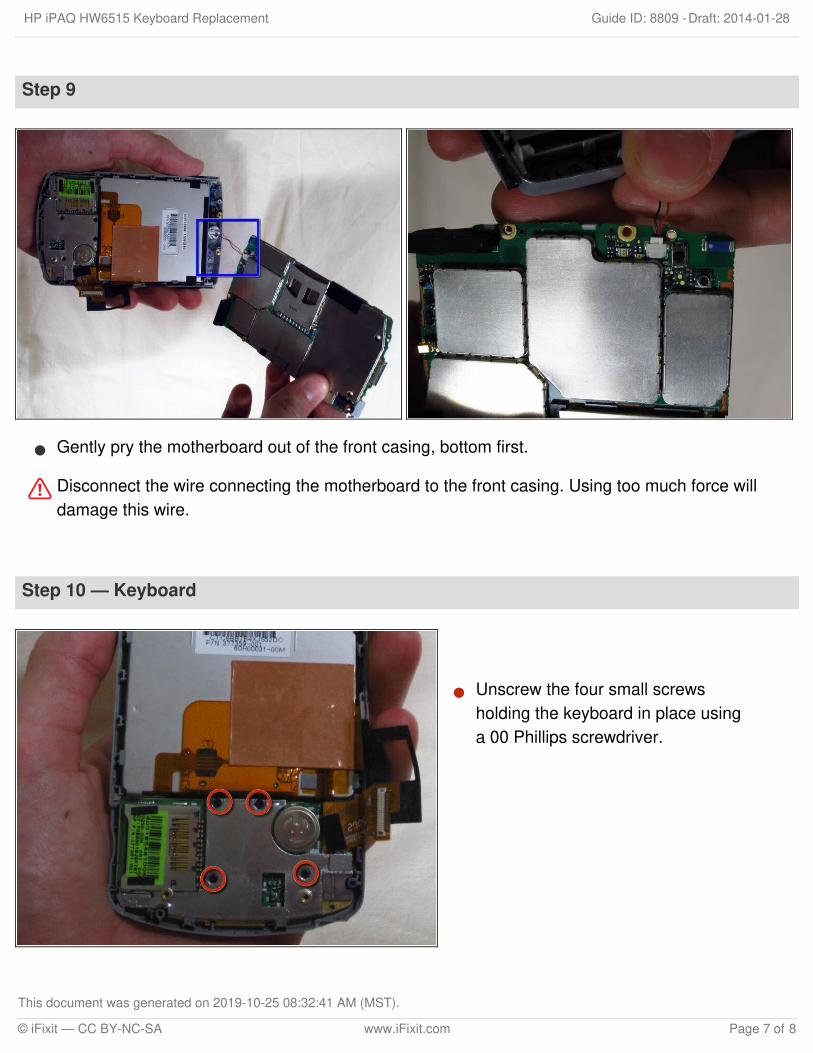
Step 9
Gently pry the motherboard out of the front casing, bottom first.
Disconnect the wire connecting the motherboard to the front casing. Using too much force willdamage this wire.
Step 10 — Keyboard
Unscrew the four small screwsholding the keyboard in place usinga 00 Phillips screwdriver.
HP iPAQ HW6515 Keyboard Replacement Draft: 2014-01-28Guide ID: 8809 -
This document was generated on 2019-10-25 08:32:41 AM (MST).
© iFixit — CC BY-NC-SA www.iFixit.com Page 7 of 8

To reassemble your device, follow these instructions in reverse order.
Step 11
Holding the phone in the sameorientation as the photo, gently pulloff the backing of the keyboard andplace it aside. Removing thisbacking grants you access to thekeyboard.
Step 12
Carefully pop the keyboard out bybending the phone casing to free thekeyboard from the casing.
HP iPAQ HW6515 Keyboard Replacement Draft: 2014-01-28Guide ID: 8809 -
This document was generated on 2019-10-25 08:32:41 AM (MST).
© iFixit — CC BY-NC-SA www.iFixit.com Page 8 of 8