1 bil101, introduction to computers and information systems chapter 7 working with presentations the...
Post on 20-Dec-2015
214 views
TRANSCRIPT

1
BIL101, Introduction to Computers and Information SystemsChapter 7
WORKING WITH PRESENTATIONS WORKING WITH PRESENTATIONS The StarOffice part of this chapter is prepared by
Lale Erdem, Meltem Yıldırım,Avşar Deniz, and Orkun Coşkun Reformatted and ornamented with screen snapshots by
Metin Demiralp Istanbul Technical University,
Informatics Institute, Maslak -- 80626, Istanbul/ Türkiye Version 0.60
Reformatted for presentations by Hüseyin Toros
2
WORKING WITH PRESENTATIONS WORKING WITH PRESENTATIONS Creating Presentations With StarImpressStarOffice gives you the tools to create profeesional presentations that can be presented live within your Linux system. To start a new presentation in StarOffice, you can use any of the methods that are now familier to you:
* Choose New from the file menu, and then choose Presentation from the New submenu.
* Double-click the new Presentation icon onthe Desktop.
* Choose Presentation from the Start menu.
When you use any of these methods, the first slide appears in the viewing area, as does the Modify Slide dialog box. In this dialog box, select the auto-layout for the first slide in your new presentation. The view that you are seeing is called the Drawing view.

3
Slides and Pages
StarImpress is like a combination of Power Point and CorelDraw. StarImpress can create multiple-slide presentations with transitions, embedded links,and slide templates. Each slide also has a full set of drawing tools, multiple layers, color capabilities, and so forth.

4
Making Use of Presentation Templates
To start a presentation from a StarImpress template, follow these steps:
1. Choose new from the file menu.
2. Choose From Template. . . from the New sub menu. The new dialog box appears, listing templates that you can use for your new presentation.
3. Scroll down the categories list until you find presentations. Click on it to see a list of presentation templates in the right side of the dialog bow.
4. To see more information about the selected template, including a preview, choose the more button to expand the dialog box.
5
5. Double--click on the name of the presentation template that you want to use.
6. The presentation appears onscreen, ready for your text.
With the presentation template onscreen, you can see that a lot of your works is done for you. The flow of the presentation, with information that you need to include, is already entered on the slides. You can use page-up and page-down keys to move between slides.
6
Using a Slide Layout
Presentation layouts are similar to the slides in a presentation template, but layouts are less complete. They include a background and predefined text. To use a presentation layout follow these steps:
1. Choose new from the file menu.
2. Choose from template. . . from the new submenu. The new dialog box appears, listing templates that you can use for your new presentation.
3. Scroll down the categories list until you find Presentation Layouts. Click on it to see a list of layouts in the right side of the dialog box.

7
4. Decide on the layout that you want to use and double click on it in new dialog box. 5. Select a slide layout for your first slide from the dialog box that appears. When you choose OK, the first slide in a new presentation appears.If you want to create a personalized presentation as rapidly as possible, try the AutoPilot feature. The AutoPlilot, which has been described for other types of documents, is similar to the wizards supplied with other programs. It asks you questions, and then creates a document outline based on your answers. To use the AutoPilot to create a new presentation , follow these steps (you don't have to have a document already open to use AutoPilot):
8
1. Choose AutoPilot from the file menu, and then choose presentation from the autopilot submenu. The autopilot dialog box for a presentation appears. 2. Click the next button to advance to the first data entry screen of the autopilot dialogbox. 3. Enter your name or company name in the first field. 4. Enter topics that you want to cover. Type each topic on a seperate line, pressing enter after each. The box scrolls down as you enter each line. 5. Click the next button to advance to the next screen in the dialog.
9
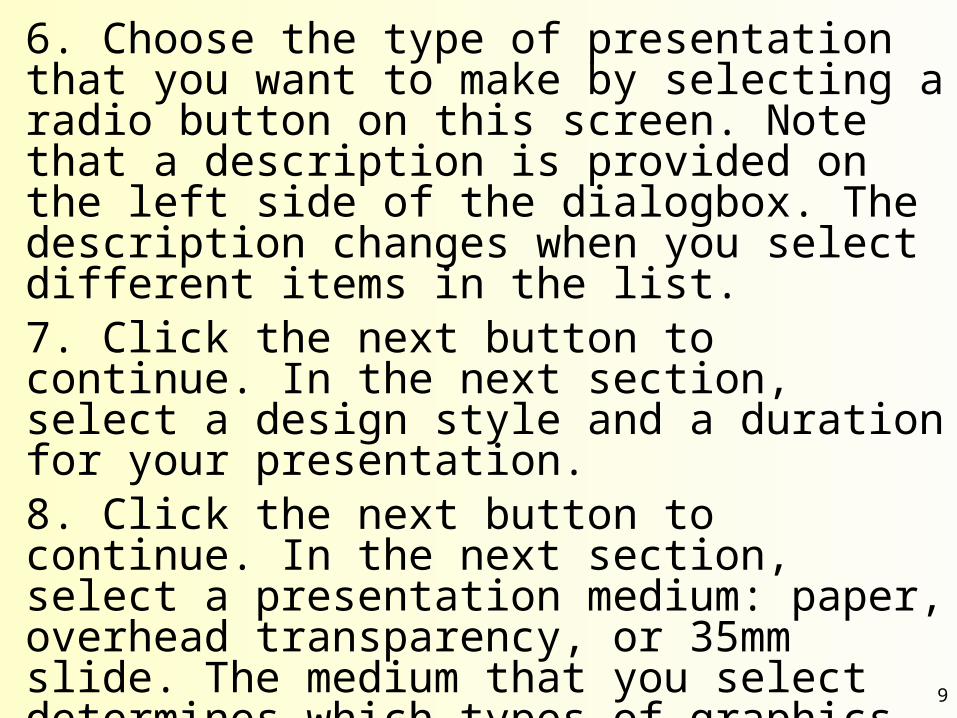
6. Choose the type of presentation that you want to make by selecting a radio button on this screen. Note that a description is provided on the left side of the dialogbox. The description changes when you select different items in the list. 7. Click the next button to continue. In the next section, select a design style and a duration for your presentation. 8. Click the next button to continue. In the next section, select a presentation medium: paper, overhead transparency, or 35mm slide. The medium that you select determines which types of graphics are used in the presentation. 9. Click next to continue, and then click create to finish the presentation. After a moment, the first slide appears onscreen.

10
Creating Individual Slides
StarOffice uses a layout for each slide to simplfy and organize the placement of text and objects on the slide. You can add information in other locations, but the layouts make basic test entry much easier.
Adding a Layout to a Slide
If you used either the new presentation icon or a background layout from the set of presentation layouts, your screen shows a blank or graphical slide with no indication of how to proceed. Choose Slide Layout from the Format menu.
The modify slide dialog box appears.
11
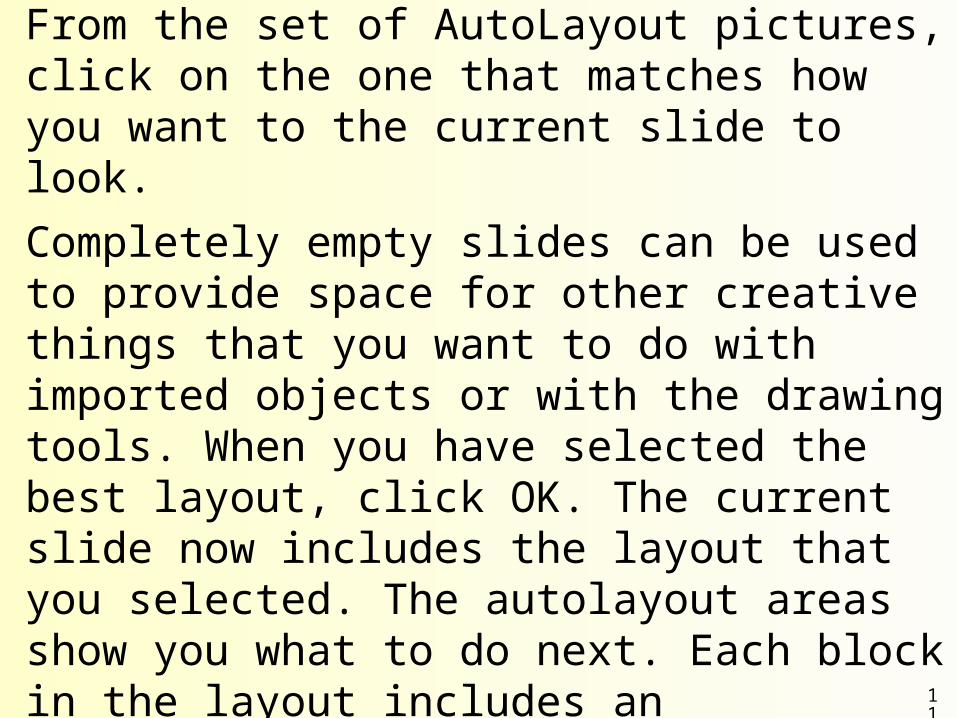
From the set of AutoLayout pictures, click on the one that matches how you want to the current slide to look.
Completely empty slides can be used to provide space for other creative things that you want to do with imported objects or with the drawing tools. When you have selected the best layout, click OK. The current slide now includes the layout that you selected. The autolayout areas show you what to do next. Each block in the layout includes an instruction to click and add a title, double-click to add a document or chart, or something similar. You can use the slide layout dialog box at any time to change the layout of the current slide.

12
Inserting a New Slide
As you create your presentation , you'll need to add new slides for each topic. To add a slide, choose Slide from the insert menu. The Insert Slide dialog box appears. In this dialog box, select the layout of the slide that you want to insert.

13
Entering Text on a Slide
After you have entered text, you can click on any block of text to select that block and begin editing it. A cursor in the block of text indicates that it can be edited. The green handles around the text block can be used to adjust the block in which the text sits.
You can do any of the following:
* Click in the center of the text box and drag it to a new location.
* Click on any green handle to expand or contract the size of the text book.
14
Adjusting Paragraphs
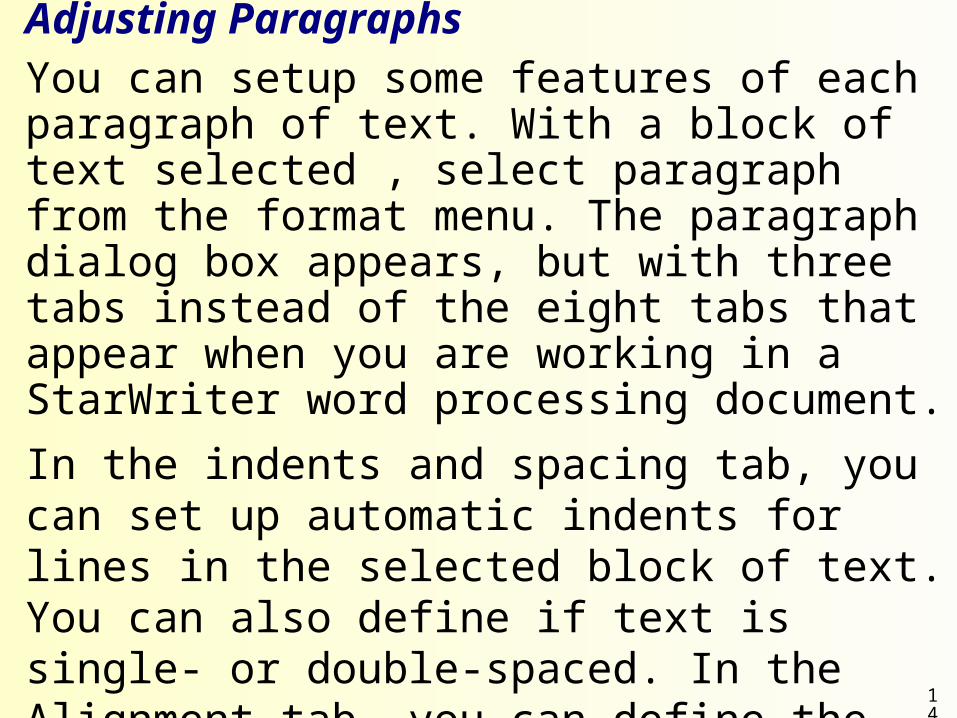
You can setup some features of each paragraph of text. With a block of text selected , select paragraph from the format menu. The paragraph dialog box appears, but with three tabs instead of the eight tabs that appear when you are working in a StarWriter word processing document.
In the indents and spacing tab, you can set up automatic indents for lines in the selected block of text. You can also define if text is single- or double-spaced. In the Alignment tab, you can define the current block of text as center -, left- , or right justified this is very useful for titles and some summary.

15
Saving Your Presentation
You need to save your presentation with a unique name before you enter the first line of text on the first slide. To save a presentation, use the save as item on the file menu. The now-familiar Save As dialog box appears. Enter a name for your file and selected the directory to which it will be saved. Then choose the save button. After you save your presentation with a name, you can quickly update your saved presentation on disk at any time with a keystroke:
ctrl + S

16
Exporting Slides in Graphics Formats
For both text documents and spreadsheets, the StarOffice Save as dialog box includes several formats from which you can choose. For example, a text document can be saved as a word 97 or an RTF file. Presentations use the Export dialog box instead of the Save As dialog box. Exporting in a graphics format such as GIF, BMP,or JPEG creates a single graphics file for the currently-displayed slide.
17
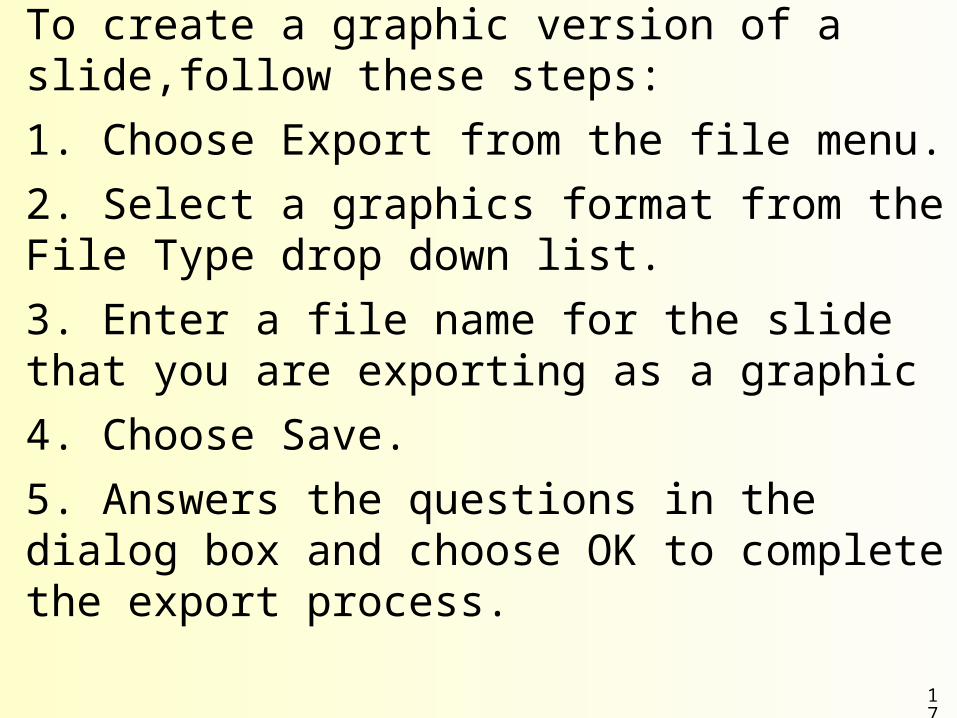
To create a graphic version of a slide,follow these steps:
1. Choose Export from the file menu.
2. Select a graphics format from the File Type drop down list.
3. Enter a file name for the slide that you are exporting as a graphic
4. Choose Save.
5. Answers the questions in the dialog box and choose OK to complete the export process.

18
Exporting as a Web PresentationStarOffice can export in HTML format, so your presentation can be viewed in any Web browser. Exporting in HTML creates a set of files with names based on the name you enter as an export filename. To export a presentation in HTML format: 1. Choose export from the file menu. 2. Choose HTML from the file Type drop-down list. 3. Enter a file name for the HTML document4. Choose save. The HTML export dialog box appears5. Choose a resolution for the graphic part of the HTML pages. 6. Choose OK to finish exporting to HTML.
19
Adding Graphics and Charts to Your Presentation
Graphics are an important part of any slide presentation. With only bulleted lists, any presentation rapidly becomes a chore for both presenter and audience.
Importing and Editing Graphic Files
1. Move to the slide on which you want to insert a graphic.
2. Set the viewing mode to Drawing (from the master view submenu under the view menu)
3. Select Picture under the Insert Menu

20
Moving and Resizing an Imported Graphic
To work with an image, it must first be selected. Select an image by clicking on it; green handles appear around the object when it is selected. After an object is selected, you can manipulate it in several ways:
* Click on the middle of the object and drag it to a new location.
* Click and drag a corner of the object to change the size of the object up or down. Hold down the shift key as you do this to keep the ratio correct.
* Click the right mouse button or go to the format menu to see all formatting options available

21
Editing an Imported Graphic File
For most bitmapped graphics that you import into a StarImpress presentation, you can use the image editor to edit the imported graphic directly. To use the image editor, right click on a selected graphic and choose Image from the pop--up menu. Choose edit from the image menu that appears. When you choose Edit from the Image menu, the bitmapped image appears in a heavy border and a different set of image manipulation tools appears in the main toolbar. When you are done editing a graphic in the image editor, click the mouse some where else on the slide. The image editor closes, leaving the edited image in place on your slide.
22
Adding Actions to Graphics
To use this feature:
1. Import a graphic into your slide.
2. Select the imported graphic by clicking on it so that you can edit its properties.
3. Choose interaction from the presentation menu.
4. Click on the drop down box and select an action to associate with clicking on this graphic.

23
The choices include the following:
* Play a sound.
* Start another linux program.
* Go forward or backward in the slide show.
* Go to another StarOffice document.
* Go to a specific slide in the presentation.
(The slide titles in a presentation can be listed )
5. Choose OK to close the Interacion dialog box. When you start a slide show you can click on the graphic that you imported to execute the action that you selected in the Interaction dialog box

24
Drawing Your Own Graphics
StarOffice drawing tools enable you to do this. The basic drawing tools are always visible on the main tool bar on the left of the screen as you edit slides in Drawing mode.
Adding Lines and Rectangles
Start with a slide in drawing mode.
1. Click on the lines and arrows icon on the main tool bar on the left side of the screen.
2. Move the mouse pointer over the slide and notice how it changes from an arrow to crosshairs.
3. Click and drag the mouse pointer across the middle of the screen to make a long horizontal line.

25
4. Press the Shift key to constrain the line to vertical, horizontal,or a 45 degree angle.
5. Release the mouse button to finish drawing the line.
6. Move the mouse pointer over the line you drew and press the right mouse button.
7. Choose line from the pop- up menu.
8. Choose a line style from the style drop-down list.
9. Increase the line width in the Width field.
10. Choose the arrow Styles tab.
11. Select a style for the ends of the lines from the drop--down list.
12. Choose OK to close the line dialog box.
26
Add a rectangle using another of the drawing tools:
1. Click and hold on the 3D Rectangle icon on the main tool bar on the left side of the window.
2. Move the 3D Cylinder icon and release the mouse button.
3. Click and drag the mouse pointer with in the slide to form 3D cylinder.
4. Click the middle of the cylinder and drag it to cover the text in the lower left corner of the slide.
5. Click and drag the green arrow in the middle , right side of the cylinder to make it wider.
6. Right-click on the cylinder.
7. Choose send to back on the arrange submenu.

27
Using Charts from SpreadsheetsImporting a ChartThe easiest way to import a chart from a spreed sheet is to use the standart copy and paste functions. Follow these steps: 1. Go to the spreedsheet that contains a chart that you want to use in your presentation. 2. Click on the chart to select it. 3. Choose copy from the edit menu. 4. Switch the presentation you are working on by selecting it from the window menu. 5. Move to the slide on which you want to chart inserted. 6. Choose past from the edit menu.

28
Inserting a Spreadsheet
To insert a spread sheet into your slide, choose spreadsheet from the Insert menu while viewing a slide in Drawing mode.
Arranging Your Slides
StarImpress provides several master views that make it easy to see all your slides, and to rearrange or sort them as needed.
Choosing a Master View
When you start a new presentation, StarImpress displays in Drawing View. This view shows a single slide that fills the working area.
All the graphics, text, and other components of a slide are displayed as they will appear during a slide show.
29
Moving Between Slides
When you have multiple slides in your presentation and you are using the default Drawing view, you can use any of several methods to move between slides. The easiest way to move to the next slide is to press Page Down. Pressing Page up moves you to the previous slide.
Rearranging Slides Using the Slide Order
With the slide sort view, you can work with all the slides at once, seeing how they releate to each other in the presentation. To select a slide in the Slide Sort view, click it on once. You will see a heavy black outline around the slide to indicate that it's been selected.

30
Moving Slides
You drag the slide, an outline of the slide moves around the screen and a bar appears between the two slides where the slide you are dragging will be inserted when you release the mouse button.

31
Copying and Pasting Slides
You can't directly insert slides in the Slide Sort view, but you can easily copy and paste slides. Using copy and paste enables you to duplicate a slide and then make modifications to it, saving time when the slides are similar layout or content. To copy and paste a slide in the slide sort view:
1. Click on the slide that you want to copy to select it.
2. Press CTRL+C to copy the selected slide.
3. Press CTRL+V to paste the selected slide.
After you have used Paste to insert a copy of a slide, you can drag that slide to a new location if necessary.

32
Deleting SlidesTo delete a slide in slide sort view, follow these steps. 1. To select the slide that you want to copy, click on it. 2. Press CTRL+X to cut the slide from the presentation. Other slides move in to fill its place. Defining Transitions Between SlidesTransitions are the visual movement from one slide to the next in your presentation. The transitions between slides can add or take away from the effect that you are trying to create. To begin choosing slide transitions, choose Slide Transition from the presentation menu. The slide transition window appears. Use the window select slide transitions, apply them to slides, and preview the results.
33
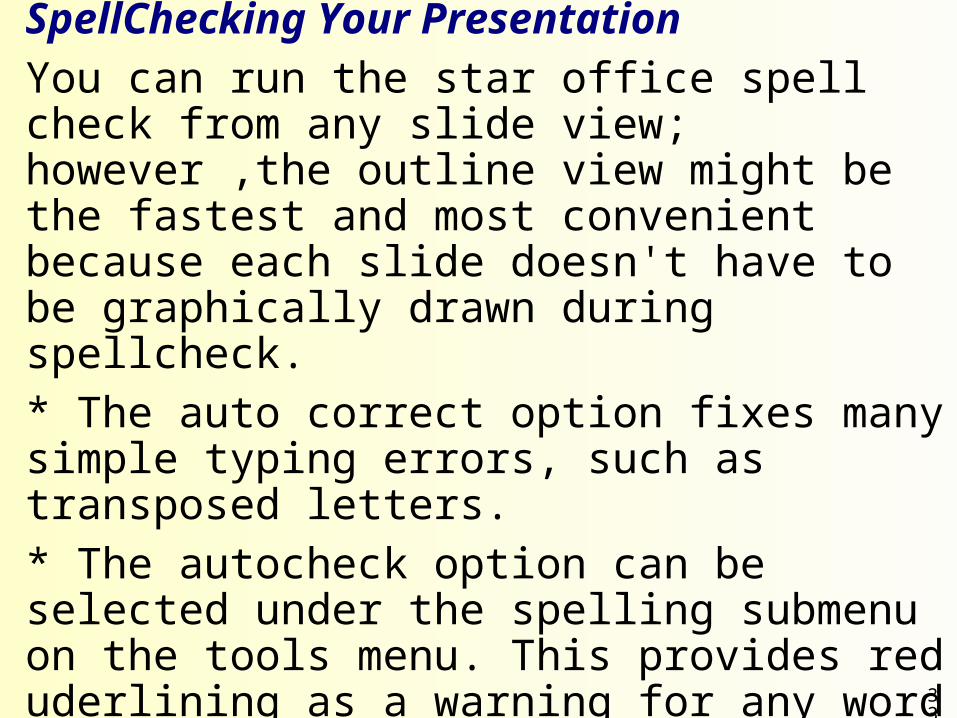
SpellChecking Your Presentation
You can run the star office spell check from any slide view; however ,the outline view might be the fastest and most convenient because each slide doesn't have to be graphically drawn during spellcheck.
* The auto correct option fixes many simple typing errors, such as transposed letters.
* The autocheck option can be selected under the spelling submenu on the tools menu. This provides red uderlining as a warning for any word that can't be found in the spelling dictionary.
* The spelling window, with its replacement and ignore options and the thesaurus, is available to check the text of your presentation.
34
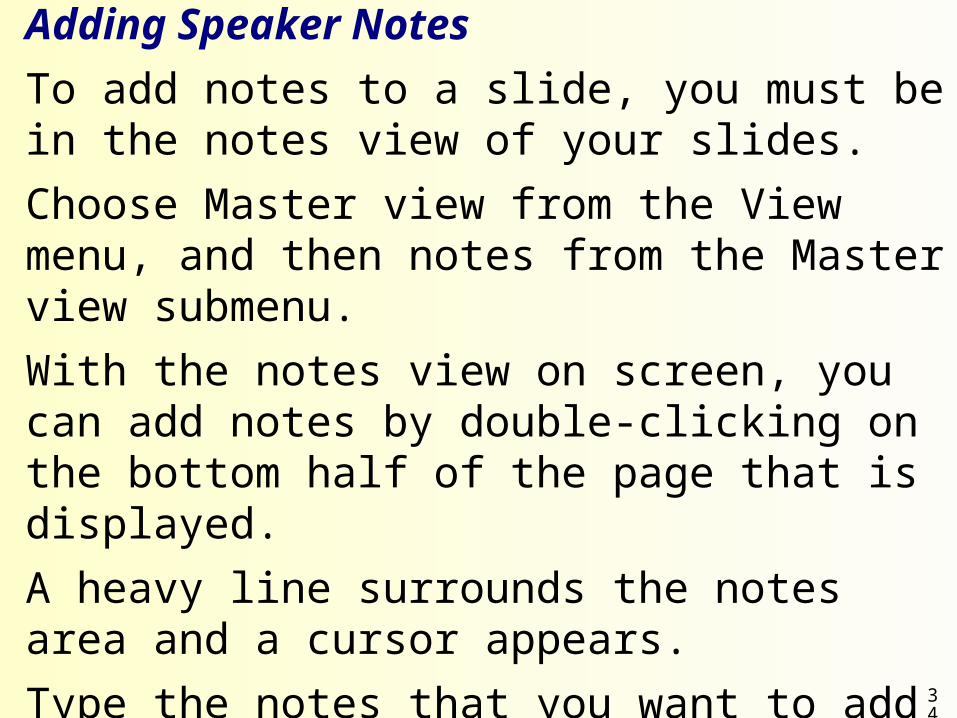
Adding Speaker Notes
To add notes to a slide, you must be in the notes view of your slides.
Choose Master view from the View menu, and then notes from the Master view submenu.
With the notes view on screen, you can add notes by double-clicking on the bottom half of the page that is displayed.
A heavy line surrounds the notes area and a cursor appears.
Type the notes that you want to add to the slide.

35
Setting Presentation and Slide Show Options
Setting Presentation Options
You can open the Presentations Options dialog box by selecting presentations on the Options submenu under the tools menu. This dialog box includes settings for what is displayed and how graphic snap and grids function, and for various layout and measurement options.
* Picture placeholders: These are of the same size and shape as the picture, to save time redrawing graphic images.
* Object outlines: To save time redrawing objects.
36
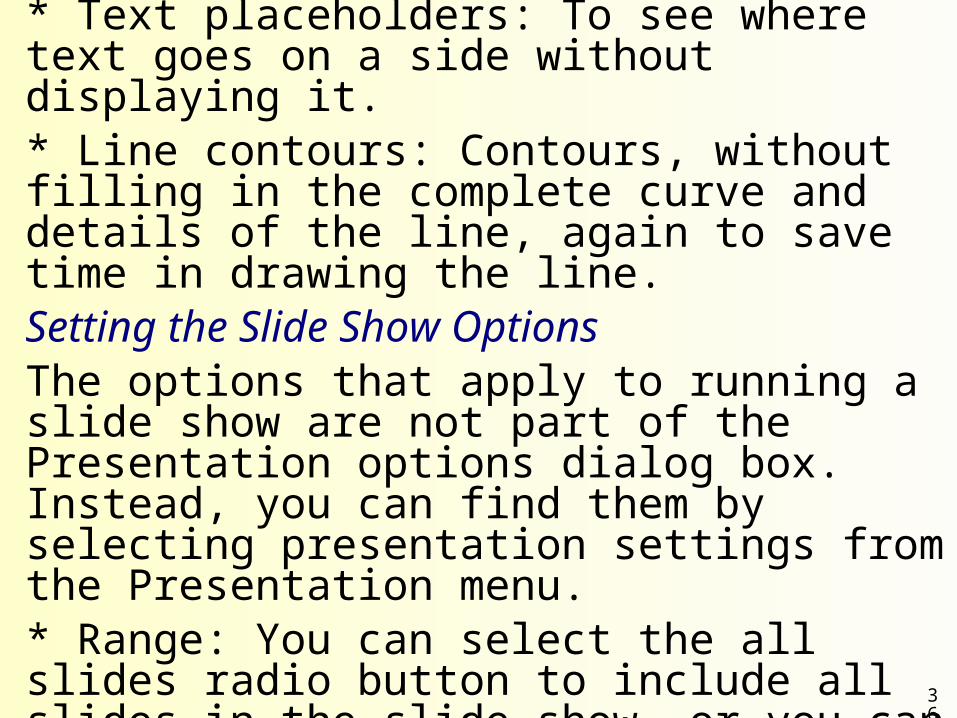
* Text placeholders: To see where text goes on a side without displaying it. * Line contours: Contours, without filling in the complete curve and details of the line, again to save time in drawing the line. Setting the Slide Show OptionsThe options that apply to running a slide show are not part of the Presentation options dialog box. Instead, you can find them by selecting presentation settings from the Presentation menu. * Range: You can select the all slides radio button to include all slides in the slide show, or you can select the from radio button and choose a slide title from the drop-down list. If you choose the from button, the slide show starts from the selected slide.
37
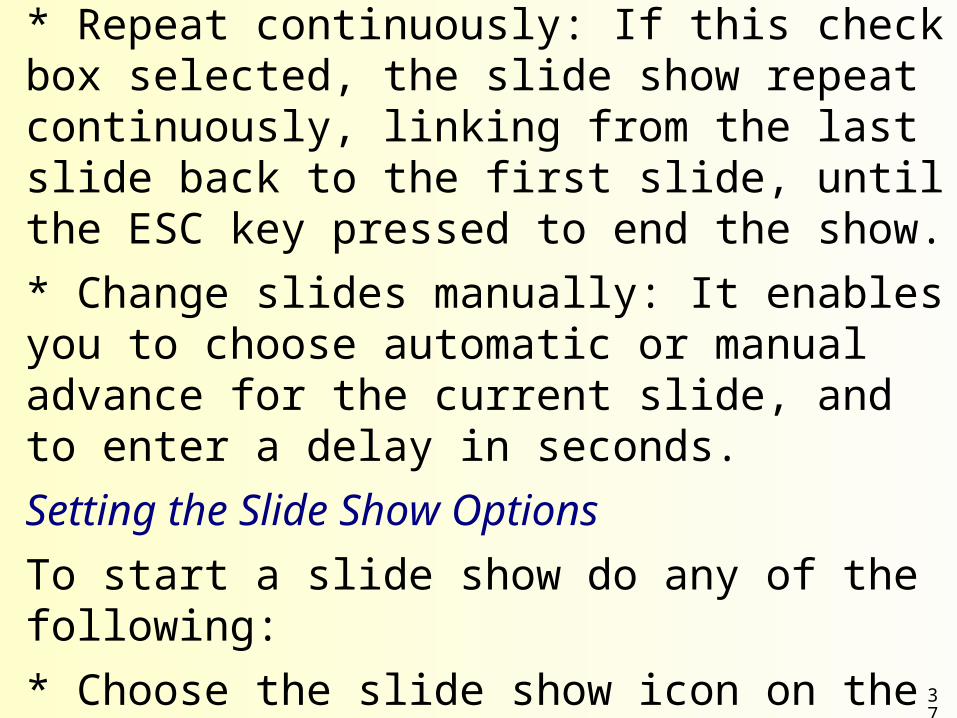
* Repeat continuously: If this check box selected, the slide show repeat continuously, linking from the last slide back to the first slide, until the ESC key pressed to end the show.
* Change slides manually: It enables you to choose automatic or manual advance for the current slide, and to enter a delay in seconds.
Setting the Slide Show Options
To start a slide show do any of the following:
* Choose the slide show icon on the right edge of the StarOffice window.
* Select Slide Show from the presentation menu.
38
* Press CTRL+F2, after a few seconds the first slide appears full-screen.
You can control the slide show using the mouse or keyboard, depending on the settings that you selected in the slide show dialog box.
Preparing Hardcopy Slides
For many presentations, you will want to have paper handouts of your slides for your audience. StarOffice has several options for how those can be printed. The following section describes how to set up the handouts that you need.
39
Setting the Page SizeWhen you print the slides to paper, you need to select the correct paper size to which you want to print. To set the page size: 1. Choose page from the format menu. The page dialog box appears. 2. From the paper format drop-down list, select 8. 5x11in. 3. Choose the lanscape option to print sides or handouts. Choose the portrait option to print speaker notes or a presentation outline. 4. Choose OK to apply these settings and close the dialog box. To print a presentation ,choose the print item from the file menu.
40
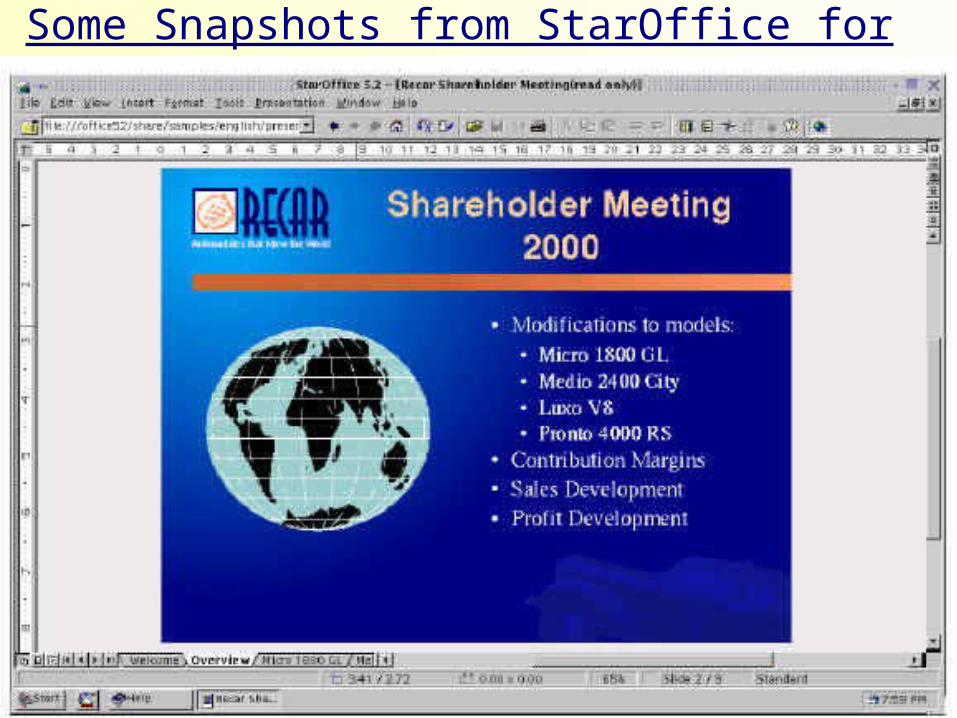
Some Snapshots from StarOffice for Presentation

41