241-211 oop (java): layout/141 241-211. oop objectives – –describe the basic layout managers for...
TRANSCRIPT
241-211 OOP (Java): Layout/14 1
241-211. OOP
Objectives– describe the basic layout managers for G
UIs
Semester 2, 2013-2014
14. GUI Layout

241-211 OOP (Java): Layout/14 2
Contents1. A Reminder on GUI Creation
2. Flow Layout
3. Grid Layout
4. Border Layout
5. Box Layout
6. Combining Layouts
7. Improving the Appearance
8. Other Layout Managers
241-211 OOP (Java): Layout/14 3
1. The 3-step GUI Again
• A reminder of the three steps in writing GUIs:– 1. Declare the GUI components;
– 2. Implement the event handlers for the components;
– 3. Position the components on the screen by using layout managers and/or containers.
241-211 OOP (Java): Layout/14 4
1.1. Emphasis of this Part
• The examples in this part will concentrate on layout managers and the JPanel container– step 3
• Layout managers examined:– FlowLayout, GridLayout, BorderLayout, BoxLayout, combining layouts

241-211 OOP (Java): Layout/14 5
Basic Layouts as Pictures
flow
grid
N
C
S
EW
border
box
241-211 OOP (Java): Layout/14 6
2. Flow Layout
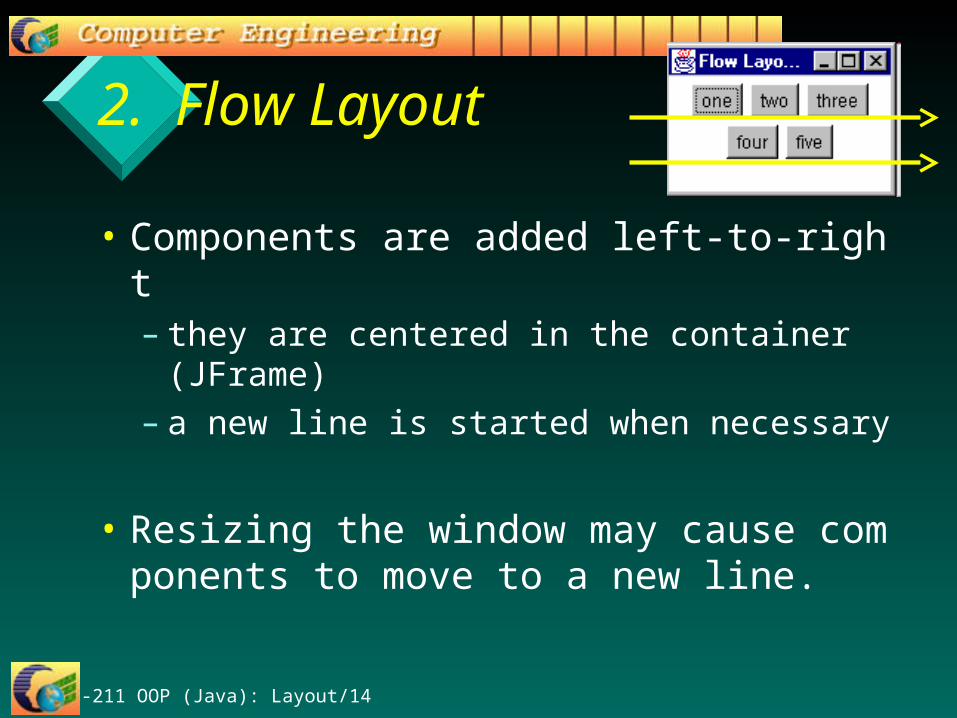
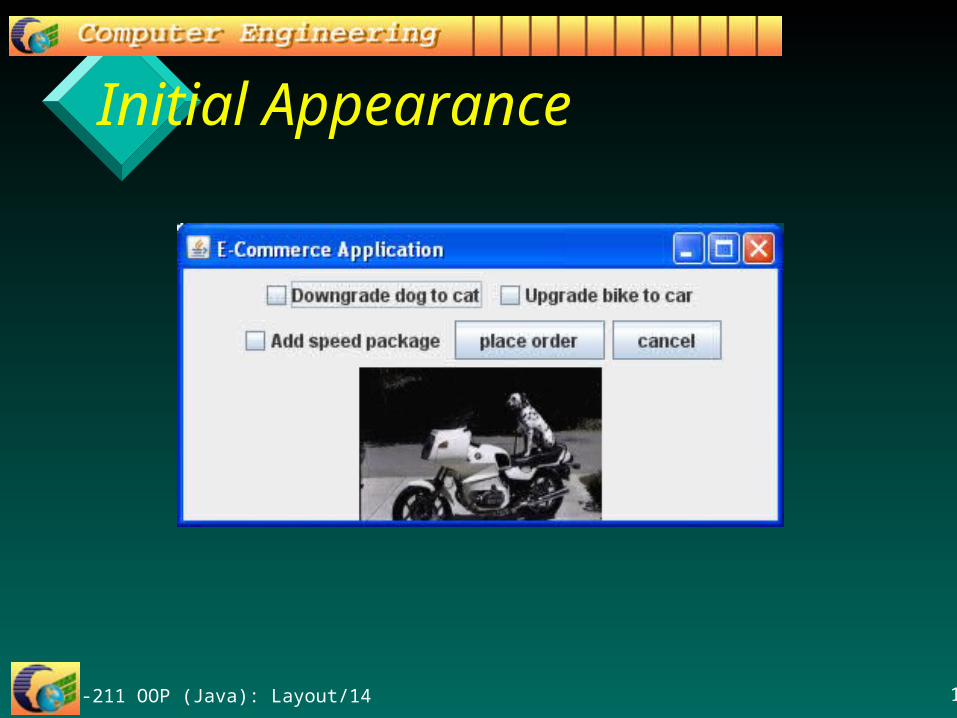
• Components are added left-to-right– they are centered in the container (JFrame)– a new line is started when necessary
• Resizing the window may cause components to move to a new line.

241-211 OOP (Java): Layout/14 7
FlowDemo.java
import java.awt.*;import java.awt.event.*;import javax.swing.*;
public class FlowDemo extends JFrame{ public FlowDemo() { super("E-Commerce Application");
Container c = getContentPane();c.setLayout( new FlowLayout() );
:

241-211 OOP (Java): Layout/14 8
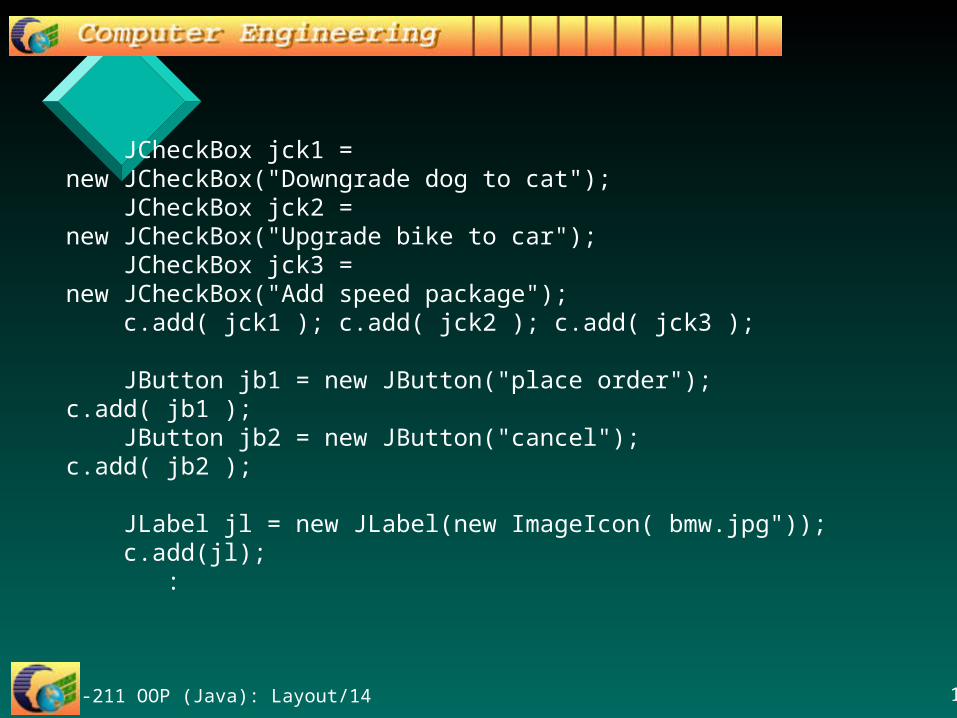
JCheckBox jck1 = new JCheckBox("Downgrade dog to cat");
JCheckBox jck2 = new JCheckBox("Upgrade bike to car");
JCheckBox jck3 = new JCheckBox("Add speed package");
c.add( jck1 ); c.add( jck2 ); c.add( jck3 );
JButton jb1 = new JButton("place order"); c.add( jb1 ); JButton jb2 = new JButton("cancel");
c.add( jb2 );
JLabel jl = new JLabel(new ImageIcon("bmw.jpg")); c.add(jl); :

241-211 OOP (Java): Layout/14 9
setDefaultCloseOperation(JFrame.EXIT_ON_CLOSE);
setSize(400,200);
setLocationRelativeTo(null); // center the window
setVisible(true);
} // end of FlowDemo()
public static void main(String[] args)
{ new FlowDemo(); }
} // end of FlowDemo class
241-211 OOP (Java): Layout/14 10
Initial Appearance
241-211 OOP (Java): Layout/14 11
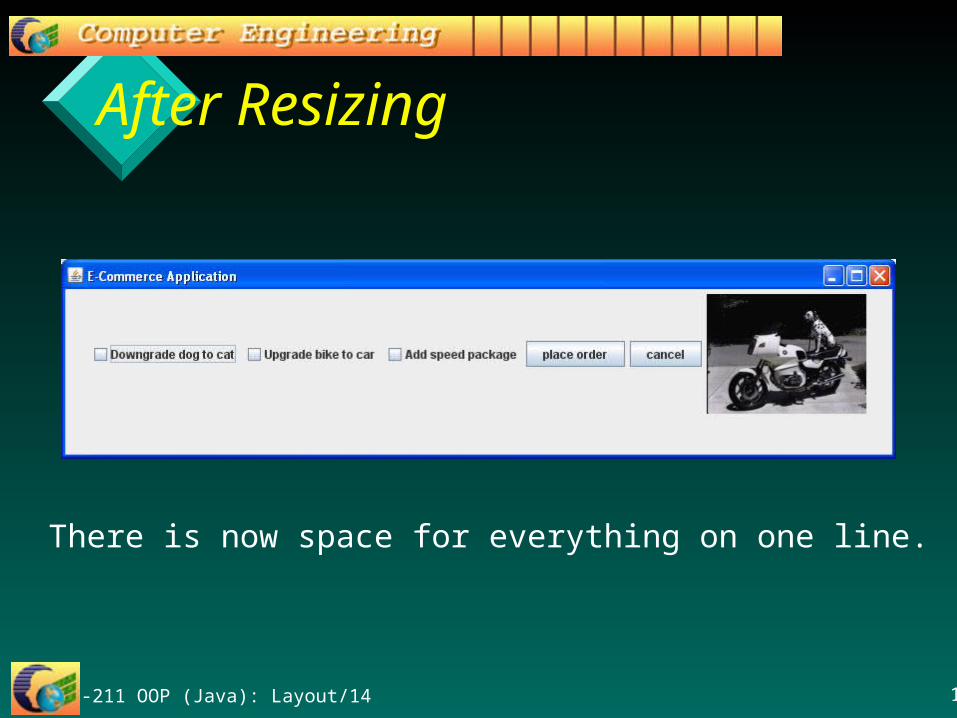
After Resizing
There is now space for everything on one line.

241-211 OOP (Java): Layout/14 12
Notes
• By default, all the components on a line are centered– the alignment can be altered, e.g.
c.setLayout( new FlowLayout( FlowLayout.RIGHT));
– there is also FlowLayout.LEFT
• The component sizes are unchanged– this is not true of some other layout managers

241-211 OOP (Java): Layout/14 13
3. Grid Layout
• GridLayout places components in a grid, specified in terms of the number of rows and columns– the spacing between the grid cells can also be specifi
ed
• Some of the components are resized to fit the grid cell they appear inside– doesn't look nice
continued
2x2
241-211 OOP (Java): Layout/14 14
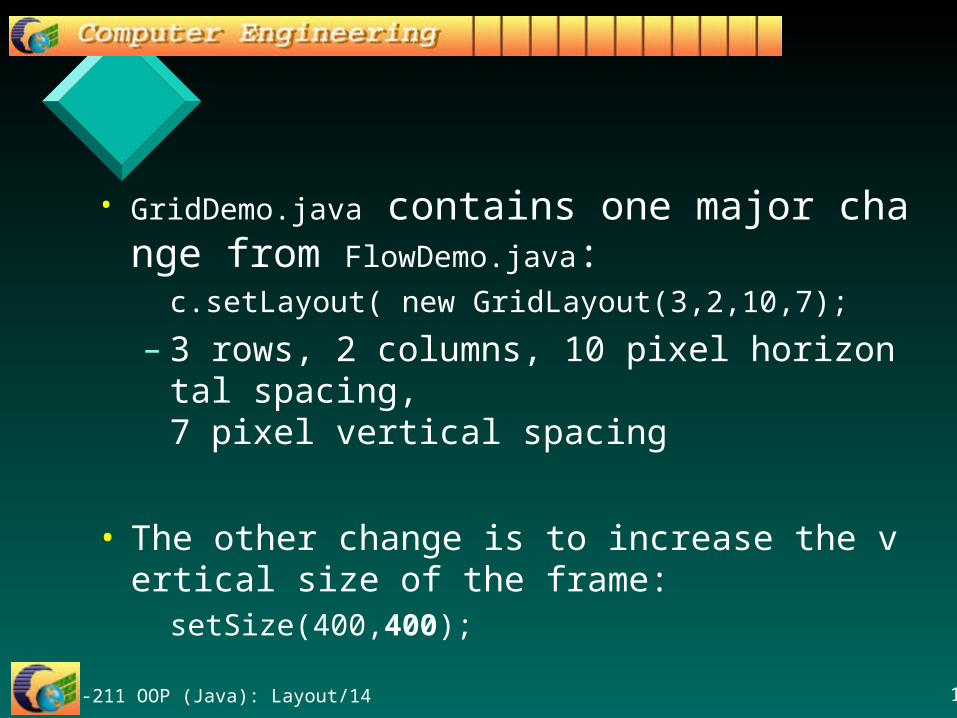
• GridDemo.java contains one major change from FlowDemo.java:
c.setLayout( new GridLayout(3,2,10,7);
– 3 rows, 2 columns, 10 pixel horizontal spacing, 7 pixel vertical spacing
• The other change is to increase the vertical size of the frame:
setSize(400,400);
241-211 OOP (Java): Layout/14 15
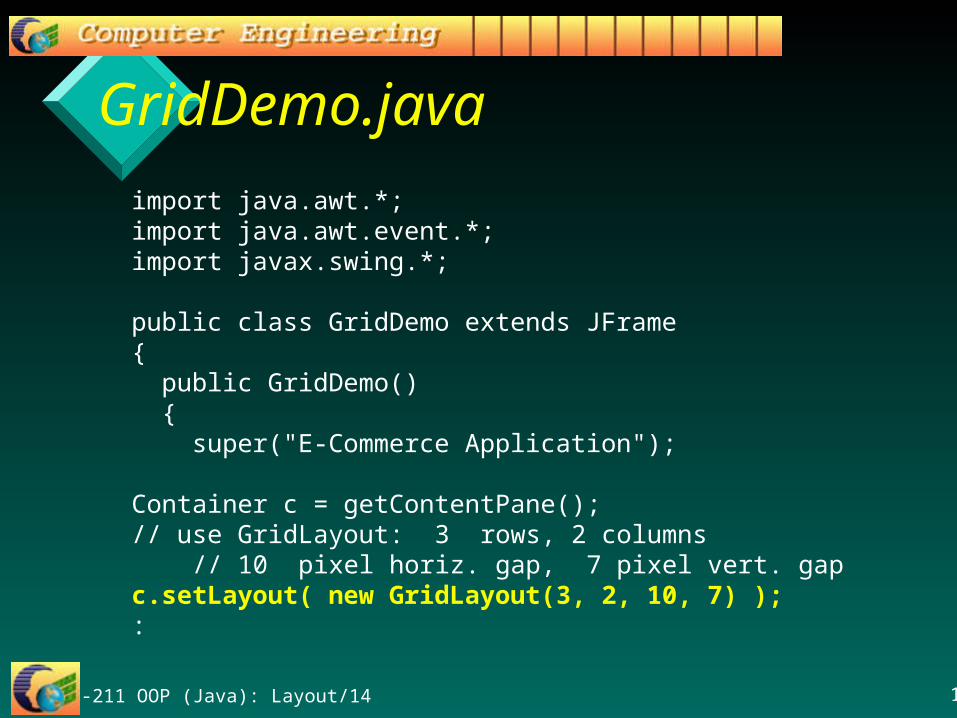
GridDemo.java
import java.awt.*;import java.awt.event.*;import javax.swing.*;
public class GridDemo extends JFrame{ public GridDemo() { super("E-Commerce Application");
Container c = getContentPane();// use GridLayout: 3 rows, 2 columns
// 10 pixel horiz. gap, 7 pixel vert. gapc.setLayout( new GridLayout(3, 2, 10, 7) );
:
241-211 OOP (Java): Layout/14 16
JCheckBox jck1 = new JCheckBox("Downgrade dog to cat");
JCheckBox jck2 = new JCheckBox("Upgrade bike to car");
JCheckBox jck3 = new JCheckBox("Add speed package");
c.add( jck1 ); c.add( jck2 ); c.add( jck3 );
JButton jb1 = new JButton("place order"); c.add( jb1 );
JButton jb2 = new JButton("cancel"); c.add( jb2 );
JLabel jl = new JLabel(new ImageIcon( bmw.jpg")); c.add(jl); :
241-211 OOP (Java): Layout/14 17
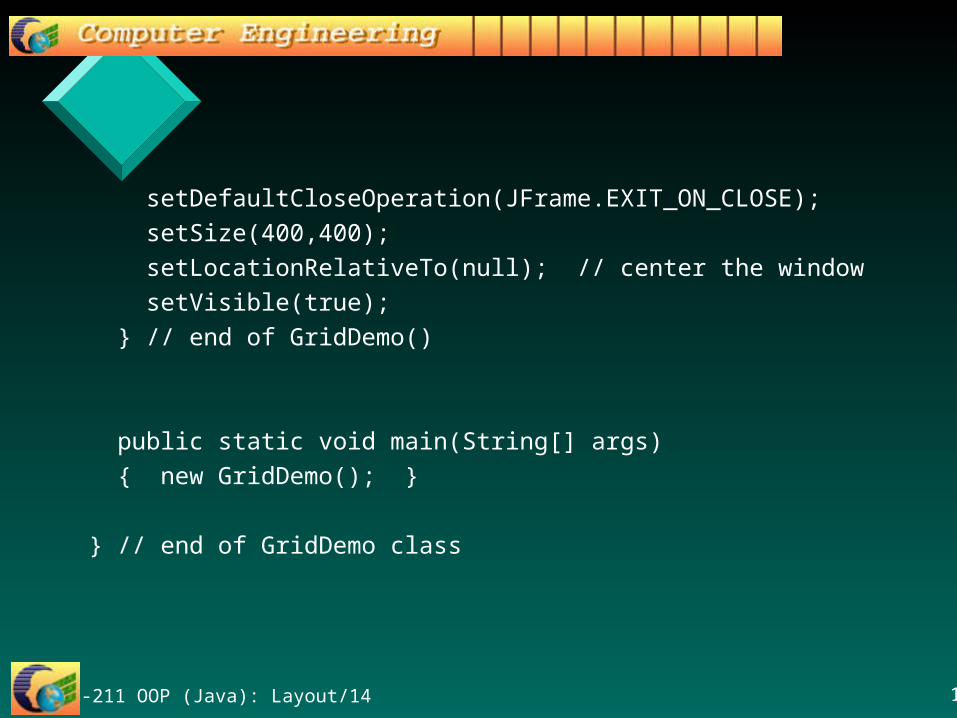
setDefaultCloseOperation(JFrame.EXIT_ON_CLOSE);
setSize(400,400);
setLocationRelativeTo(null); // center the window
setVisible(true);
} // end of GridDemo()
public static void main(String[] args)
{ new GridDemo(); }
} // end of GridDemo class

241-211 OOP (Java): Layout/14 18
Appearance
Note thehorizontal and verticalspacingbetween thecomponents.
Componentshave beenresized toequally fillthe 400x400space.
check boxesaren’t resized

241-211 OOP (Java): Layout/14 19
GridDemoP.java
• Components can be protected from resizing by being placed inside a JPanel– the panel is resized instead
:// use a panel to stop the cancel button growingJPanel p = new JPanel();JButton jb2 = new JButton("cancel");p.add(jb2);c.add( p );:

241-211 OOP (Java): Layout/14 20
Appearance
the 'cancel'button hasnot beenresized
241-211 OOP (Java): Layout/14 21
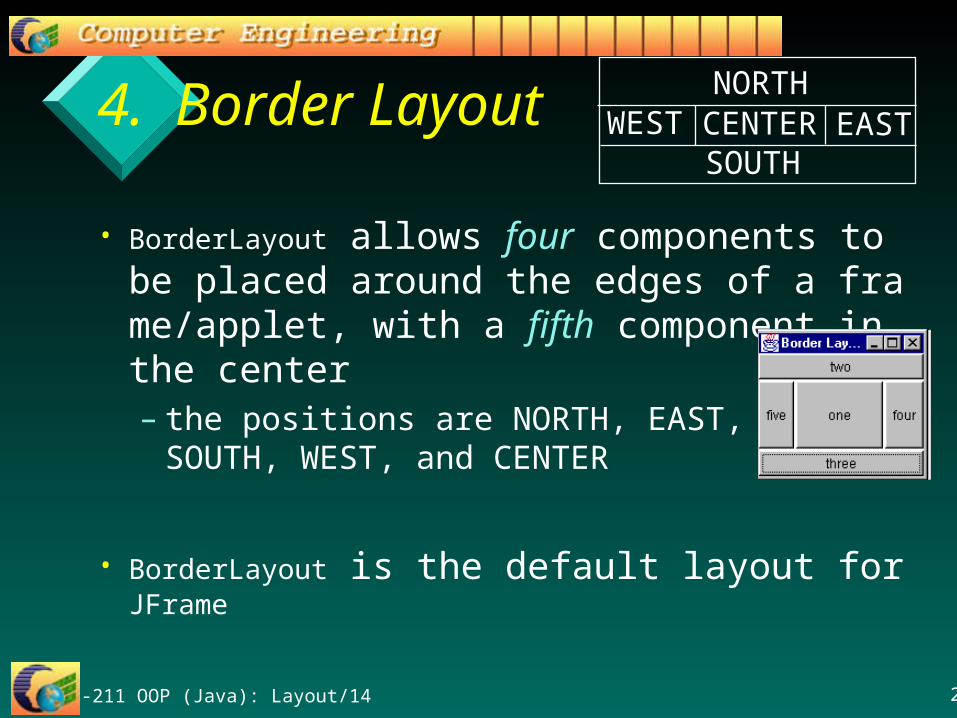
4. Border Layout
• BorderLayout allows four components to be placed around the edges of a frame/applet, with a fifth component in the center– the positions are NORTH, EAST,
SOUTH, WEST, and CENTER
• BorderLayout is the default layout for JFrame
NORTH
SOUTHCENTER EASTWEST
241-211 OOP (Java): Layout/14 22
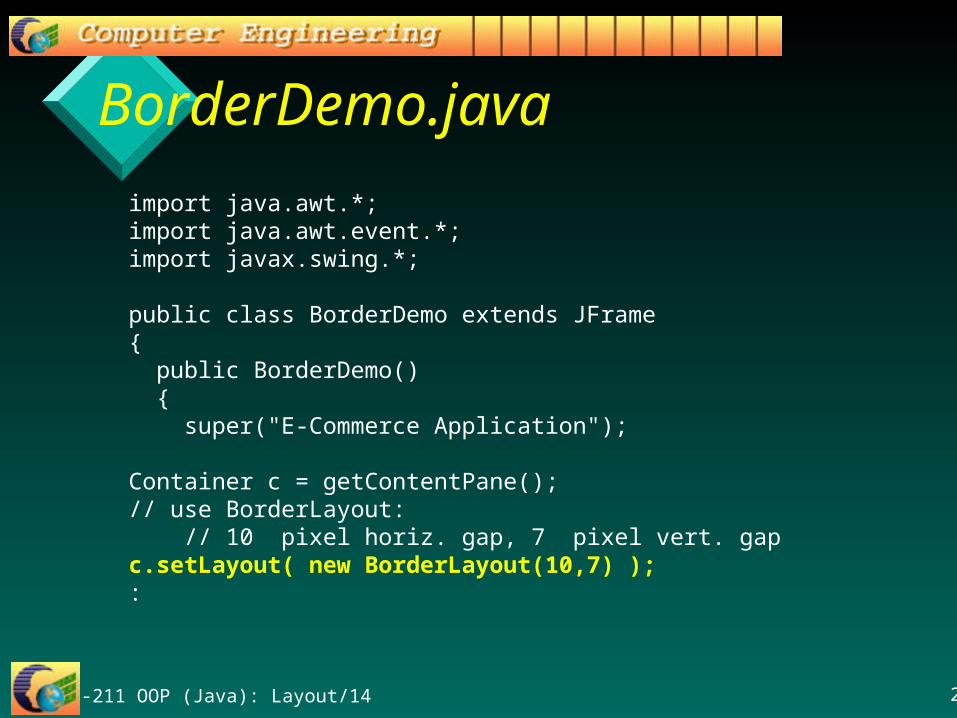
BorderDemo.java
import java.awt.*;import java.awt.event.*;import javax.swing.*;
public class BorderDemo extends JFrame{ public BorderDemo() { super("E-Commerce Application");
Container c = getContentPane();// use BorderLayout:
// 10 pixel horiz. gap, 7 pixel vert. gapc.setLayout( new BorderLayout(10,7) );
:

241-211 OOP (Java): Layout/14 23
// JCheckBox jck1 = // not used here // new JCheckBox("Downgrade dog to cat"); JCheckBox jck2 =
new JCheckBox("Upgrade bike to car"); JCheckBox jck3 =
new JCheckBox("Add speed package"); c.add( jck2, BorderLayout.EAST);
c.add( jck3, BorderLayout.SOUTH);
JButton jb1 = new JButton("place order");
c.add( jb1, BorderLayout.NORTH);
JButton jb2 = new JButton("cancel");
c.add( jb2, BorderLayout.WEST);
JLabel jl = new JLabel(new ImageIcon( "bmw.jpg"));
c.add(jl, BorderLayout.CENTER);
:
241-211 OOP (Java): Layout/14 24
setDefaultCloseOperation(JFrame.EXIT_ON_CLOSE);
setSize(400,400);
// pack();
setLocationRelativeTo(null);
setVisible(true);
} // end of BorderDemo()
public static void main(String[] args)
{ new BorderDemo(); }
} // end of BorderDemo class

241-211 OOP (Java): Layout/14 25
Appearance
Note the vertical and horizontalspacingbetween thecomponents.
Componentshave beenresized tofill the 400x400space.
241-211 OOP (Java): Layout/14 26
Component Resizing
• Components are resized:– NORTH and SOUTH are stretched to be as wide as t
he window– EAST and WEST are stretched to be tall enough to t
ouch the NORTH and SOUTH components– CENTER is enlarged to be as big as possible
• Often the look of the GUI can be improved by calling pack().
241-211 OOP (Java): Layout/14 27
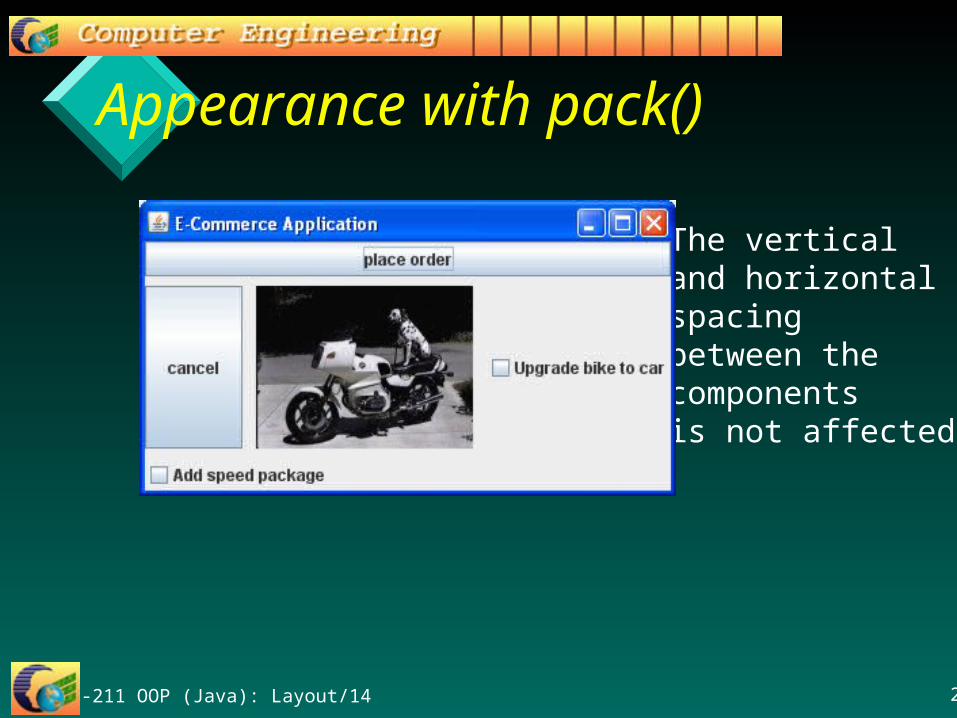
Appearance with pack()
The vertical and horizontalspacingbetween thecomponentsis not affected.

241-211 OOP (Java): Layout/14 28
More than Five?
• It is possible to have more than five components in a GridLayout– place them inside a JPanel (which can have
its own layout)– the JPanel container can become one of the
components in the top-level frame/applet
• This use of JPanel is shown later.
241-211 OOP (Java): Layout/14 29
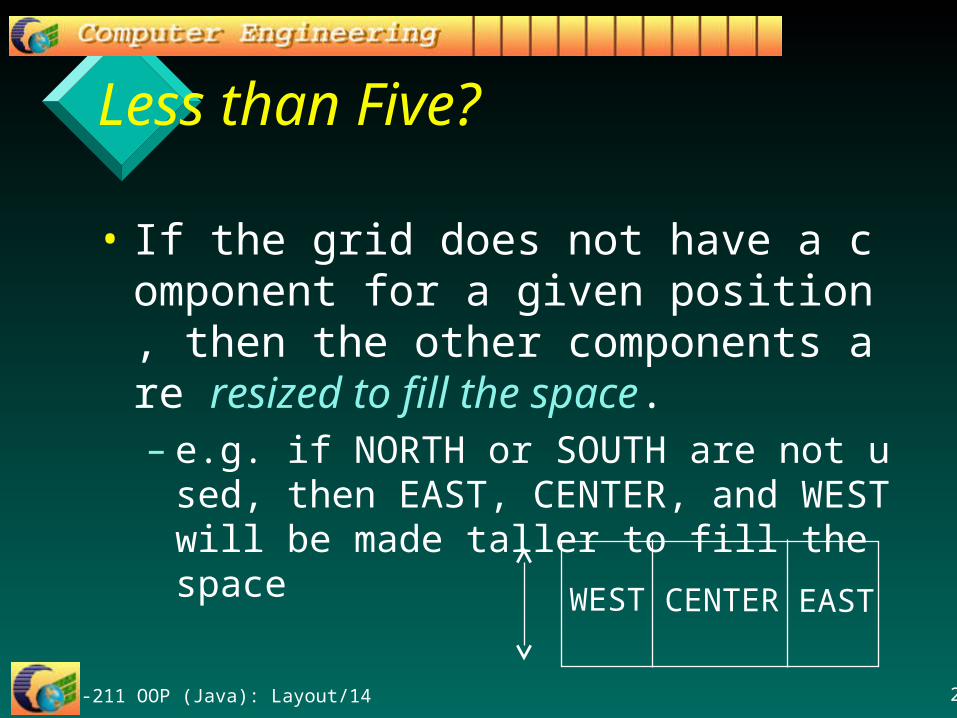
Less than Five?
• If the grid does not have a component for a given position, then the other components are resized to fill the space.– e.g. if NORTH or SOUTH are not used, then E
AST, CENTER, and WEST will be made taller to fill the space
CENTER EASTWEST

241-211 OOP (Java): Layout/14 30
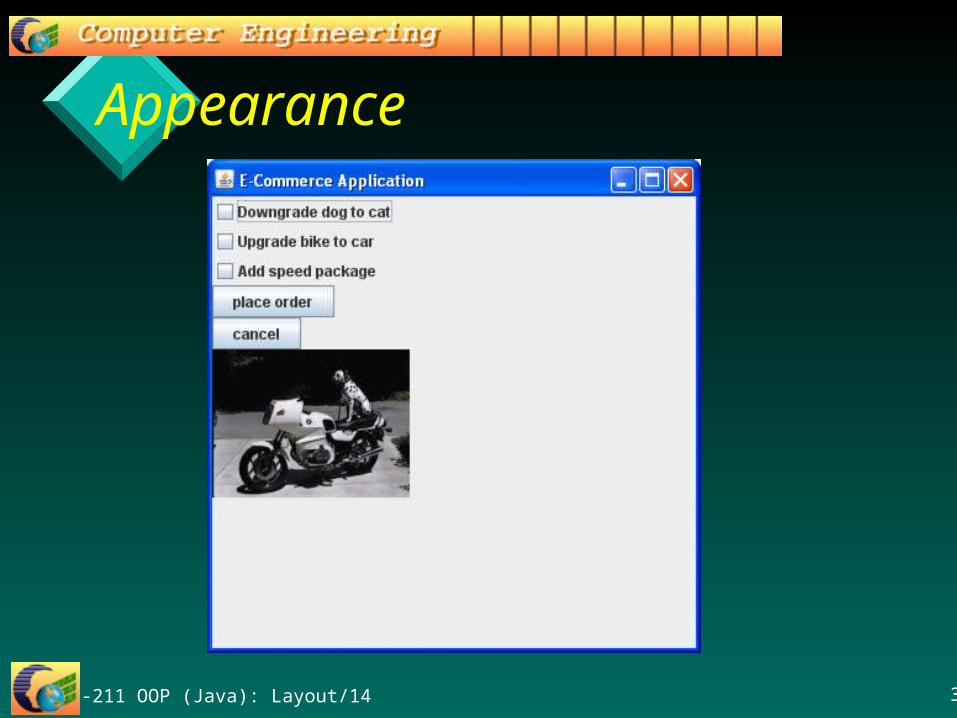
5. Box Layout• This places the components in a horizontal or
vertical sequence– components are not resized
• BoxDemo.java places its components vertically– aside from the layout manager, the code is very si
milar to FlowDemo.java– pack() can be used to reduce the window size
241-211 OOP (Java): Layout/14 31
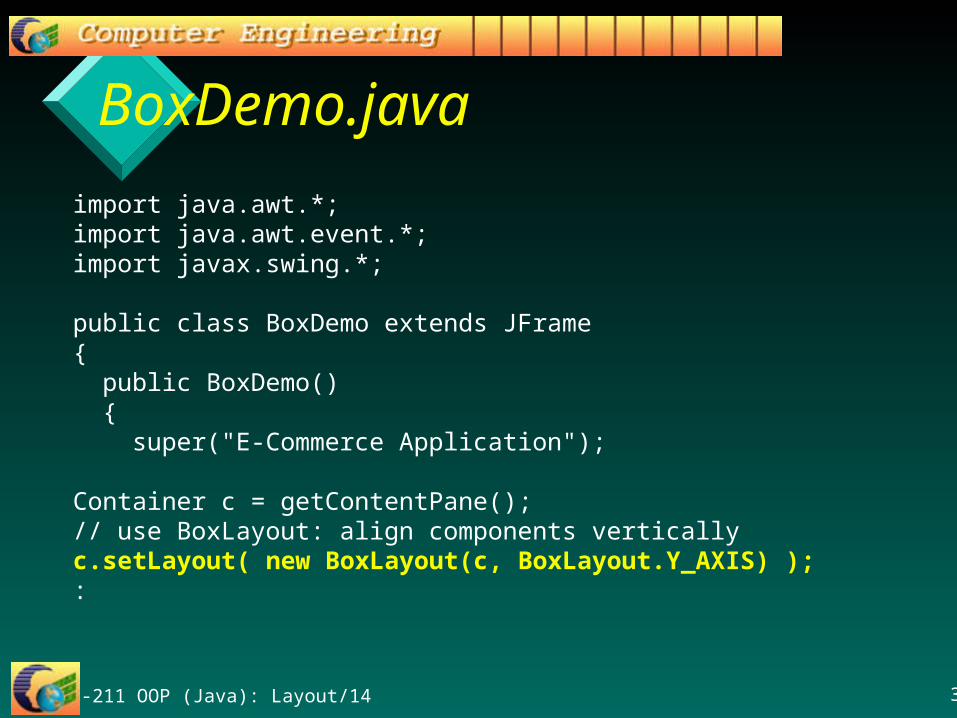
BoxDemo.java
import java.awt.*;import java.awt.event.*;import javax.swing.*;
public class BoxDemo extends JFrame{ public BoxDemo() { super("E-Commerce Application");
Container c = getContentPane();// use BoxLayout: align components verticallyc.setLayout( new BoxLayout(c, BoxLayout.Y_AXIS) );
:
241-211 OOP (Java): Layout/14 32
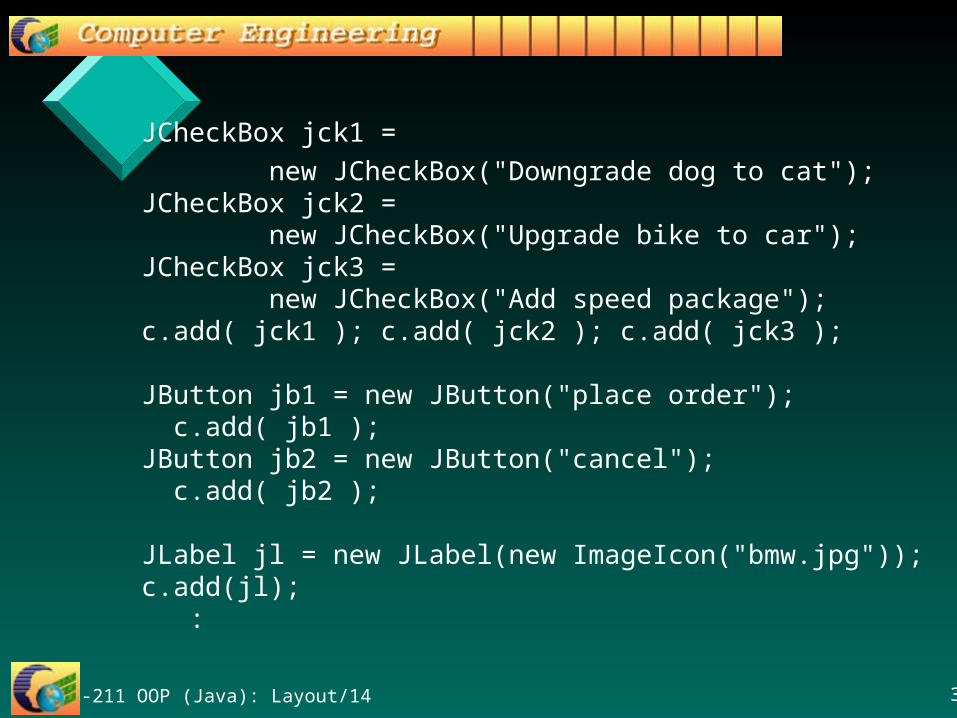
JCheckBox jck1 =
new JCheckBox("Downgrade dog to cat"); JCheckBox jck2 =
new JCheckBox("Upgrade bike to car"); JCheckBox jck3 =
new JCheckBox("Add speed package"); c.add( jck1 ); c.add( jck2 ); c.add( jck3 );
JButton jb1 = new JButton("place order"); c.add( jb1 );
JButton jb2 = new JButton("cancel"); c.add( jb2 );
JLabel jl = new JLabel(new ImageIcon("bmw.jpg")); c.add(jl); :

241-211 OOP (Java): Layout/14 33
setDefaultCloseOperation(JFrame.EXIT_ON_CLOSE);
setSize(400,400);
// pack();
setLocationRelativeTo(null);
setVisible(true);
} // end of BoxDemo()
public static void main(String[] args)
{ new BoxDemo(); }
} // end of BoxDemo class
241-211 OOP (Java): Layout/14 34
Appearance

241-211 OOP (Java): Layout/14 35
With pack()
241-211 OOP (Java): Layout/14 36
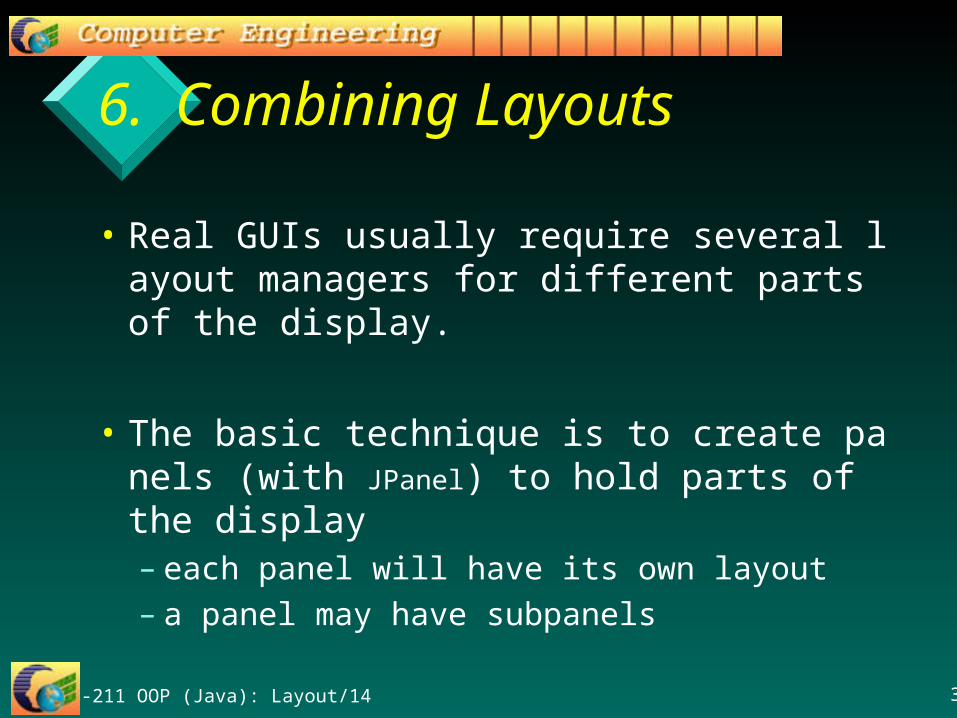
6. Combining Layouts
• Real GUIs usually require several layout managers for different parts of the display.
• The basic technique is to create panels (with JPanel) to hold parts of the display– each panel will have its own layout– a panel may have subpanels
241-211 OOP (Java): Layout/14 37
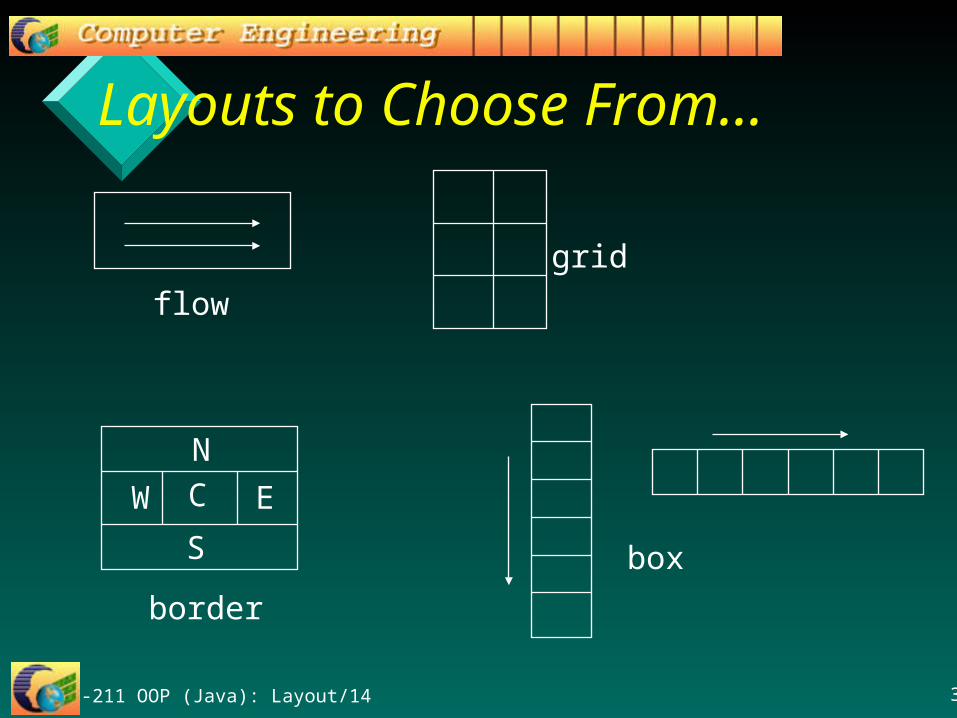
Layouts to Choose From...
flow
grid
N
C
S
EW
border
box

241-211 OOP (Java): Layout/14 38
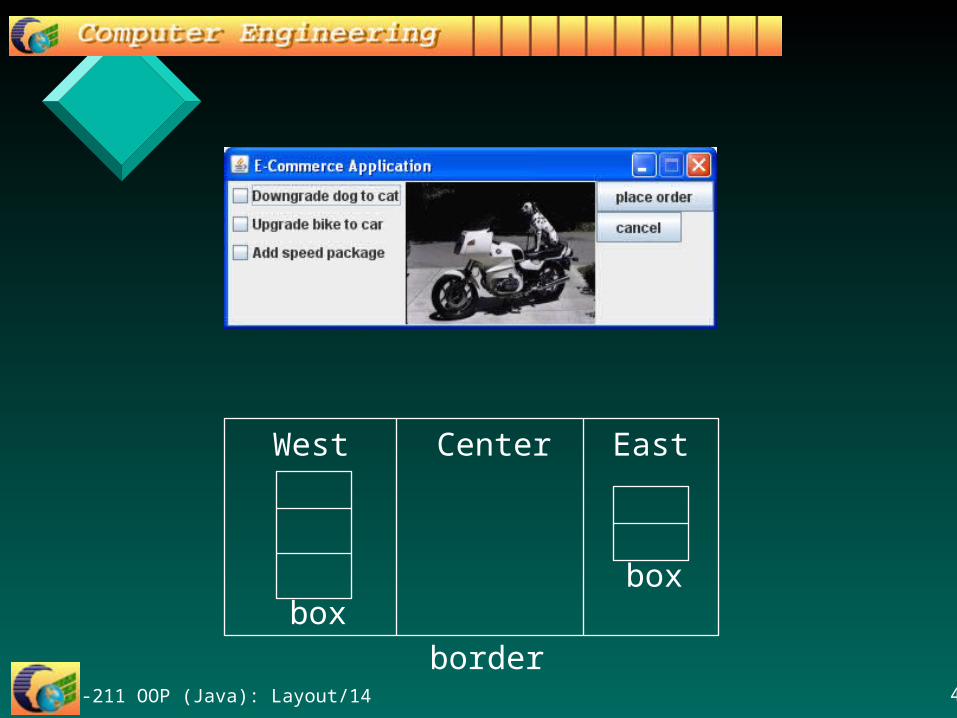
Example Appearance

241-211 OOP (Java): Layout/14 39
Component Layout Hierarchy
frame(border)
West Center East
panel p1(vertical box)
image
panel p2(vertical box)
checkbox
checkbox
checkbox
button button
241-211 OOP (Java): Layout/14 40
Center EastWest
boxbox
border

241-211 OOP (Java): Layout/14 41
CombinedDemo.java
import java.awt.*;import java.awt.event.*;import javax.swing.*;
public class CombinedDemo extends JFrame{ public CombinedDemo() { super("E-Commerce Application");
Container c = getContentPane();// use default BorderLayout for frame
:
241-211 OOP (Java): Layout/14 42
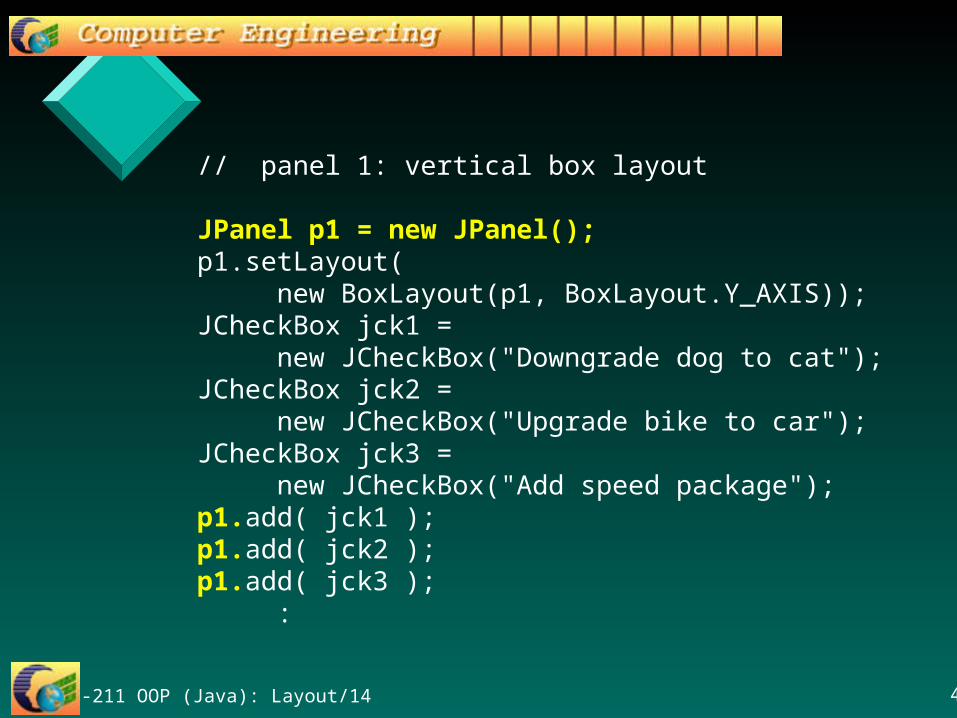
// panel 1: vertical box layout
JPanel p1 = new JPanel(); p1.setLayout(
new BoxLayout(p1, BoxLayout.Y_AXIS)); JCheckBox jck1 =
new JCheckBox("Downgrade dog to cat"); JCheckBox jck2 =
new JCheckBox("Upgrade bike to car"); JCheckBox jck3 =
new JCheckBox("Add speed package"); p1.add( jck1 ); p1.add( jck2 ); p1.add( jck3 );
:
241-211 OOP (Java): Layout/14 43
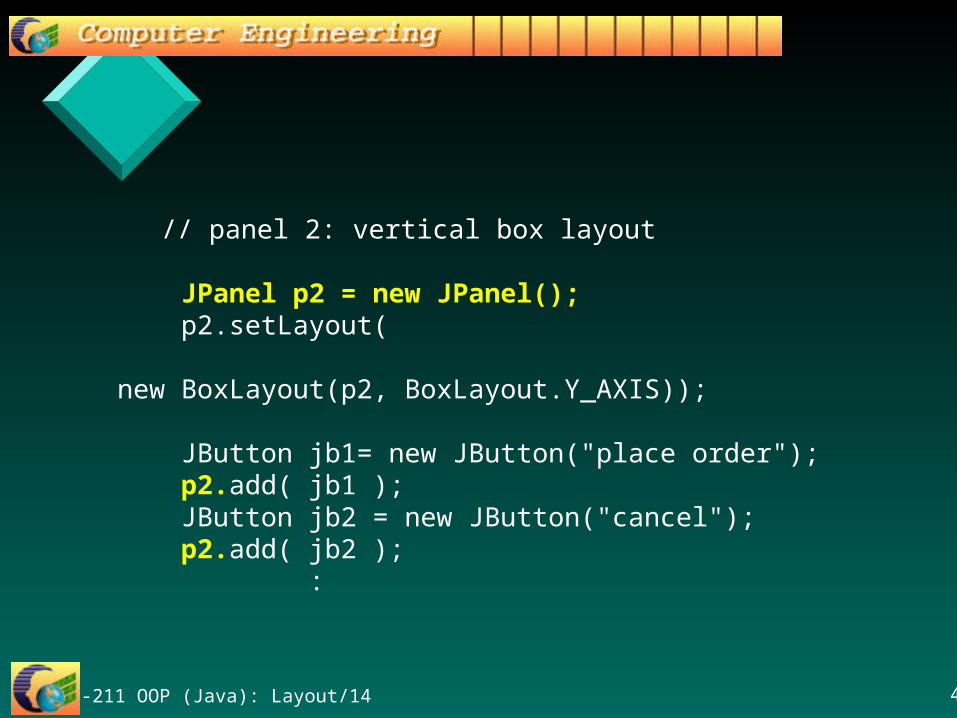
// panel 2: vertical box layout
JPanel p2 = new JPanel(); p2.setLayout(
new BoxLayout(p2, BoxLayout.Y_AXIS));
JButton jb1= new JButton("place order"); p2.add( jb1 ); JButton jb2 = new JButton("cancel"); p2.add( jb2 );
:
241-211 OOP (Java): Layout/14 44
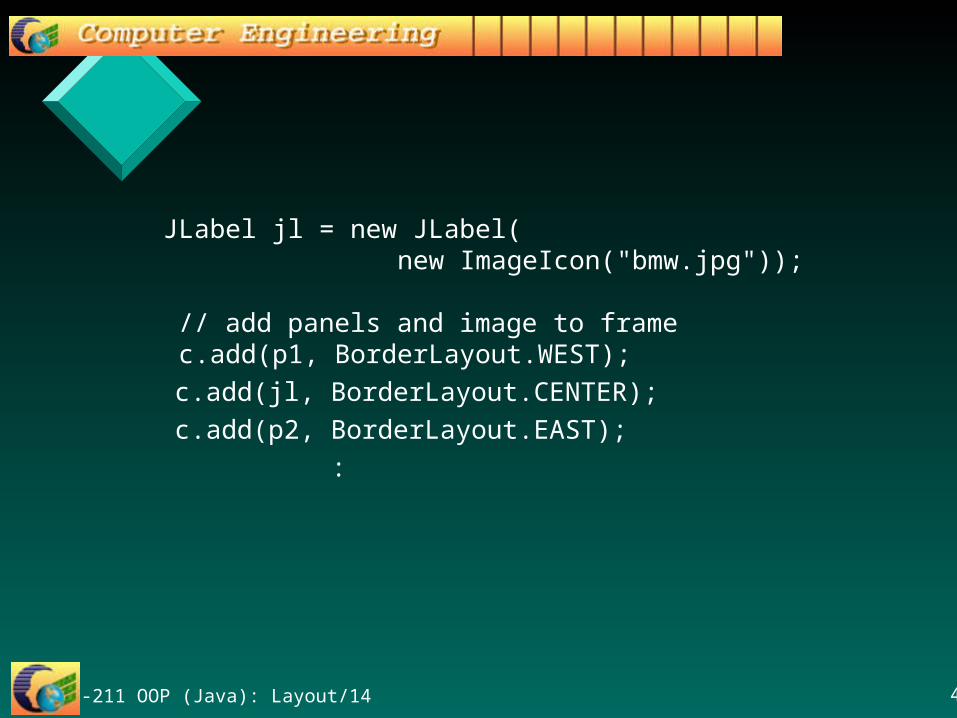
JLabel jl = new JLabel( new ImageIcon("bmw.jpg")); // add panels and image to frame c.add(p1, BorderLayout.WEST);
c.add(jl, BorderLayout.CENTER);
c.add(p2, BorderLayout.EAST);
:
241-211 OOP (Java): Layout/14 45
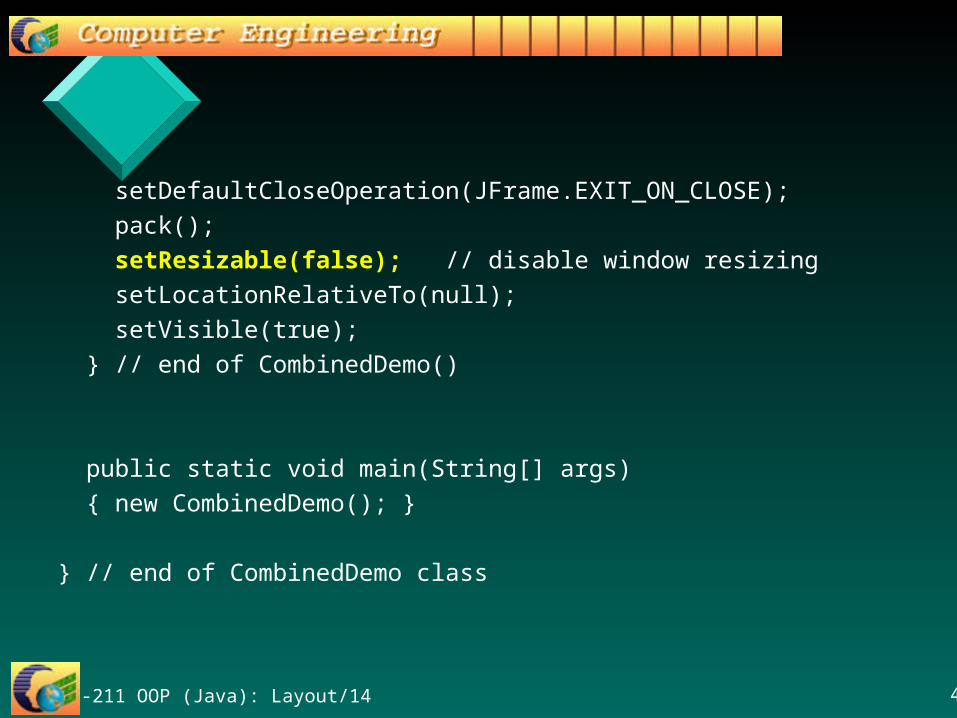
setDefaultCloseOperation(JFrame.EXIT_ON_CLOSE);
pack();
setResizable(false); // disable window resizing
setLocationRelativeTo(null);
setVisible(true);
} // end of CombinedDemo()
public static void main(String[] args)
{ new CombinedDemo(); }
} // end of CombinedDemo class
241-211 OOP (Java): Layout/14 46
7. Improving the Appearance
• There are many ways to improve on the basic appearance of the layouts:– borders– fixing the sizes of controls to be the same
• e.g. the size of buttons
– adding space between controls
• CombinedDemo2.java uses these techniques.

241-211 OOP (Java): Layout/14 47
CombinedDemo2.java
import java.awt.*;import java.awt.event.*;import javax.swing.*;
public class CombinedDemo2 extends JFrame{ public CombinedDemo2() { super("E-Commerce Application");
Container c = getContentPane();// use default GridLayout for frame
:

241-211 OOP (Java): Layout/14 48
// panel 1: vertical box layout
JPanel p1 = new JPanel();// 10 pixel invisible border all aroundp1.setBorder(BorderFactory.createEmptyBorder(
10, 10, 10, 10)); p1.setLayout(
new BoxLayout(p1, BoxLayout.Y_AXIS));
JCheckBox jck1 = new JCheckBox("Downgrade dog to cat");
JCheckBox jck2 = new JCheckBox("Upgrade bike to car");
JCheckBox jck3 = new JCheckBox("Add speed package");
p1.add( jck1 ); p1.add( jck2 ); p1.add( jck3 );
:

241-211 OOP (Java): Layout/14 49
// panel 2: vertical box layout JPanel p2 = new JPanel();
// 14 pixel invisible border all aroundp2.setBorder(BorderFactory.createEmptyBorder(
14, 14, 14, 14)); p2.setLayout(new BoxLayout(p2,BoxLayout.Y_AXIS));
JButton jb1 = new JButton("place order"); p2.add( jb1 );
// add 15 pixel vertical space between buttons p2.add(Box.createRigidArea( new Dimension(0, 15)));
JButton jb2 = new JButton("cancel"); // set the size of button jb2 to be same as jb1jb2.setPreferredSize( jb1.getPreferredSize() );p2.add( jb2 );
:

241-211 OOP (Java): Layout/14 50
JLabel jl = new JLabel(new ImageIcon("bmw.jpg"));
// add panels and image to frame
c.add(p1, BorderLayout.WEST);
c.add(jl, BorderLayout.CENTER);
c.add(p2, BorderLayout.EAST);
:
241-211 OOP (Java): Layout/14 51
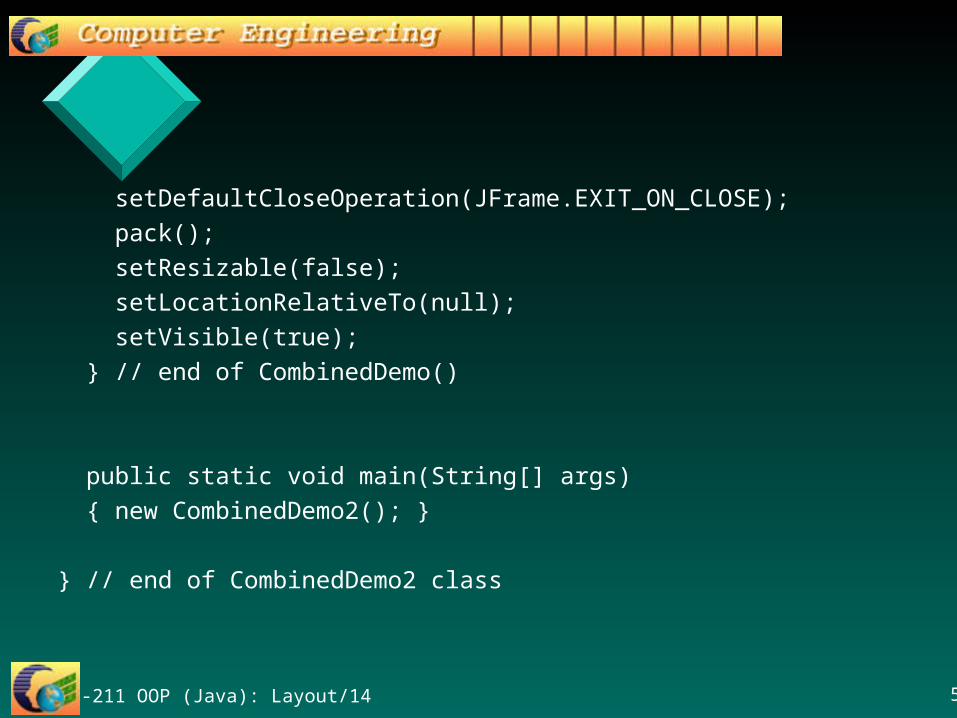
setDefaultCloseOperation(JFrame.EXIT_ON_CLOSE);
pack();
setResizable(false);
setLocationRelativeTo(null);
setVisible(true);
} // end of CombinedDemo()
public static void main(String[] args)
{ new CombinedDemo2(); }
} // end of CombinedDemo2 class
241-211 OOP (Java): Layout/14 52
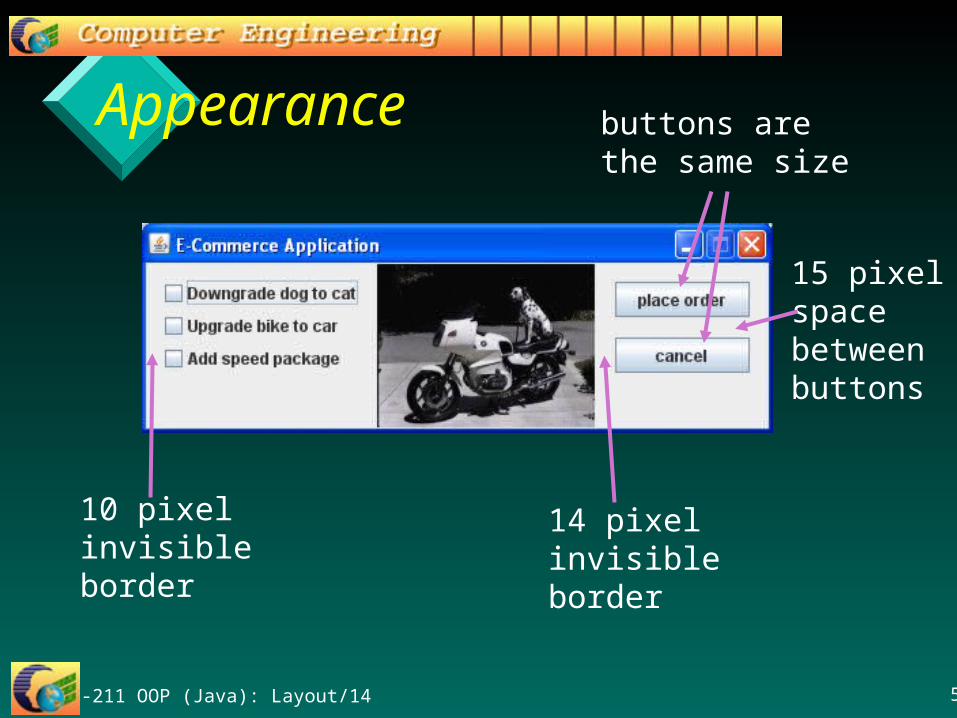
Appearance
10 pixelinvisibleborder
14 pixelinvisibleborder
buttons arethe same size
15 pixelspacebetweenbuttons
241-211 OOP (Java): Layout/14 53
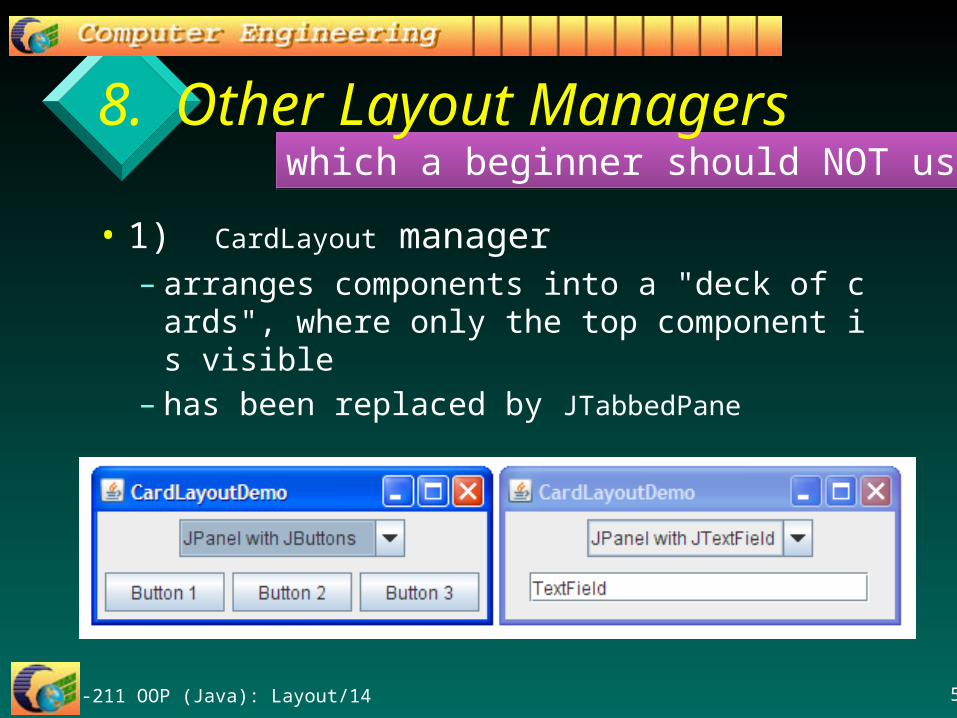
which a beginner should NOT usewhich a beginner should NOT use8. Other Layout Managers
• 1) CardLayout manager– arranges components into a "deck of cards", w
here only the top component is visible– has been replaced by JTabbedPane

241-211 OOP (Java): Layout/14 54
• 2) GridBagLayout manager– a complex (powerful) variation of GridLayout– components can occupy several adjacent cells– uses constraints and weights to work out the po
sition of components
– mostly used by GUI builders
241-211 OOP (Java): Layout/14 55
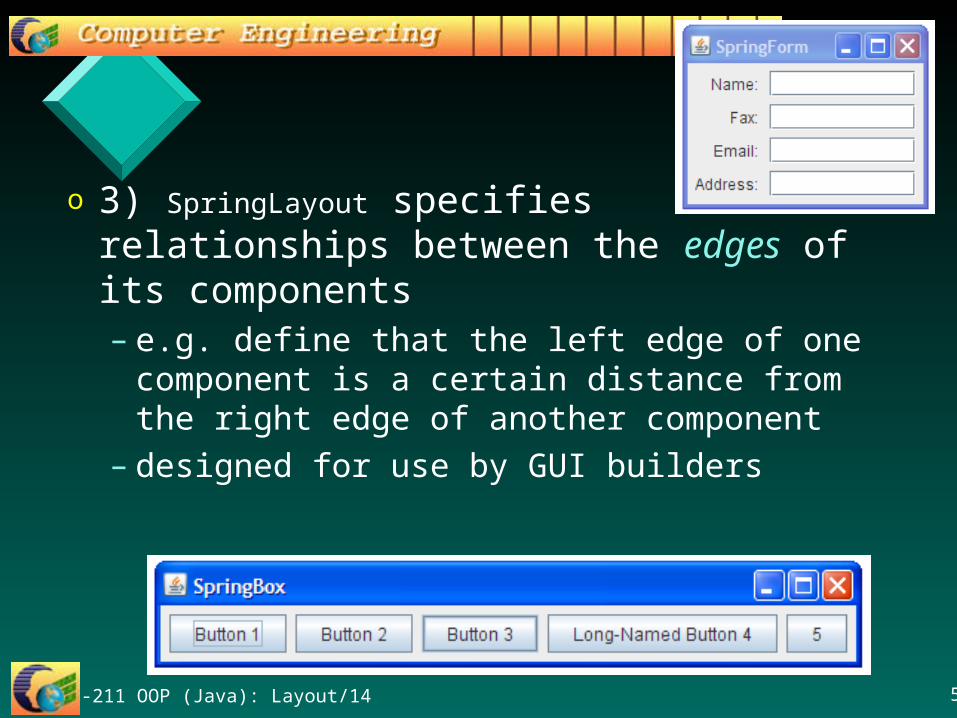
o 3) SpringLayout specifies relationships between the edges of its components– e.g. define that the left edge of one component is a
certain distance from the right edge of another component
– designed for use by GUI builders

241-211 OOP (Java): Layout/14 56
o 4) 4) GroupLayoutGroupLayout works with the horizontal works with the horizontal and vertical layouts separately and vertical layouts separately o the layout is defined for each dimension the layout is defined for each dimension
independentlyindependentlyo designed for use by GUI builders
241-211 OOP (Java): Layout/14 57
• 5) The null layout manager:– use no layout manager, and position component
s using:setLocation(int x, int y)
– much more work– the GUI design may not look correct on differe
nt platforms
241-211 OOP (Java): Layout/14 58
• "Third-party" means that the managers are "Third-party" means that the managers are not a standard part of Javanot a standard part of Java– must be downloaded separatelymust be downloaded separately
• Two popular ones:Two popular ones:– MiG Layout:MiG Layout: http://www.miglayout.com/ http://www.miglayout.com/
– JGoodies FormsLayoutJGoodies FormsLayout• http://www.jgoodies.com/freeware/forms/http://www.jgoodies.com/freeware/forms/
Third-party Layout Managers