5.4.1.4 lab - install virtual pc - chabot college · · 2013-08-21it essentials 5.0 5.4.1.4 lab -...
TRANSCRIPT
© 2013 Cisco and/or its affiliates. All rights reserved. This document is Cisco Public. Page 1 of 20
IT Essentials 5.0 5.4.1.4 Lab - Install Virtual PC Introduction Print and complete this lab. In this lab, you will install and Configure XP Mode in Windows 7. You will then run a Windows XP based application in XP Mode. Recommended Equipment The following equipment is required for this exercise: • A computer system that is using Windows 7 • The following application downloaded to the Desktop of the computer: Hardware-Assisted Virtualization
detection tool, Windows XP Mode, and Windows Virtual PC • A USB flash drive with a Windows XP application Step 1
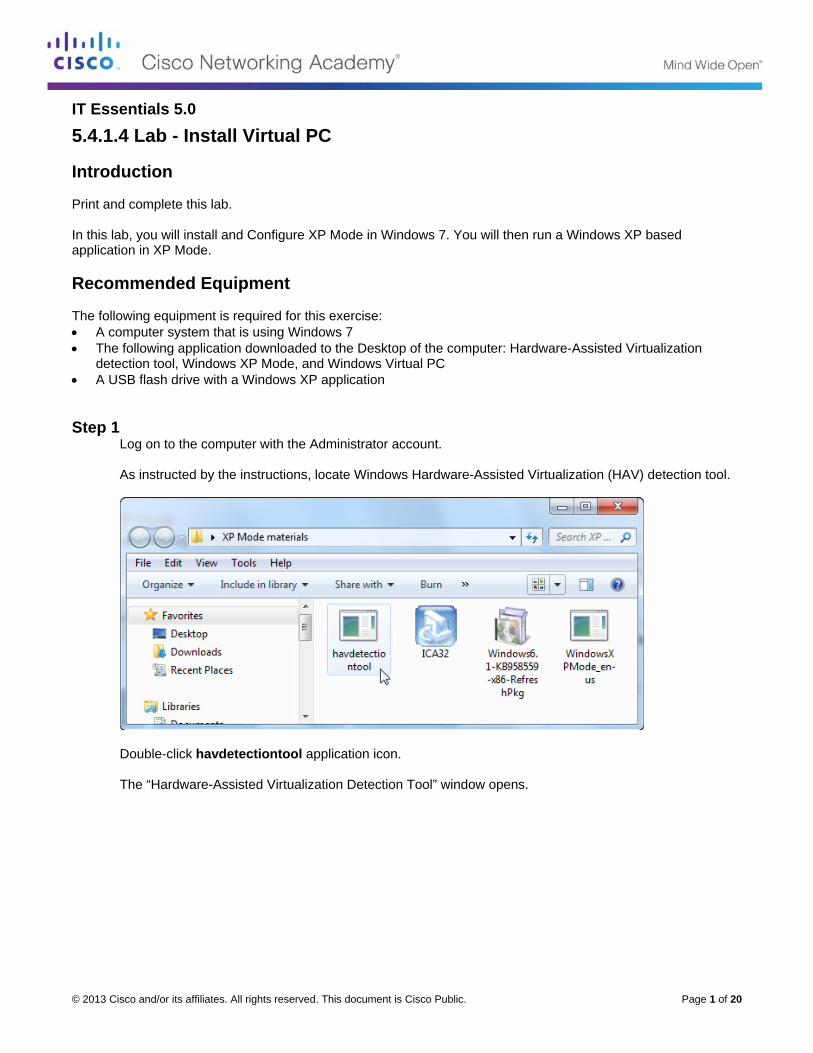
Log on to the computer with the Administrator account. As instructed by the instructions, locate Windows Hardware-Assisted Virtualization (HAV) detection tool.
Double-click havdetectiontool application icon. The “Hardware-Assisted Virtualization Detection Tool” window opens.
IT Essentials Chapter 5 Lab
© 2013 Cisco and/or its affiliates. All rights reserved. This document is Cisco Public. Page 2 of 20
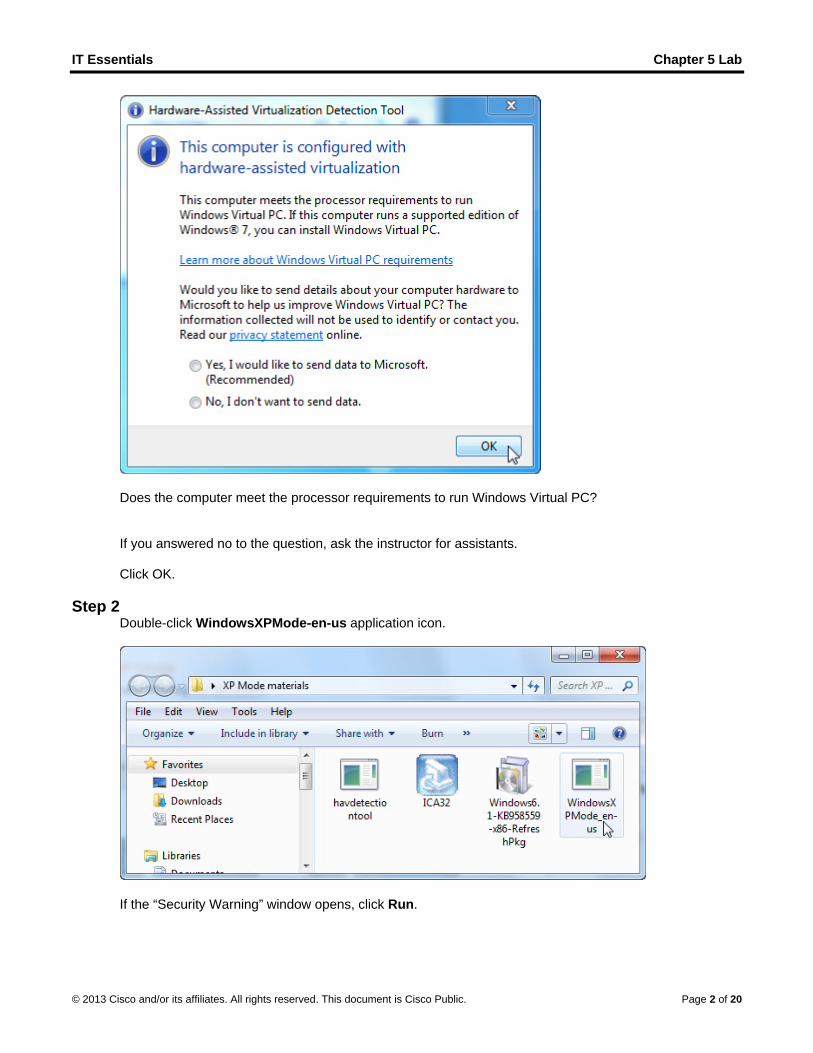
Does the computer meet the processor requirements to run Windows Virtual PC? If you answered no to the question, ask the instructor for assistants. Click OK.
Step 2 Double-click WindowsXPMode-en-us application icon.
If the “Security Warning” window opens, click Run.

IT Essentials Chapter 5 Lab
© 2013 Cisco and/or its affiliates. All rights reserved. This document is Cisco Public. Page 3 of 20
The “Extracting Files” window opens.
The “Windows XP Mode” window opens.
IT Essentials Chapter 5 Lab
© 2013 Cisco and/or its affiliates. All rights reserved. This document is Cisco Public. Page 4 of 20
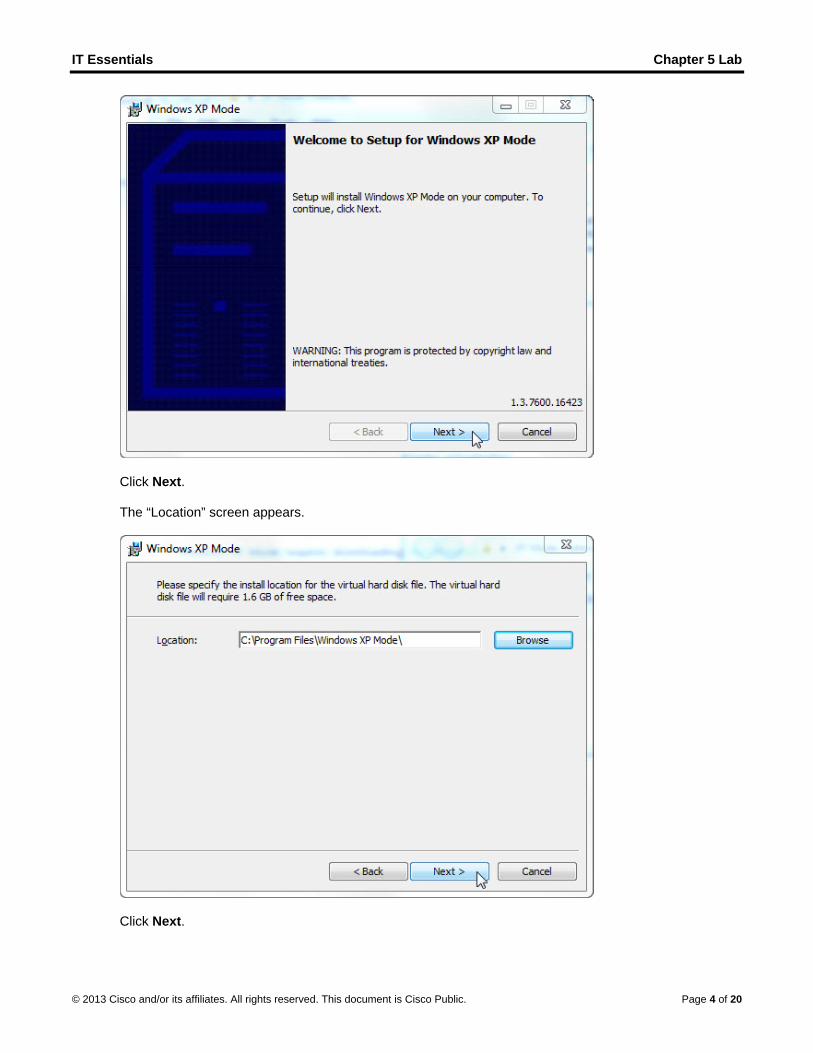
Click Next. The “Location” screen appears.
Click Next.
IT Essentials Chapter 5 Lab
© 2013 Cisco and/or its affiliates. All rights reserved. This document is Cisco Public. Page 5 of 20
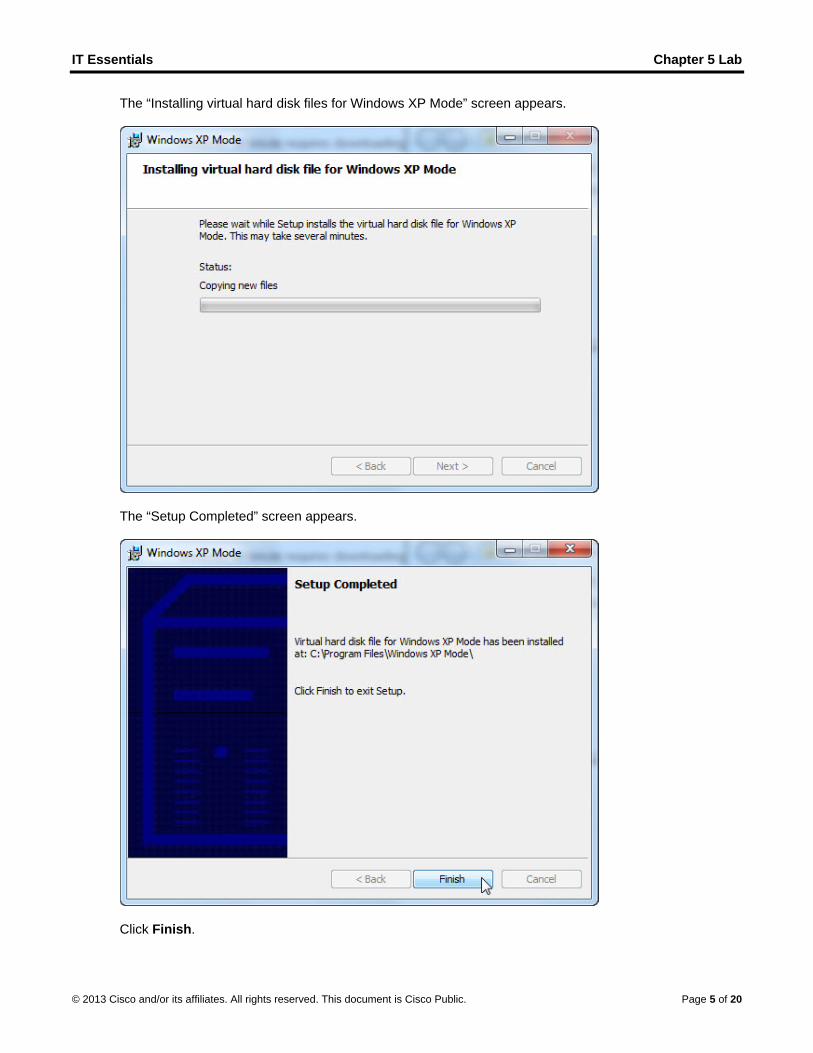
The “Installing virtual hard disk files for Windows XP Mode” screen appears.
The “Setup Completed” screen appears.
Click Finish.
IT Essentials Chapter 5 Lab
© 2013 Cisco and/or its affiliates. All rights reserved. This document is Cisco Public. Page 6 of 20
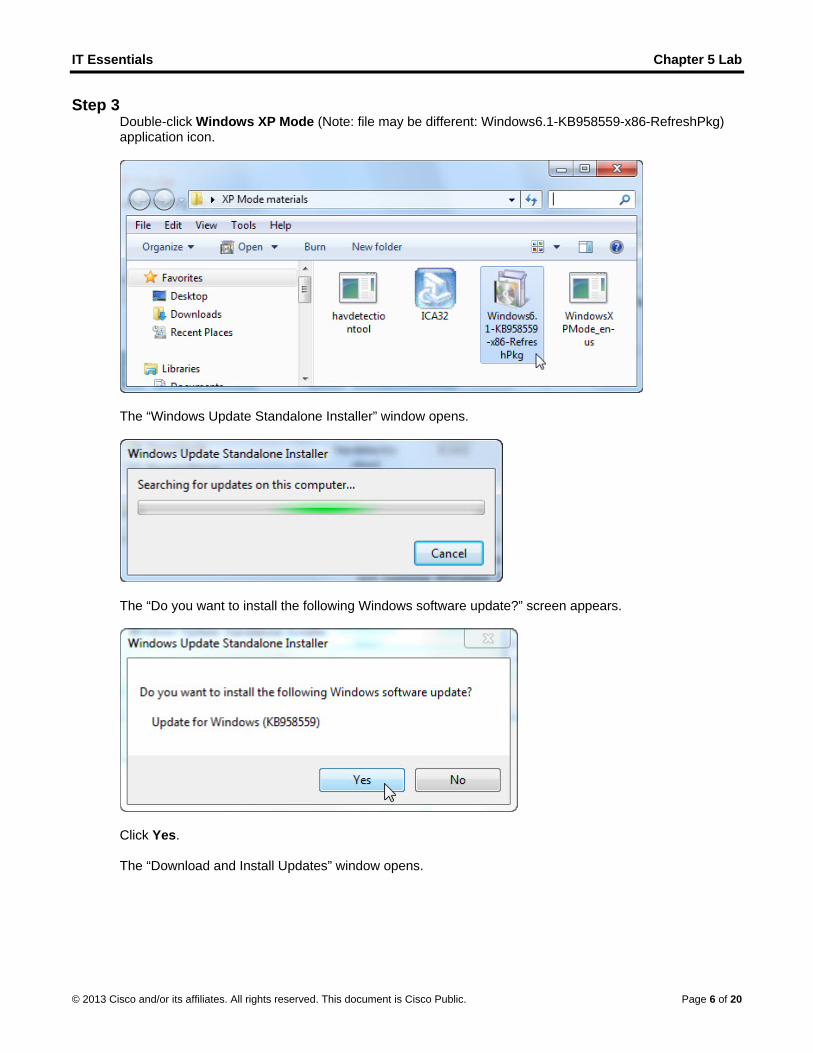
Step 3 Double-click Windows XP Mode (Note: file may be different: Windows6.1-KB958559-x86-RefreshPkg) application icon.
The “Windows Update Standalone Installer” window opens.
The “Do you want to install the following Windows software update?” screen appears.
Click Yes. The “Download and Install Updates” window opens.
IT Essentials Chapter 5 Lab
© 2013 Cisco and/or its affiliates. All rights reserved. This document is Cisco Public. Page 7 of 20
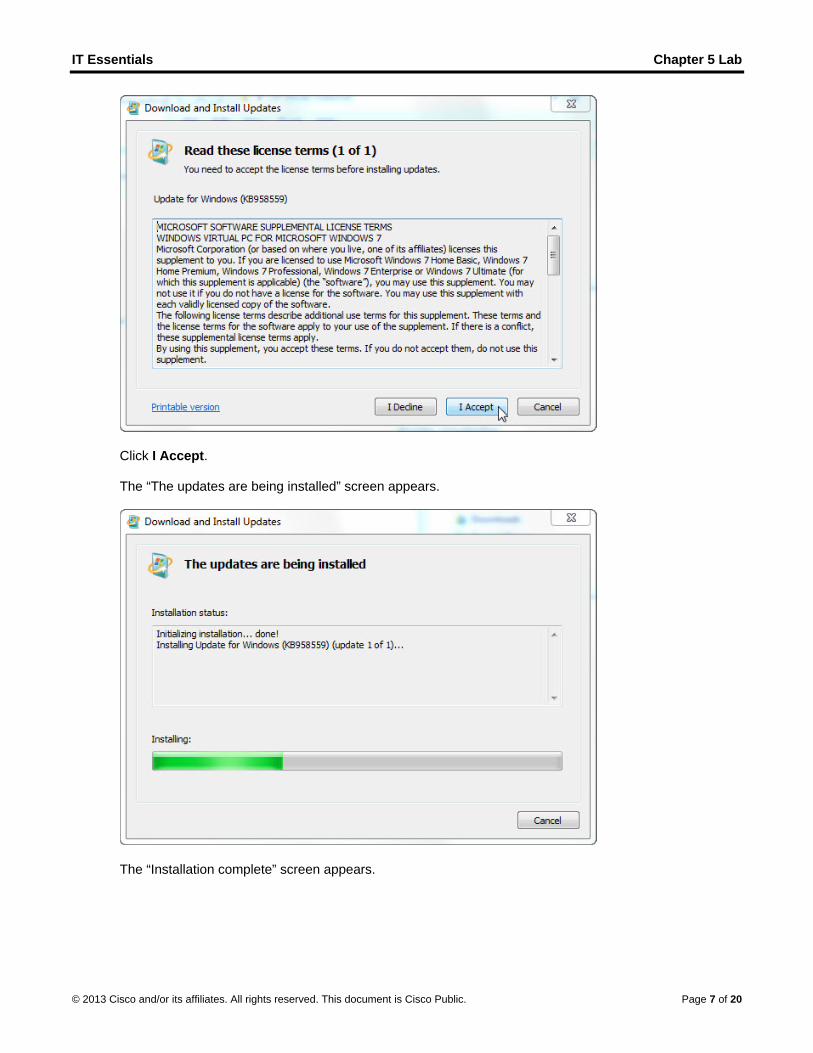
Click I Accept. The “The updates are being installed” screen appears.
The “Installation complete” screen appears.
IT Essentials Chapter 5 Lab
© 2013 Cisco and/or its affiliates. All rights reserved. This document is Cisco Public. Page 8 of 20
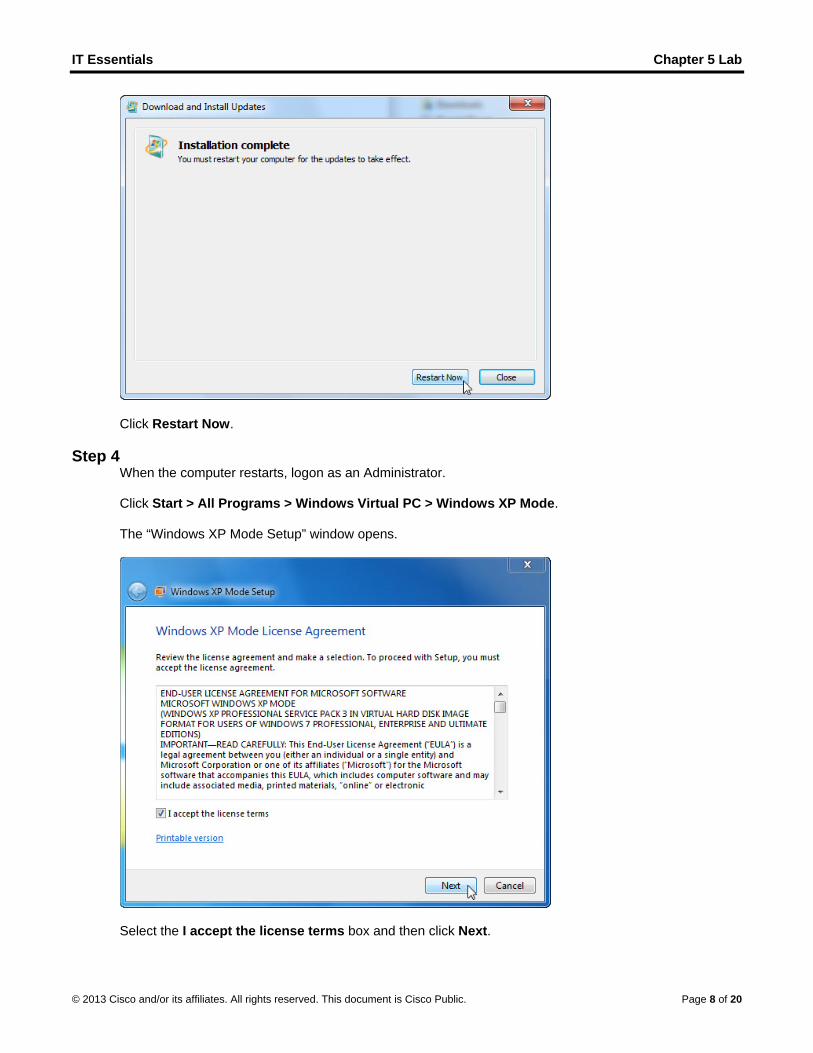
Click Restart Now.
Step 4 When the computer restarts, logon as an Administrator. Click Start > All Programs > Windows Virtual PC > Windows XP Mode. The “Windows XP Mode Setup” window opens.
Select the I accept the license terms box and then click Next.

IT Essentials Chapter 5 Lab
© 2013 Cisco and/or its affiliates. All rights reserved. This document is Cisco Public. Page 9 of 20
The “Installation folder and credentials” screen appears.
Type ITEv5 as the password, retype the password and then click Next. The “Help protect your computer” screen appears.
Select Help protect my computer by turning on Automatic Updates now. (recommended), and then click Next.
IT Essentials Chapter 5 Lab
© 2013 Cisco and/or its affiliates. All rights reserved. This document is Cisco Public. Page 10 of 20
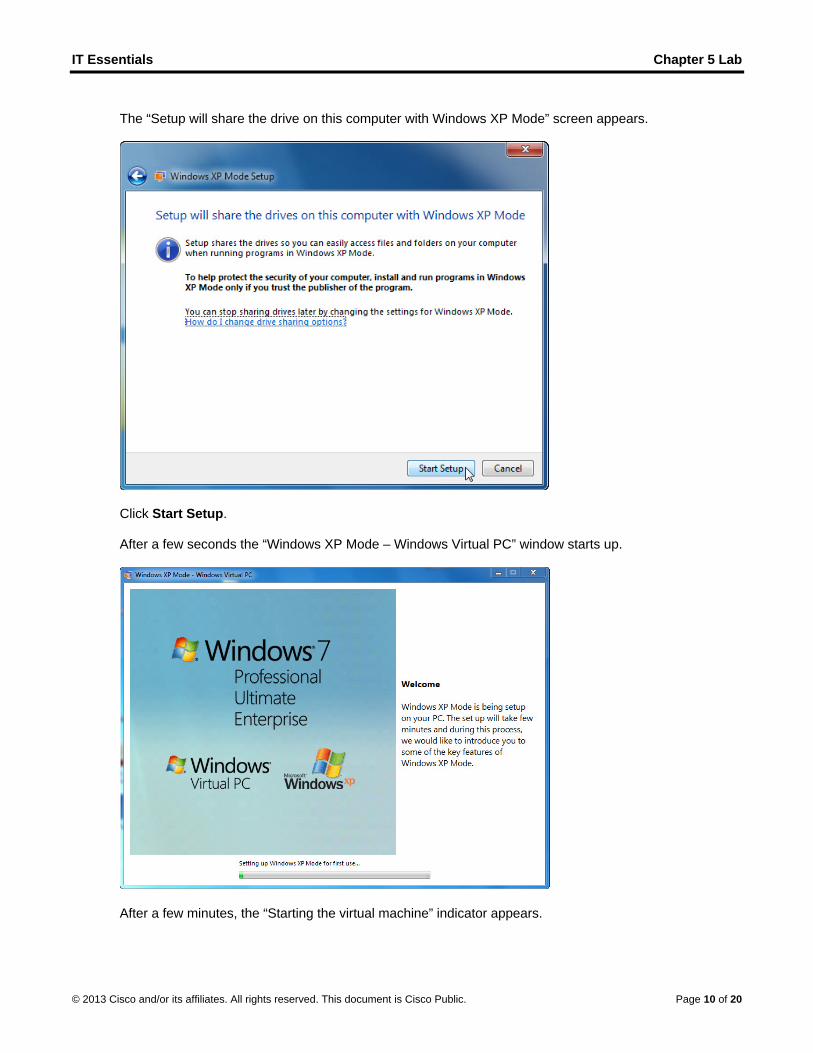
The “Setup will share the drive on this computer with Windows XP Mode” screen appears.
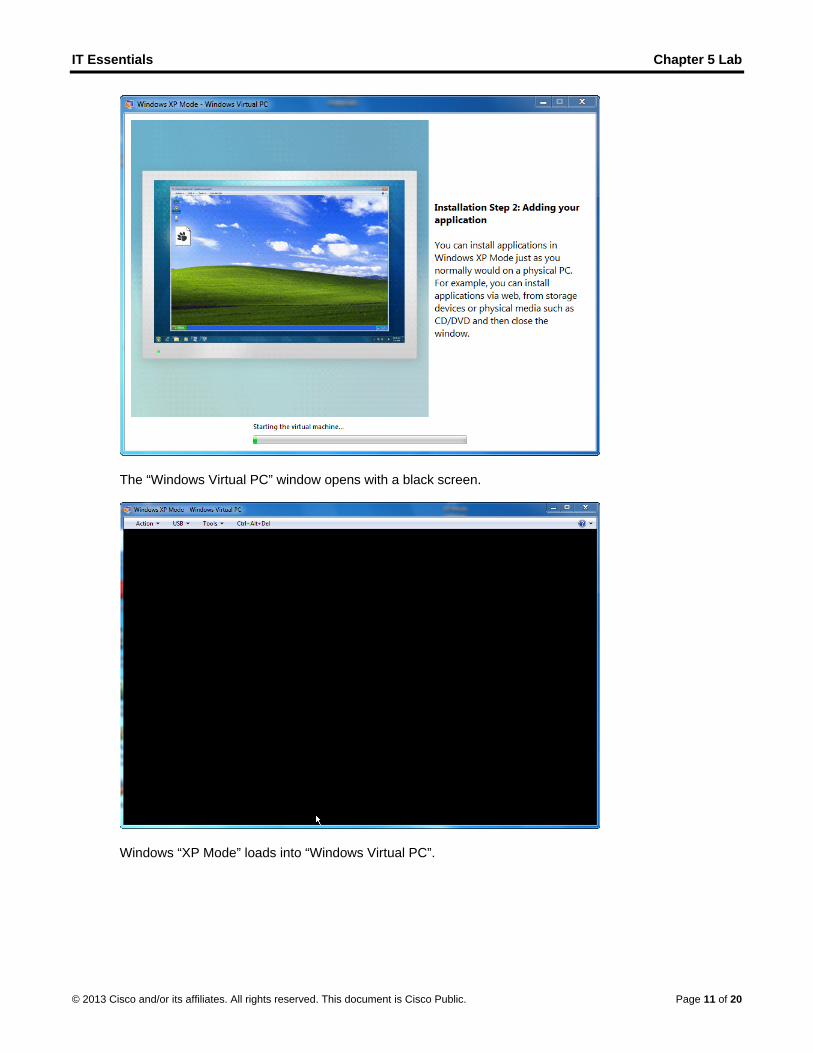
Click Start Setup. After a few seconds the “Windows XP Mode – Windows Virtual PC” window starts up.
After a few minutes, the “Starting the virtual machine” indicator appears.
IT Essentials Chapter 5 Lab
© 2013 Cisco and/or its affiliates. All rights reserved. This document is Cisco Public. Page 11 of 20
The “Windows Virtual PC” window opens with a black screen.
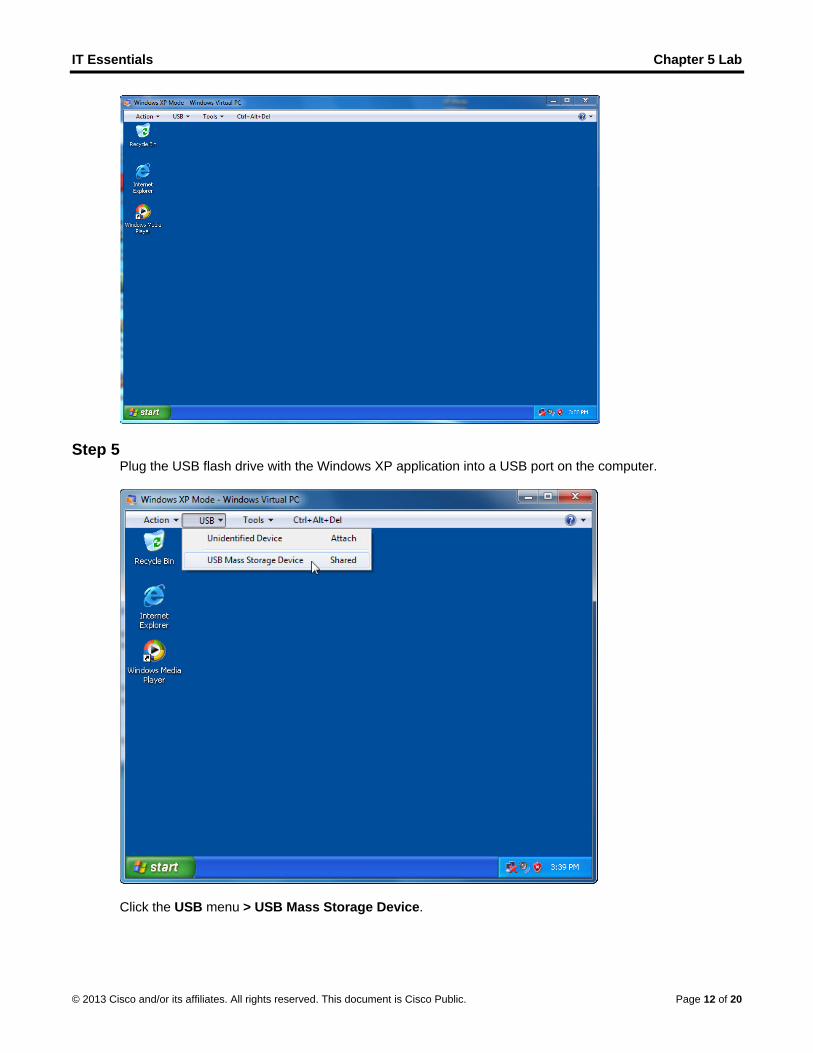
Windows “XP Mode” loads into “Windows Virtual PC”.
IT Essentials Chapter 5 Lab
© 2013 Cisco and/or its affiliates. All rights reserved. This document is Cisco Public. Page 12 of 20
Step 5 Plug the USB flash drive with the Windows XP application into a USB port on the computer.
Click the USB menu > USB Mass Storage Device.
IT Essentials Chapter 5 Lab
© 2013 Cisco and/or its affiliates. All rights reserved. This document is Cisco Public. Page 13 of 20
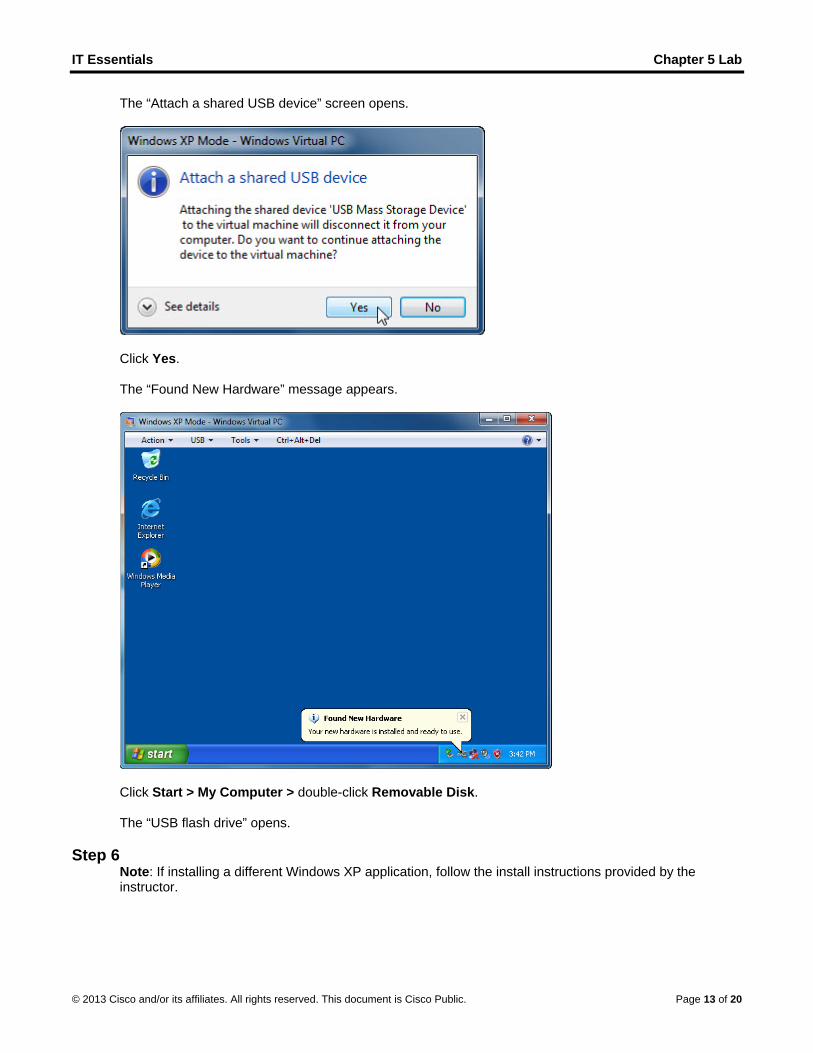
The “Attach a shared USB device” screen opens.
Click Yes. The “Found New Hardware” message appears.
Click Start > My Computer > double-click Removable Disk. The “USB flash drive” opens.
Step 6 Note: If installing a different Windows XP application, follow the install instructions provided by the instructor.

IT Essentials Chapter 5 Lab
© 2013 Cisco and/or its affiliates. All rights reserved. This document is Cisco Public. Page 14 of 20
Double-click the “Windows XP application”. The “InstallShield Wizard” opens.
Click Next.
IT Essentials Chapter 5 Lab
© 2013 Cisco and/or its affiliates. All rights reserved. This document is Cisco Public. Page 15 of 20
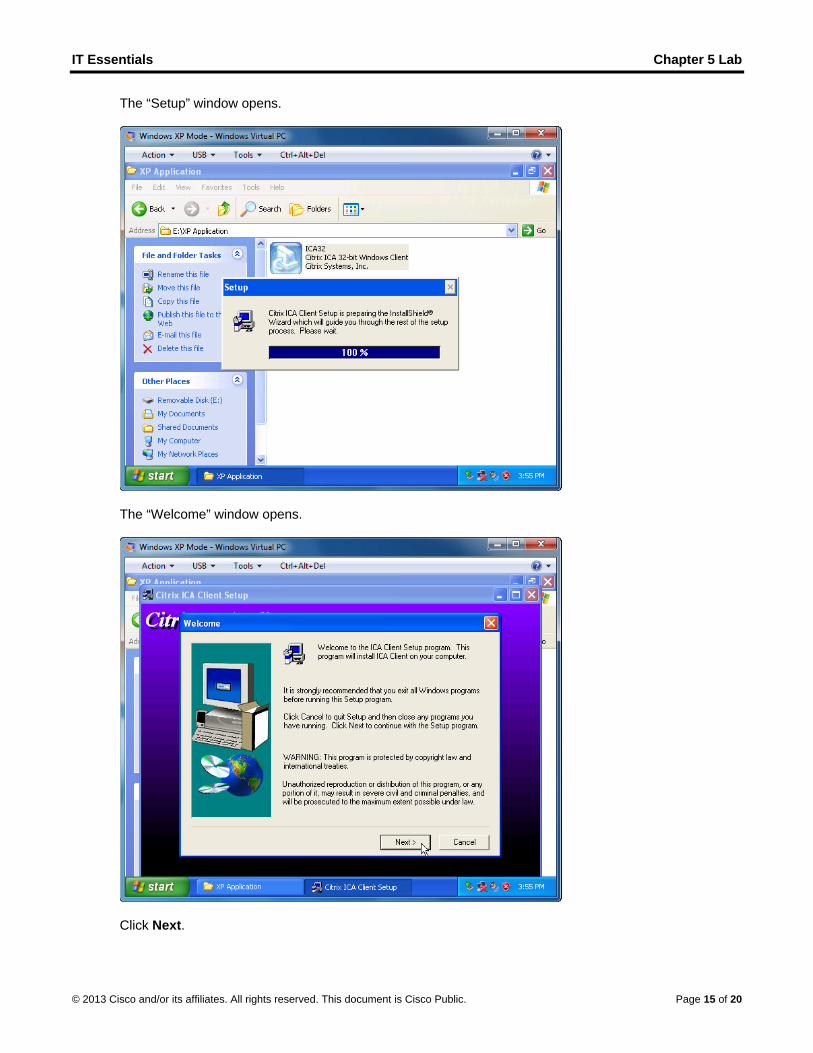
The “Setup” window opens.
The “Welcome” window opens.
Click Next.
IT Essentials Chapter 5 Lab
© 2013 Cisco and/or its affiliates. All rights reserved. This document is Cisco Public. Page 16 of 20
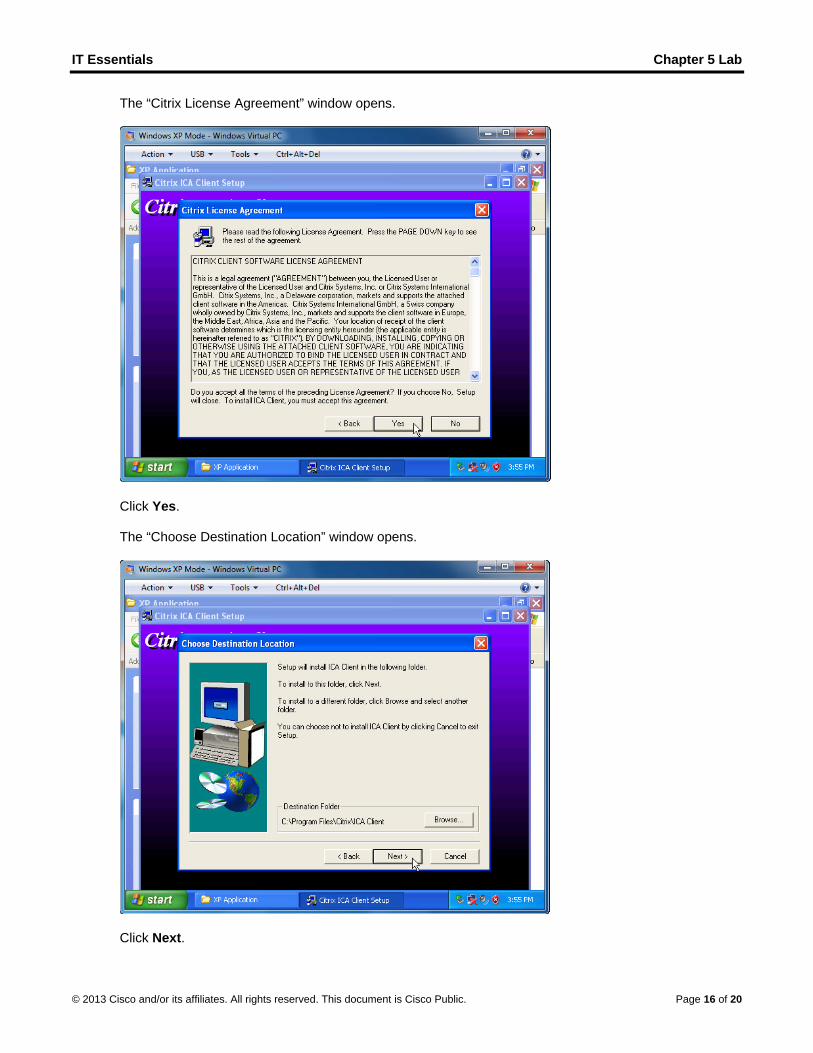
The “Citrix License Agreement” window opens.
Click Yes. The “Choose Destination Location” window opens.
Click Next.
IT Essentials Chapter 5 Lab
© 2013 Cisco and/or its affiliates. All rights reserved. This document is Cisco Public. Page 17 of 20
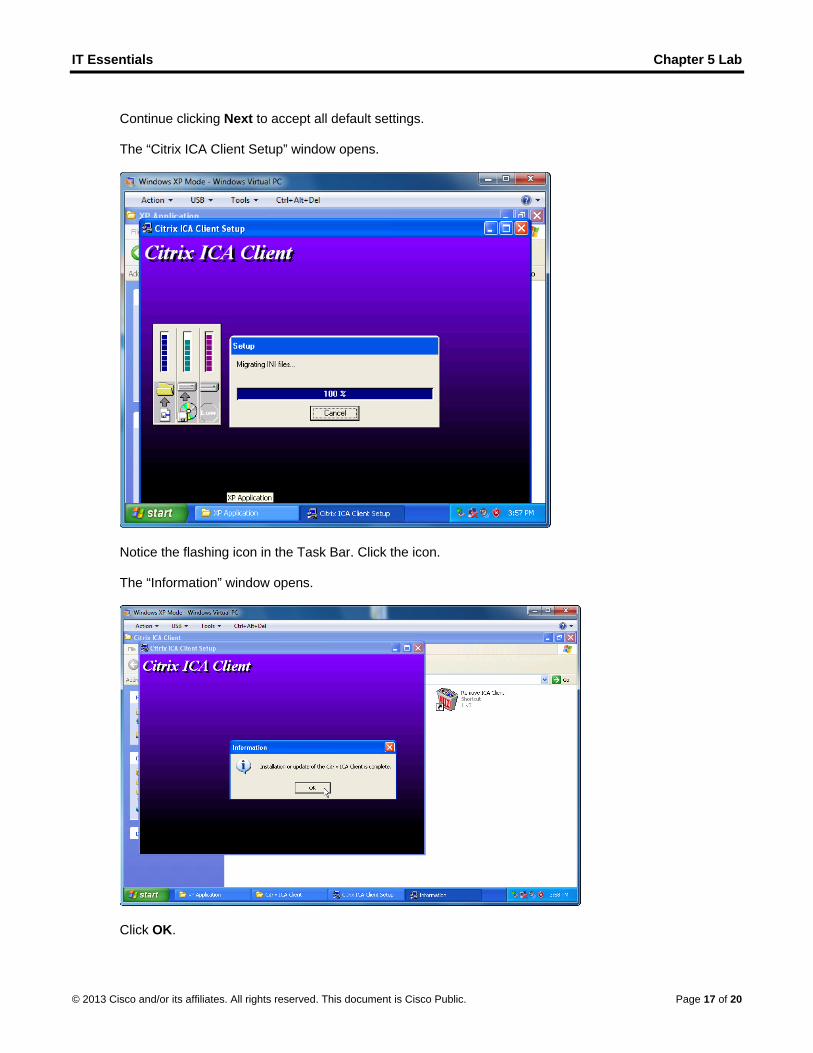
Continue clicking Next to accept all default settings. The “Citrix ICA Client Setup” window opens.
Notice the flashing icon in the Task Bar. Click the icon. The “Information” window opens.
Click OK.
IT Essentials Chapter 5 Lab
© 2013 Cisco and/or its affiliates. All rights reserved. This document is Cisco Public. Page 18 of 20
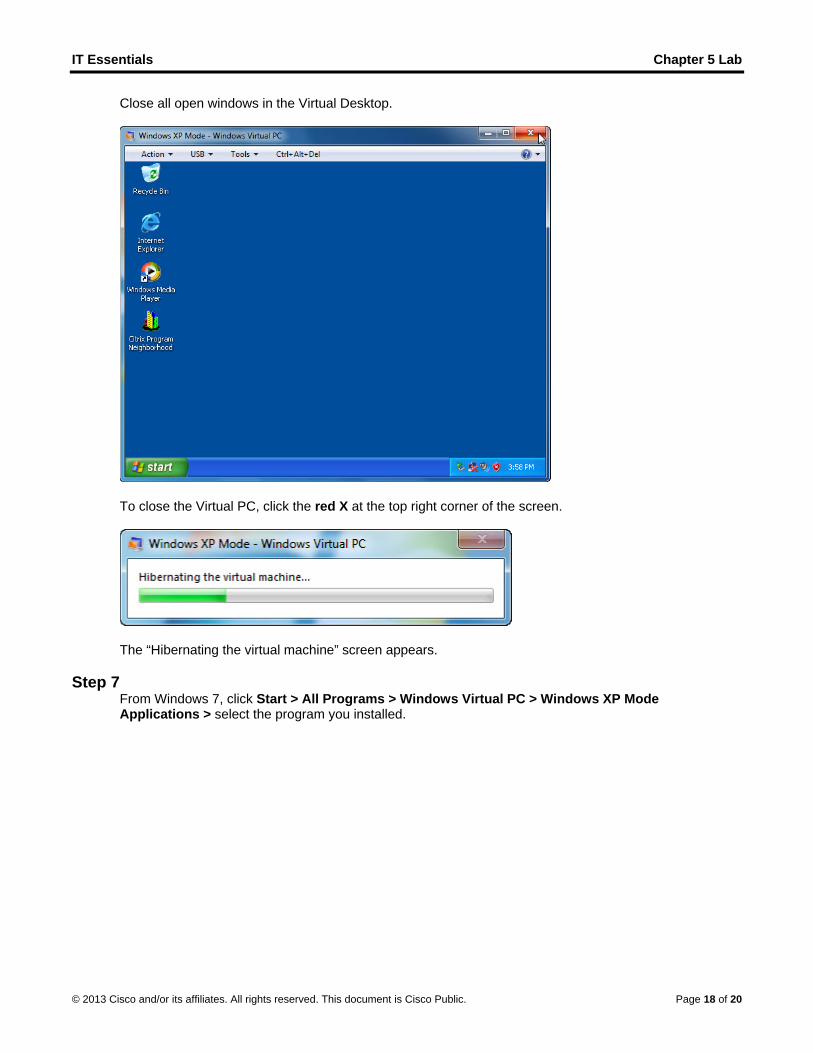
Close all open windows in the Virtual Desktop.
To close the Virtual PC, click the red X at the top right corner of the screen.
The “Hibernating the virtual machine” screen appears.
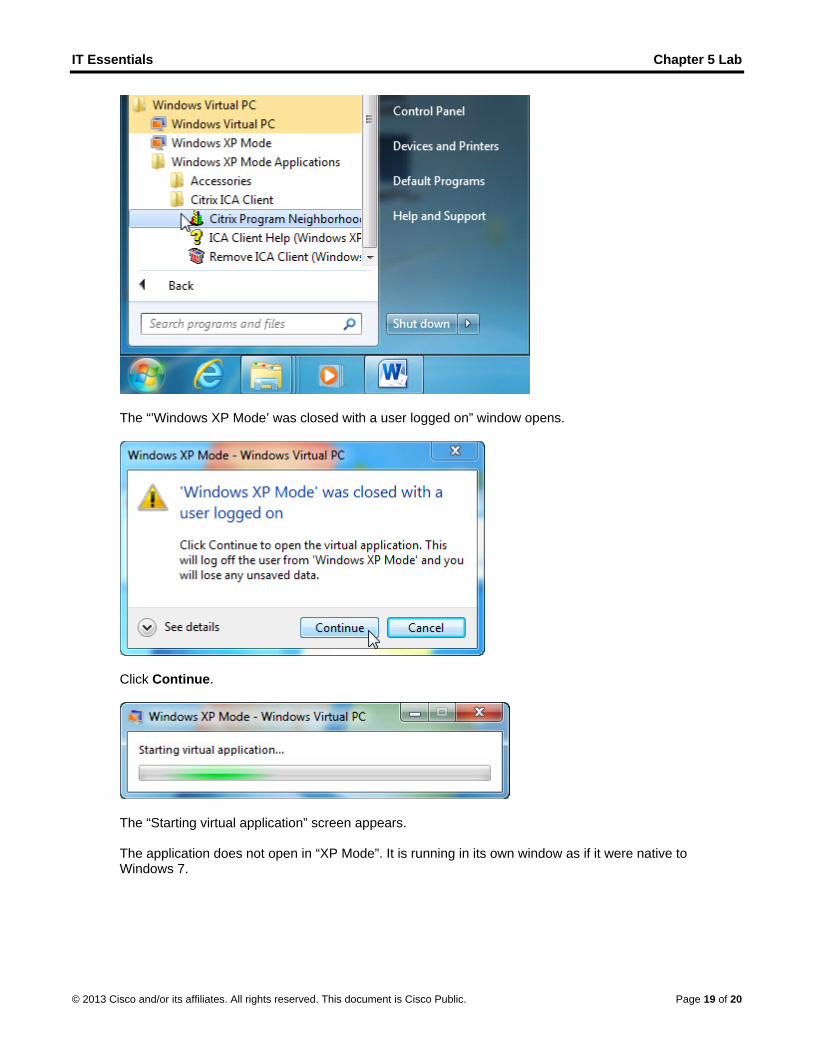
Step 7 From Windows 7, click Start > All Programs > Windows Virtual PC > Windows XP Mode Applications > select the program you installed.
IT Essentials Chapter 5 Lab
© 2013 Cisco and/or its affiliates. All rights reserved. This document is Cisco Public. Page 19 of 20
The “’Windows XP Mode’ was closed with a user logged on” window opens.
Click Continue.
The “Starting virtual application” screen appears. The application does not open in “XP Mode”. It is running in its own window as if it were native to Windows 7.
IT Essentials Chapter 5 Lab
© 2013 Cisco and/or its affiliates. All rights reserved. This document is Cisco Public. Page 20 of 20
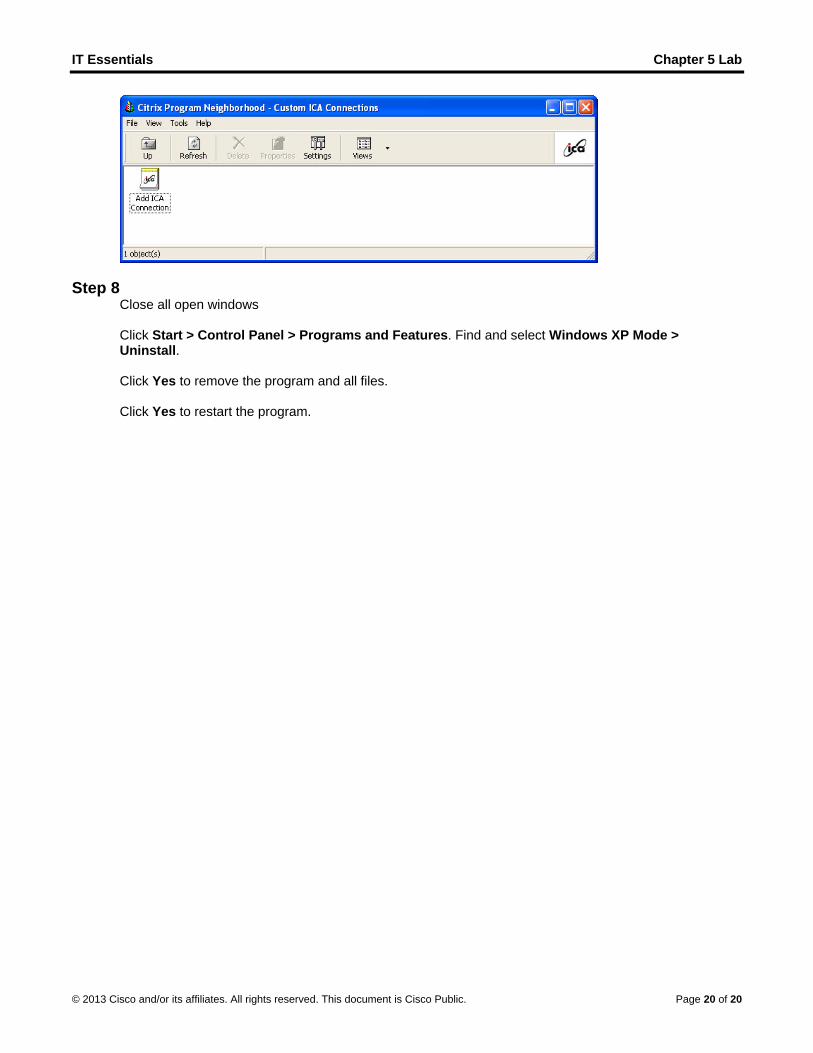
Step 8 Close all open windows Click Start > Control Panel > Programs and Features. Find and select Windows XP Mode > Uninstall. Click Yes to remove the program and all files. Click Yes to restart the program.