allied heroquest questbook the wizards of...
TRANSCRIPT

Allied HeroQuest Questbook The Wizards of Morcar

Allied HeroQuest Questbook The Wizards of Morcar

Allied HeroQuest Questbook The Wizards of Morcar
This book is a tribute to HeroQuest©. Inspired by the huge community of fans, this compilation came to life. The author is in no way
affiliated to MB®, Games-Workshop® or Fantasy Flight Games®.
The rules presented in this book are meant for all fans of the age-old game from MB®.
HeroQuest© by MB® and “Advanced HeroQuest© by Games-Workshop® are both out of print for many years now. You might be
interested in HeroScape© and/or Warhammer©, both are games from both firms. Descent© is currently still available at the Fantasy
Flight Games® website.
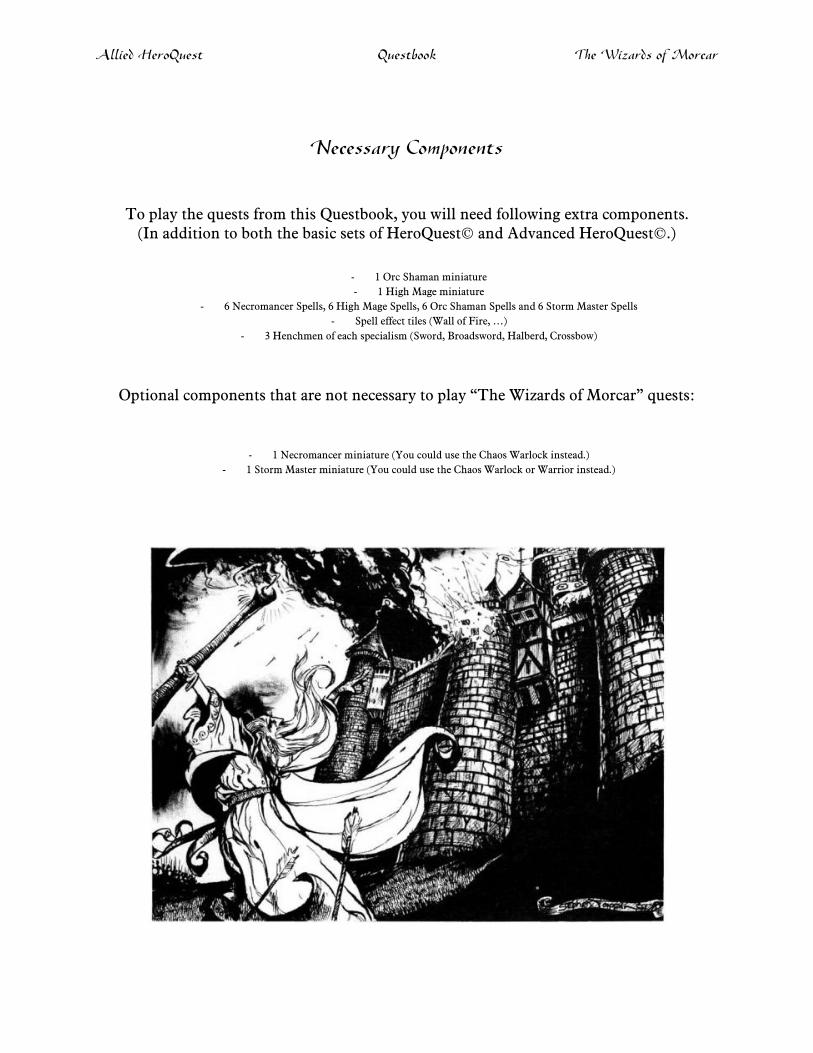
Images from Les Edwards and Gary Chalk have been reused. Both artists contributed to the HeroQuest© community with their
graphical talents. You can visit Les Edwards his website at “www.lesedwards.com”. You can visit Gary Chalk his website at
“www.garychalkillustration.com/”.
All rules presented are free of charge, open source and for personal use only. They’re meant just to have fun.

Allied HeroQuest Questbook The Wizards of Morcar
Allied HeroQuest
Descent in the Dark
The Wizards of Morcar
Version 1.1
Allied HeroQuest Questbook The Wizards of Morcar
Necessary Components
To play the quests from this Questbook, you will need following extra components. (In addition to both the basic sets of HeroQuest© and Advanced HeroQuest©.)
- 1 Orc Shaman miniature
- 1 High Mage miniature
- 6 Necromancer Spells, 6 High Mage Spells, 6 Orc Shaman Spells and 6 Storm Master Spells
- Spell effect tiles (Wall of Fire, …)
- 3 Henchmen of each specialism (Sword, Broadsword, Halberd, Crossbow)
Optional components that are not necessary to play “The Wizards of Morcar” quests:
- 1 Necromancer miniature (You could use the Chaos Warlock instead.)
- 1 Storm Master miniature (You could use the Chaos Warlock or Warrior instead.)

Allied HeroQuest Questbook The Wizards of Morcar
A Glimpse of Chaos
As the rain lashed down and thunder rumbled across the sky, a brief flash of lightning illuminated a bedraggled
group of travelers. Their slow climb up the rocky slopes to the foreboding tower at the summit seemed to last an eternity. At last the figures escaped the storm and
entered a dark hallway. As they peered into the shadows, they saw a sinister figure on a rocky throne. A solitary traveler stepped forward from the huddled and dripping
group and addressed the presence on the throne. “My lord Morcar, we come bearings grave tidings. We must report the failure of your plan to raise the Ogre Horde against the Empire. Once again we were routed by his accursed Champions and once again we were forced to flee.” The figure on the throne shifted and a voice like death broke
the silence. “I am aware of your failure, Festral. But as in all things I have learned from my failures. Firstly I
have learned not to underestimate the Emperor’s Heroes. Secondly, I have learned not to rely on fools. I have
therefore conceived a new scheme to destroy the Emperor’s Heroes forever. I have chosen four Lieutenants to carry
out my plan. Come forth my Lieutenants.”
With that command, four silhouettes stepped from the shadows. “Let me present Zanrath, High Mage of
Sarako.” An ancient bearded man wearing a pointed hat and carrying a staff topped with a crescent moon bowed
down towards Festral and his retinue. “Fanrax, the Malicious.” At the mention of his name, an evil-looking
man adorned with skull symbols and toying with a wickedly sharp dagger gave a sneering smile at the group. “Boroush, the Storm Master.” With sweep of his oaken staff, a ragged and bearded figure greeted the refugees. “And finally, Grawshak, Orc Shaman of the Northern
Tribes.” The last of the four Lieutenants, an Orc decorated in skins, feathers and skulls, carrying a massive totem wand growled what might have been a greeting or a
curse at the party. I believe that these four Sorcerers will succeed where you have so miserably failed. And it is
they who will punish you for your failure.” With this final word, Morcar disappeared into the shadows. From
here he watched with great satisfaction as his four sorcerous Lieutenants erased all trace of Festral and his followers. Mocar smiled. These were indeed the ones who
would finally destroy the Emperor’s Heroes forever.

Allied HeroQuest Questbook The Wizards of Morcar
Special Rules
T he Wizards of Morcar - Monsters
Shown below are the Characters that can be encountered in Quests from this book.

Allied HeroQuest Questbook The Wizards of Morcar
Quest I – The Tower of the High Mage
Map:

Allied HeroQuest Questbook The Wizards of Morcar
"The first of Morcar’s sorcerous Lieutenants you must defeat is Zanrath, High Mage of Sarako. He lives in a magical tower, high in the Tarak Mountains
where he is guarded by his elite army of Chaos Warriors. Prepare yourselves my Heroes for a fearsome battle against steel and magic."
Route:
Two Passages.
Notes:
Elevator - The revolving room uses special rules explained later. The four doors do not follow normal rules for doors and are not considered regular doors (according to Spells etcetera). Southlands – You can play a Character Threat Token to summon a Mummy at one of the Spawnpoints. Stick! – You can play a Trap Threat Token to spring a Speartrap in any of the corridor sections. A. Doors “A”, “B”, “C” and “D” have special rules to open them. Door “A” opens when a Hero enters the corridor-square in front of the Door. Door “D” also opens at that time. The other Doors of the revolving room are initially closed and cannot be opened. E. If trigger-chest E is opened, close door A, and open door B. Door D remains open too. The chest closes after use.
F. If trigger-chest F is opened, close door D, and open door C. Door B remains open too. The chest closes after use. G. If trigger-chest G is opened, close door B, and open door A. Door C remains open too. The chest closes after use. The cupboard contains a Helmet and 140 gold coins. H. This is Zanrath, the High Mage. The Heroes win this Quest by eliminating him. You may choose to reveal this room when a Hero enters the adjacent room (with the table): the Gargoyle charges through the door and immediatelly attacks that Hero, ending the Hero players’ turns. The door now remains opened.
I. The first Hero to search for Treasures here will find a scimitar (Broadsword).
Character:
Zanrath the High Mage.
Denizens:
Evil Presence.

Allied HeroQuest Questbook The Wizards of Morcar
Quest II – Crypt of the Necromancer
Map:

Allied HeroQuest Questbook The Wizards of Morcar
"Summon up your courage my Heroes, for you must journey to a most terrible place to find your next enemy, Fanrax the Malicious. He dwells in an ancient crypt that lies in the
vast and nameless graveyard swamp beyond the Shuddering Forests. Destroy his hiding place, so it shall never spawn evil again. Be doubly careful, for Fanrax commands both the forces
of the living and the forces of the dead."
Route:
Two Passages.
Notes:
Buried Again - In order for the dungeon to collapse, the Heroes must destroy 3 Pillars and escape. A. These are the four Pillars on which the entire crypt rests. To weaken and ultimately destroy a Pillar, a Hero should attack it hand-to-hand. Remove the Ruble tile when 2 skulls are rolled in the attack. B. The Skeletons in this room are magically petrified and cannot move nor attack. They cannot be harmed in any way. When a Hero opens the door to the Pillar-room, they come “alive” and can be controlled by the GM during his turns. C. The Chest contains a crown worth 400 gold coins. D. A Trap Threat Token can be played in this corridor section or room to activate a Pittrap.
Puppet Master – You can play a Character Threat Token to summon the Necromancer in any of the large (5 by 10) rooms.
E. The Tombstones in this room are Spawnpoints.
F. The first spell-casting Hero to search for Treasure here, will find two spells to use as his own: “Wall of Flame” and “Hurricane”. (The Wizard, Battle Mage, etc. are all spellcasters.) G. Trap Threat Tokens can be used to activate Falling Rock traps in these corridor sections.
Character:
Fanrax the Necromancer.
Denizens:
Living Dead.

Allied HeroQuest Questbook The Wizards of Morcar
Quest III – Eyrie of the Storm Master
Map:

Allied HeroQuest Questbook The Wizards of Morcar
"High atop the loftiest peak in the Dark Mountains lies the eyrie of Boroush, the Storm Master. He is the next Lieutenant of Morcar you must defeat.
You have had to scale the sheer heights of the mountains to get to eyrie. Now you are here you must move quickly, for Boroush commands great elemental forces with which he can easily overcome unwary intruders."
Route:
Two Passages.
Notes:
Swift - Boroush can open regular and Secret Doors. Use this to you strategic advantage. He can also use Teleport Traps. Teleport Traps - When moving a Hero or Boroush onto a Teleport Trap “A”, move the miniature to the corresponding teleport landing spot “B”. This ends the turn of that Hero. Boroush can continue his turn after teleporting this way. (“A1” leads to “B1”, “A2” leads to “B2” and “A3” leads to “B3”.) If the landing spot is occupied, move to any adjacent square there. Teleport Traps have no effect for Monsters. A. This Weapons Rack contains a Spear. The first Hero to search this room for Treasures obtains the Spear. B. Boroush starts here. The Heroes must defeat him, to win the Quest.
C. This is Boroush’s study. First Hero to search here for Treasures finds 120 gold coins. If Boroush has already cast a spell earlier in the game, then the second search for Treasures here in the study, will reveal one random used spell from Boroush’s cardset. It can be used by either spellcasting Hero.
D. Trap Threat Tokens can be used to activate Speartraps in these boardsections. Entrance – The Heroes enter the eyrie at the Stairs.
Character:
Boroush the Storm Master.
Denizens:
“Morcar’s Legion”.

Allied HeroQuest Questbook The Wizards of Morcar
Quest IV – Lair of the Orc Shaman
Map:

Allied HeroQuest Questbook The Wizards of Morcar
"A small group of Orc raiders sneaked into the village under cover of darkness. When the Heroes wake up, they discover one of them kidnapped. An Orc necklace lies next to his bed. You must
rescue your comrade and try to kill the evil Orc boss. Yonder dark cave in the hillside is the entrance to the cold lair of Grawshak, Orc Shaman of the Northern Tribes. To reach him you will need
scores of brave men, for he has surrounded himself with his fiercely loyal elite body guard. They will fight to the death before they allow you to reach their master.”
Route:
Two Passages.
Notes:
Hostage - Before this Quest and Passages begin, put all eight Heroes in a row and roll a D12. At a result of 9 or more, the GM may choose one Hero and remove him from play (as a hostage in this Quest). A roll of 1 to 8 results in kidnapping the Hero at that position in the row. The Heroes win this Quest if they manage to rescue the hostage and escape to the Village. The hostage and at least one Hero must return to the Village in order to win. A. Both Portcullises block movement but not line of sight. The tiles cannot be entered. Ranged attacks and spells can be used through the Portcullises. B. A Trap Threat Token can be used to activate a Pitrap in these corridor section or room.
C. The kidnapped Hero is chained here. The unfriendly treatment of his guards caused him already one Body point of damage. Another Hero or a Henchman may attack any of the adjacent squares next to the hostage in order to free him. (Any result of the skulldice works.) The prisoner his weapons and equipment are nearby, he is immediately armed and ready to fight his way out of the dungeon. D. Any Hero falling in the Chasm is moved to the Grate at “E”.(or any adjacent square if the Grate is occupied). This ends his turn. The five squares at the other side of the Chasm are covered in slippery mould. Any miniature on these squares automatically falls into the Chasm. Monsters falling into the Chasm will be killed by the raging underground river. F. The first search for Treasures here reveals Chainmail armour. Waaagh! A Character Threat Token can be used to summon Grawshak in any room execept “E” and “F”.
Character:
Grawshak, Orc Shaman.
Denizens:
“Green and Mean”.

Allied HeroQuest Questbook The Wizards of Morcar
Quest V – The Final Conflict
Map:

Allied HeroQuest Questbook The Wizards of Morcar
"Morcar has deceived the heroes and saved his four sinister wizards from the jaws of death. He has now brought them together in his citadel of darkness to plot a cunning retaliation.
While the heroes are celebrating their brave efforts, the wizards of Morcar take advantage of this moment of weakness. With this assault they want to vanquish the heroes forever."
Route:
No Passages.
Notes:
This quest uses the gameboard from HeroQuest MB. One player acts with the Heroes and follows the rules of the GM. The other
player(s) control the four Wizards of Morcar; Boroush, Zanrath, Fanrax and Grawshak. (The board represents a town in the Empire,
central building being the Town Hall. Other rooms are living quarters, apothecary, inn, library, sorcerers study, barracks and
watchtowers.)
The Wizards must sneak into the town and kill all eight Heroes to win the quest. The Wizards cannot "return to the village" for buying
equipment or healing. This renders gold worthless for gameplay purposes. Ignore the gold they find. They’re out for vengeance! The
Wizards of Morcar may choose where to enter town, indicated by the X’s at both Northern and Southern gates. The Heroes win if all four
Wizards of Morcar are terminated for good.
Disguise - The starting locations of the Heroes are indicated on the map. Hospitality - If you use an Escape Threat Token for one of the eight Heroes, put him in an unrevealed room. Reveal all furniture but keep the doors closed. Escape Threat Tokens follow normal rules for the Henchmen. Off Guard - Major Threat rules do not apply. A. Both chests contain lots of gold, searching for Treasure in this room always reveals three Treasure cards instead of one. B. The first Wizard of Morcar who searches this room for Secret Doors or Treasure, finds one Skeleton. It is now under his control.
C. You can play Trap Threat Tokens at any of these six corridor squares to spring a Speartrap. D. You can play Trap Threat Tokens on any of these corner corridor squares (between the doors) to activate a Pittrap. The Dwarf Hammerer starts at square “D”. E. The Elf Waywatcher (AHQ - GW) starts here. G. The Goblin cannot open his celldoor but can be set free by one of the Wizards of Morcar. The Goblin is then controlled by him. K. The Knight (AHQ – GW) starts here. M. The Battle Mage (AHQ – GW) starts here.
Special rules apply to some of the Heroes:
The Elf paladin has one set of Protection spells. The Battle Mage has the Fire and Earth spell sets.
The Dwarf Explorer ignores all his Toolkit and Trap rules. The Wizard has Water, Air and Discovery spell sets (Ignore Clairvoyance and Treasure Horde).
This quest reintroduces the variable Body points method for the eight Heroes.
(The Heroes are surprised at first, but will be alert and battle prepared for the final clash!)
Denizens:
Wandering Monsters: 1 Greatsword OR 2 Halberdiers OR 1 Crossbowman OR 2 Scouts.
Ambush: 2 Scouts OR 1 Scout and 1 Crossbowman OR 2 Crossbowmen.