art130 casey heyrend-m10
TRANSCRIPT
ART 130 | INTRODUCTION TO GRAPHIC DESIGN | 1CASEY HEYREND
Module 10
“If you want to be as good as [Paul] Rand, don’t look at Rand; look at what Rand looks at.”
– Helmut Krone
Directions:
1. Select View > Display Performance > High Quality Display from the drop-down menus above
2. Place the m10_activity_01_resolution_large file inside this image frame.
Note: This image is a high resolution image (300 pixels per inch) built to the size of this image frame.
Directions:
1. Open the m10_activity_01_resolution_small file in Adobe Photoshop.
2. Access the Image Size pop-up window by navigating to Image > Image Size in the drop-down menus above.
3. Check to make sure the Width and Height fields are linked together (there should be a small dark gray link icon to the left of these fields).
4. Check to make sure the Resample check box is checked.
5. Type 5.94 in the Height field (the Width field should automatically change to 4.475 inches).
6. Save your photoshop file.
7. Place your modified m10_activity_01_resolution_small file inside this image frame.
8. Select this frame with the Selection Tool and then select Object > Fitting > Fit Content Proportionately from the drop-down menus above.
ART 130 | INTRODUCTION TO GRAPHIC DESIGN | 2CASEY HEYREND
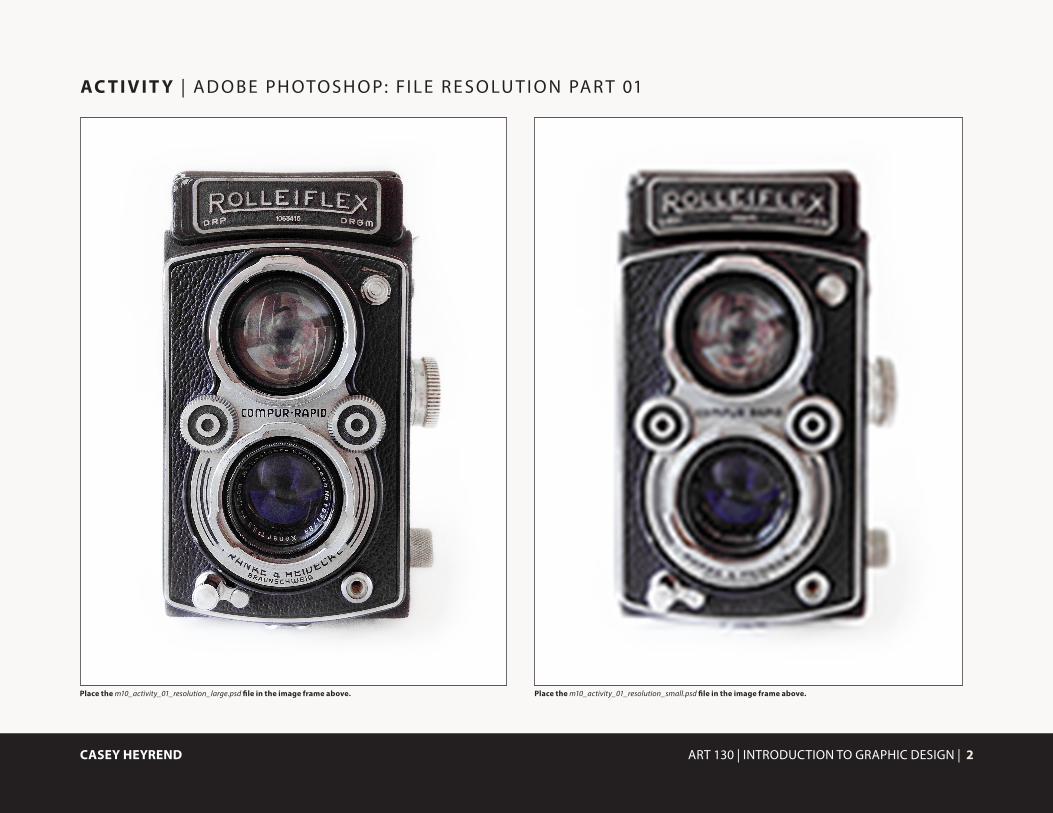
AC T I V I T Y | A D O B E PH OTOSH O P: FI L E R E S O LU T I O N PA R T 01
Place the m10_activity_01_resolution_large.psd file in the image frame above. Place the m10_activity_01_resolution_small.psd file in the image frame above.

ART 130 | INTRODUCTION TO GRAPHIC DESIGN | 3CASEY HEYREND
AC T I V I T Y | A D O B E PH OTOSH O P: FI L E R E S O LU T I O N PA R T 02
After completing the activity on the previous page describe what you have learned about image resolution:
What is a pixel?
A square in a grid of squares on the monitor screen
What does pixels per inch (ppi) mean?
Pixel per inch is a measurement of the pixel density (resolution) of an electronic image device, such as a computer monitor or television display, or image digitizing devices such as a camera or image scanner.
How is the image of the camera on the right different from the image of the camera on the left (Note: both images began as the same original digital photograph)?
The left photo is larger so the pixels are smaller and it looks more clear. The right photo is smaller but it is zoomed in further and that makes the pixels bigger and makes it look blurry.
What happens to an image when you scale it up (increase the number of pixels per inch or increase the size of the file using the same number of pixels per inch) from its original image resolution?
The picture became distorted and blurry since there is more space to cover the image come out unclear.

ART 130 | INTRODUCTION TO GRAPHIC DESIGN | 4CASEY HEYREND
AC T I V I T Y | A D O B E PH OTOSH O P: L AY ER S PA L E T T E
Place the m10_activity_03_layers.psd file in the image frame above.
Directions:
1. Open the m10_activity_03_resolution_small file in Adobe Photoshop.
2. Access the Layers palette for this file. You may need to access the Layers palette by navigating to Windows > Layers from the drop-down menus.
3. Rearrange the layers for this file so that Layer 0 is on the bottom, Layer 1 above it, Layer 2 above it, and Layer 3 as the top layer
4. Save your photoshop file.
5. Place your modified m10_activity_03_layers file inside the image frame on the left.
6. Select this frame with the Selection Tool and then select Object > Fitting > Fit Content Proportionately from the drop-down menus above.

Directions:
1. Open the m10_activity_04_adjustment_layers file in Adobe Photoshop.
2. Access both the Layers palette and the Adjustments palette for this file.
3. Add a Curves Adjustment Layer to this file and set new black and white points for the file.
4. Further adjust the curve for this file to add more darks at the low end and more lights at the high end.
5. Add a Hue and Saturation Adjustment Layer to the file and use the Master adjustment slider to eliminate the green tint to the image.
6. Save your photoshop file.
7. Place your modified m10_activity_04_adjustment_layers file inside this image frame.
8. Select this frame with the Selection Tool and then select Object > Fitting > Fit Content Proportionately from the drop-down menus above.
ART 130 | INTRODUCTION TO GRAPHIC DESIGN | 5CASEY HEYREND
AC T I V I T Y | A D O B E PH OTOSH O P: A DJ US T M EN T L AY ER S
The m10_activity_04_adjustment_layers.psd file before layer adjustments are made. Place your modified m10_activity_04_adjustment_layers.psd file in the image frame above.
ART 130 | INTRODUCTION TO GRAPHIC DESIGN | 6CASEY HEYREND
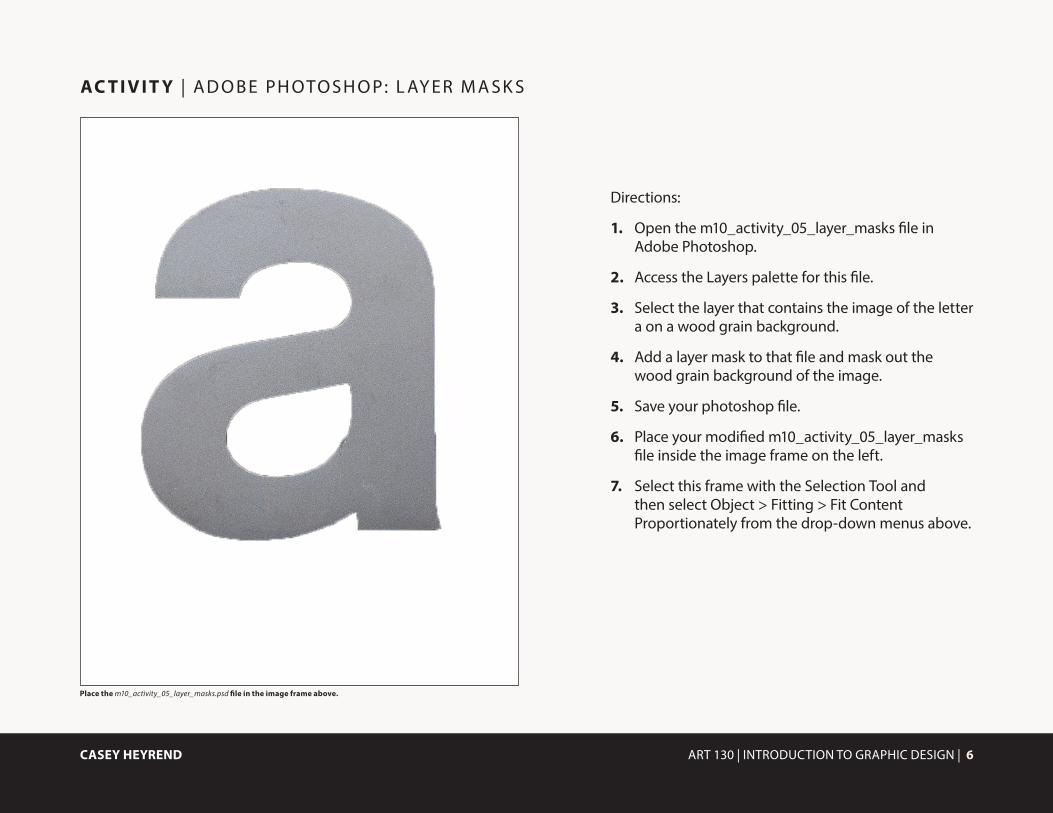
AC T I V I T Y | A D O B E PH OTOSH O P: L AY ER M A SK S
Place the m10_activity_05_layer_masks.psd file in the image frame above.
Directions:
1. Open the m10_activity_05_layer_masks file in Adobe Photoshop.
2. Access the Layers palette for this file.
3. Select the layer that contains the image of the letter a on a wood grain background.
4. Add a layer mask to that file and mask out the wood grain background of the image.
5. Save your photoshop file.
6. Place your modified m10_activity_05_layer_masks file inside the image frame on the left.
7. Select this frame with the Selection Tool and then select Object > Fitting > Fit Content Proportionately from the drop-down menus above.

ART 130 | INTRODUCTION TO GRAPHIC DESIGN | 7CASEY HEYREND
P R O J E C T | P OS T ER S: M O R E G EN ER A L P OS T ER V I SUA L R E SE A R CH

ART 130 | INTRODUCTION TO GRAPHIC DESIGN | 8CASEY HEYREND
P R O J E C T | P OS T ER S: C AT EG O RY & T H E M E R E V I S I T ED
After receiving feedback from your peers and instructor revisit the theme you’ve chosen for your artist’s exhibit. Does this theme accurately portray your artist? Is your theme a clear message? Is it interesting?
After receiving feedback on your exhibit theme provide the following information:
EXHIBIT THEME REVISIONS[Based on the feedback you received describe revisions, if any, you will be making to your exhibit theme. Also answer the three questions above.]
REVISED EXHIBIT TAGLINEI want it to be simple and easy to understand.]
VISUAL METAPHORS AND OTHER IMAGE OPPORTUNITIES[Sun, Moon, Sky , Stars, nature
Circles, triangles, pyrminds, colors]
[Describe other image opportunities that you plan on exploring in your sketches to help illustrate your exhibit theme]
[Describe how you plan on using typography to express your image theme—especially for the typographic poster direction.]

ART 130 | INTRODUCTION TO GRAPHIC DESIGN | 9CASEY HEYREND
P R O J E C T | P OS T ER S: SK E TCH E S FO R P OS T ER D I R EC T I O N 01
Identify interesting connections
1. caption
2. caption
3. caption
4. caption
5. caption

ART 130 | INTRODUCTION TO GRAPHIC DESIGN | 10CASEY HEYREND
P R O J E C T | P OS T ER S: SK E TCH E S FO R P OS T ER D I R EC T I O N 02
Identify interesting connections
1. caption
2. caption
3. caption
4. caption
5. caption

ART 130 | INTRODUCTION TO GRAPHIC DESIGN | 11CASEY HEYREND
P R O J E C T | P OS T ER S: SK E TCH E S FO R P OS T ER D I R EC T I O N 03
Identify interesting connections
1. caption
2. caption
3. caption
4. caption
5. caption

ART 130 | INTRODUCTION TO GRAPHIC DESIGN | 12CASEY HEYREND
P R O J E C T | P OS T ER S: V I SUA L E XPER I M EN T S
Description for Visual Experiment 01
1. caption
2. caption
3. caption
4. caption

ART 130 | INTRODUCTION TO GRAPHIC DESIGN | 13CASEY HEYREND
P R O J E C T | P OS T ER S: V I SUA L E XPER I M EN T S
Description for Visual Experiment 02
1. caption
2. caption
3. caption
4. caption
ART 130 | INTRODUCTION TO GRAPHIC DESIGN | 14CASEY HEYREND
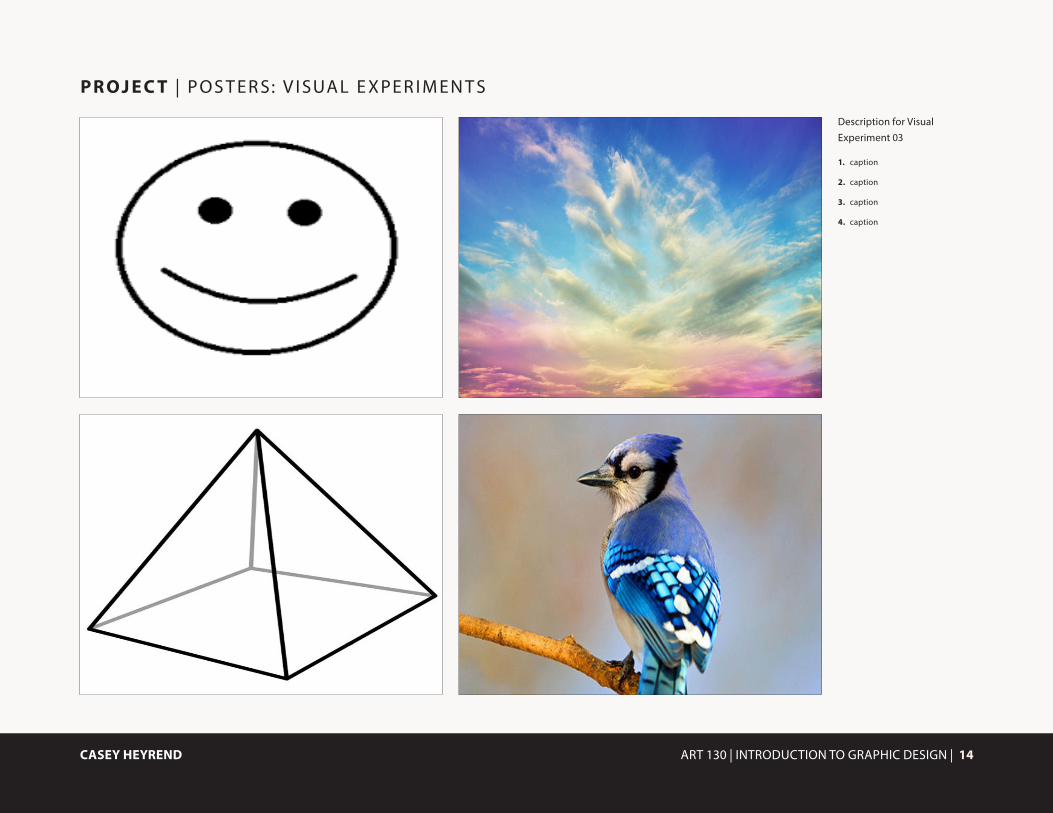
P R O J E C T | P OS T ER S: V I SUA L E XPER I M EN T S
Description for Visual Experiment 03
1. caption
2. caption
3. caption
4. caption

ART 130 | INTRODUCTION TO GRAPHIC DESIGN | 15CASEY HEYREND
P O N D E R | M O D U L E 10
My favorite example of my artist’s work is (Skybird, 1974) because (very simple).
How does understanding the theme of your exhibit influence your sketches?
The simple route is the best. I understand that somethings are done to be very simple.
What does the word Concept mean in graphic design?
Concept (art) is a form of illustration where the main goal is to convey a visual representation of a design, idea, and/or mood for use in movies video games or comic books before it is put into the final product. Concept art is also referred to as visual development and/or concept design.
What did you learn about typography from working on your typographic poster?
That I can place the last name easier on it.
What did you learn from your visual experiments about making images outside the computer?
There are many things that gain from it.
The simple route is the best. I understand that somethings are done to be very simple.
Include an image of your favorite example of your artist’s work. Crop it and add it to this page with a caption.