assembling tutorial: calu-m - cartft.com tutorial: calu-m the following components are lying on the...
TRANSCRIPT

Assembling Tutorial: CALU-M The following components are lying on the table:
- CALU-M Barebone - Power cable - Passivkühlerblock - Screws (for HDD, CD-ROM Adapter, CD-ROM, CPU cooler) + heatsink compound + EMI Sticker - Installation guide and Motherboard driver CD
On the table are also lying example components, which will be mounted into the case afterwards:
- Slimline CD/DVD-ROM - 80 GB 2,5“ HDD - 512 MB DDR RAM - CPU 1,5 GHz Dothan
The case gets opened:
The motherboard gets pulled out:

Now the motherboard is lying in front of you…
…and you have to uninstall the Drive Adapter from it:
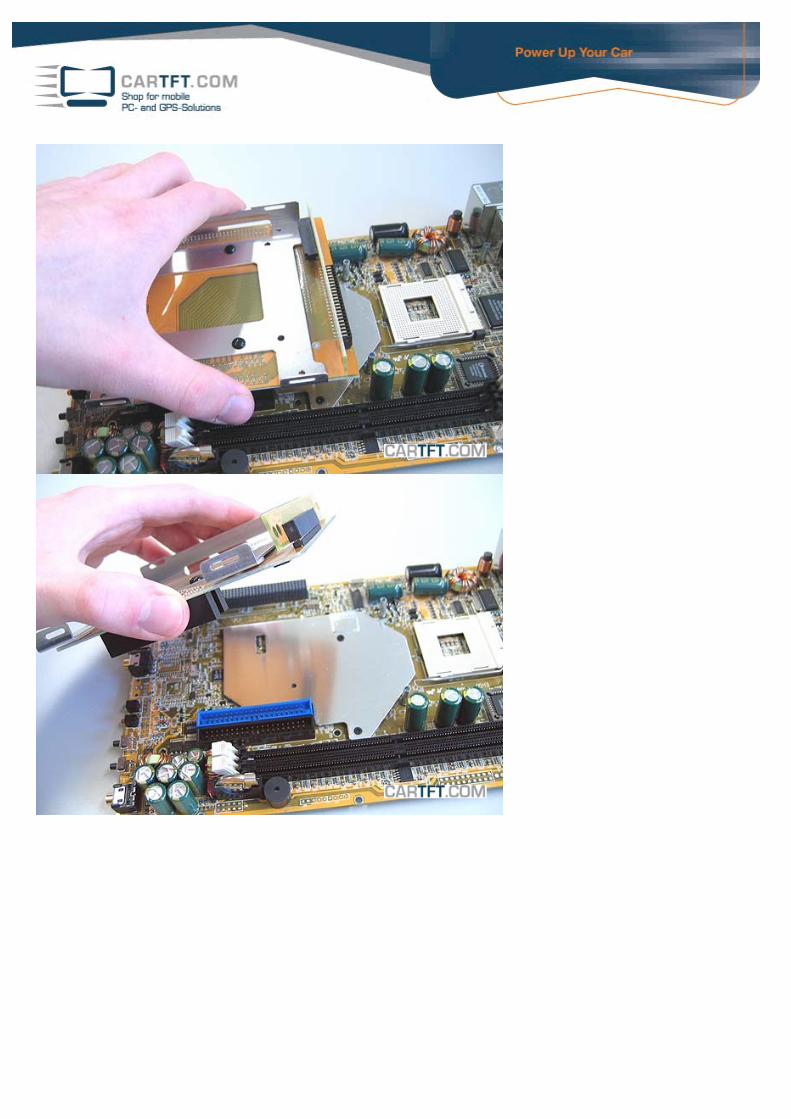

The Drive Adapter gets turned over, for removing the little, black plastic fastener:
The other little, black plastic fasteners can be removed on the other side now, too:
The HDD gets mounted onto the Drive Adapter:

Simply slide the HDD, so that the HDD can be correctly connected to the 2,5“ Pins.
Flip over the Drive Adapter, for installing and tightening the CD-ROM Bracket, Insulate Pad and the HDD with screws.
Install the two plastic spacers to the CD-ROM Adapter:

Afterwards you can connect the CD/DVD-ROM to the CD-ROM Adapter and IDE2 44-Pin connector:
With the CD-ROM Adapter screws you can tighten the CD/DVD-ROM:
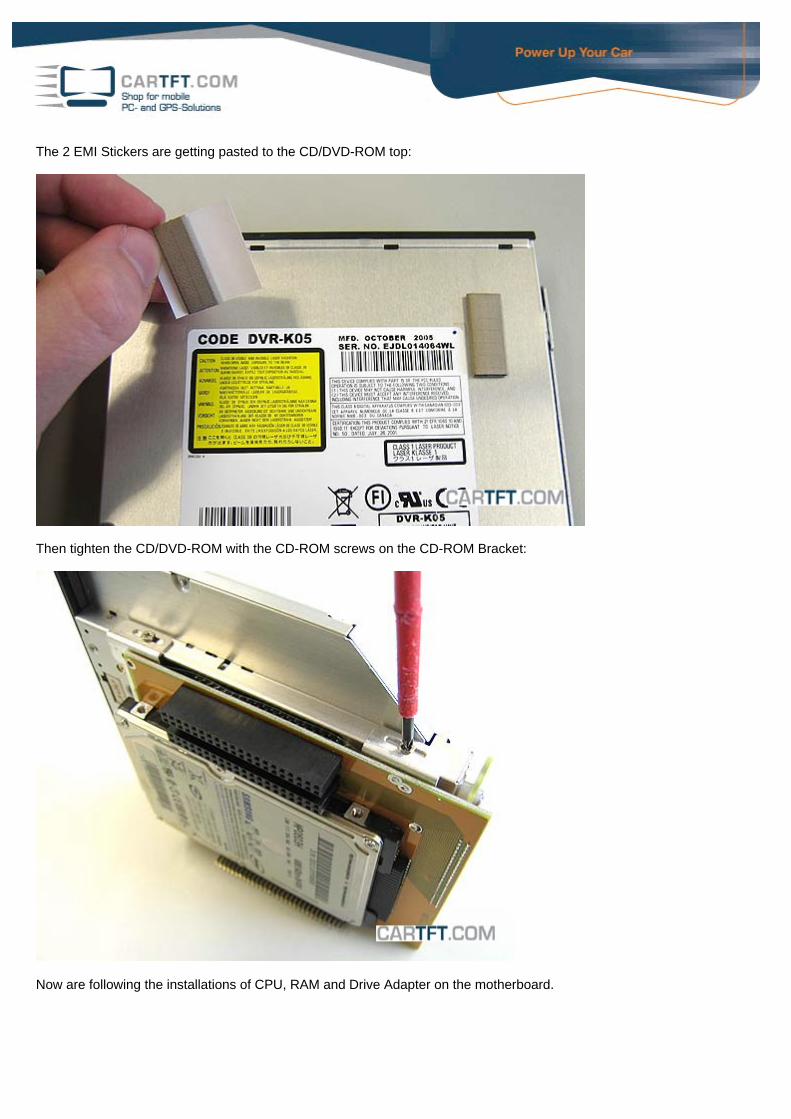
The 2 EMI Stickers are getting pasted to the CD/DVD-ROM top:
Then tighten the CD/DVD-ROM with the CD-ROM screws on the CD-ROM Bracket:
Now are following the installations of CPU, RAM and Drive Adapter on the motherboard.

Installing the RAM module into the DIMM1 bank:
Installing the CPU: First of all you open the CPU socket by moving the little metal stick 90° upstairs. Then you take the CPU and check the arrangement of the pins, so that the CPU sinks into the socket without any reluctance and effort. In the following picture the corner is noticed:

Spot the CPU-DIE with a bit (NOT TOO MUCH) heat sink compound:
Then install the CPU Cooler carefully, so that all screw threads are matching through the scheduled screwing hole. The best thing is to screw the CPU cooler screws cross-over, so that the CPU doesn’t get damaged with too much pressure on one side. When all 4 screws are matching exactly, they will be tightened equally.

After mounting the CPU + cooler, install the Drive Adapter to the motherboard:
Before the motherboard gets slid in the case again, the fake-drive blend has to be removed of the case, so that the correct CD/DVD-ROM can be used.

The Mainboard can be slid into the case now:
Now it can happen that the CD/DVD-ROM doesn't sit optimally centrically, but by moving it a bit you can manage the drive to fit in a correct exit situation.

At last the motherboard has to be screwed at the case. Ready – The pc-system is completely assembled now.

Autor: B. Lambert - CarTFT.com Last updated: 12.06.2007