can serial bus at gomaco -...
TRANSCRIPT

Best Practices
Dennis Clausen
Director of Training
GOMACO Corporation
Considerations for Profile Paving
Stringline Installation & Maintenance Subgrade Stability and Accuracy Concrete Control & Placement Paving Basics Finishing Operations Other Considerations

Stringline Installation & Maintenance Setting & Maintaining Accurate
Stringline Recommend 25’ Surveyed Stations and Stringline Stakes,
Closer Intervals in Horizontal and Vertical Curves.

Stringline Installation & Maintenance Setting & Maintaining Accurate
Stringline Recommend 25’ Surveyed Stations and Stringline Stakes,
Closer Intervals in Horizontal and Vertical Curves. New Condition Cord, Wire, or Cable. Daily Maintenance & Checking of Stringline Elevation and
Alignment. Daily Maintenance on Stringline Tightness.


Subgrade Stability Stability of Paving Grade
Unstable Grade Causes Thickness Control Problems if Haul Trucks are Placing Concrete on Grade.
Possible Profile Problems if Subgrade continues to Move.


Subgrade Stability Stability of Paving Grade
Unstable Grade Causes Thickness Control Problems if Haul Trucks are Placing Concrete on Grade.
Possible Profile Problems if Subgrade continues to Move. Stability of Track Line
Track Line Failure may Occur Causing Profile Deviations.

Subgrade Stability Stability of Paving Grade
Unstable Grade Causes Thickness Control Problems if Haul Trucks are Placing Concrete on Grade.
Possible Profile Problems if Subgrade continues to Move. Stability of Track Line
Track Line Failure may Occur Causing Profile Deviations. Stability of Haul Road
Safety Important because of Possible Delays in Concrete
Delivery. In Extreme Cases may Affect Paver Track Line Grade.


Subgrade Accuracy
Accuracy of Paving Grade & Trackline.
Fewer Changes in Elevation by the Paver, the higher
probability of good profiles. Accurate Grade Elevation Makes Concrete
• Placement More Consistent.


Placing With Transit Mix
Considerations if Transit Mix Must be Used Plant Should be Central Mix if Possible Mixer should be Designed as Paving Mixer Chutes Must be Kept Clean Control of Clean-out Water Must be Monitored Position and Placement of the Truck Mixer is
Critical

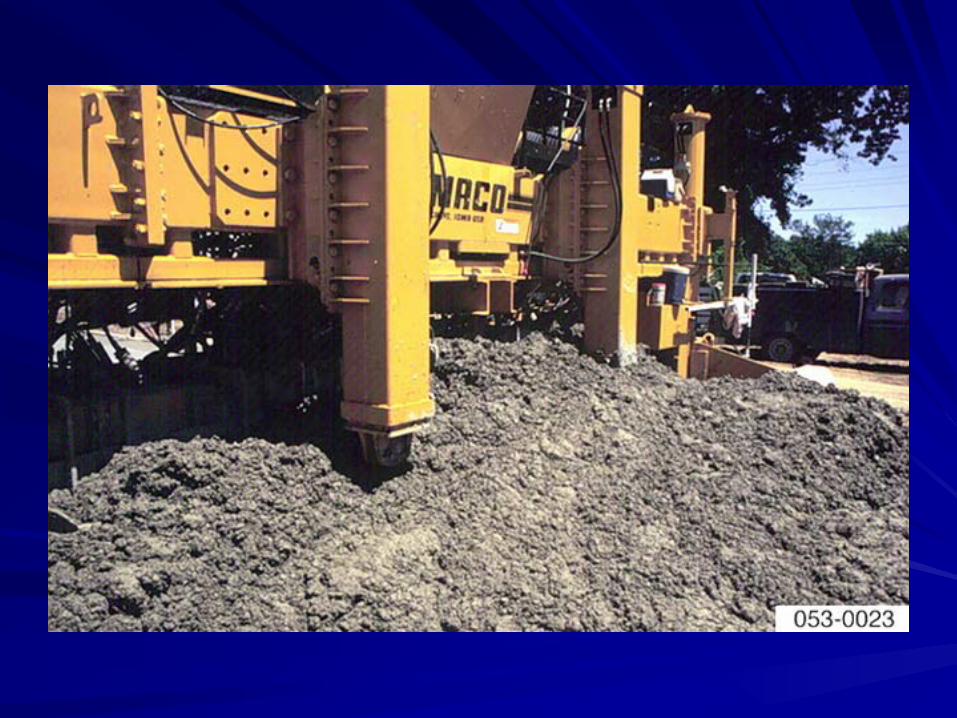
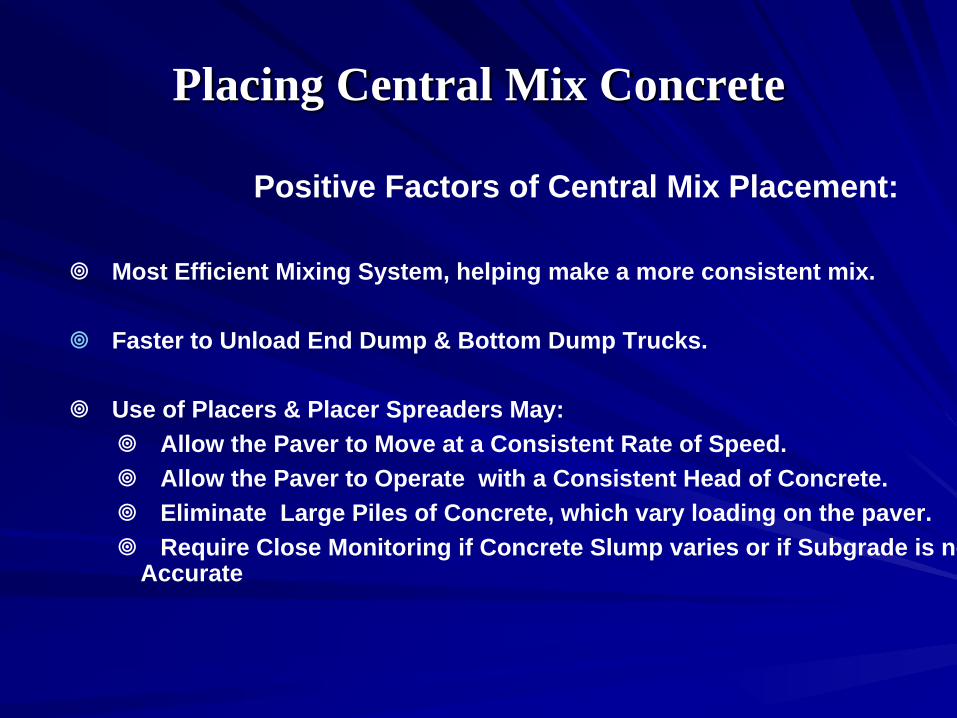
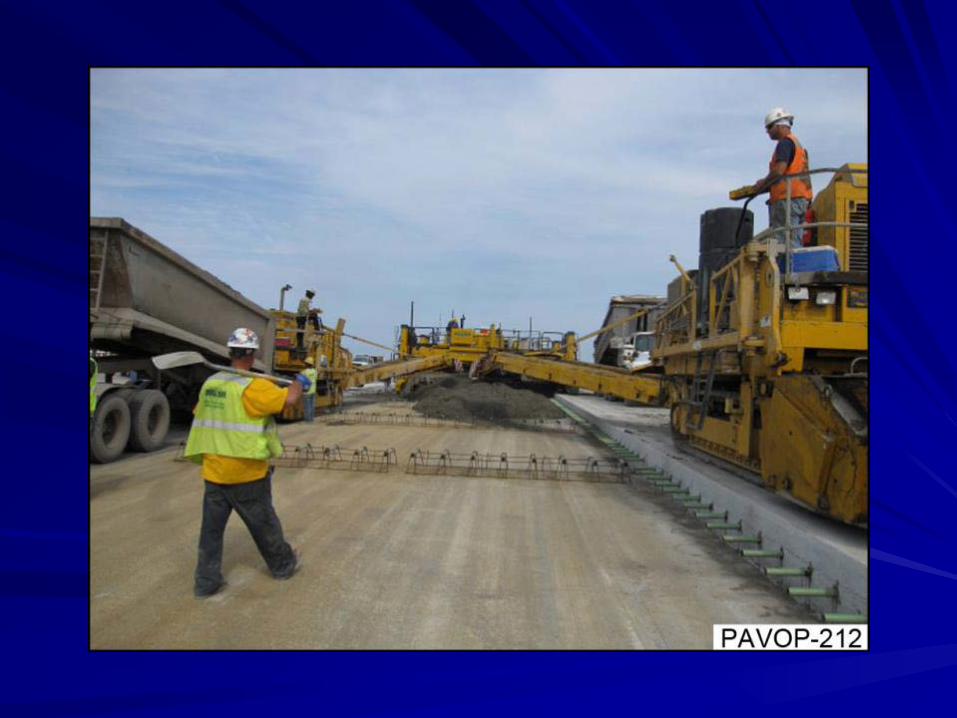
Placing Central Mix Concrete
Positive Factors of Central Mix Placement: Most Efficient Mixing System, helping make a more consistent mix. Faster to Unload End Dump & Bottom Dump Trucks. Use of Placers & Placer Spreaders May:
Allow the Paver to Move at a Consistent Rate of Speed. Allow the Paver to Operate with a Consistent Head of Concrete. Eliminate Large Piles of Concrete, which vary loading on the paver. Require Close Monitoring if Concrete Slump varies or if Subgrade is no
Accurate


Paving Basics
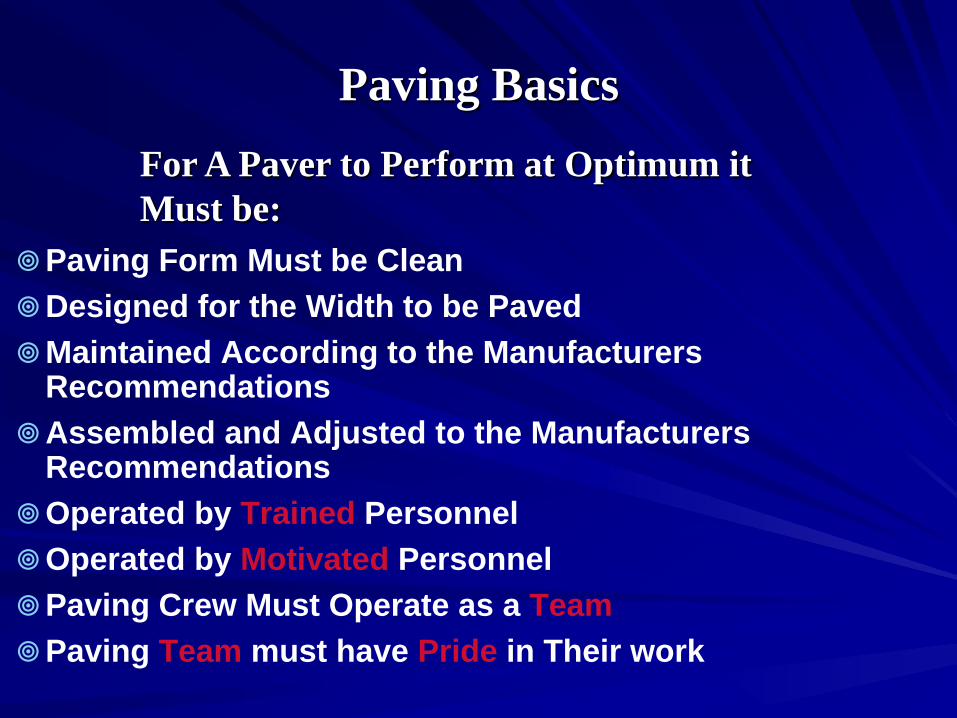
Paving Basics
Paving Form Must be Clean Designed for the Width to be Paved Maintained According to the Manufacturers
Recommendations Assembled and Adjusted to the Manufacturers
Recommendations Operated by Trained Personnel Operated by Motivated Personnel Paving Crew Must Operate as a Team Paving Team must have Pride in Their work
For A Paver to Perform at Optimum it Must be:

Extrusion Type Paving Form
Must be Properly Adjusted for Good Paving Results. Establish a Set-Up Procedure and Follow it Religiously. Pan Should be Straight & True, Left to Right & Front to
Rear. For Good Profile Results, Pan Should be Set Parallel to
the Stringline Front to Rear. Check the Profile Pan for Accurate Setting after:
– Width Changes – Moving the Machine
Replace or Repair Damaged or Worn Parts When Necessary.


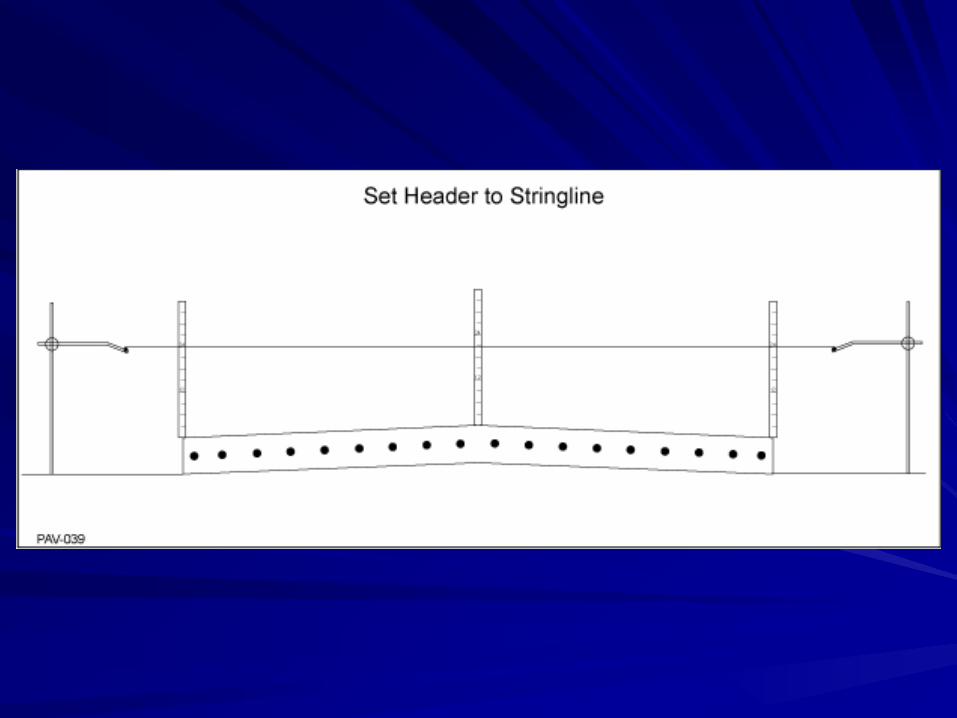
Finish Procedures
Good products


Finish Procedures
Good products Check product dimensions


Finish Procedures
Good products Check product dimensions Problem areas


Finish Procedures
Good products Check product dimensions Problem areas Start and finish headers


GSI The Contractor’s Tool Before Paving
Check smoothness of the sub-grade Check smoothness of the stringline setup Calculate yield of the paving materials based on sub-grade and stringline setup Pin point areas of cuts and fills in the sub-grade

Stringline Sensor

GSI Tools Analysis Software

Sub base analysis for McCarthy Improvement in South Carolina
With the GSI you can collect the same sub grade measurements
every 2 inches
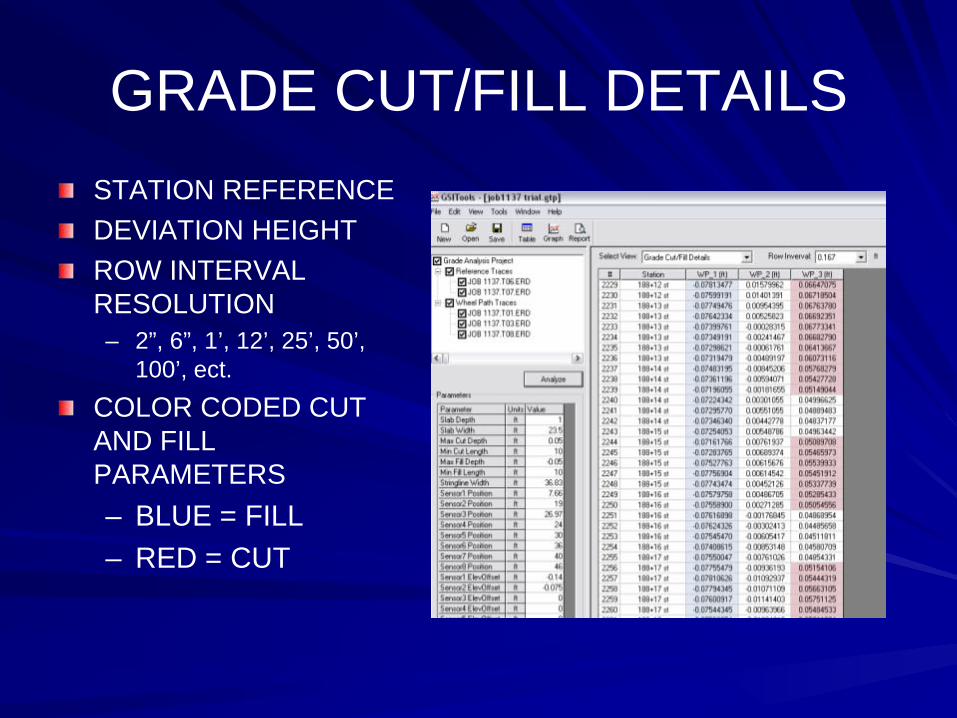
GRADE CUT/FILL DETAILS STATION REFERENCE DEVIATION HEIGHT ROW INTERVAL RESOLUTION – 2”, 6”, 1’, 12’, 25’, 50’,
100’, ect. COLOR CODED CUT AND FILL PARAMETERS – BLUE = FILL – RED = CUT
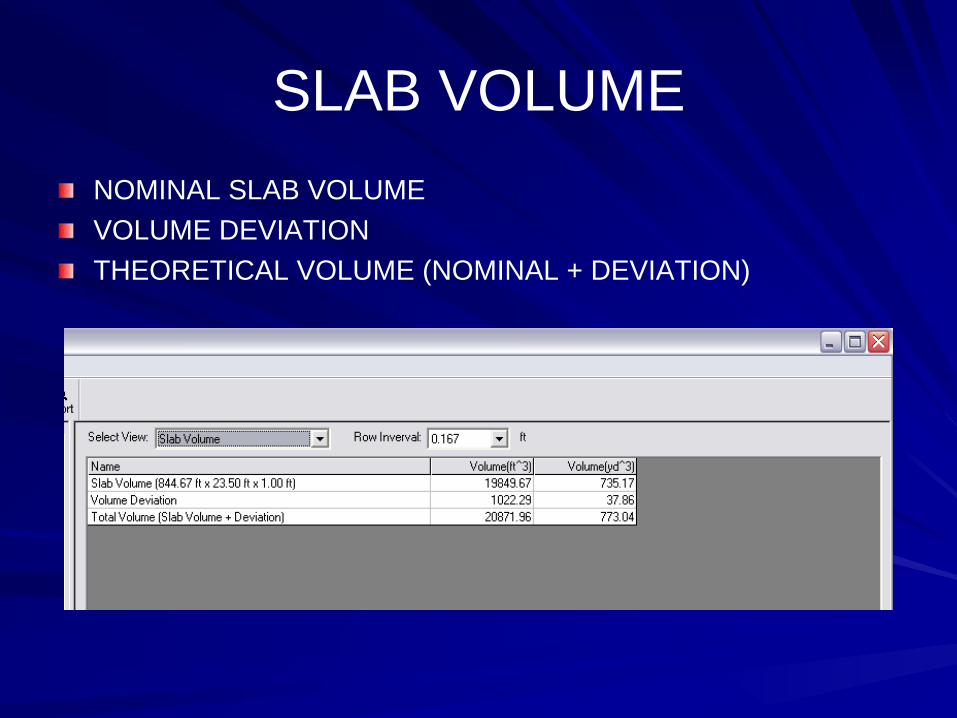
SLAB VOLUME NOMINAL SLAB VOLUME VOLUME DEVIATION THEORETICAL VOLUME (NOMINAL + DEVIATION)

REPORT JOB INFORMATION TRACE DETAILS SLAB VOLUME PROJECT PARAMETERS GRADE CUT/FILL SUMMARY
USER ADDED GRAPHS KNOWN FILE FORMAT FOR SHARING INFORMATION AND PRINTING
– (*.HTML FILE USES INTERNET EXPLORER FOR VIEWING AND PRINTING)

GSI The Contractor’s Tool During paving process
Provide paving crew immediate smoothness readings right out of the paver – Corrections may be made to the pavement
surface while concrete is still in plastic condition – Adjustments can be made to paving operation
before thousands of feet have been paved Separate machine can be backed over the repaired surface to take readings again
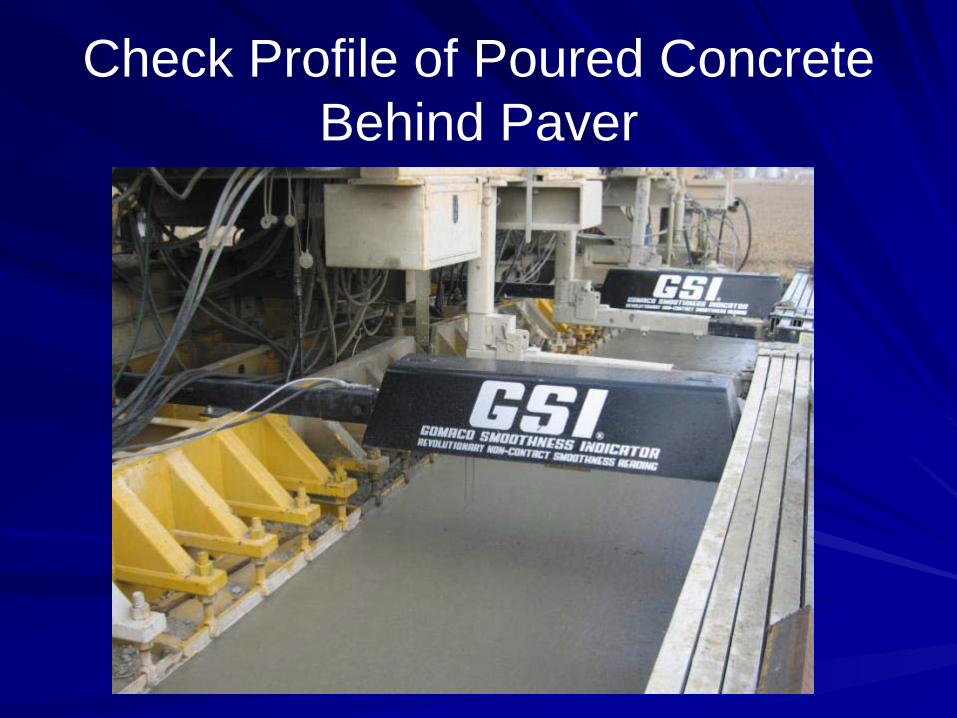
Check Profile of Poured Concrete Behind Paver
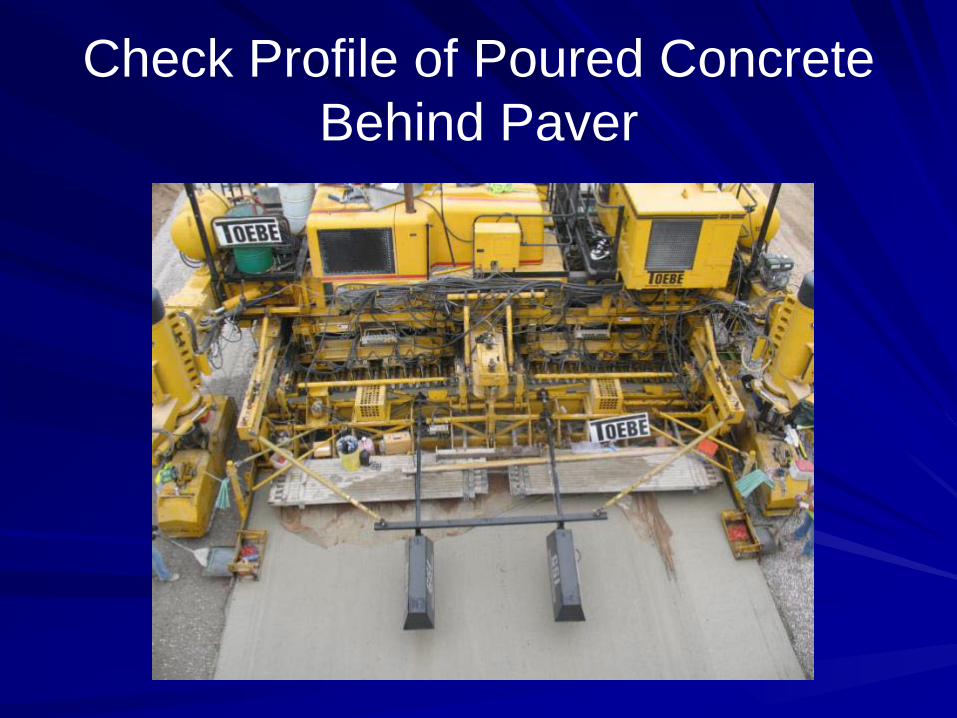
Check Profile of Poured Concrete Behind Paver

Check Profile of Poured Concrete Behind Paver

Check Profile of Poured Concrete Behind Paver
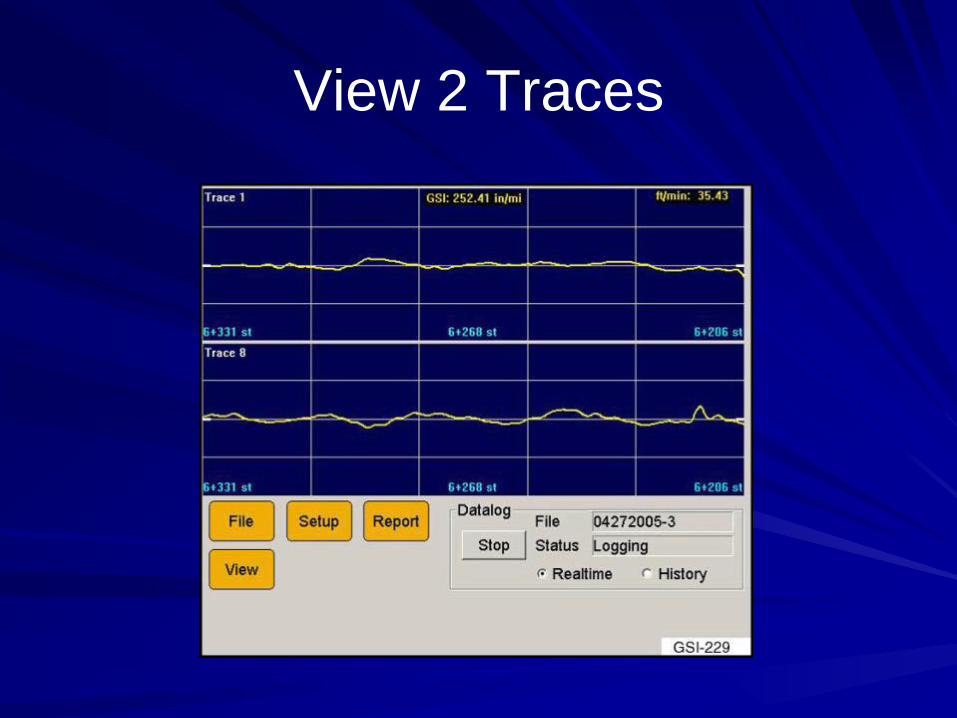
View 2 Traces

View Report in PI or IRI Format

3D Stringless Control System for Curb & Gutter, Trimming & Concrete Paving

58
What is Stringless 3D? A 3D Machine Control system that simplifies jobsite logistics, reduces costs and improves quality and safety
Removes stringlines and pins from the jobsite
Removes install, maintenance & removal costs
Increases working safety, especially at night
Puts the 3D job design directly onto the machine
Eliminates setting-out errors and stringline influences
No waiting for setting-out before production
No dependency on setting-out – work wherever you have 3D data
Increases productivity, quality and performance bonuses
Controls height, slope (and steer) of machines
Delivers a precisely-constructed product
Optimises amount of new material needed
Reduces over-trimming, overpouring
Improves concrete yields and material cost savings
59
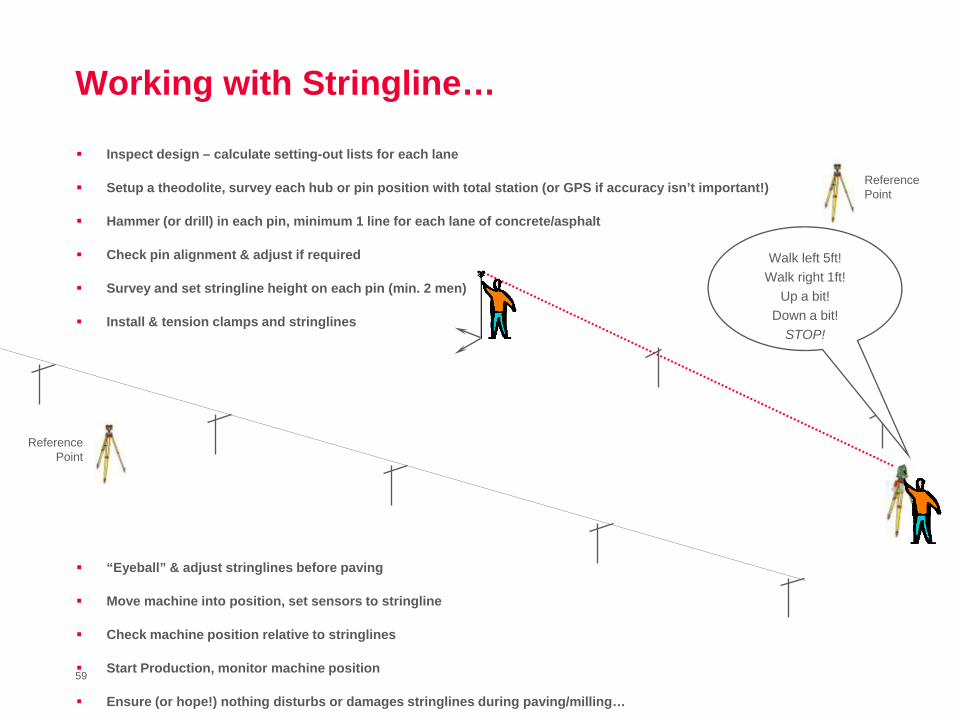
Working with Stringline…
Inspect design – calculate setting-out lists for each lane
Setup a theodolite, survey each hub or pin position with total station (or GPS if accuracy isn’t important!)
Hammer (or drill) in each pin, minimum 1 line for each lane of concrete/asphalt
Check pin alignment & adjust if required
Survey and set stringline height on each pin (min. 2 men)
Install & tension clamps and stringlines
“Eyeball” & adjust stringlines before paving
Move machine into position, set sensors to stringline
Check machine position relative to stringlines
Start Production, monitor machine position
Ensure (or hope!) nothing disturbs or damages stringlines during paving/milling…
Reference Point
Walk left 5ft! Walk right 1ft!
Up a bit! Down a bit!
STOP!
Reference Point

Mainline Slipform Paving & Fine-Grade Trimming with Stringless 3D
Click to return to Main Menu

61
Why go “Stringless”? Could your paving projects benefit from…
…no marking-out and drilling to setup pins and guidewires?
…easier paving in “zero clearance” situations, e.g. bridge decks, urban streets, railway cuttings, tunnels, narrow motorway lanes?
…no special access/safety equipment to pave in tunnels?
…no pre-production planning – just arrive, pave anywhere, any time?
…no human error from stringline setup?
…no inaccuracy of “field model” compared to original “office design”?
…lower material costs, improved concrete yield (less waste)?

62
Why go “Stringless”? Because stringlines… … are expensive, time-consuming and error-prone to install
… can be easily damaged during paving
… can be easily misaligned
… can be a significant site safety hazard
… interfere with site logistics, increase concrete delivery
time, haulage costs, and reduce productivity.
… require pre-production planning & increase survey effort/cost
… don’t always “model” the designed surface accurately

63
What is 3D?
A 3D Machine Control system simplifying slipform jobsite logistics, reducing cost, improving quality and productivity
Specifically designed for mainline (slab) pavers & trimmers
The result of 16 years worldwide experience in 3D slipforming
Developed in close cooperation with GOMACO
Eliminates stringlines (“stringless control”)
Controls paver elevation, steer, slope and draft
Constructs directly from the 3D plans
Removes need for stringline set-out crew
Minimises pre-production planning and preparation

64
Stringless System for Gomaco Trimmers System Components
Machine Computer
Radios
Slope Sensor
Prism
Theodolite #1 (Guidance)
Theodolite #2 (As-builts & Leapfrog)
Reference Point
Reference Point

65
Stringless System for Gomaco Placer/Spreaders System Components
Machine Computer
Radio
Slope Sensor
GPS or Prism
GPS Reference Station

66
Stringless System for Gomaco Pavers System Components
Machine Computer
Radios
Slope Sensors
Prism
TPS #1 (Guidance)
TPS #2 (Guidance)
TPS #3 (As-builts & Leapfrog)
Reference Point
Reference Point
Prism
67
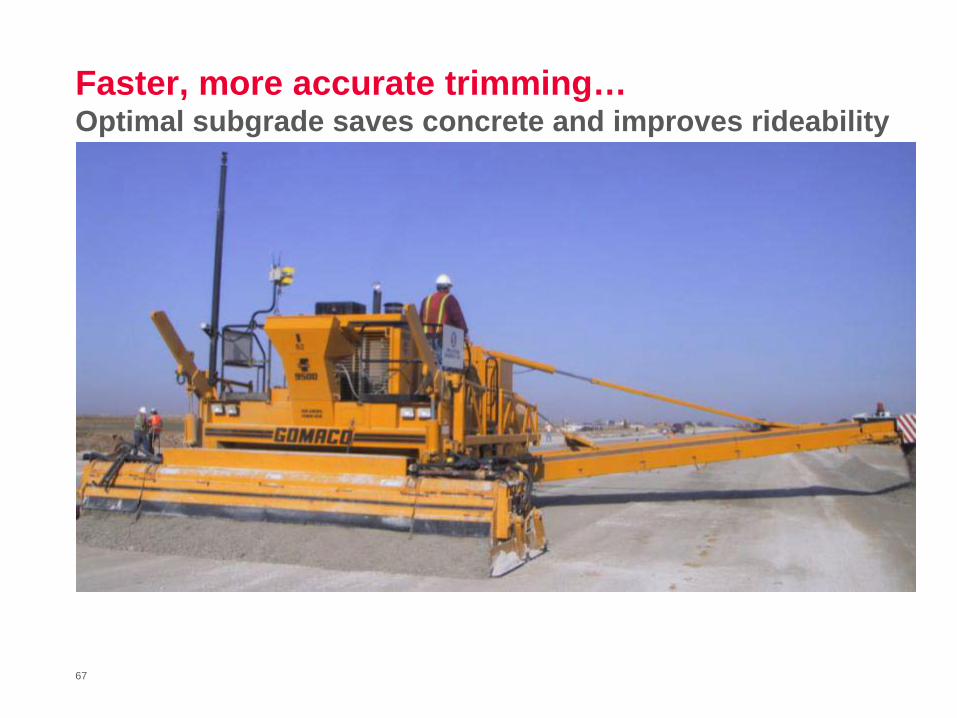
Faster, more accurate trimming… Optimal subgrade saves concrete and improves rideability

68
Smoother airfield paving… Increases runway life, reduces undercarriage & tyre wear

69
Smoother road paving… Increases road life, reduces vehicle wear & passenger fatigue

70
Practical Issues… In the field!

71
Practical Issues Checking concrete (or subgrade) level and position
The third theodolite together with a prism measures the surface “as-built” behind the machine
Errors (and adjustments) shown on theodolite
Report stored on 3D computer

72
Practical Issues Adjusting the Machine
If the level needs adjusting…
…just like stringline control we can adjust all leg heights, and draft independently, without stopping paving
73
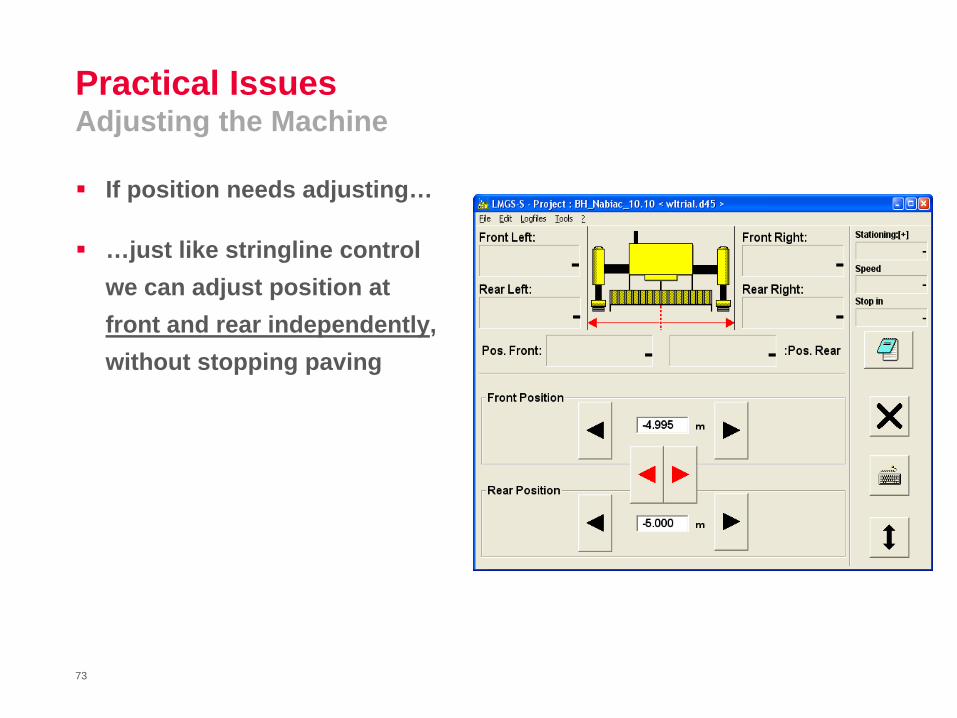
Practical Issues Adjusting the Machine
If position needs adjusting…
…just like stringline control we can adjust position at front and rear independently, without stopping paving

74
Practical Issues Moving the Theodolites (‘Leapfrogging’)
Maximum Range Theodolite-to-Paver is <= 200m (*depends on conditions)
We don’t want to stop the paver for too long!
Before maximum range is reached, move 3rd Theodolite to new position & setup (Position & Orientation Fix).
Press ‘Swap Theodolite’ on computer
System switches control from #2 (or #1) to #3 Theodolite automatically
Move ‘old’ Theodolite to new position, setup and repeat procedure
Ensure enough Reference Points visible for Setup (Position & Orientation Fix)
* - temperature, humidity, air quality

Questions?
Dennis Clausen
Director of Training
GOMACO Corporation