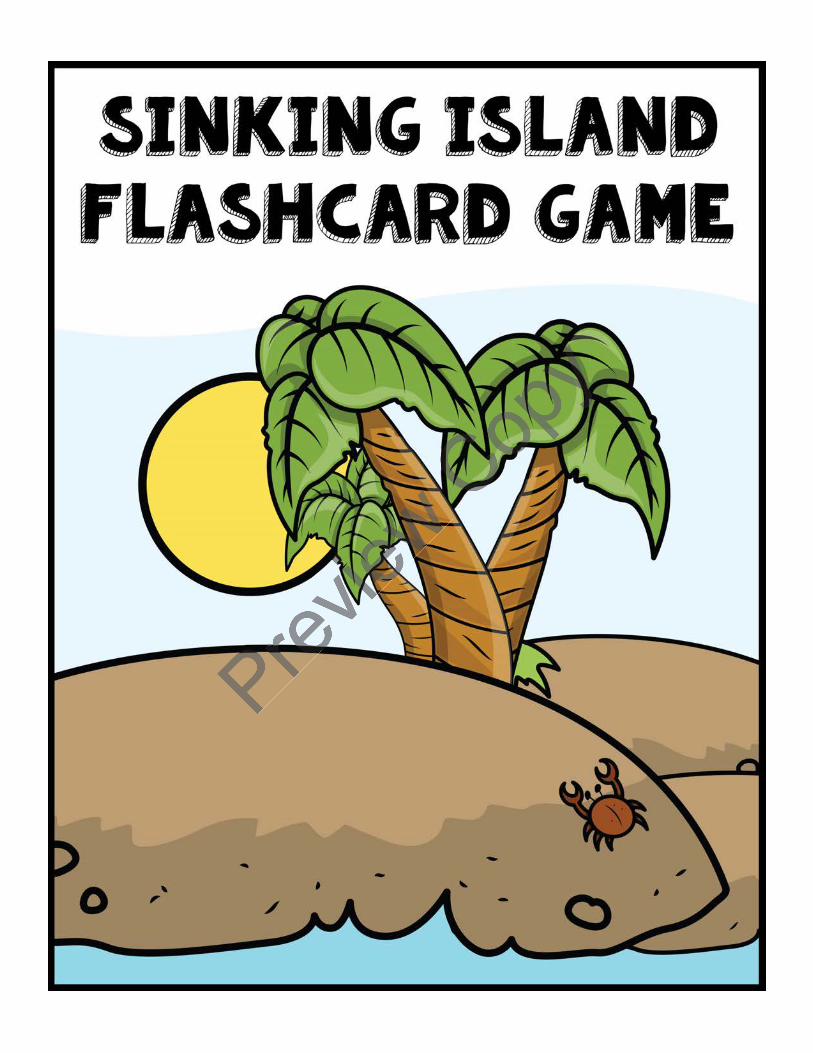
demo sinking island flashcard game - warm hearts publishing
TRANSCRIPT
Preview
Cop
y

© 2015 Susan Brown i Sinking Island Flashcard Game
Sinking Island Flashcard Game by Susan Brown
Copyright © 2015 by Susan Brown. All rights reserved.
Warm Hearts Publishing
Terms of Use:�e purchase of this material entitles the buyer to print and/or reproduce the pages for home, homeschool, and classroom use only. �e printing and reproduction of these materials for an entire school or district is prohibited. All other use or reproduction of these materials requires the prior written consent of the author.
Disclaimer:Any perceived slights of speci�c persons, peoples, or organizations in this book are unintentional.
Game fonts courtesy of Kimberly Geswein. Images in this book courtesy of Footage Firm, Inc. Adapted by Susan Brown.
If you like this game, you may be interested in some of our other products.
Find these and more at:www.WarmHeartsPublishing.com
Preview
Preview
Preview
Preview
Cop
yyou may be interested in some of our other products.
Copy
you may be interested in some of our other products.
Copy
Copy

© 2015 Susan Brown 1 Sinking Island Flashcard Game
Introduction�ank you for purchasing the Sinking Island Flashcard Game. I hope it makes �ashcard practice fun for the students in your class or the children in your home.
You’ll �nd that this game o�ers a great deal of versatility with regards to use. It can be played by children of di�erent ability levels or ages since each player uses his own �ashcards for play. For example, one child could practice the 9’s multiplication facts while another practices 7’s. You can even have children using �ashcards for di�erent subjects at the same time. One person could use states and capitals �ashcards while another uses �ashcards with science terms and de�nitions. In fact, you’ll �nd that there are lots of possibilities when it comes to the types of �ashcards that can be used for this game. Some of these include:
• Math facts• Simple math problems• State names• States and capitals• Pre�xes or su�xes and their meaning• Contractions• Foreign language vocabulary• Animal classi�cation• Musical note names• Artists and artworks• Terms and de�nitions• Review questions
When it comes to the actual �ashcards that you use for game play in the Sinking Island Flashcard Game, you can take advantage of the Flashcard Template included in this book or you can use your own cards if they �t on the game board.
�e Sinking Island Flashcard Game can be played by one or two players, or with two teams. Other variations for play can be found on the Rules for Play page.
What’s Included in �is Book:
• Instructions for Assembly• Rules for Play• Sinking Island Indicator• Flashcard Template• Playing Pieces and Markers• �e Sinking Island Flashcard Game board
Preview
When it comes to the actual �ashcards that you use for game play in the
Preview
When it comes to the actual �ashcards that you use for game play in the take advantage of the Flashcard Template included in this book or you can use your own cards if they �t on the
Preview
take advantage of the Flashcard Template included in this book or you can use your own cards if they �t on the
Sinking Island Flashcard Game
Preview
Sinking Island Flashcard Game can be played by one or two players, or with two teams. Other variations for
Preview
can be played by one or two players, or with two teams. Other variations for
Preview
play can be found on the Rules for Play page.
Preview
play can be found on the Rules for Play page.
What’s Included in �is Book:Preview
What’s Included in �is Book:
Instructions for AssemblyPreview
Instructions for Assembly
Copy

Sinking Island Flashcard Game © 2015 Susan Brown2
Instructions for Assembly
Rules for Play:
1. Print the page on printer paper or card stock.2. Laminate for durability, if desired.
Sinking Island Indicator Chart:
1. Print the page on printer paper or card stock.2. Laminate for durability, if desired.
�e Flashcards Template:
�e �ashcards have been designed to be 2 1/2 x 3 1/2 inches in size so that they will �t on the game board. You can try to maintain that exact size by playing with the options in the print dialogue box. Printer settings vary, but you may be able to select “Actual size” under sizing or change the scaling to “None.” Know that some printers will resize these pages when you print them no matter what you do because of the way they were designed by the manufacturer. You should, however, still be able to use the �ashcards to play the game.
�ere are two methods you can choose from for printing and assembling the �ashcards.
Method 1:
1. Print the �ashcard pages on card stock.2. Cut apart the cards on the solid black lines.3. If desired, laminate for durability.
Method 2:
1. Print the �ashcard pages on printer paper.2. Cut apart the cards on the solid black lines.3. Insert the �ashcards into card deck protector sleeves.4. Insert regular playing cards behind each printed �ashcard. �is will strengthen the �ashcards.
Markers:
1. Print the page on card stock.2. Cut out the markers.3. Laminate for durability, if desired.
Preview
Print the �ashcard pages on card stock.
Preview
Print the �ashcard pages on card stock.Cut apart the cards on the solid black lines.
Preview
Cut apart the cards on the solid black lines.
Preview
If desired, laminate for durability.
Preview
If desired, laminate for durability.
Print the �ashcard pages on printer paper.
Preview
Print the �ashcard pages on printer paper.Cut apart the cards on the solid black lines.Prev
iew
Cut apart the cards on the solid black lines.Insert the �ashcards into card deck protector sleeves.Prev
iew
Insert the �ashcards into card deck protector sleeves.Insert regular playing cards behind each printed �ashcard. �is will strengthen the �ashcards.Prev
iew
Insert regular playing cards behind each printed �ashcard. �is will strengthen the �ashcards.
Copy�e �ashcards have been designed to be 2 1/2 x 3 1/2 inches in size so that they will �t on the game board. You
Copy�e �ashcards have been designed to be 2 1/2 x 3 1/2 inches in size so that they will �t on the game board. You
can try to maintain that exact size by playing with the options in the print dialogue box. Printer settings vary,
Copycan try to maintain that exact size by playing with the options in the print dialogue box. Printer settings vary,
but you may be able to select “Actual size” under sizing or change the scaling to “None.” Know that some printers
Copybut you may be able to select “Actual size” under sizing or change the scaling to “None.” Know that some printers
will resize these pages when you print them no matter what you do because of the way they were designed by the
Copywill resize these pages when you print them no matter what you do because of the way they were designed by the
manufacturer. You should, however, still be able to use the �ashcards to play the game.
Copy
manufacturer. You should, however, still be able to use the �ashcards to play the game.
�ere are two methods you can choose from for printing and assembling the �ashcards.Copy
�ere are two methods you can choose from for printing and assembling the �ashcards.

© 2015 Susan Brown 3 Sinking Island Flashcard Game
Playing Pieces:
Parts of a Playing Piece:
Step 1: Print the page on card stock.
Step 2: Cut out the playing pieces.
Step 3: Fold the playing piece on Line 1 so that the Figure sides are facing out as shown in Fig. 1.
Step 4: Flip the piece over and fold on Line 2 as show in Fig. 2.
Step 5: Complete Steps 3 and 4 on the other side of the piece. When you are done, it should look like Fig. 3.
Step 6: Put glue on the inside of both Base Tops and on one blank side of the Figure section. See Fig. 4.
Step 7: Bring all of the sections in so that the Base Tops are glued to the Base Bottom and the blank sides of the two Figures are also glued together. It should look like Fig. 5.
Step 8: Hold the playing piece for a minute or so until the glue holds or use paper clips to hold it together until it dries. When �nished, it should look like Fig. 6.
Figure FigureBaseTop
BaseBottom
BaseTop
Line 1Line 2Line 2
Line 1
Fig. 1 Fig. 2
Fig. 4Fig. 3
Fig. 5 Fig. 6
Preview
Step 3: Fold the playing piece on Line 1 so that the
Preview
Step 3: Fold the playing piece on Line 1 so that the
Step 4: Flip the piece over and fold on Line 2 as show
Preview
Step 4: Flip the piece over and fold on Line 2 as show
Step 5: Complete Steps 3 and 4 on the other side of the
Preview
Step 5: Complete Steps 3 and 4 on the other side of the piece. When you are done, it should look like Fig. 3.
Preview
piece. When you are done, it should look like Fig. 3.
Step 6: Put glue on the inside of both Base Tops and Preview
Step 6: Put glue on the inside of both Base Tops and on one blank side of the Figure section. See Fig. 4.Prev
iew
on one blank side of the Figure section. See Fig. 4.Preview
Cop
yCop
y

Sinking Island Flashcard Game © 2015 Susan Brown10
A
Preview
Cop
y

© 2015 Susan Brown 11 Sinking Island Flashcard Game
B
Preview
Cop
y